Article and recipe courtesy of Rachel Heller of Rachel’s Ruminations. Thanks, Rachel!
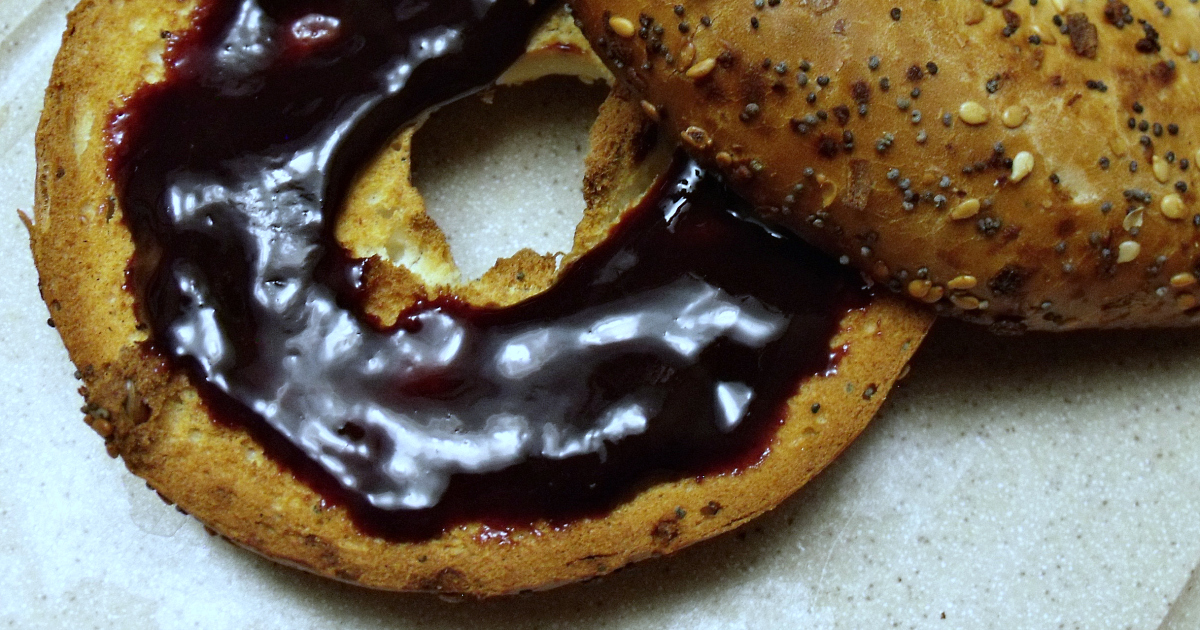
Canning blackberry apple jam at home can be a rewarding endeavor.
Every year at this time, I do a brief imitation of a domestic goddess: one of those people who can cook well and enjoy it.
I’m not talking about cooking dinner for guests or even baking pies or bread. I’m talking about canning: in this case, jam.
Making preserves, for most of us in the Western world, is totally unnecessary.
It used to be a key to survival. Canning fruits and vegetables made them last through the winter.
This allowed the family to ingest their goodness throughout the year.
And it, also, meant that the family would not to go hungry before the new harvest came in.
Nowadays, we can buy canned goods all year, and we can store them longer than ever.
We don’t need to “put up” cans.
Every year, though, especially in August and September, there’s an abundance of fruit available.
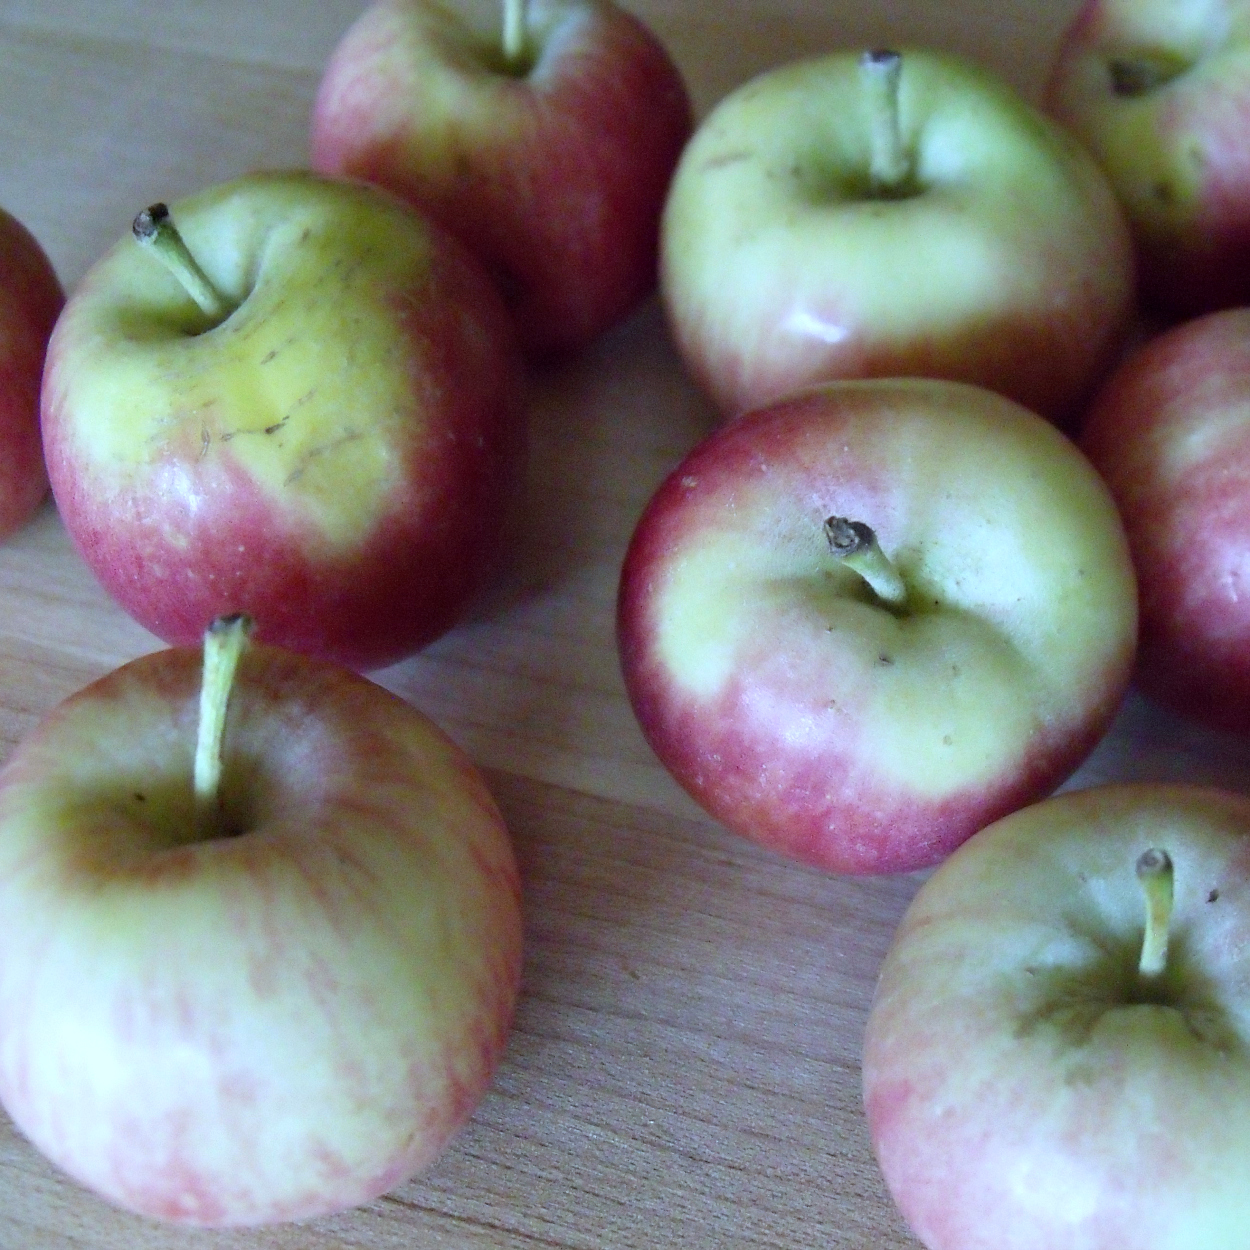
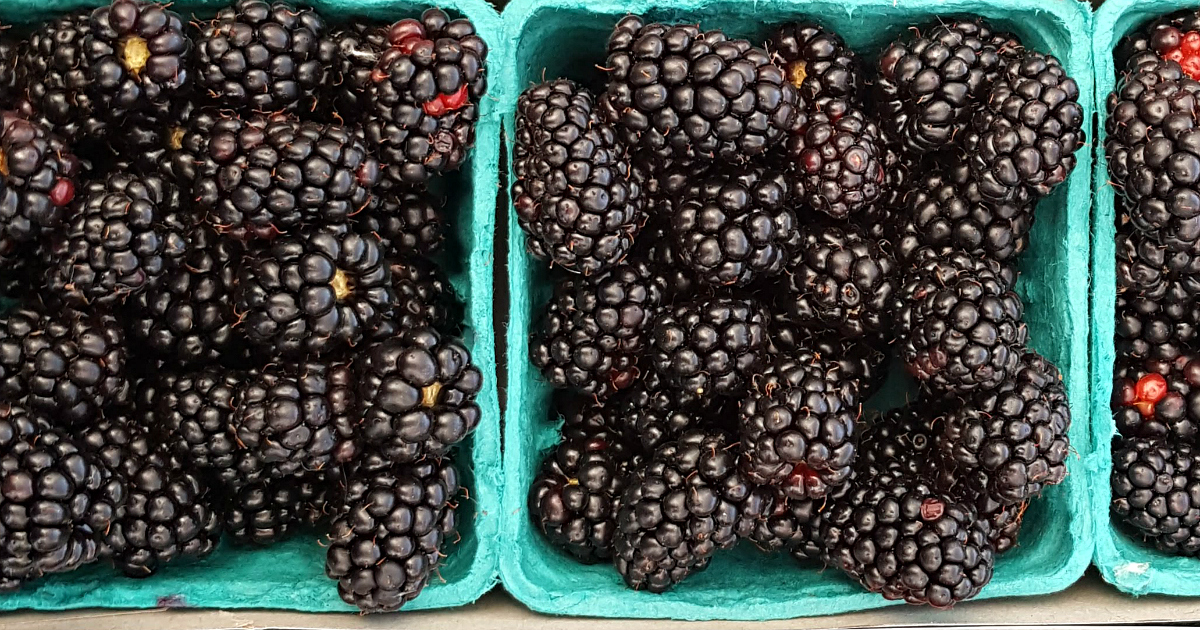
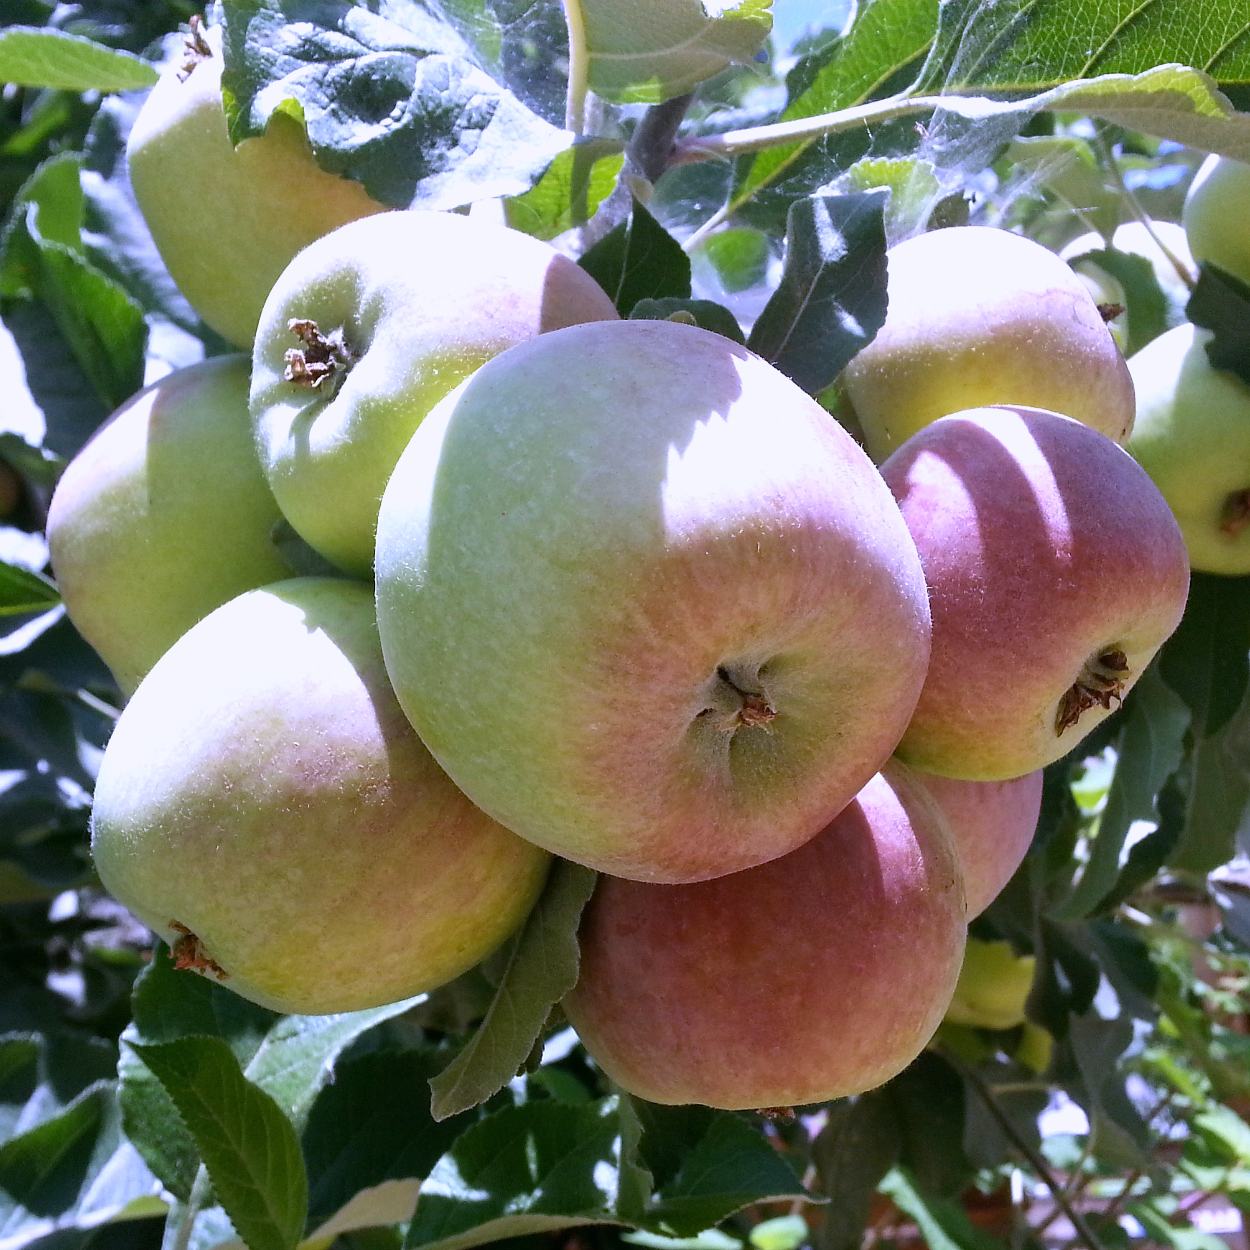
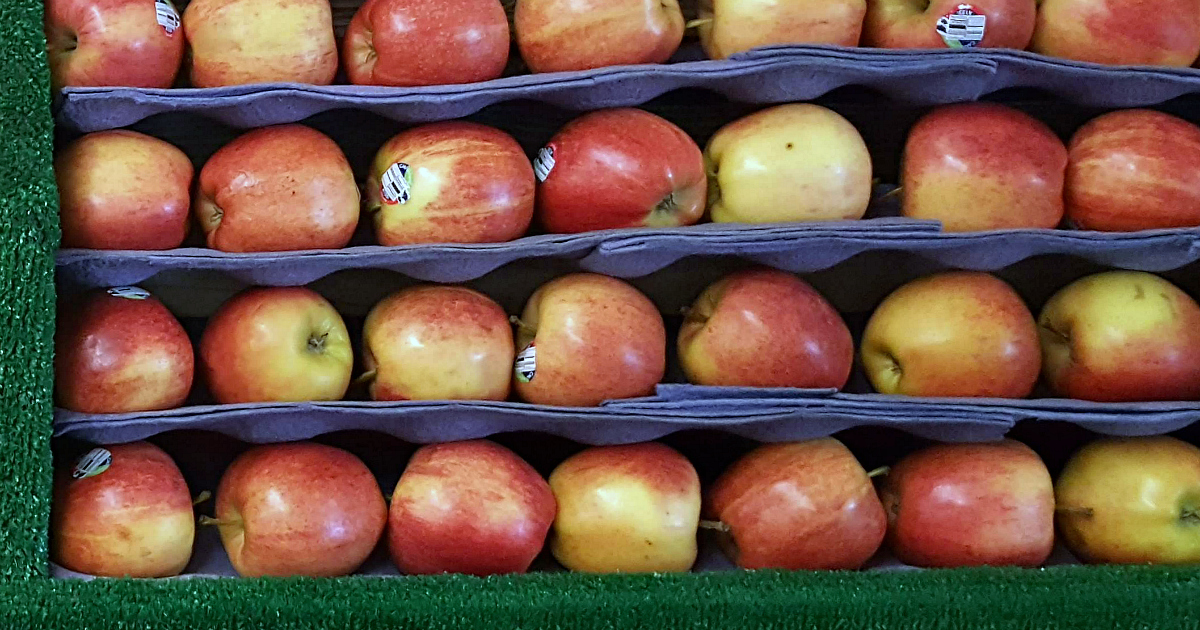
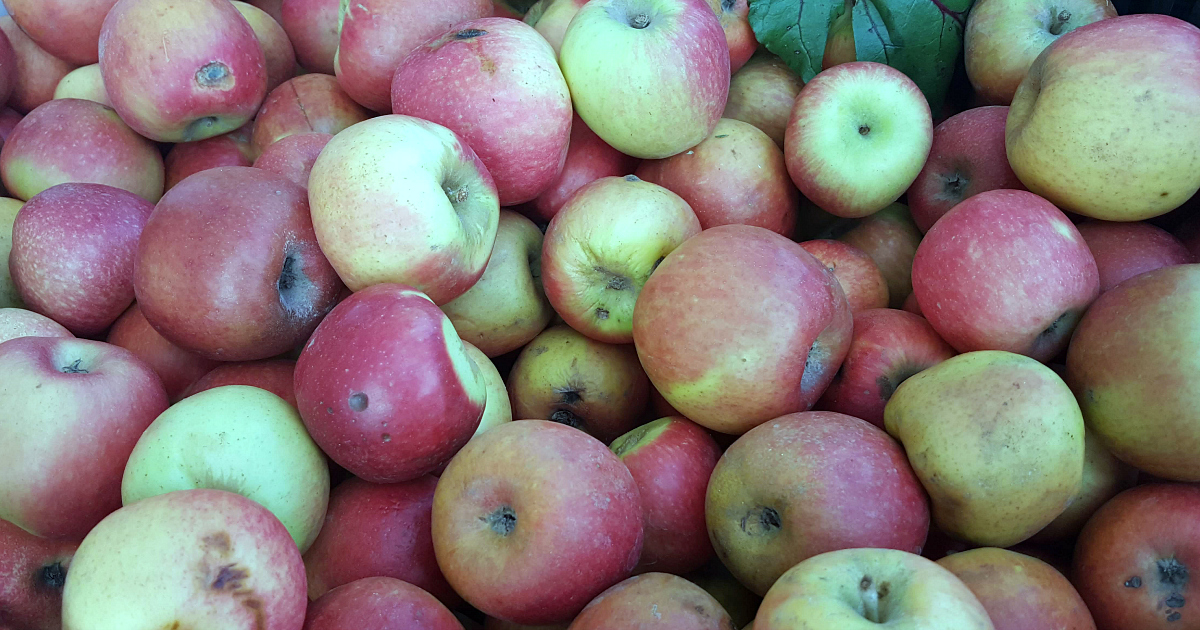
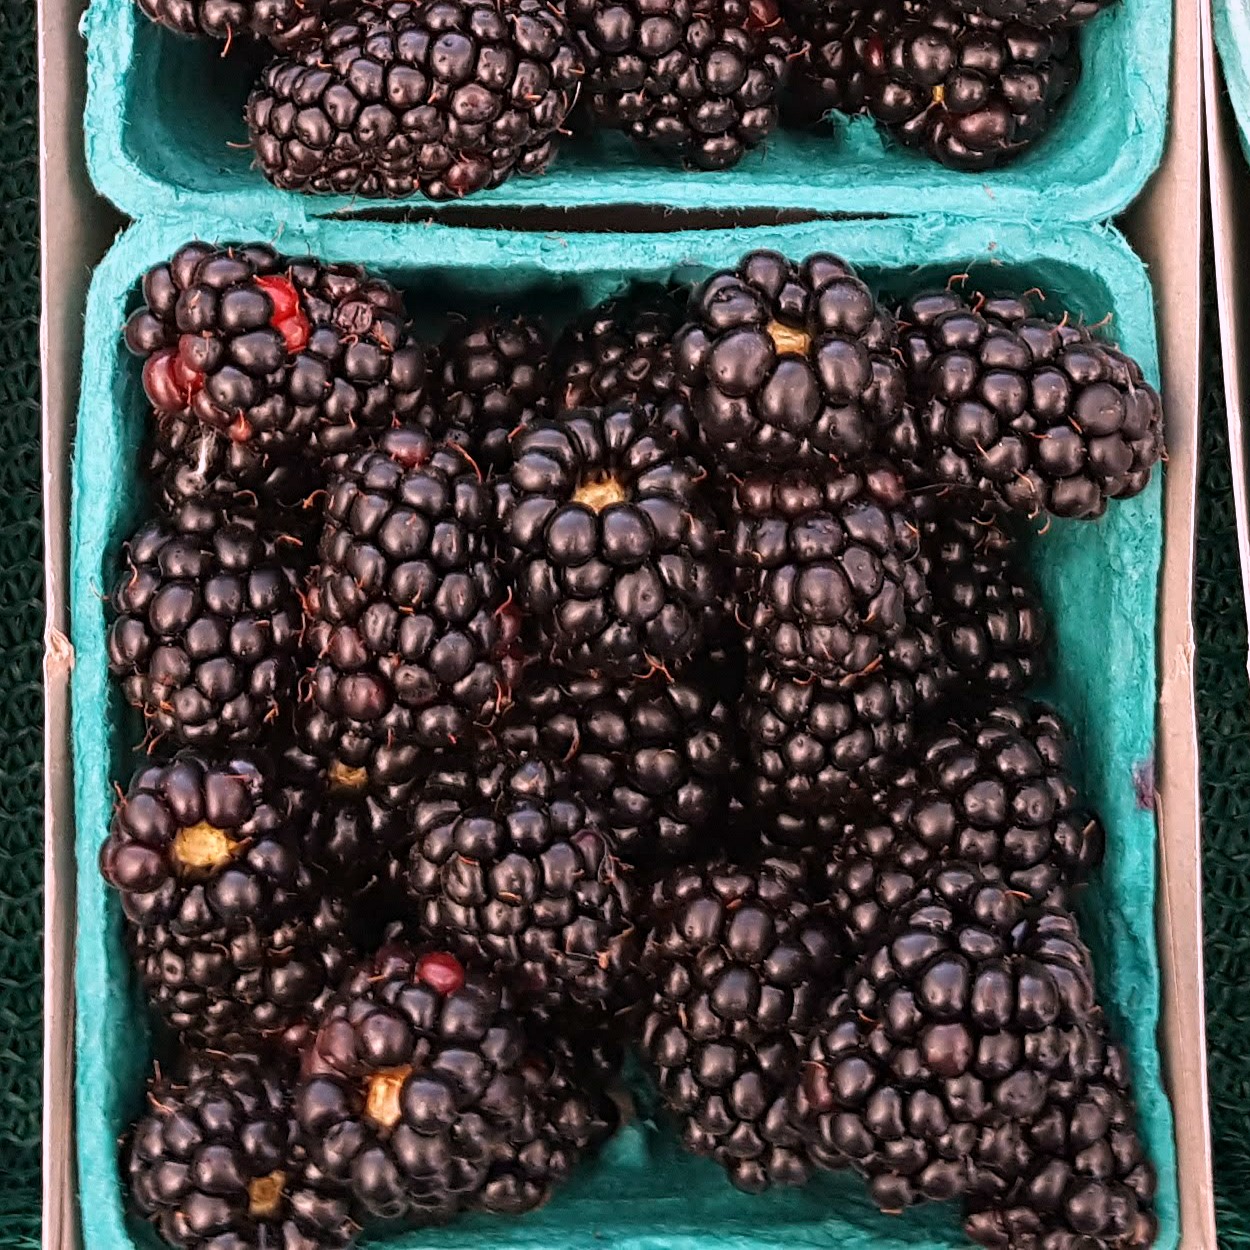
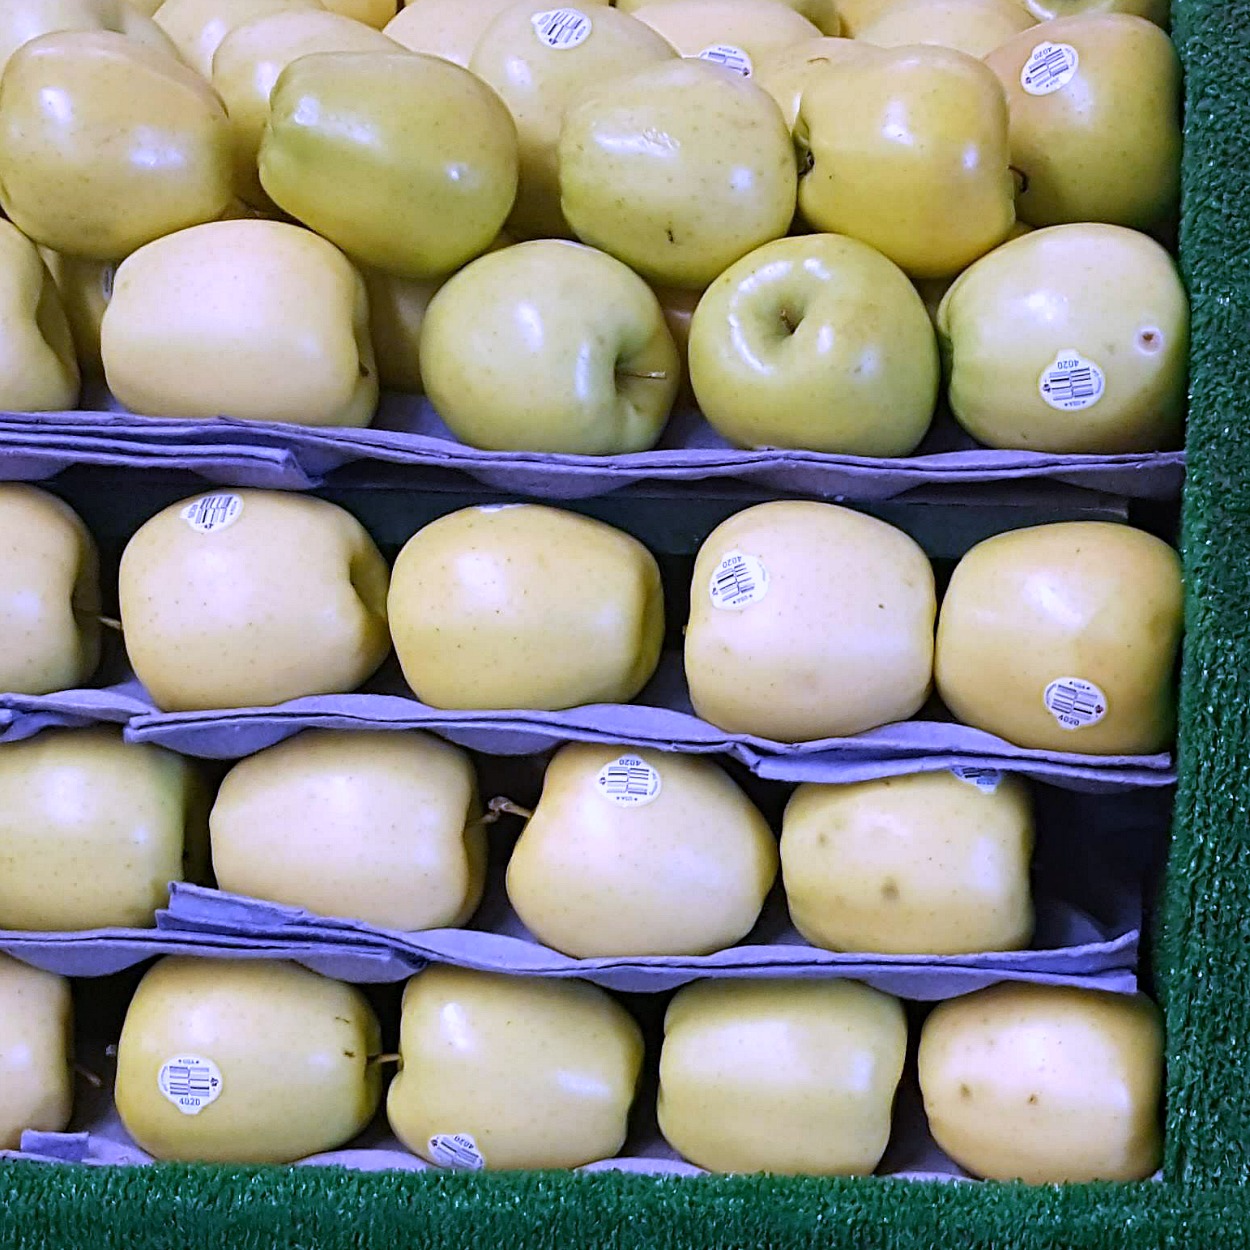
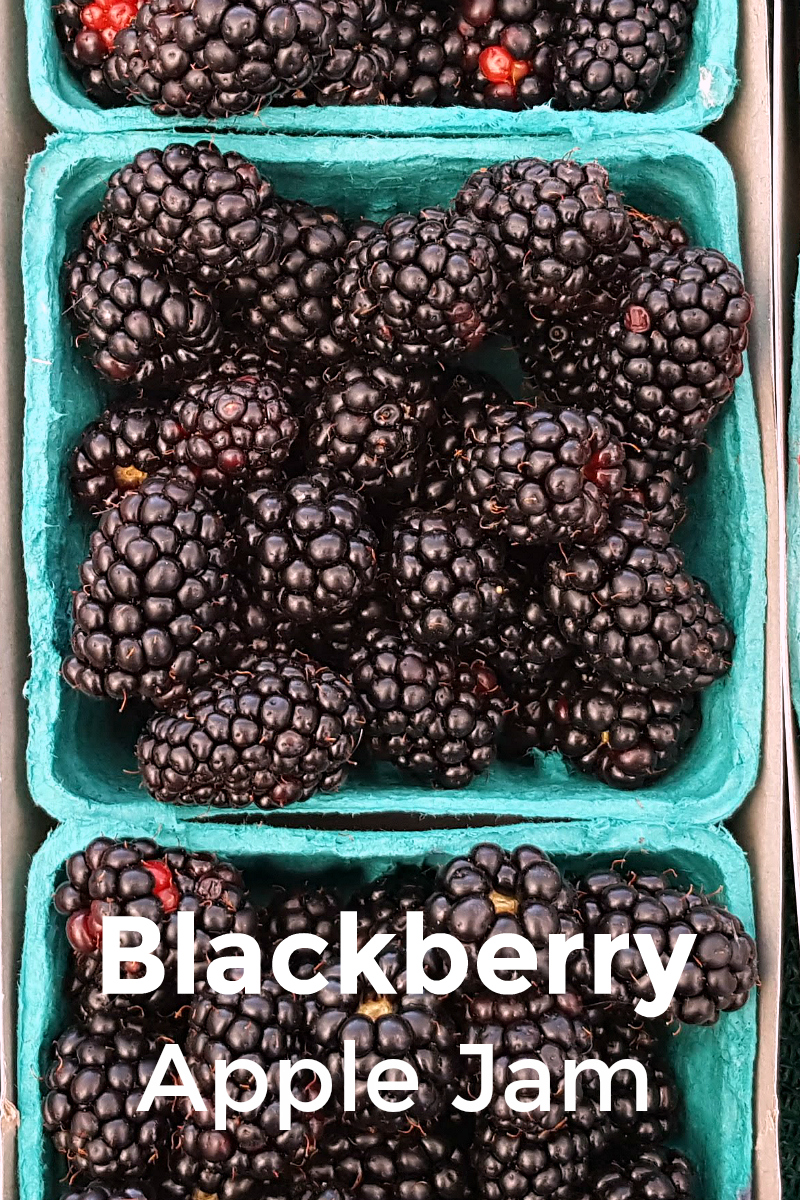
In my case, blackberries from the overgrown vacant lot on the corner, and apples and pears from our own trees.
And I get to work preserving them.
I make blackberry jam, blackberry-apple jam, applesauce and apple-pear-raisin compote.
Some years the blackberries and apples don’t coincide, but this year they did.
I’m not sure why I do this. It’s not something anyone in my family ever did, in my experience.
But I love having these homemade jams to give away to friends when I visit.
I also hate that the blackberries go to waste when no one picks them.
And I’m sure part of this is avoidance behavior: there’s a lot of preparatory work for school I ought to be doing.
But nevertheless, I make jam.
Blackberry Apple Jam Recipe
Yield: about 10 jars
Ingredients:
2 pounds blackberries
½ pounds apples
A bit of water
Juice of one lemon
3 cups sugar
2 teaspoons cinnamon
1 teaspoon nutmeg
Instructions:
- Peel, core and cut up the apples in little pieces. Put them on the stove in a very big pot with a bit of water – enough to cover the bottom and prevent the apples from burning. Keep a close eye on the pan as it cooks, stirring often. Depending on your apples, it should take 15-20 minutes until they’re soft.
- While that’s happening, bring a water bath canner with rack to a boil with empty mason jars in it to sterilize the jars.
- When the apples are soft, add the blackberries, stir them together, and bring to a boil, stirring the whole time.
- Lower the heat and add the sugar, stirring until it dissolves.
- Add the lemon juice and cinnamon and nutmeg
- Bring it back to a boil and let it bubble for about 20 minutes, but stay nearby and stir it often to avoid burning.
- There are a lot of ways to test for doneness. You can put a plate in the freezer when you start the project. When you want to test the jam, put a dollop on the plate and put it back in the freezer for 30 seconds. When you touch it, the surface should wrinkle. If not, boil for another 5 or 10 minutes.
- Pull one of the boiled jars out of the water with a jar lifter, and use a ladle to put the jam into it. Fill it to within a centimeter or so of the rim. Wipe off around the rim with a clean cloth, and add the lid tightly. Repeat until all of the jam is in jars.
- Return the jars to the water bath canner and boil for 5 minutes. Remove the jars and let them cool.
- Make sure each lid is concave and properly sealed. If one doesn’t seal, pop it in the refrigerator to use soon. Label each jar with the date and type of jam.
More from Mama Likes To Cook
Check out the rest of my vegetarian recipes, so you can get more great ideas for baking, cooking, blending and juicing.
Blackberry Recipes
Jam Recipes
- Fig Jam
- Kumquat Jam
- Easy 2 Ingredient Grape Jam
- Blackberry Apple Jam
- Strawberry Mango Jam
- Peach Hatch Chile Jam
- Prickly Pear Jam
- Lilly Pilly Jam
Marmalade Recipes
Are you ready to have some delicious fun in the kitchen?
