
Automations
Automate repetitive tasks by defining rules that bulk edit your metadata at scale
Introduction
Automations in Secoda enable Admins to set up rule-based operations that automate routine data management tasks, much like Zapier. This feature significantly saves time by automating updates to metadata and documentation, allowing teams to concentrate on more strategic activities and enhance productivity and accuracy in data management.
To see these in action, check out our document on example use cases here.
Capabilities of Automations
Automations allow users to update a wide range of resource metadata, including:
PII
Tags
Owners (individual Users and User Groups)
Documentation
Descriptions
Subscribers
Status (Published, Draft)
Additionally, Automations can help organize workspace resources by moving them to:
Teams
Collections
Communication with users is also streamlined through Automations, enabling:
Announcements
Emails
Slack messages
Creating an Automation
Turn on Automations
Navigate to the Settings
Under the "Features" section click on "Automations"
Toggle the switch to turn Automations on
Create an Automation
Navigate to Automations in the left sidebar.
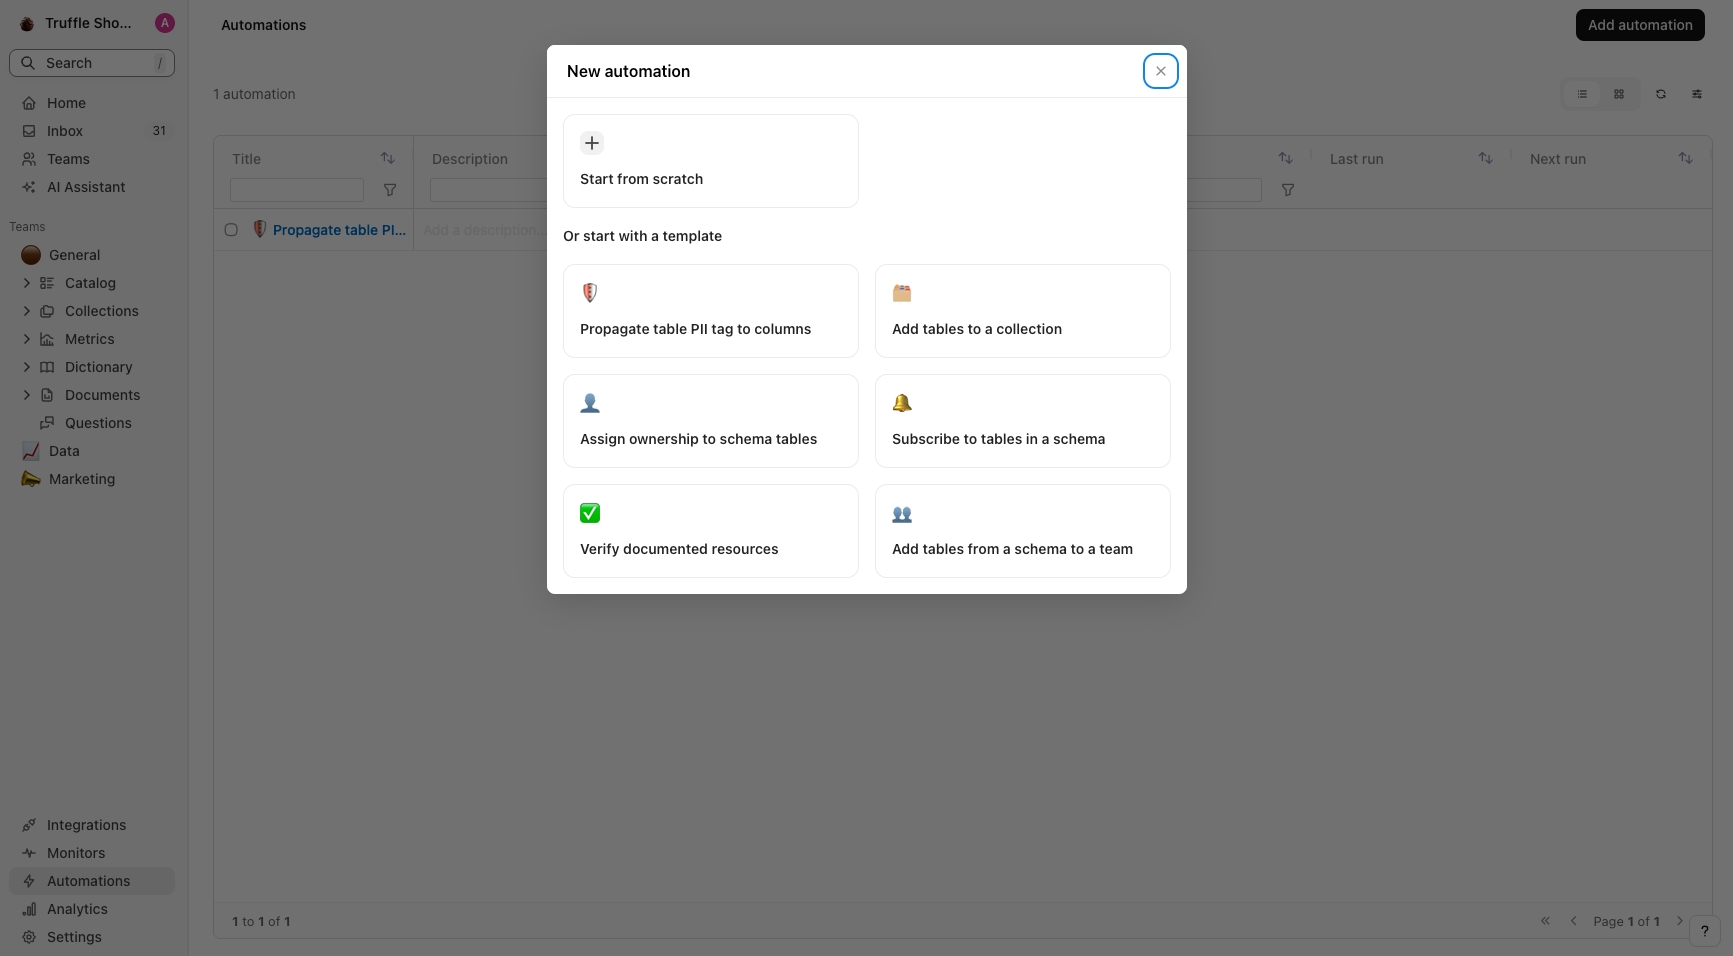
Click "Create automation" to start from scratch or select from a list of predefined templates.
Using a Template: Templates come with pre-configured filters and settings, which can be further customized.
Starting from Scratch: Allows for complete customization from the ground up.
Enter a title for the Automation, for example, "Update tags."
(Optional) Add a description and choose an icon for the Automation to help identify it easily in the future.
Set a trigger
Scheduled: Set Automations to trigger on a specific schedule (hourly, daily, weekly) on a particular day and time, or use a cron expression for more granular schedules.
Schema Changes: Automations trigger when changes are made to the specified schemas in the source (ex. a column has been added to a table).

Configure Filter Rules
Click "+ Add Action" and select "Filter resources" to begin adding filters.
Select filters and define the filtering logic
To add more filters, click "Add Filter" and select Match "All filters" or "Any filters" to apply AND or OR logic across filters.
(Optional) Add an additional Filter Group by selecting "+" icon in the top right and choosing between AND or OR logic by using the Match "All rules" or "Any rule".

Define Actions
Select "+ Add Action" to select the actions or metadata properties to update. Choose from the following actions:
Edit resources:
Use the 'Resources' button to specify the scope of resources affected (resources, parent, children).
Click '+Add Property' to choose which metadata properties to update.
Send announcement:
Select recipients and craft the messaging for an Inbox announcement.
Send email:
Select recipients and craft the messaging for an email.
Send Slack message:
Select Slack channels and compose the message to be sent.
Propagate metadata:
Specify the scope of resources to propagate metadata to relative to the filtered resources set earlier (Child resources, Parent resources, Resources with the same name).
Specify the level of which you'd like to propagate metadata to: 1-4.
For Editing & Propagating Metadata: Choose whether or not you'd like to Override existing metadata with these actions, using the toggle.

Run the Automation
In the top right, choose 'Turn on automation' to activate.
(Optional) Use the three dot menu to 'Delete' the Automation.

Last updated
Was this helpful?