This Rajma recipe is a lightly spiced, creamy and delicious Punjabi style curry made with protein rich kidney beans, aromatics like onions, ginger, garlic, fragrant spices and tangy tomatoes. My Mom’s recipe for restaurant-style Rajma Masala is a staple in our home, and after you try it I’ll bet it becomes one at yours, too. I have also shared a homestyle one pot Punjabi Rajma Chawal that will remind you about the comforting and satisfying Rajma made in Punjabi homes.

What is Rajma
Rajma is the Hindi word for Kidney Beans. However, this delicious vegetarian curry is so popular that the recipe has become synonymous with the bean. Both the beans themselves and this dish that features them are known as Rajma.
Another name for this yummy and satisfying dish is Rajma Masala, which translates to “red kidney beans in spiced gravy.”
Whatever you call it, you’re sure to love these melt-in-your-mouth rajma beans and the creamy spiced curry that accompanies them.
Table of Contents
Rajma Varieties
Let me tell you that are many varieties of kidney beans available in the Indian market. From the deep dark maroon red rajma to the lovely to look at streaked colored bean, the small white colored kidney beans and the unique black rajma. The size of these beans also varies from small to medium to large.
I usually make rajma recipe with the Chitra Rajma variety as you will see in the step-by-step photo guide below. These are cream or light pink colored beans with speckles or streaks of maroon color drawn on them.
Photo of Chitra Rajma below.
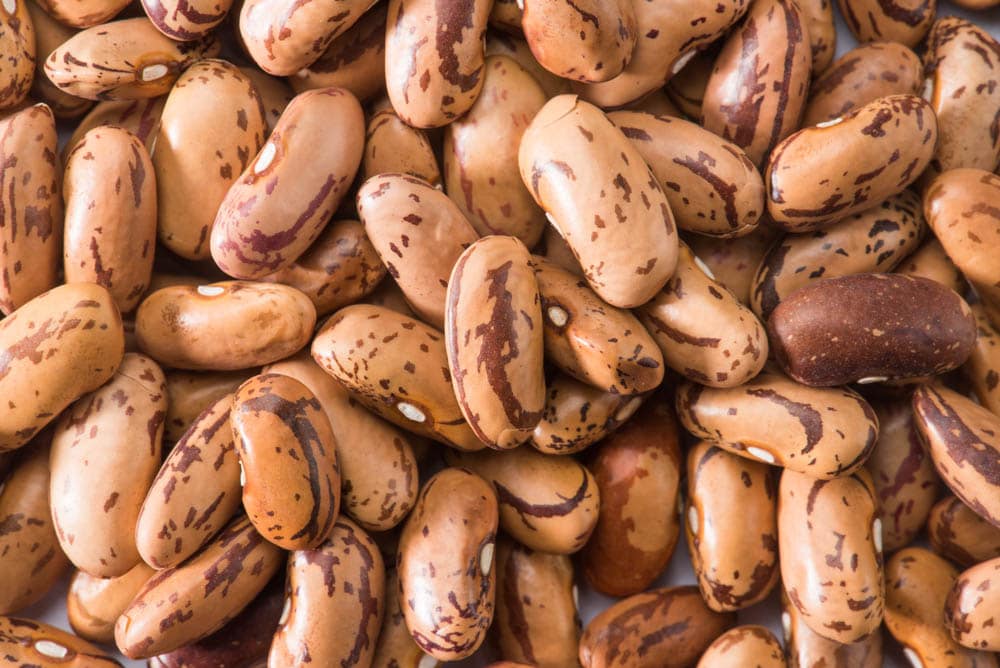

In Hindi, the word ‘Chitra’ means a drawing or a picture and hence this name. These are also called Speckled Kidney Beans and have a nice soft melt-in-the-mouth texture once cooked.
To make these recipes you can choose any variety of rajma that is available to you. But make sure to cook them perfectly as the cooking time will vary with the variety and kind of bean you use. And also remember to presoak them before you begin cooking.
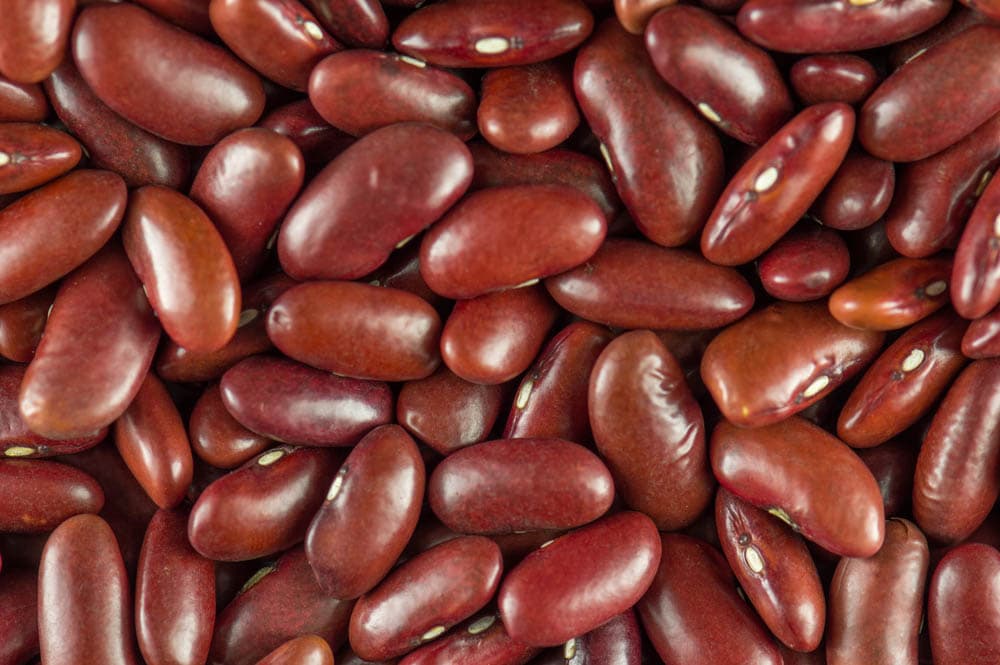
Red colored rajma also works well, but my experience with this variety of rajma is that these take a long time to cook and sometimes simply do not become perfectly tender and soft.
Photo of Red Rajma below.

Why You Will Love This Rajma Recipe
This rajma recipe follows the traditional (and the most common method) of making the kidney bean curry. So long as you follow the recipe, there’s no chance anything will go wrong with this simple and delectable dish.
In this easy rajma recipe, the kidney beans are pressure cooked first and are later added to a sautéed base of spices, onions and tomatoes. The result is a tangy, flavorful and spiced curry with the melt in the mouth beans.
I prefer working with dried kidney beans because they are both cheaper than canned and give me the opportunity to cook and season them to my liking.
Moreover I always prefer and recommend to use fresh ingredients for a healthy living. That said, you can also make this recipe using canned beans as a time saver!
The aromatic and flavorful masala base is cooked down to a beautiful curry consistency by adding some water, and then is finished off with some cream.
Adding cream makes for a truly restaurant-style rajma masala that is decadent enough and pairs greatly with some Naan or Roti.
Rajma is usually a weekend affair that is perfect for a Sunday lunch at home. When I make this filling recipe I stay true to the Punjabi style and don’t bother with any other side dishes.
When you have rajma (red beans) and rice, do you really need anything else? Aside from some naan to soak up all the extra gravy, nothing!
In fact, serving beans with rice creates a full protein, which can sometimes be difficult to achieve as a vegetarian or vegan.
So not only is rajma served with rice, tasty and inexpensive, it is also quite healthy and wholesome! So now that you know about this traditional Punjabi dish of rajma recipe, let’s get to cooking it, shall we?
How to Make Rajma Masala
My detailed step-by-step process will help you in making the best rajma recipe ever.
While I have cooked the beans in a pressure cooker, they can also be easily cooked in a pan or an Instant pot. In the recipe card below, I have listed the steps of cooking the beans using all three methods.
Soak Beans
1. Sort dried beans and discard any misshapen or discolored beans. Rinse a couple of times, and then soak 1 cup rajma (kidney beans) in enough water to cover them.
Soaking should ideally last for 8 to 9 hours, so I usually soak them the night before I cook.
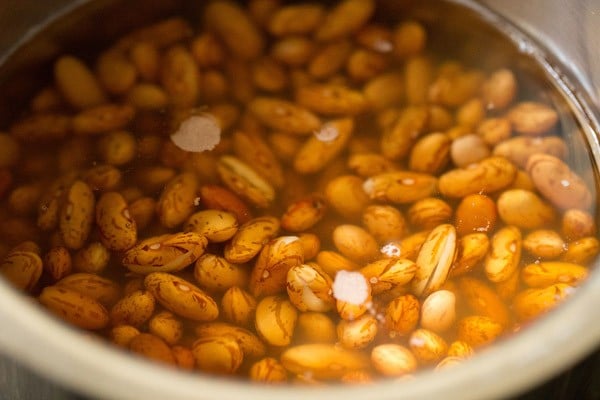

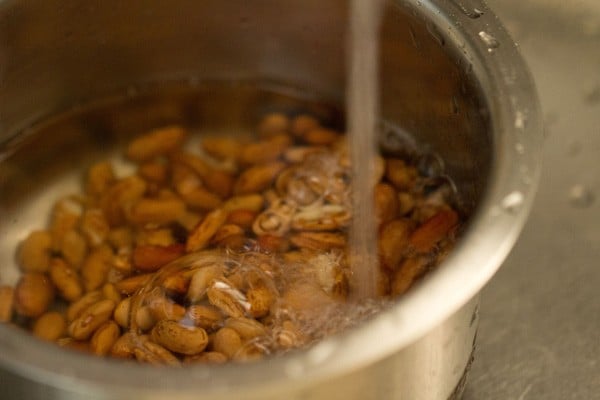
2. Once the beans are well soaked, discard the soaking water. Drain and rinse the soaked beans a few times to remove any leftover grit, if any.

Cook Beans
3. Add the rinsed and drained kidney beans to a 3 litre stovetop pressure cooker.
If you do not have a stovetop pressure cooker, cook the beans in a pot or pan or the Instant Pot. Add water as needed while cooking. (Details mentioned below in the recipe card).
When Using Canned Kidney Beans
To make things easier, opt for canned kidney beans. When using canned beans, drain the liquids, rinse the beans a few times in water using a strainer.
Drain the water and add the canned beans to the prepared curry base and simmer for a few minutes until the beans are warmed or heated through.
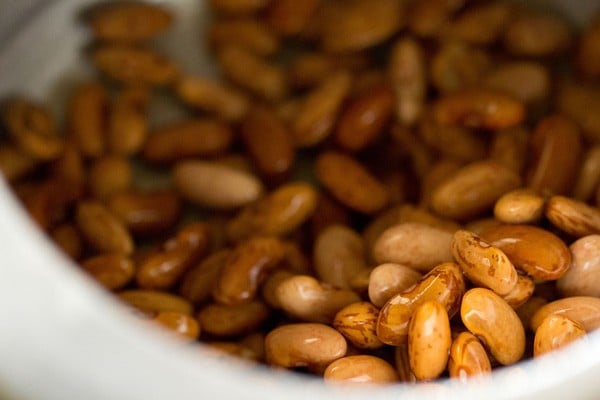

4. Add 3.5 to 4 cups of water and stir. Pressure cook the rajma for 18 to 20 whistles (or for about 15 to 20 minutes).
The cook time of your beans will vary depending on their quality and age.
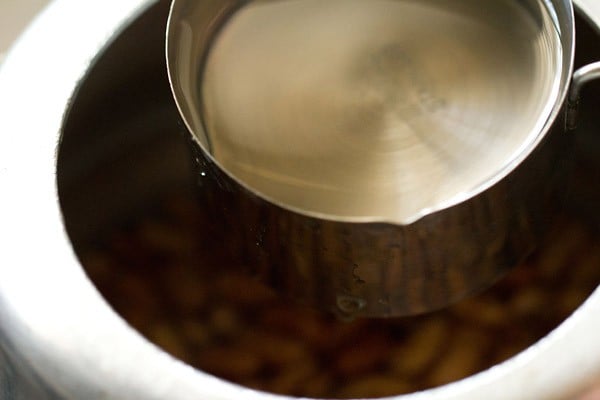

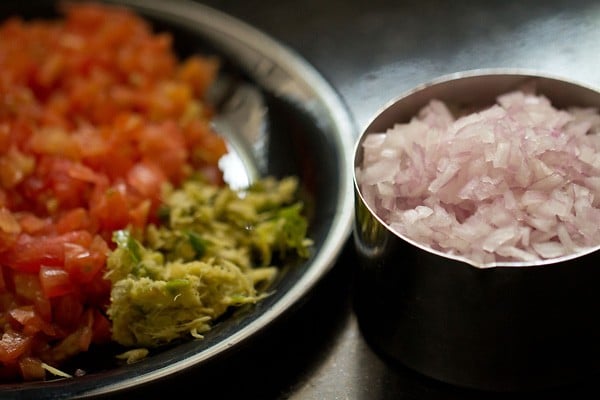
5. While the kidney beans are cooking, prep the following:
- chop 1 large onion (¾ to 1 cup finely chopped onion)
- 2 large tomatoes (1 cup finely chopped tomatoes)
- make the crushed ginger+garlic+green chili paste
For the paste, you need to crush or grind 1 inch ginger, 5 to 6 small garlic cloves (or 3 to 4 medium garlic cloves), and 1 to 2 green chilies to a paste in a mortar-pestle or a small grinder.

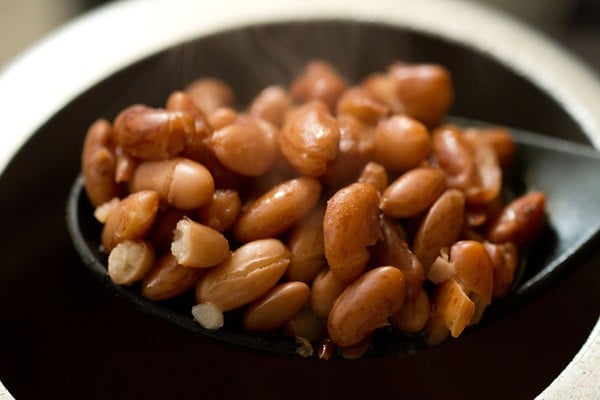
6. When the pressure settles down on its own and naturally drops in the cooker, then only open the lid.
Check if the rajma is cooked or not by eating or pressing a few beans with your fingers. The cooked beans should not have a bite to them and must be softened.
The rajma beans should be completely cooked and have a melt in the mouth texture. They should not be al dente or having a slight bite to them.
If they are not cooked completely, then pressure cook again (adding some water if needed) for a few more minutes.

Make Masala Base
7. Heat either 3 tablespoons of butter (or 2 tablespoons butter + 1 tablespoon oil), in another pot or pan or kadai. Keep the heat to low or medium-low.
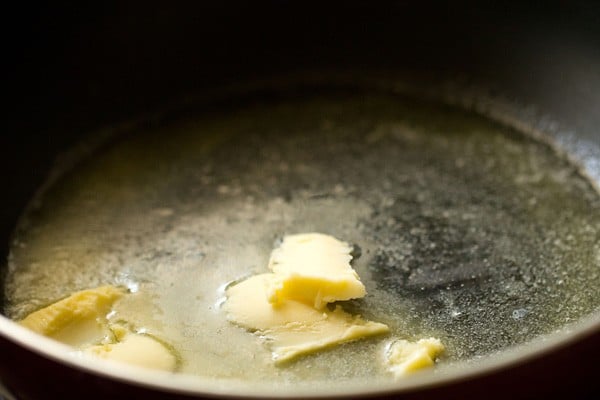

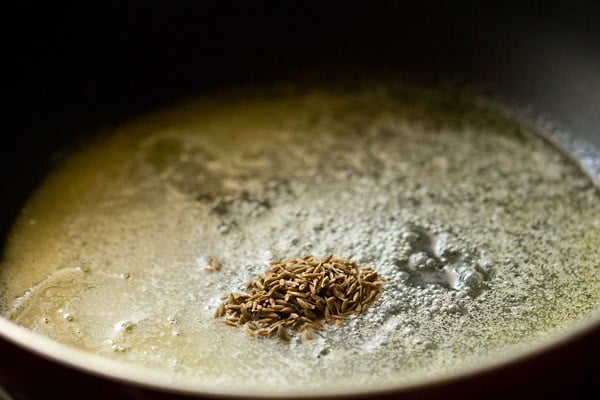
8. Add ½ teaspoon cumin seeds first and let them crackle and get browned.

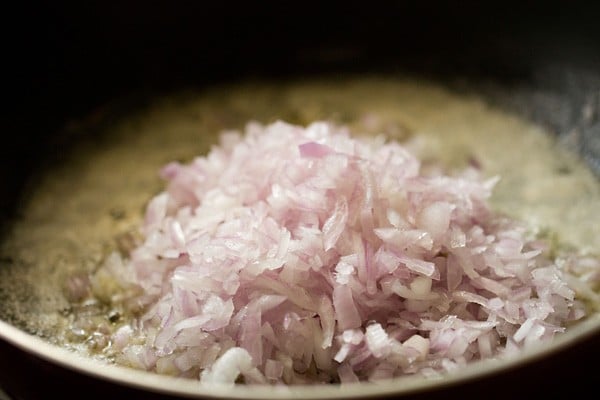
9. Then add the finely chopped onions.

10. Stir and begin to sauté them on medium-low to medium heat.
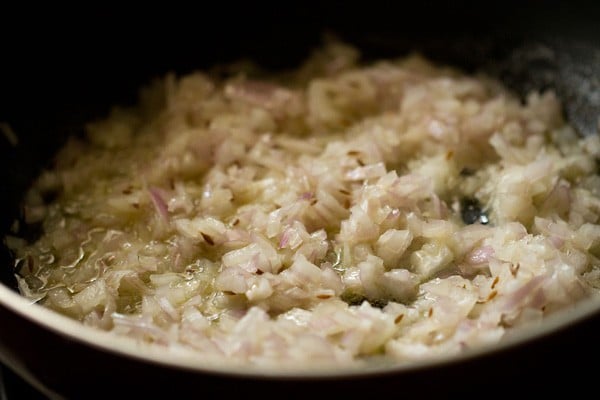

11. Keep on stirring the onions while sautéing them. This will ensure both uniform cooking and also that they don’t get burnt.
Take care not to burn the onions, as this will impart bitter tones to the rajma curry.
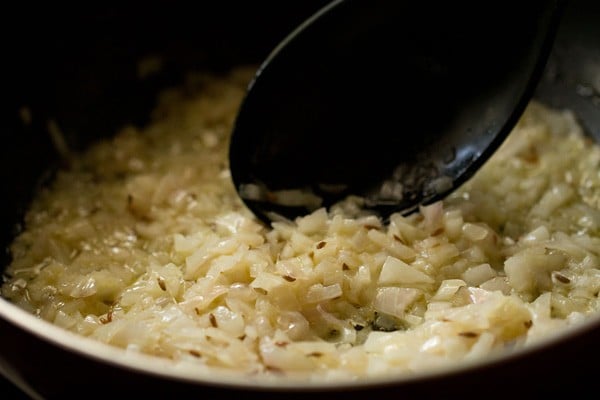

12. Light browning of the onions is also fine.
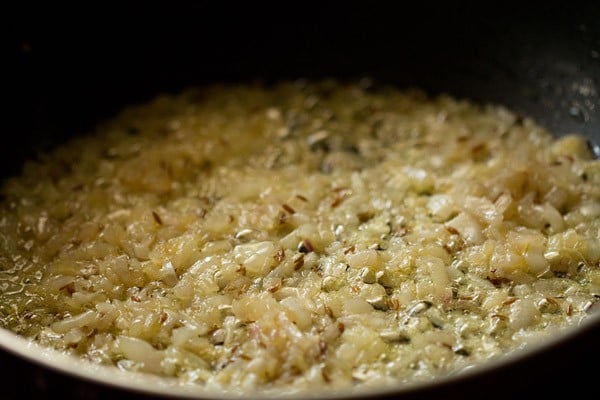

13. Sauté the onions till they are caramelized and golden brown.
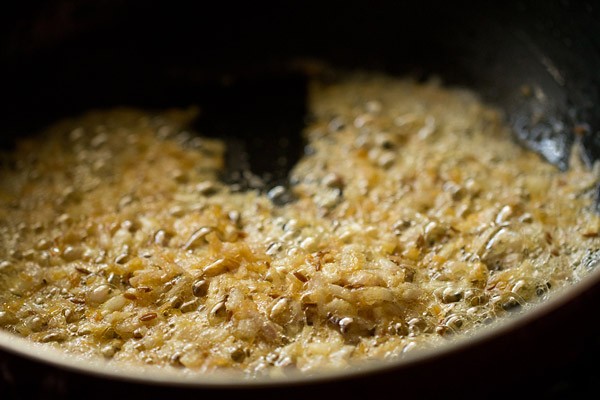

14. Lower the heat and add the crushed ginger-garlic-chilli paste.
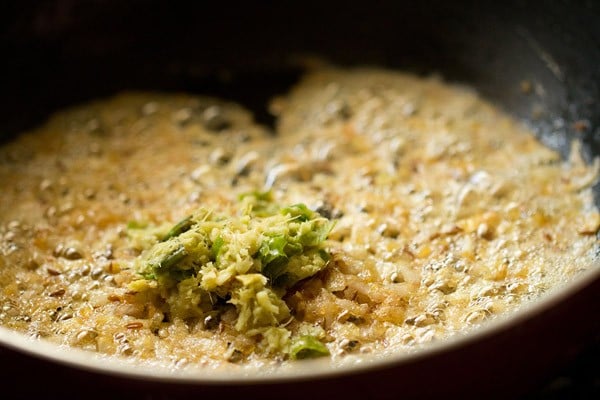

15. Stir and sauté for 5 to 10 seconds on a low heat or until the raw aroma of ginger-garlic goes away.
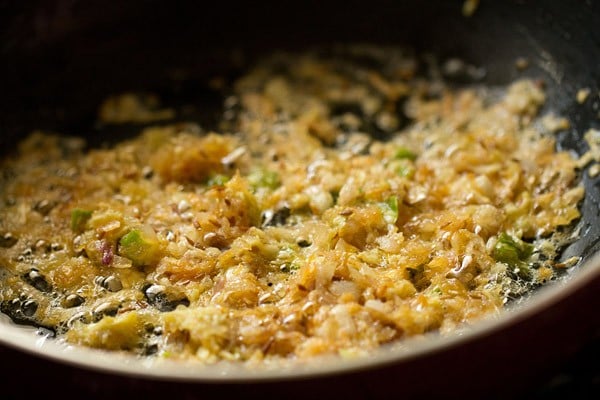

16. Add the finely chopped tomatoes.
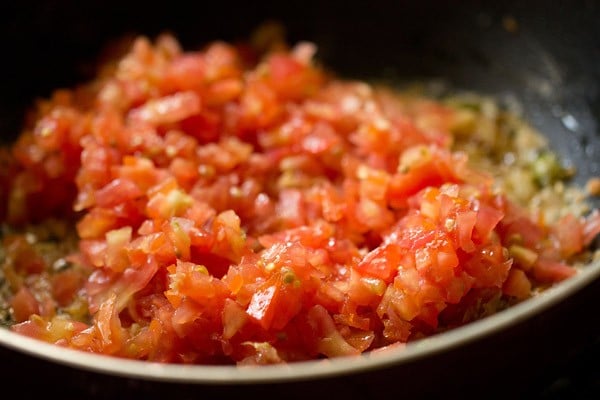

17. Mix very well.
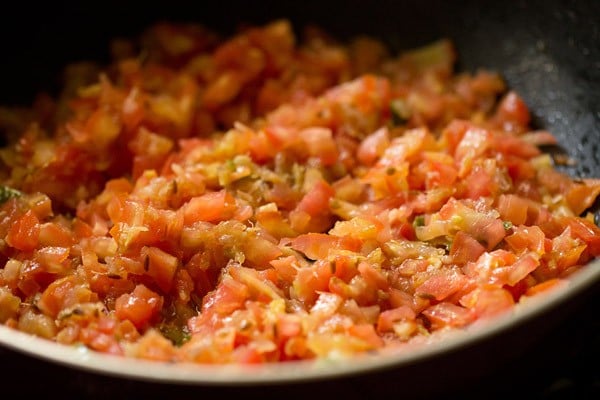

18. Sauté for 2 to 3 minutes until the tomatoes become soft on a medium-low to medium heat.
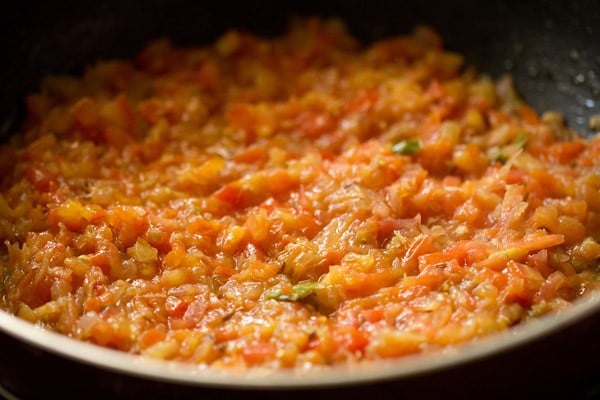

19. Add all the spice powders one by one:
- ¼ teaspoon turmeric powder
- ½ teaspoon red chilli powder (or cayenne pepper or paprika)
- 1 teaspoon coriander powder
- a pinch of asafoetida (hing)
- ½ teaspoon garam masala powder.
Note: If you are gluten free, be sure to source certified gluten free asafoetida, as many commercial brands process the spice with wheat.
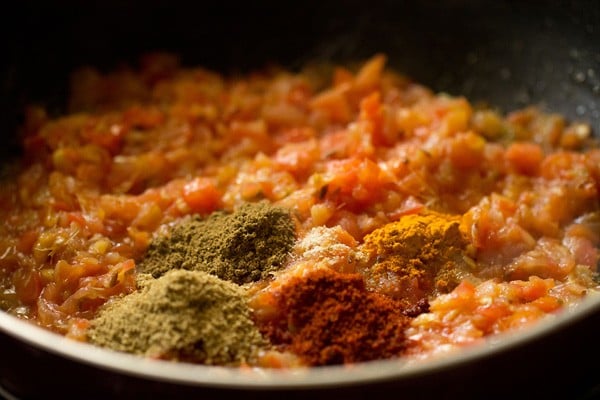

20. Mix again very well.
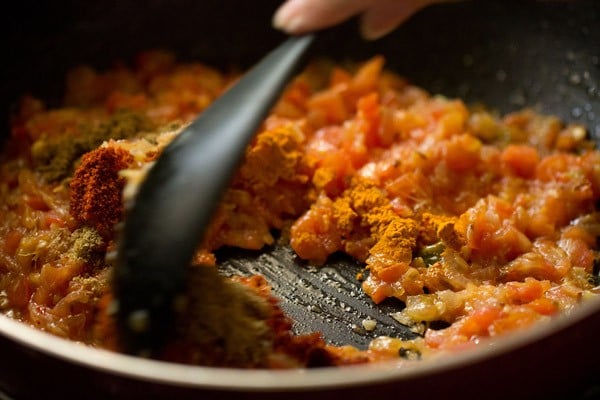

21. Continue to sauté the whole masala base until the fat starts leaving the sides of the masala on a medium-low heat.
The onion tomato masala will thicken, become glossy and start clumping around itself.
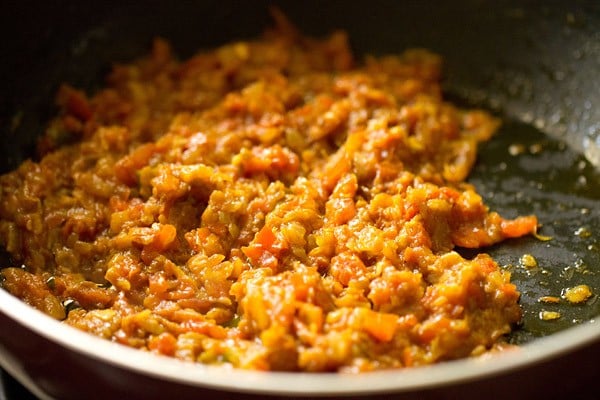

Make Rajma Masala
22. Use a slotted spoon or a strainer, remove the rajma beans from their cooking liquid and add them to the masala.
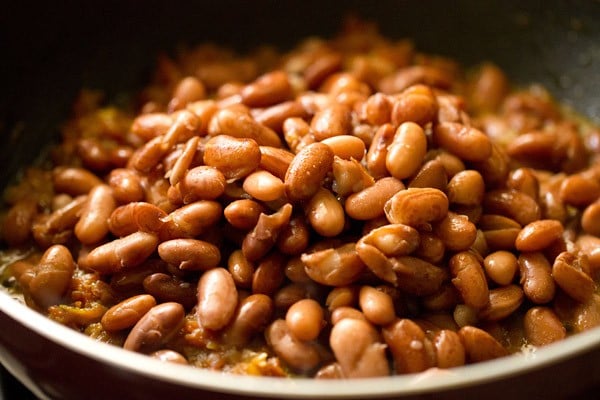

23. Stir and sauté for a minute.
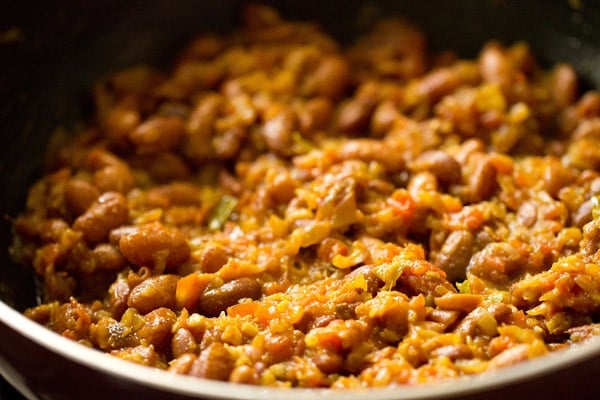

24. Add 2 cups of the fresh water to the pan. If you like then you can also add the cooked rajma stock instead of fresh water.
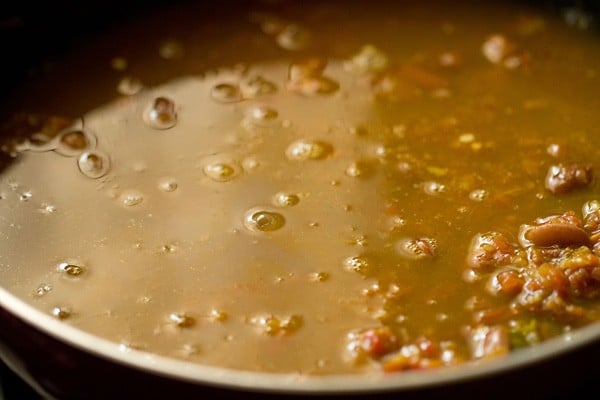

25. Add salt as required.
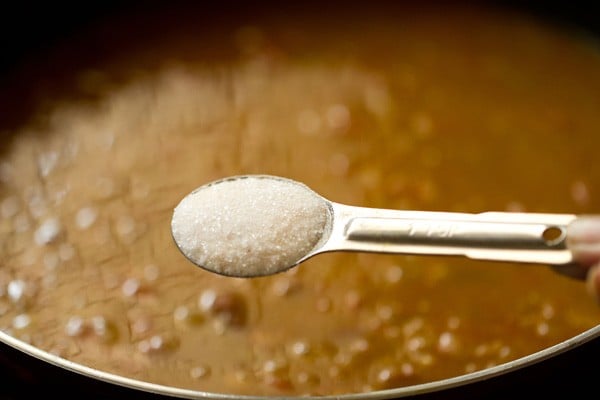

26. Stir the entire rajma curry mixture.
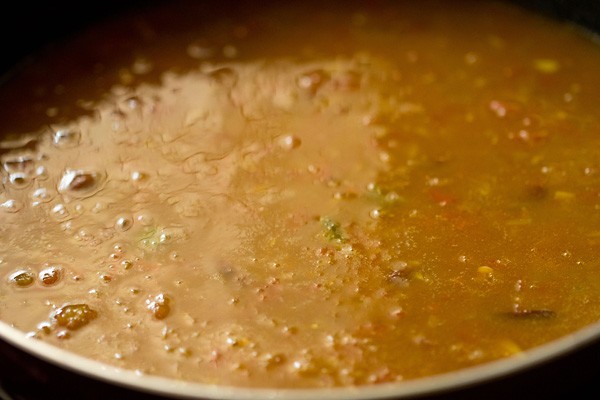

27. On a low to medium-low heat, simmer without a lid for 10 to 12 minutes or more until the curry thickens slightly. The rajma curry should not be watery.
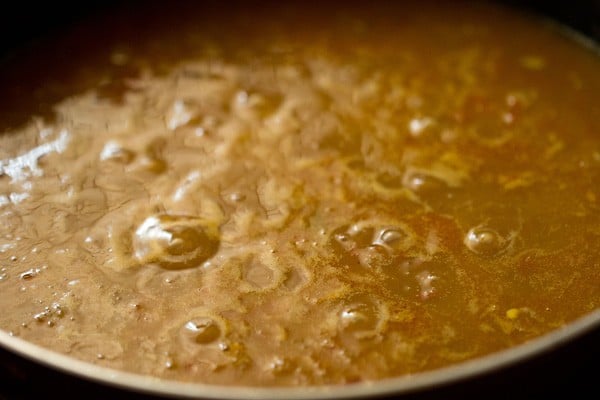

28. Mash a few rajma beans with the back of your spoon. This helps to thicken the consistency.
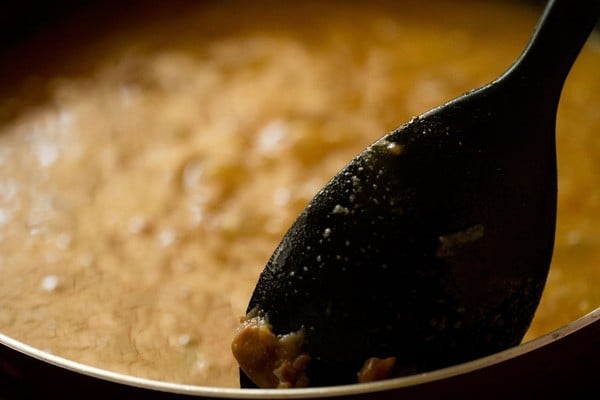

29. Continue to simmer until you get a medium consistency in the curry.
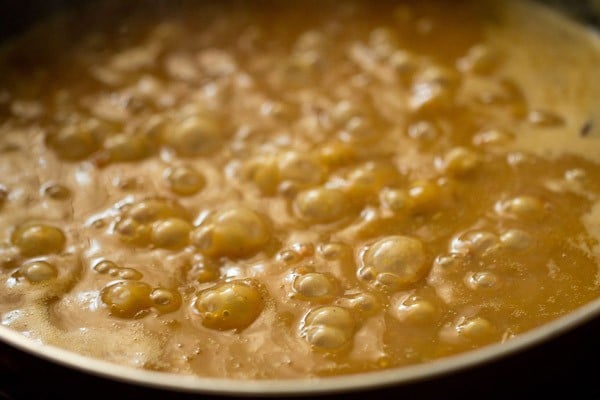

30. Continue stirring at intervals when the rajma masala is simmering.
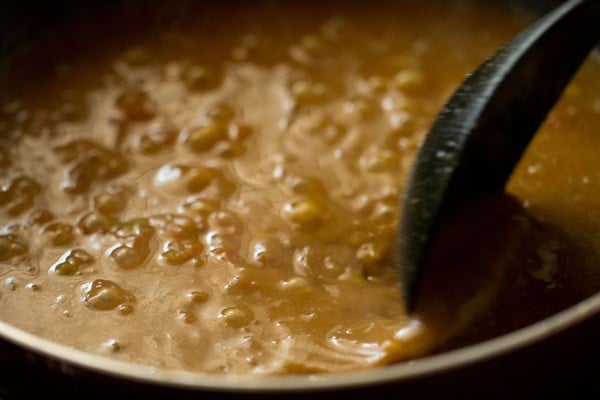

31. The Punjabi rajma masala has to thicken and the curry has to be of the right consistency, which is neither too thick nor thin.
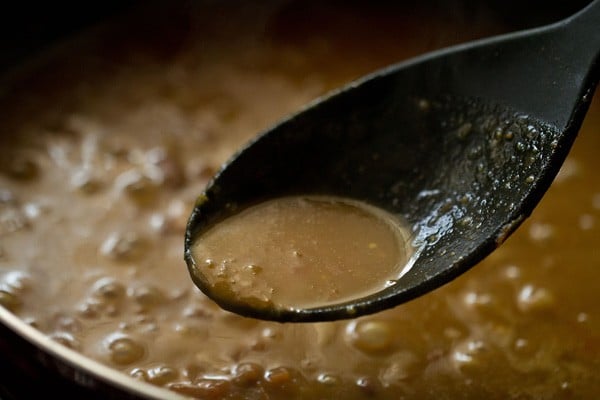

32. Once the consistency is right, add 1 teaspoon crushed kasuri methi (dry fenugreek leaves) and 2 to 3 tablespoons light cream.
If using heavy whipping cream, then just add 1 tablespoon of it. Mix very well and simmer for 30 seconds to 1 minute.
Adding cream is optional and you can easily skip it. Addition of cream gives some richness to the curry making it taste restaurant style and balances the tang from the tomatoes.
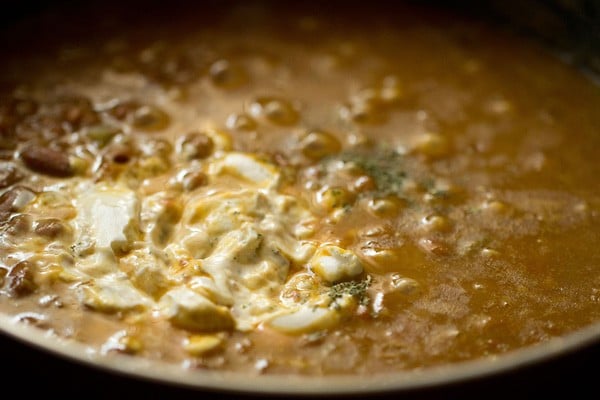

33. Turn off the heat.
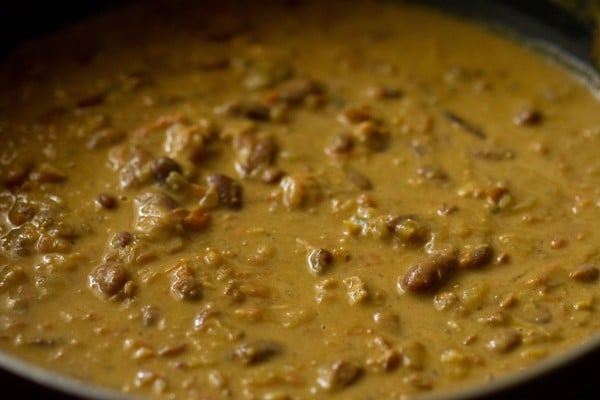

Serving & Storage Suggestions
34. Serve your completed rajma masala with steamed basmati rice, jeera rice, saffron rice, Roti, paratha or naan. The combination of rajma and rice is quite famous in North India.
You can garnish with some coriander leaves for some fresh flavor and color when serving. You could even add some ginger julienne as a garnish.
It is best to consume the kidney bean curry the day it is prepared. But if you have any leftovers, then store it in an airtight container in the refrigerator for a day.
The curry consistency will thicken after cooling, so add a bit of water while warming or heating it up to loosen the consistency.


Expert Tips
- Be sure to soak your dried beans! It is important to soak the rajma (kidney beans) overnight or for 8 to 9 hours and then cook them really well. Dried beans when soaked become more easy to digest as soaking reduces the phytic acid in them. The phytates present in beans cause indigestion and flatulence. Soaking also helps the beans to cook faster.
- Cook your rajma well! While making recipe with kidney beans, they have to be cooked really well. They should melt in your mouth when you bite into them offering no resistance. This is a very crucial and the most overlooked aspect of cooking rajma. Even in restaurants, the beans have a bite in them and this not only ruins the texture in the dish but also affects your stomach.
- Opt for high quality rajma beans. Always buy rajma beans which are new and not old. Older beans take a lot of time to cook and you don’t get the perfect texture in the rajma. I always check the packaging date while buying them and I don’t buy rajma if they are older than 5 to 6 months.
- If you’re short on time, use canned beans! When using canned kidney beans, add them at the step where cooked beans are added. Add fresh water and continue to simmer for some minutes until the consistency thickens. You can use two 15 oz canned kidney beans.
- Gluten-free variation: To make this rajma recipe gluten-free, skip the asafoetida (hing) or use gluten free asafoetida.
- Vegan variation: Instead of butter, use oil and skip the cream completely. Alternately, you can opt to use a vegan butter and coconut cream if you prefer a richer curry. The flavors of coconut will be felt in vegan rajma recipe but it will taste good.
Your Questions Answered
I forgot to soak the kidney beans – now what I should do?
You have two options. One is a method known as a “quick soak.” Pour boiling water over your kidney beans to cover them, cover the bowl and soak for 1 to 2 hours. They should now be ready to rinse, drain and cook.
Alternatively, feel free to opt for using canned beans instead. As the recipe is written, two 15 oz cans should do the trick.
Can I sauté the onions, tomatoes and then pressure cook the rajma?
Yes, you can use this method. Due to the acidity of the tomatoes, the rajma beans *may* not cook well (depending on their freshness). That said, I have tried this way of cooking many times and it works for me when using fresh kidney beans.
How to make a very thick gravy for the rajma masala?
Instead of mashing the cooked beans, you can take about ¼ cup of the cooked beans and grind or blend them with some water to make a fine paste.
Add this paste to the curry base and simmer. The resulting rajma masala will have a thick consistency due to the added starch in the sauce.
How to make rajma masala in the Instant Pot?
Sauté the spices, onions and tomatoes in the steel insert of the Instant Pot using the sauté button.
Add the soaked and drained kidney beans, water and deglaze. Press the pressure cooker button or the chili button and set the time to 30 minutes at high pressure. Wait for natural release.
After 17 to 20 minutes open the lid. Press cancel button and press the sauté button again. Simmer stirring often until the curry thickens. Mash some beans when simmering to thicken the gravy.
How to cook kidney beans in a pot or pan?
First, soak the kidney beans overnight or for 8 to 9 hours. Drain and rinse them with fresh water.
Then in a large pot, take enough water, the soaked kidney beans and salt as required. Cover and cook on medium to medium-high for about 45 minutes to 1 hour, or until the beans are softened.
Keep in mind that the time the beans will take to cook perfectly will depend upon their freshness, age and quality.
FAQs
Usually Punjabi rajma masala is made with the pinkish colored and striped kidney beans, but you can use the dark red kidney beans instead.
1 cup of dried kidney beans yields about 3 cups cooked beans. A 15 oz can makes for 1.5 to 1.75 cups of canned beans. You should therefore use two 15 oz canned kidney beans in the recipe.
Depending on the quality and freshness of the beans, it can take more or less time to cook. Always avoid aged beans as they do not soften and cook well.
Yes. While I find that just 1 to 2 tablespoons offers a velvety consistency that makes this rajma taste like it is from a restaurant, you may omit it if you wish.
Yes, you can skip kasuri methi.
Of course! In Indian cuisine, we generally add asafoetida to lentil or bean dishes, as it can help in digestion. But in this rajma masala recipe, asafoetida is easily skippable.
Yes, you can use canned tomatoes. Use 1 cup of crushed tomatoes.
Yes, you can skip butter. You can also substitute vegan butter if you prefer.
More Awesome Punjabi Recipes!
Paneer Recipes
Paneer Recipes
Dal (Lentils) & Legumes
Chickpea Recipes
Please be sure to rate the recipe in the recipe card or leave a comment below if you have made it. For more vegetarian inspirations, Sign Up for my emails or follow me on Instagram, Youtube, Facebook, Pinterest or Twitter.


Rajma Recipe | Rajma Masala (Restaurant Style)
Ingredients
For pressure cooking
- 1 cup rajma – 200 grams (dried kidney beans), any variety
- 3.5 to 4 cups water – for pressure cooking
- enough water – for soaking rajma
For ginger-garlic-chilli paste
- 3 to 4 garlic cloves – medium-sized
- 1 inch ginger
- 1 to 2 green chillies or 1 to 2 Serrano peppers
Other ingredients
- 2 tablespoons Butter + 1 tablespoon oil or 3 tablespoons butter
- ½ teaspoon cumin seeds
- ¾ to 1 cup onions – finely chopped, 150 grams or 1 large onion
- 1 cup tomatoes – finely chopped, 250 grams or 3 medium or 2 large tomatoes
- 1 teaspoon Coriander Powder (ground coriander)
- ¼ to ½ teaspoon red chili powder or cayenne pepper or hot paprika
- ¼ teaspoon turmeric powder (ground turmeric)
- 1 pinch asafoetida (hing) – optional
- ¼ to ½ teaspoon Garam Masala
- 1.5 to 2 cups water
- salt as required
- 1 teaspoon kasuri methi – crushed, (dried fenugreek leaves) – optional
- 2 to 3 tablespoons low fat cream or half and half or 1 tablespoon heavy whipping cream – optional
- 1 to 2 tablespoons chopped coriander leaves – for garnish, optional
Soaking
- Rinse and soak the rajma (kidney beans) in enough water overnight or for 8 to 9 hours.
- Next day, discard the water and rinse the beans again in fresh water for a couple of times.
- Drain all the water.
Pressure Cooking
- In a 3 litre stovetop pressure cooker, take both the soaked rajma and water.
- Pressure cook on a medium to high flame for 15 to 20 minutes.
- When the rajma is cooking, you can chop the onions, tomatoes etc.
- Crush the ginger, garlic and green chillies in a mortar-pestle to a fine or semi-fine texture. Set aside
- When the pressure drops naturally in the cooker, then only open the lid.
- Check if the rajma beans are cooked or not by taking a bite or pressing a few beans. They should be melt in the mouth and must be completely cooked and tender. The beans should not have an al dente texture or a slight bite to them.
- If the beans are cooked well; set aside or drain the beans.
- If the rajma are not cooked well enough, then pressure cook again adding some water if needed for some more minutes.
Making masala
- Heat oil + butter in another pot or pan on a low heat. Add cumin first and let them crackle & get browned.
- Then add onions and sauté them till they caramelized or golden browned on a medium-low to medium heat.
- Take care not to burn them as this will give bitter tones in the curry.
- Light browning the onions is also alright.
- Keep on stirring the onions while sauteing them, for uniform cooking and also so that they don't get burnt.
- Lower the heat and add the crushed ginger-garlic-chili paste. Stir and sauté for 5 to 10 seconds on a low heat until the raw aroma of the ginger and garlic dissipates.
- Add the finely chopped tomatoes. Sauté for 2 to 3 minutes on medium-low to medium heat until the tomatoes become soft.
- Add all the spice powders one by one – turmeric powder, red chili powder, coriander powder, asafoetida (hing) and garam masala powder.
- On a medium-low heat or medium heat stirring often sauté the whole masala mixture until the fat starts leaving the sides of the masala base. This masala paste will become glossy, thicken and leave the sides of the pan.
- Using a slotted spoon or a strainer remove the beans and add them to the masala.
- Stir and sauté for a minute.
Making rajma masala
- Add 2 cups of water. If you prefer you can also add the cooked rajma stock instead of fresh water.
- Add salt as required and stir the whole curry mixture.
- On a low heat to medium-low heat simmer without a lid for 10 to 12 minutes or more time until the curry thickens slightly. It should not be watery.
- Mash a few rajma beans with the spoon. This helps to thicken the curry.
- When the rajma masala has thickened and comes to the right consistency which is neither too thick nor thin, then add the crushed dried fenugreek leaves (kasuri methi) and cream. You can skip the cream if you prefer.
- Stir and simmer for 30 seconds to 1 minute. Turn off the heat.
- Serve rajma masala with steamed basmati rice, jeera rice or naan or roti or paratha. You can garnish with some coriander leaves when serving.
- Rajma paired with either flatbreads or steamed rice makes for a filling, healthy and a comforting meal.
- Soaking kidney beans: Dried beans when soaked become more easy to digest as soaking reduces the phytic acid in them. The phytates present in beans cause indigestion and flatulence. Soaking also helps the beans to cook faster.
- Texture of cooked beans: The rajma beans should be cooked very well and have a melt in the mouth texture. They should not be al dente or just about cooked.
- Quality of kidney beans: Use fresh beans within their shelf-life as older beans take a long time to cook.
- Using canned kidney beans: When replacing with canned kidney beans, add them at the step in the recipe where cooked beans are added. Add fresh water and continue to simmer for some minutes until the consistency thickens. You can add two 15 oz canned kidney beans.
- Gluten-free variation: Omit asafoetida (hing) for a gluten-free recipe.
- Vegan variation: Instead of butter use oil and skip the cream completely.
- Spicing: Spices in the rajma curry can be adjusted as per your taste.
- Note that the approximate nutrition info is for 1 serving of rajma without rice or roti or naan.
- Kidney beans: Dark red kidney beans can be used.
- Ingredients that can be skipped: Asafoetida, dried fenugreek leaves, butter and cream can be skipped completely.
- Canned tomatoes: You can add canned tomatoes instead of fresh. Add 1 cup of crushed tomatoes.
- Sauté the spices, onions and tomatoes in the steel insert of the Instant Pot using the sauté button.
- Add the soaked and drained kidney beans, water and deglaze.
- Press the pressure cooker button or the chili button and set the time to 30 minutes at high pressure.
- Wait for natural release. After 17 to 20 minutes open the lid.
- Press cancel button and press the sauté button again.
- Simmer for some minutes stirring often until the curry thickens. Mash some beans when simmering to thicken the gravy.
- Add the cream and dried fenugreek leaves. Mix and serve garnished with some coriander leaves.
This Rajma recipe from the archives was first published on October 2013. It has been updated and republished on May 2024.





The recipe was simple and easy to make, we loved it 🙂
Loved the recipe .. quantities were perfect .. this is my go to website for any vegetarian recipes ❤️❤️❤️
Thank you and great to know.
Absolutely delicious!!!!!
Thank you.
Super tasting rajma. I have made both the versions and can vouch for their awesome taste and flavor. Thank you madam for sharing both the rajma curries.
Thanks so much.
😋👍
Thanks for sharing the recipes with very easy instructions which can be easily understood by beginners like us.
I want to know the importance of size of pressure cooker? How it affects the cooking?
The size depends on the quantity and amount of food that you need to cook. For a bigger family, a larger sized cooker of 5 or 6 litres and above will be needed and vice versa.
In a smaller sized cooker say 2 litres, the pressure builds up fast on account of the small size. On the contrary in a larger cooker, it does take time for the pressure to build up. I hope this helps.
Can you make this recipe without a pressure cooker?
Yes, but it will take more time for the beans to cook. But can be cooked in a pot or pan.
Hi Dassana
Your Rajma recipe is realy amazing. I tried it. Its very delicious. Thanks for sharing
Thanks so much.