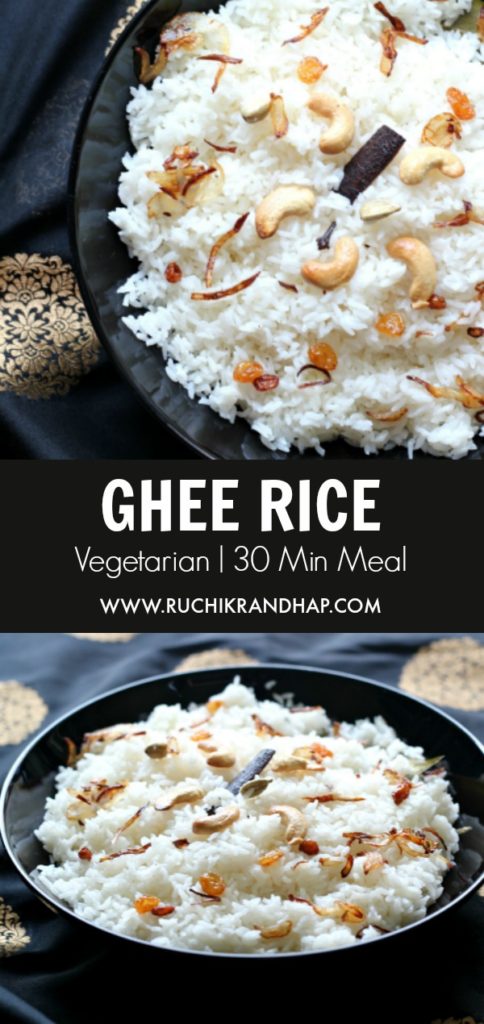
Ghee rice is one of the simplest dishes that anyone with basic cooking skills should learn to make. This recipe should also be in the kitchen survival kit handed over by mums (or dads) to their kids when they move out of home. This basic recipe is so easy to cook and yummy to eat and can really become a part of many other recipes that you will cook in the future. A simple biryani can be put together if you make a good meat/chicken curry and assemble it with the ghee rice. A few fried onions, nuts and chopped coriander go on top for that pretty garnish and you can have a quick biryani in less than an hour. Ghee rice is generally served on the menu in most weddings and other parties in Mangalore as it pairs very well with anything on the side. A veg or non veg curry, a dry dish, a chutney or relish.I generally like to prepare it when I am in the mood to serve something better than plain rice but nothing over the top or too fancy, so ghee rice fits the bill perfectly.
This recipe has been sitting in my drafts since ages. I must have shot these pictures at least 8-9 months ago. Not sure why I didn’t post it. I realised that I hadn’t posted a good recipe in months, so here it is. There won’t be much of my banter today, so let’s head straight to the recipe!
Save this recipe on Pinterest and do follow me there!
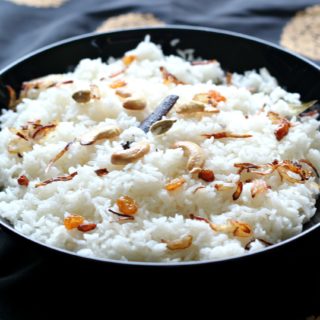
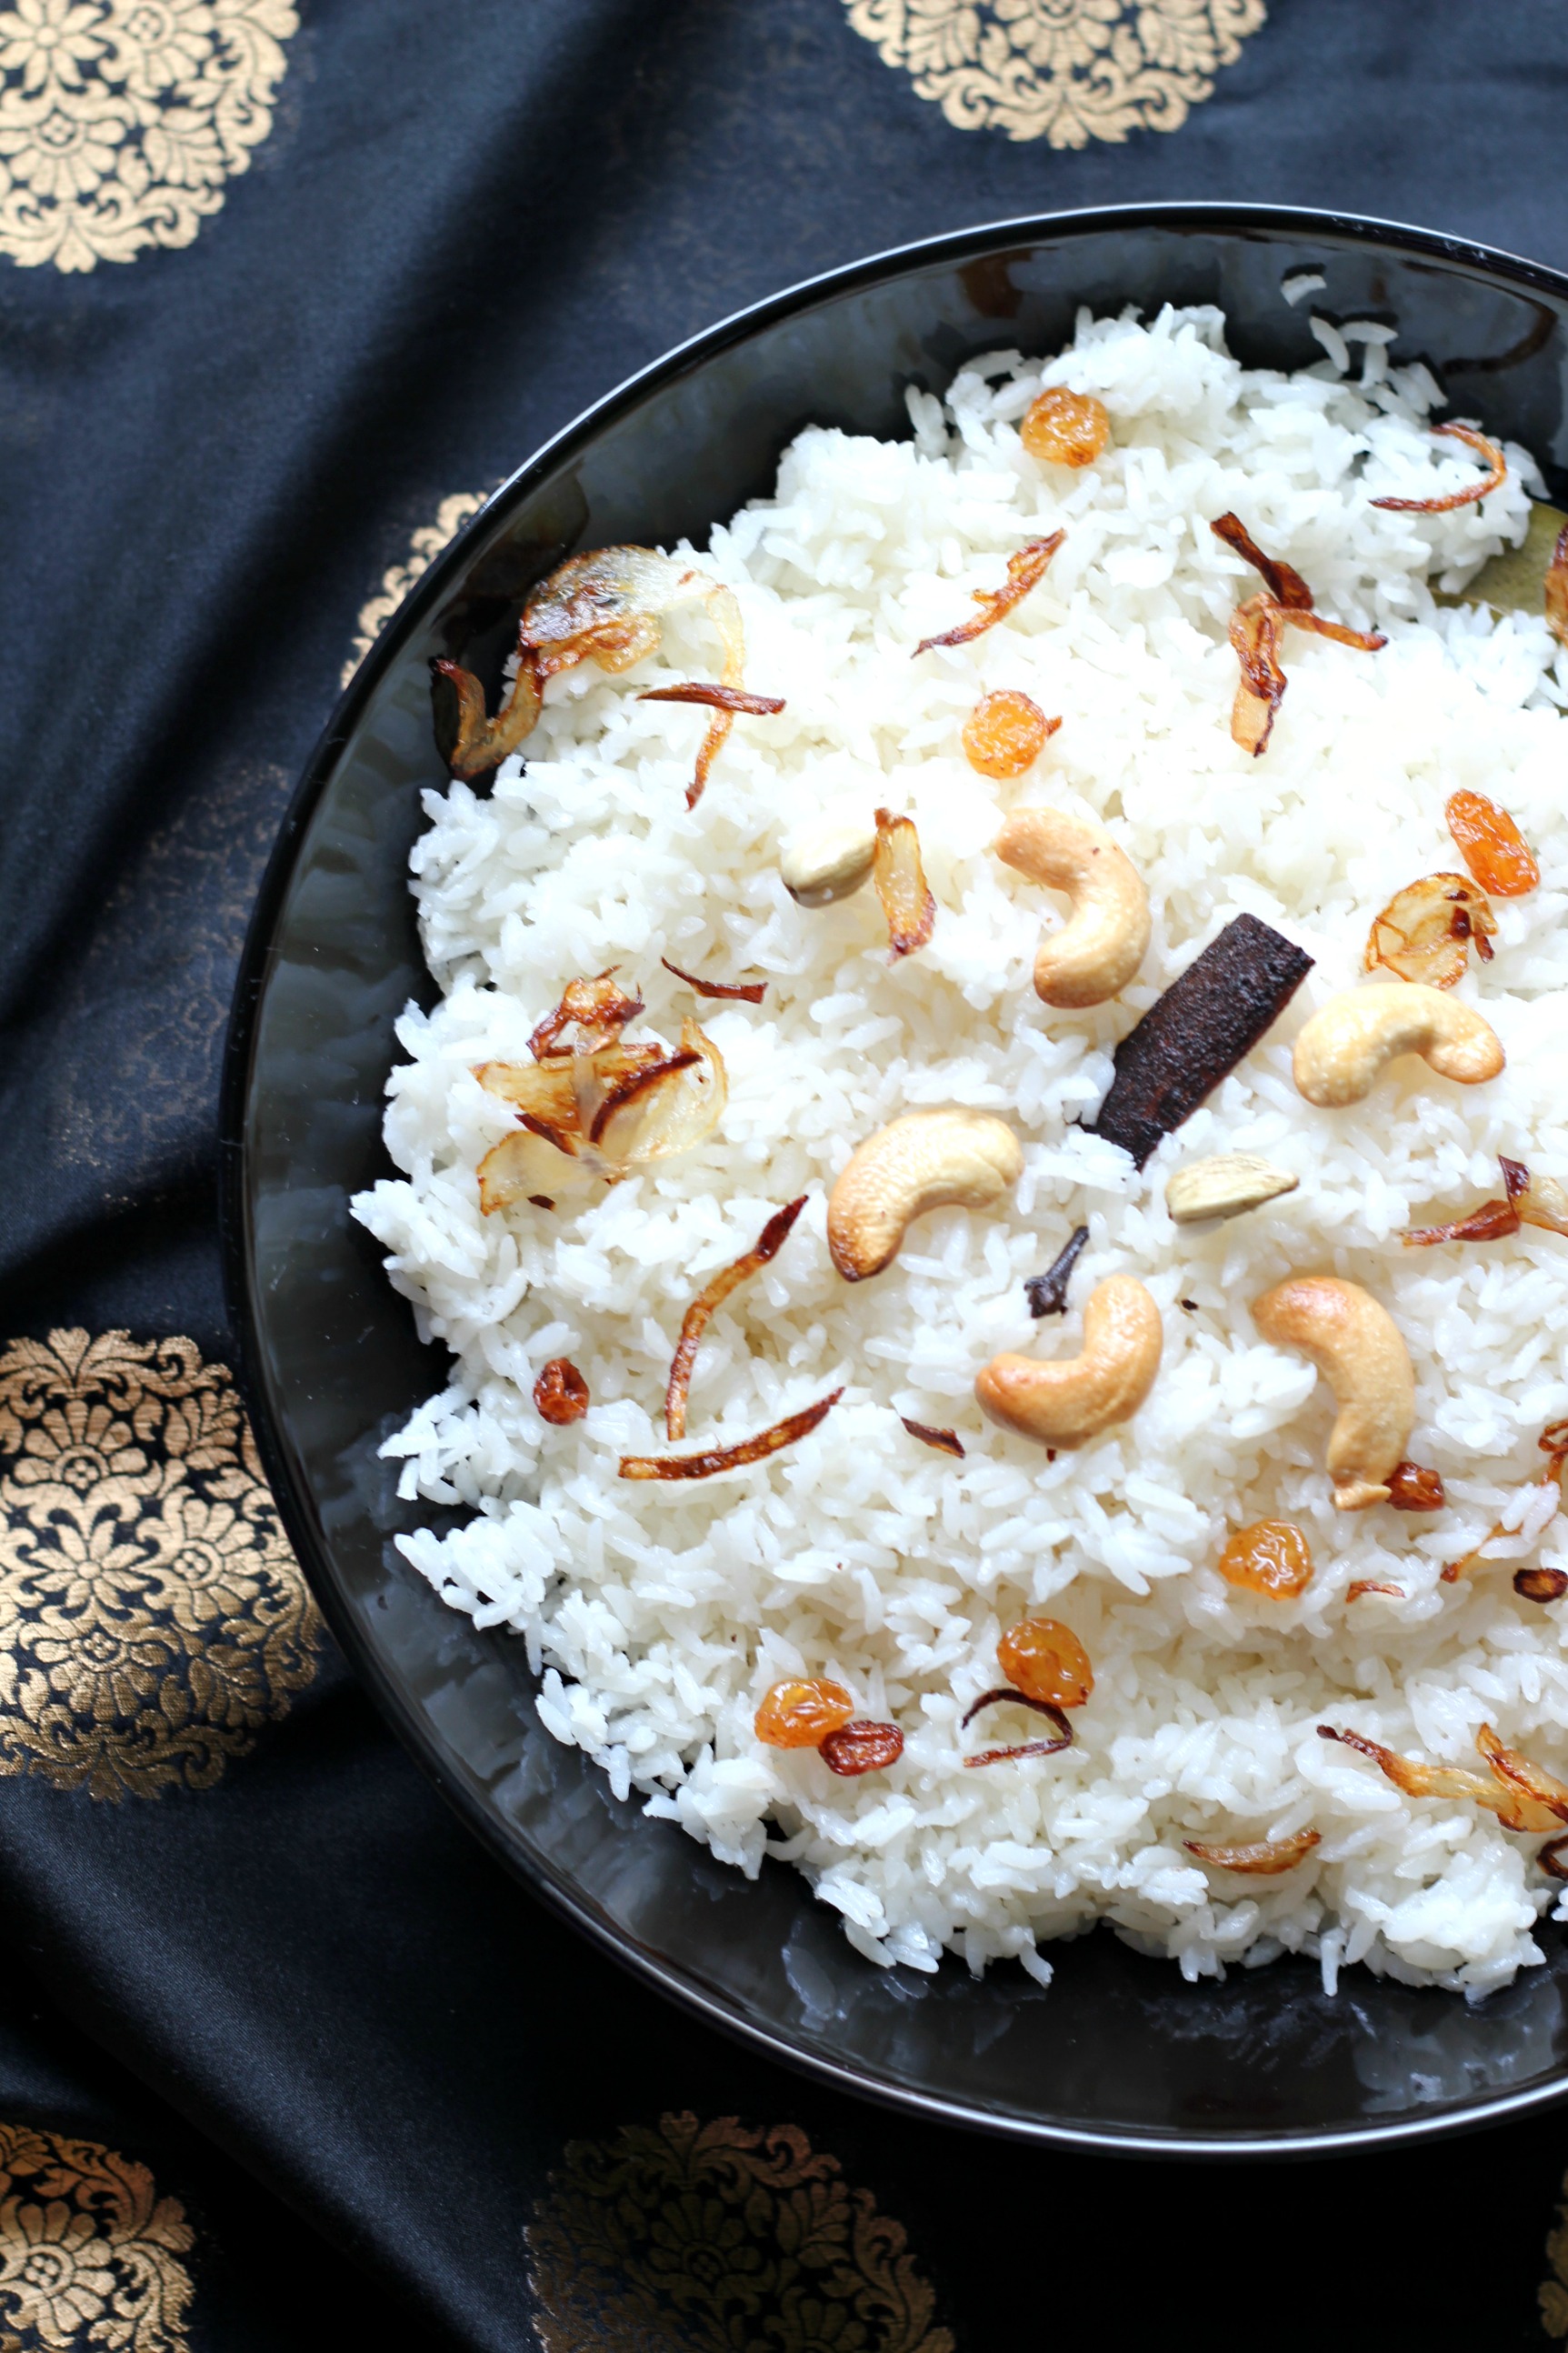
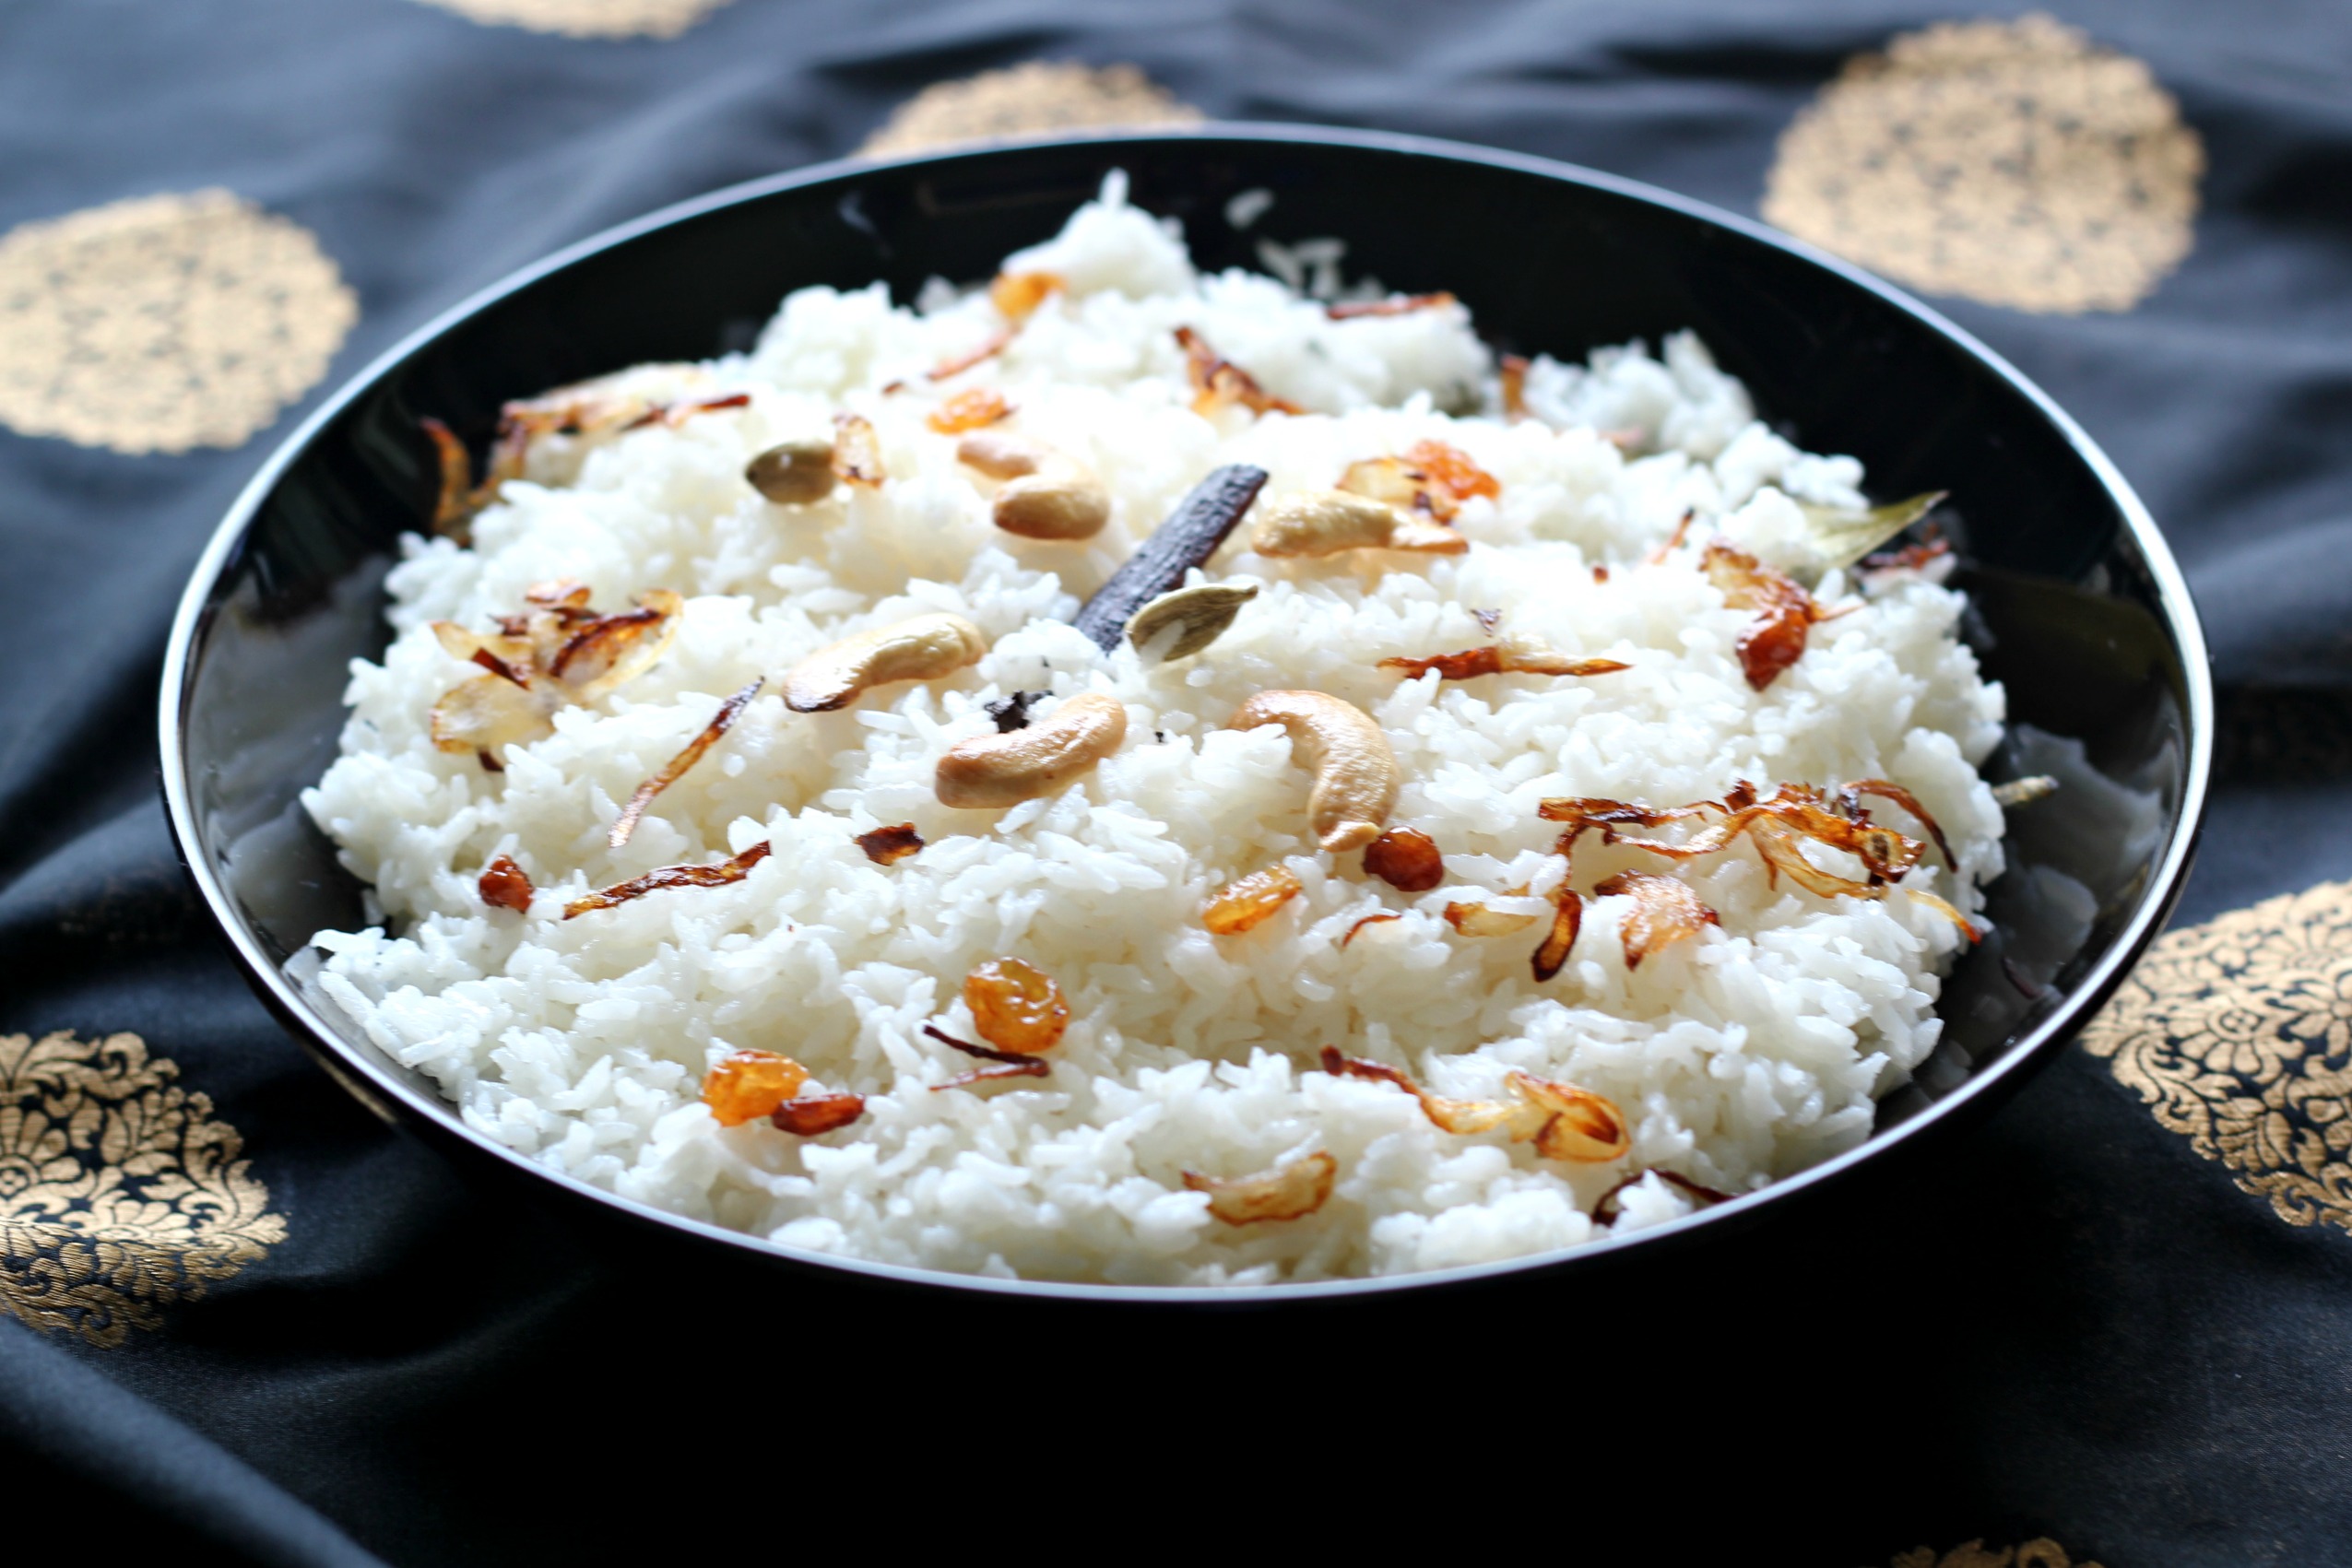
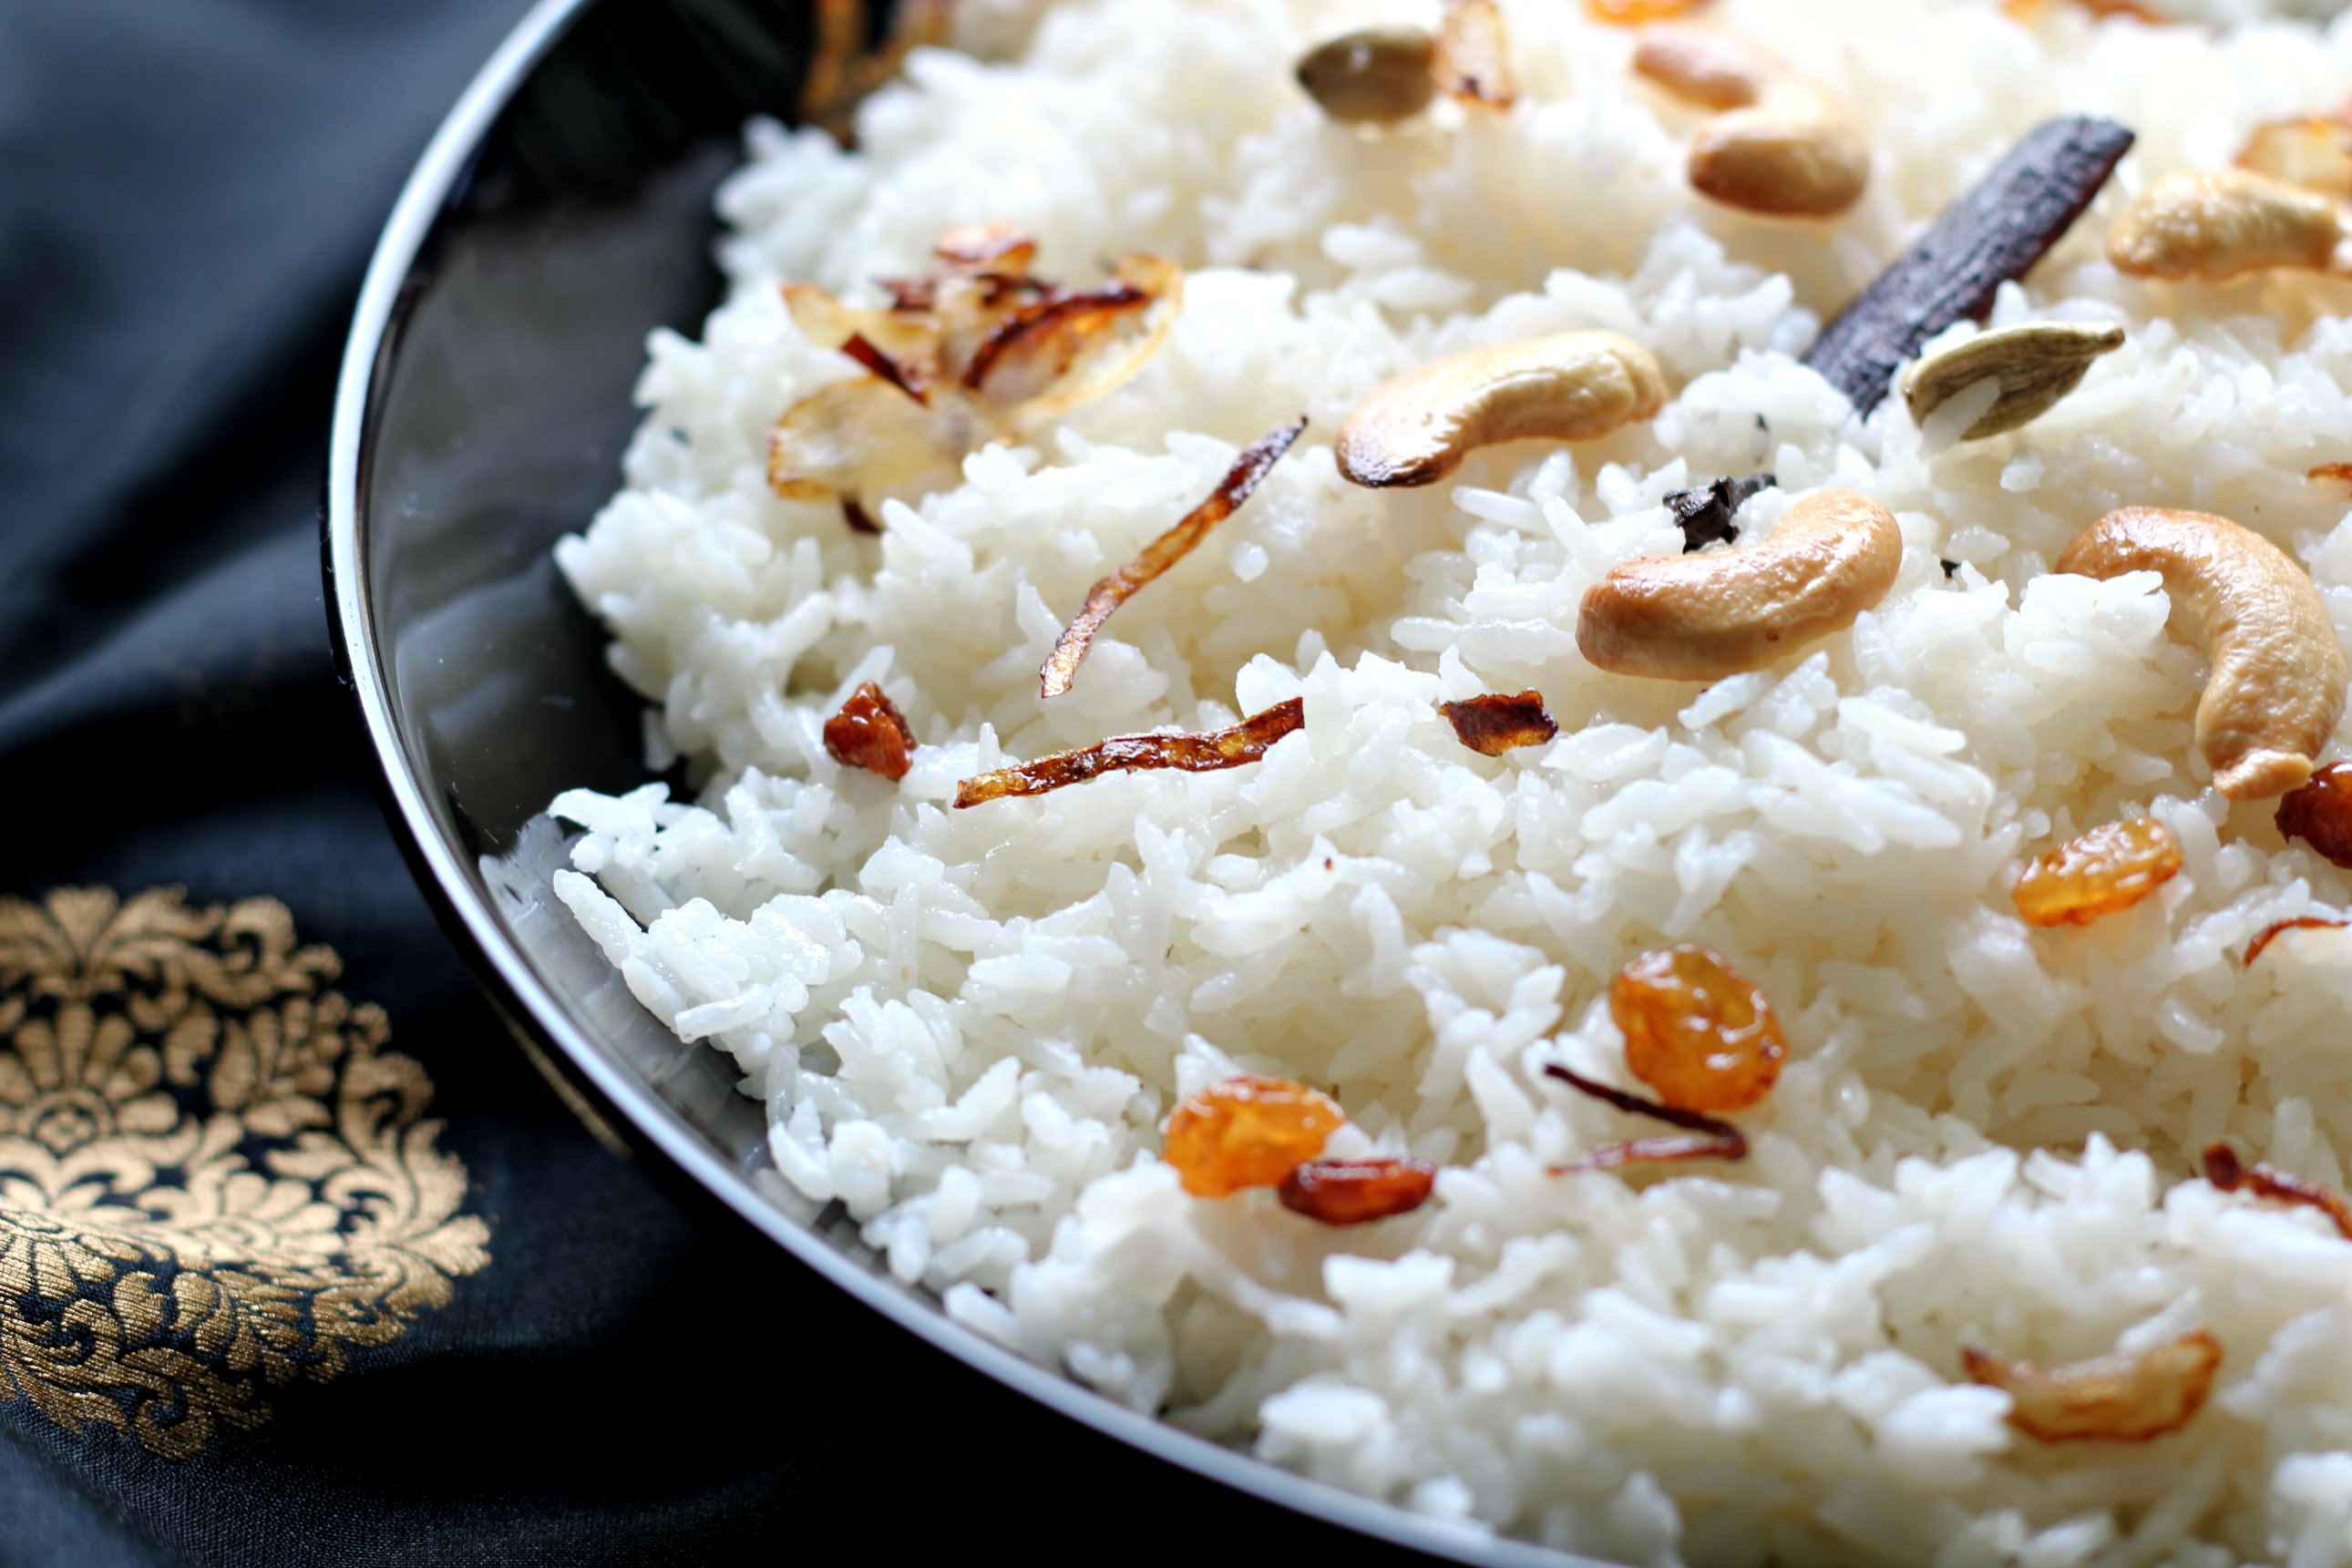
Ghee Rice
- 2 cups basmati or jeerakasala rice * see note
- 4 cups freshly boiled water
- 1/8 cup ghee
- 4 cloves
- 1 " stick cinnamon or cassia bark
- 2 cardamoms
- 1 bay leaf optional
- 1 small onion finely sliced
- a few drops of lime juice
- salt to taste
For garnishing
- 1 medium sized onion finely sliced
- 1/8 cup raisins
- 1/4 cup cashewnuts halved
- Wash the rice in 2-3 changes of water. Soak for 15-20 minutes and then drain the water & keep aside.
- Heat half of the ghee in a wide, heavy based kadai and fry the cashew nuts on a medium heat till golden brown, remove them into a plate. To the same ghee add the raisins and fry them on a low heat till they puff up. Remove.
- Next, fry the sliced onions meant for garnishing, till golden brown and keep aside. Do remember to remove them when they are just golden in colour. Onions will continue to change colour as they caramelise and turn a deep brown/black if you don't take them out on time and will taste bitter.
- Now, back to the same kadai. If the ghee looks dull after the frying of the onions, nuts & raisins, strain or keep it aside for another use. Wipe with a clean kitchen tissue/towel and add fresh ghee instead. Otherwise, proceed to the next step
- Heat the remaining ghee and fry the whole spices on a low heat for a few seconds, then add the slice onions and fry till it turns translucent.
- Add the washed and completely drained rice and fry on a medium low heat till the ladle begins to feel heavy, about 3-4 minutes This is the right stage to add the freshly boiled water. Add salt to taste and the lime juice. This will keep the grains of rice bright.
- Bring the mixture to a rolling boil, then reduce the heat completely to a simmer, cover the pan with a well fitting lid to ensure that no steam can escape. Set the timer and cook for exactly 5 minutes. Then turn off the heat and set the timer to 15 minutes and leave the pan undisturbed. The rice will cook in the steam.
- When 15 minutes are done, open the pan and gently fluff up the grains using a fork. Cover and keep aside for another 2 minutes before serving. This will help all the flavours to mix properly. Serve piping hot with any accompaniment/curry of your choice.
The nutritional values are only indicative.
Superb Rice Dish….
Thanks a lot Cornelio!
Haaaa
Means?