First-person-view (FPV) racing has changed the face of radio control. World-class race events and network TV coverage have combined to pull in huge numbers of racers with no prior background in traditional aeromodeling. While there are some nice ready-to-fly quadcopters on the market, FPV racing is ideal for those who like to build their machines. Building your own is easy and fun, and it makes repairs that much simpler.
There are lots of online resources covering every aspect of FPV building and setup, but sifting through it all can be a bit intimidating. In this article, we’ll lay out a simple recipe to remove the confusion. The tools involved are minimal, but you should invest in a couple of good-quality variable-temp soldering irons (one 7- to 10-watt for fine work and a heavier 20- to 40-watt unit for power wires).
The basic quadcopter is really pretty simple, but setting up the video system seems to cause a good deal of angst and uncertainty. Your camera and video transmitter will arrive with a bewildering variety of wires and leads but typically little information for how to put it together. Not to worry! With a suitable power distribution board, you’ll need almost none of it because the power distribution board will take care of everything. Ready to start?
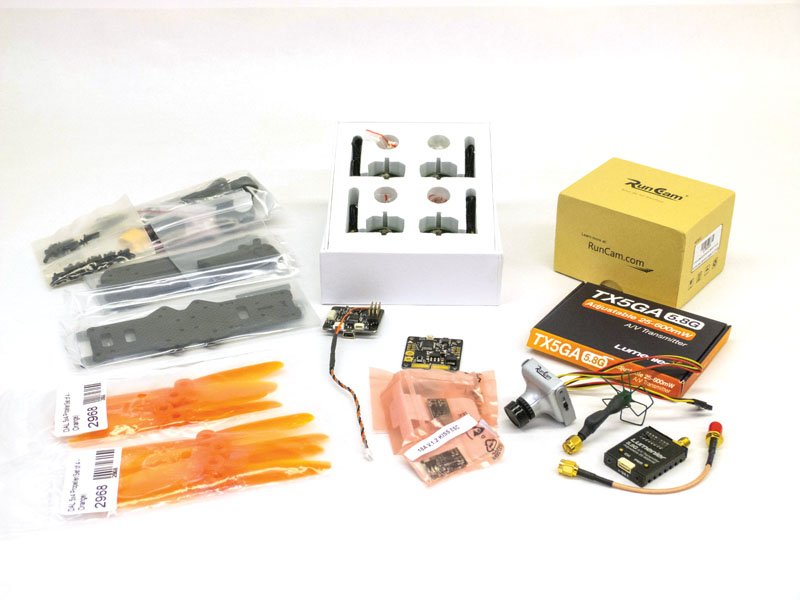
1. For this build, I chose the popular Lumenier QAV-R frame, 2204-class
motors from HobbyKing, a RunCam Skyplus camera, and a Lumenier TX5GA variable-power video transmitter. Most parts shown here were sourced from getfpv.com.
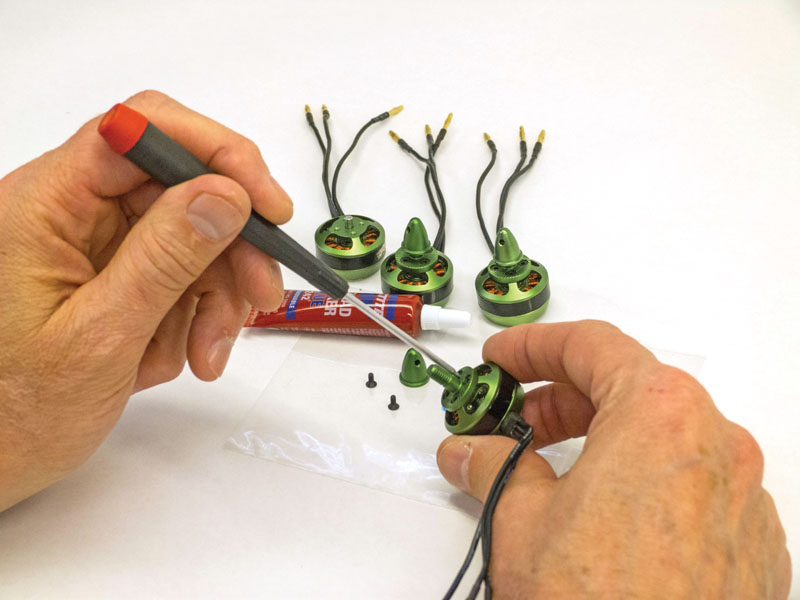
2. I start each build by prepping the motors for installation. I like these Multistar 2204 motors because their prop adapters come with left- and right-hand threads for clockwise and counterclockwise rotation. I think this is better than depending on locknuts to keep the props from unscrewing.
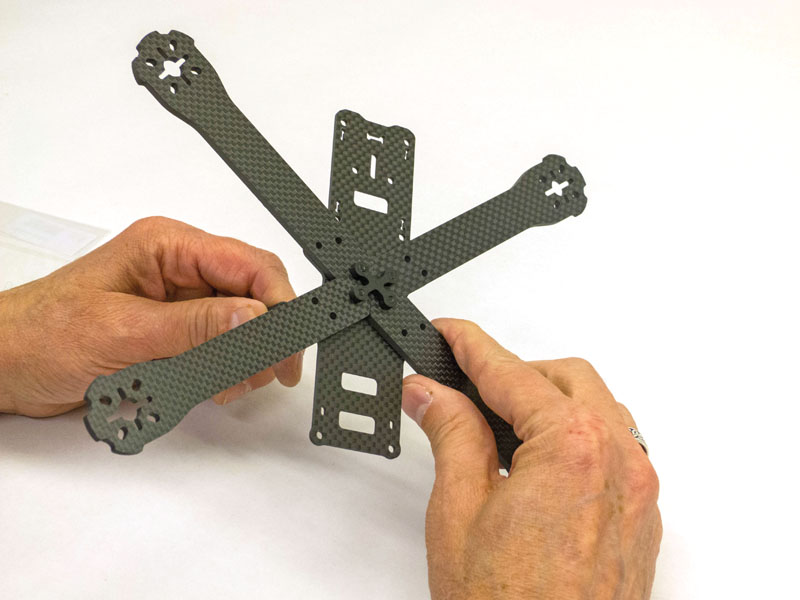
3. The QAV-R frame is stout enough to shrug off some impressive crashes. The 4mm-thick carbon arms are attached to the baseplate with a cluster of M3 screws, and the assembly is amazingly stiff. I recommend using thread-lock, like Loctite 242, on all metal-to-metal screws; just enough to wet the first couple of threads is plenty.
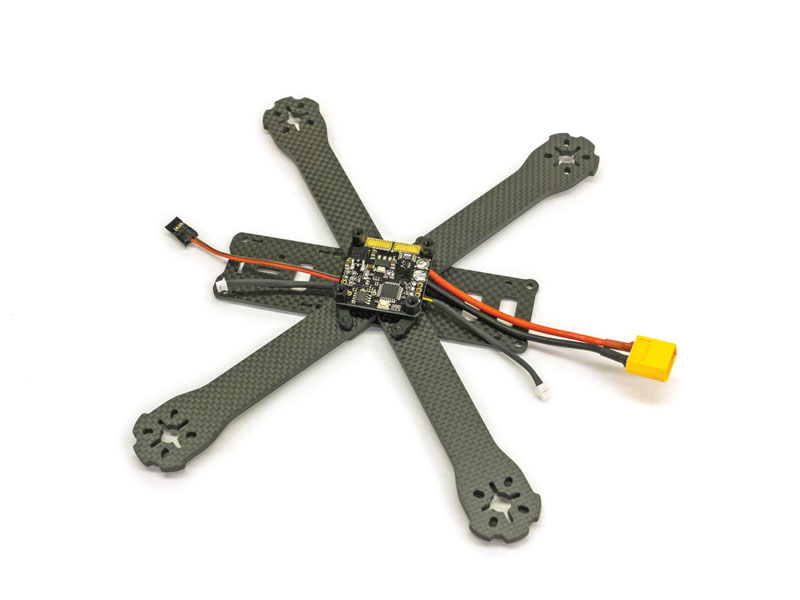
4. The power distribution board is the heart of every FPV racer. This well-tested RedRotor OSD not only supplies power to the speed controls, flight controller, and video gear but also routes the video signal and provides an on-screen display of voltage, flight time, current, and power consumed. Here, I’ve prepped the board by installing the main power wires and leads for the flight controller, camera, and video transmitter. The video leads were cut from the wire harnesses that came with the camera and video transmitter.
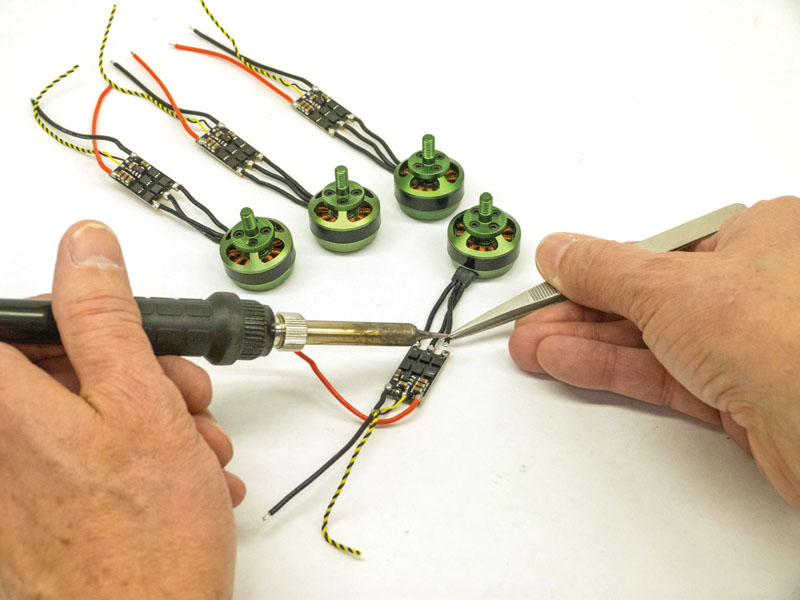
5. I used DYS 20-amp speed controls with the popular BLHeli firmware. I chose to hard-wire the motor leads directly to the boards, but these controllers come with installed leads if you’d prefer to splice the wires instead. Note that the motors with left-hand threads have straight connections for clockwise rotation, while the motors with right-hand threads have two leads crossed to spin counterclockwise. Your speed controls may be different, so test them before you solder them all together.
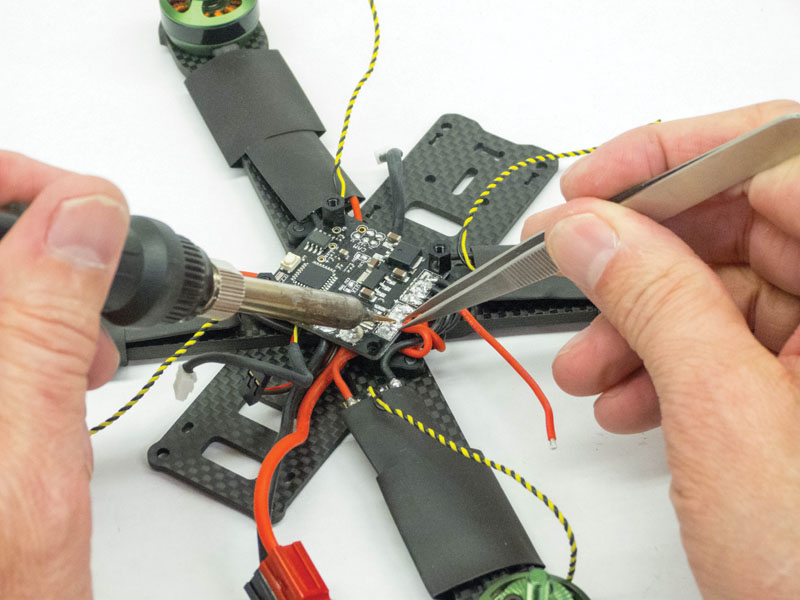
6. Mount the motors on the arms before soldering the speed-control leads to the output pads on the power distribution board. That way, you can trim the speed-control leads to the correct length. Note that I’ve slipped pieces of shrink tubing over the speed controls and motor arms, but I’ll wait until after the first test hop before I shrink the tubing, just in case I need to change anything. Some fliers use electrical tape for securing the speed controls, but I like shrink tubing because it’s tougher and looks better.
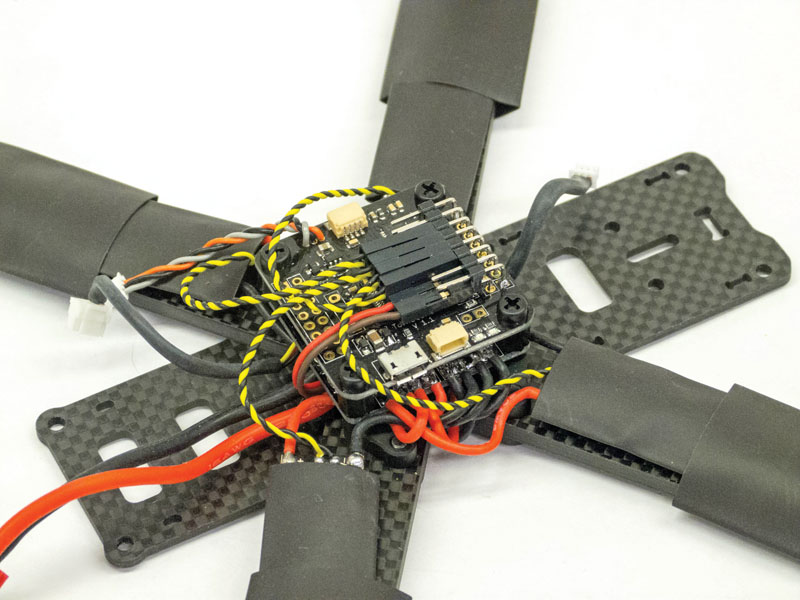
7. If the power distribution board is the heart of the racer, the flight controller is the brain, and it stacks directly on top of the board. It’s a good idea to soft-mount the flight controller with O-rings or grommets. Here, I’m using a Tornado flight controller from MotoLab. Some builders like to hard-wire the speed-control signal leads directly to the flight controller, but I prefer to install right-angle header pins and crimp two-pin connectors on the speed-control leads. A big thank-you to my flying buddy John Kauk for his great idea of pointing the header pins rearward across the flight controller. This is more compact and keeps the connectors better protected.
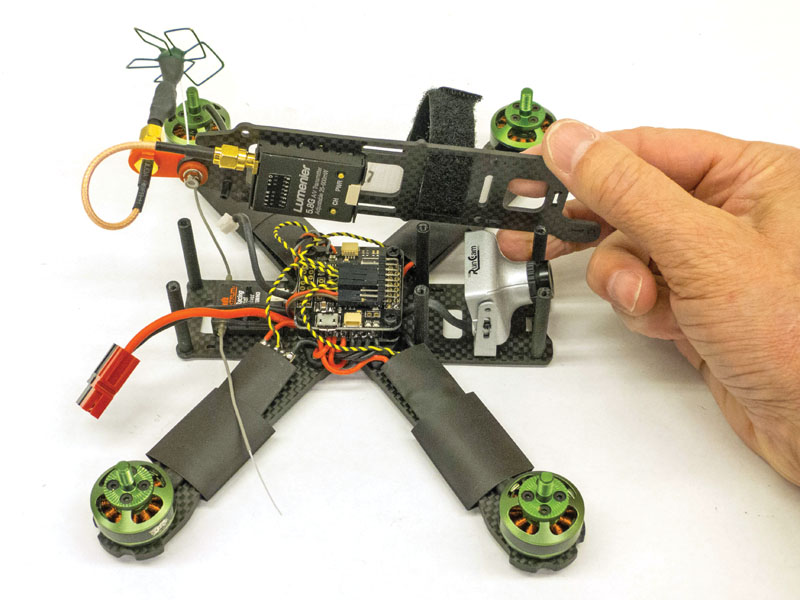
8. The last major assembly step is installing the video gear and the top plate. I’ve installed the RunCam video camera and the Spektrum satellite receiver on the baseplate, and I’ve installed the Lumenier video transmitter on the underside of the top plate where it’ll be out of the way. It’s easier to thread the Velcro battery strap before installing the top plate. Note that the video antenna is already installed; if you power up the video transmitter without an antenna, you’ll fry it in seconds!
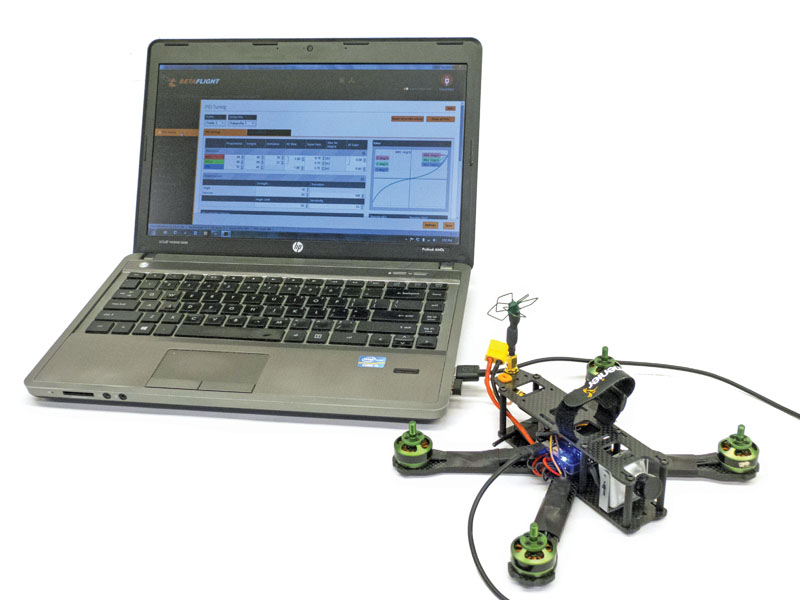
9. With the assembly completed, it’s time to program the flight controller. The Tornado is compatible with Betaflight, a Google Chrome applet based on the earlier Cleanflight. You walk through the setup steps on your laptop computer and then flash the settings to the flight controller. On my build, I had to increase the low-end throttle travel on my transmitter to get the speed controls to arm, but that was the only issue I had.
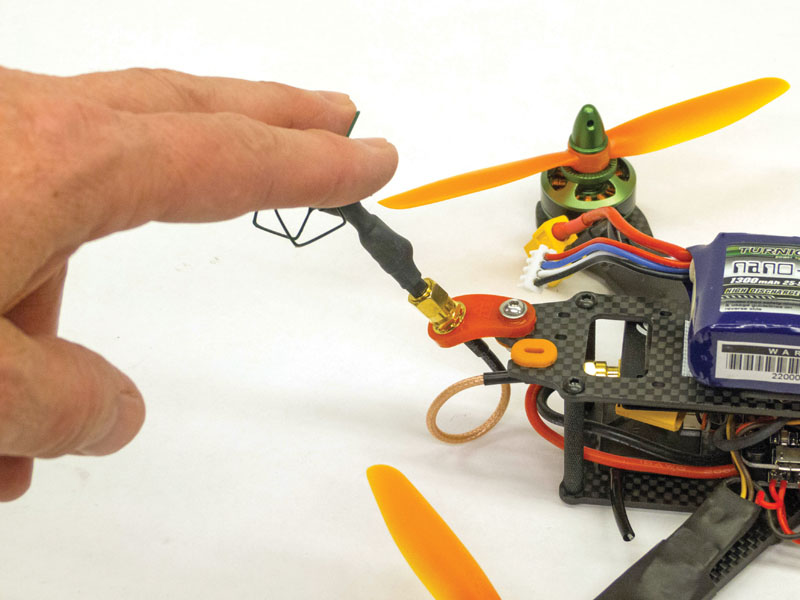
10. Other than breaking inexpensive props, the most common damage in a crash is the delicate video antenna. Trueblood Engineering (truebloodengineering.com) produces this nifty flex mount that lets the antenna bend out of harm’s way. It’s available in a range of colors, has two mounting options, and costs a whole lot less than a new antenna.
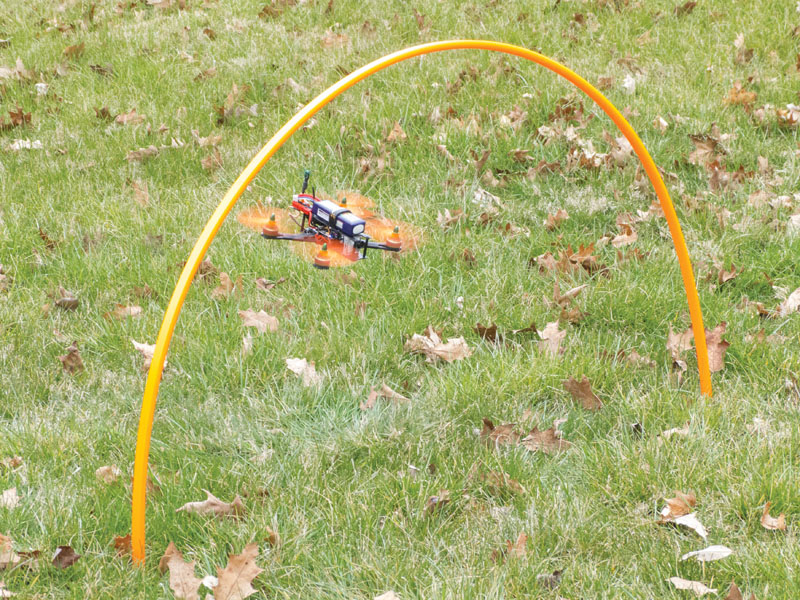
I’m impressed with the handling provided by the Tornado flight controller. I have it programmed to change between Horizon (self-leveling), Angle (enhanced stability), and full Agility modes at the click of a switch. With the 3-blade props, acceleration is scary fast. I’m going to have a lot of fun with this machine this season.
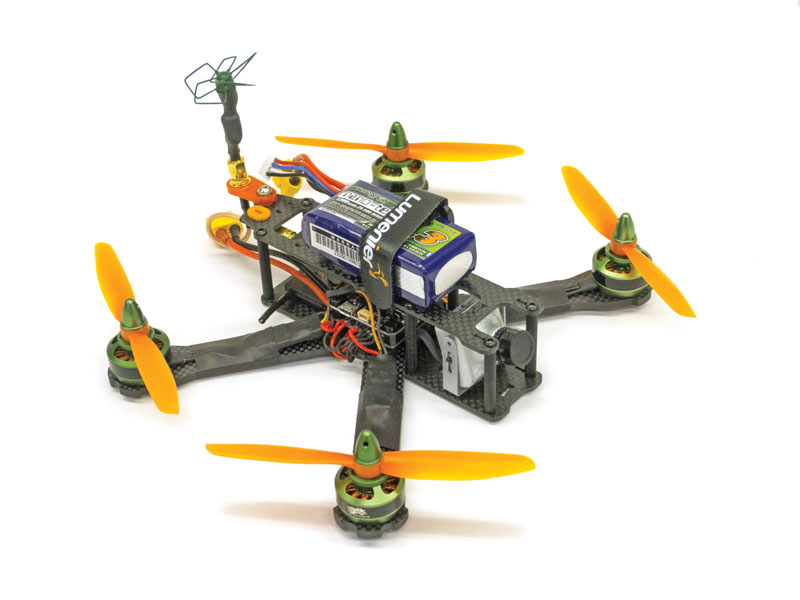
Here’s the completed QAV-R, all ready for its first real test flight. For low-time pilots, the DAL 2-blade props shown here are a good choice; they’re amazingly tough and give long flight times.



I always thought that build a drone from scratch or even a kit is something difficult and requires some technical knowledge but after reading your article Holly, I now know that it’s easier than it seems, especially with each steps explained like you did in your article makes it even easier. It seems like something I need to get into, just for the fun of building the drone and making it fly.
Are there any other starter kits that you would recommend for somebody that is a beginner in building the drones?