While baking or even making dinner, you might come across recipes that require you scald milk. Which brings you to your next question: how do you scald milk and why do you scald milk?
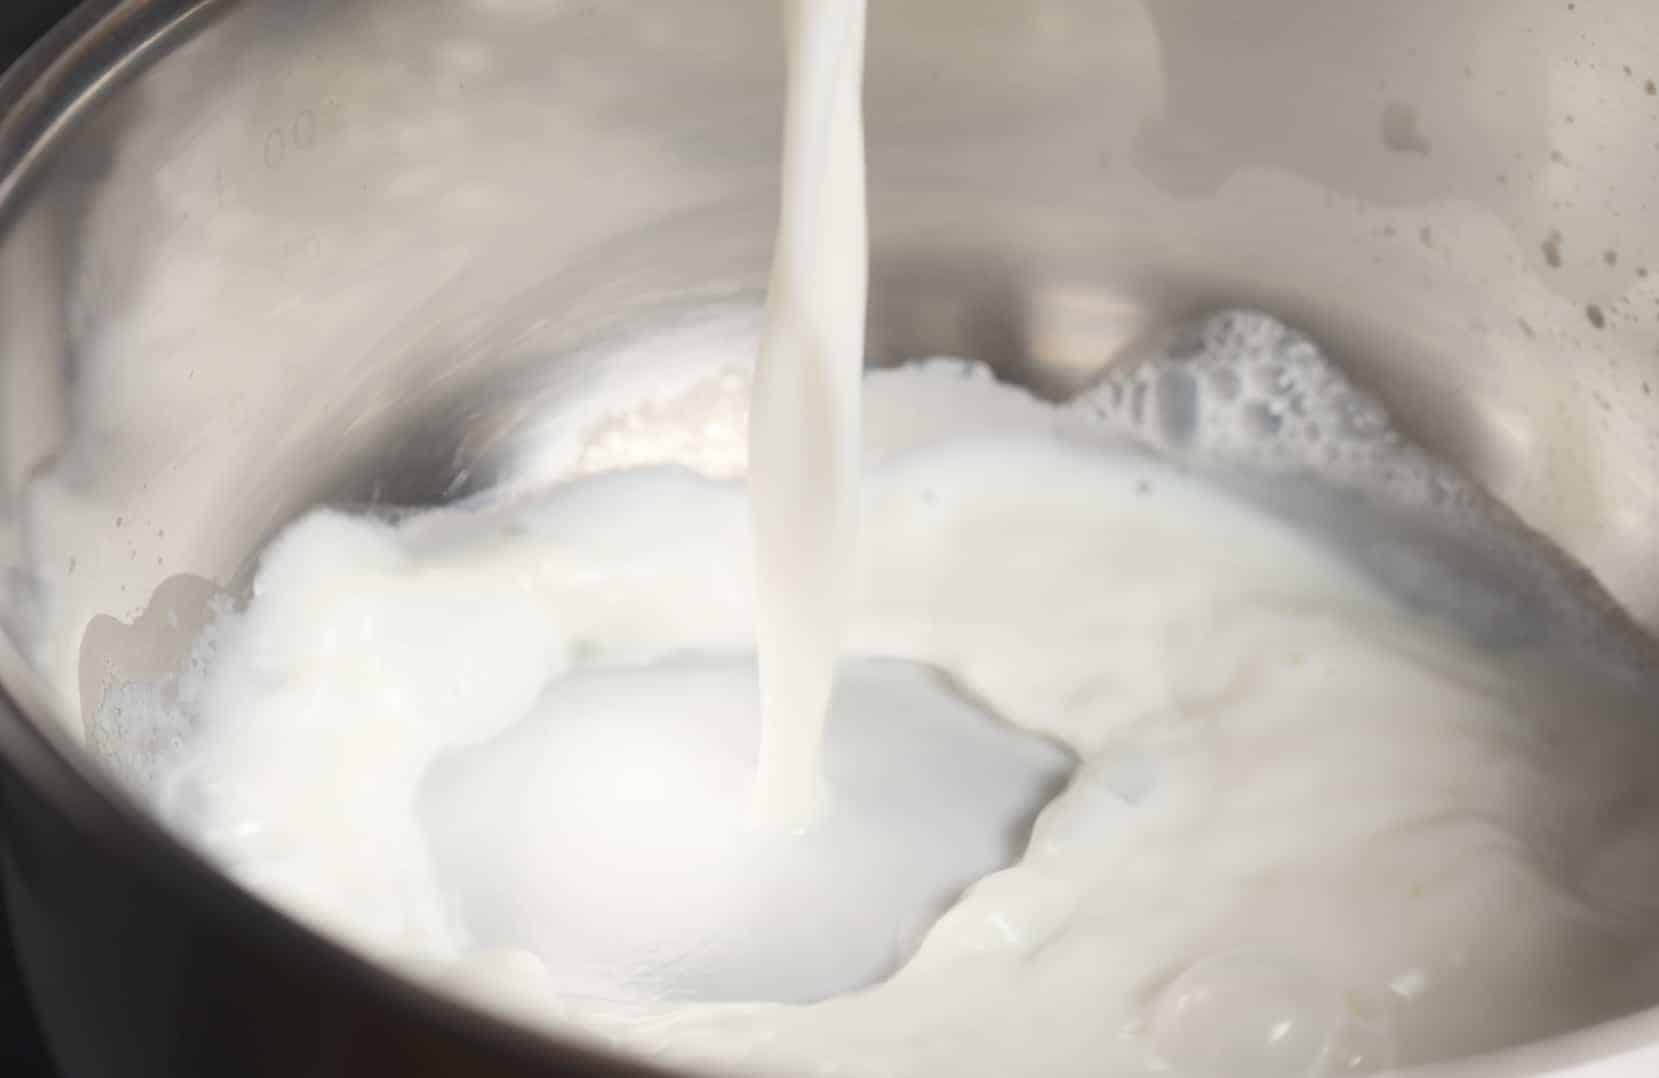

What is Scalded Milk?
In the old days, the main purpose of scalding milk was to kill bacteria. However, today (most) milk is pasteurized and therefore we only scald milk for the secondary reasons.
Scalded milk is milk heated to a near boil, then cooled. It makes cakes, breads and anything with yeast fluffier and and lighter.
The primary reason being that the whey protein in milk weakens gluten and prevents dough from rising properly. Scalding milk kills the protein, allowing the gluten to stay intact. Heat chops up the molecules and peptides making the amino acids available for the yeast.
Making those amino acids more readily available helps to dissolve sugar and let the yeast ferment (bloom), which can make your doughs rise better, resulting in fluffier and springier breads and cakes. You doesn’t want a super fluffy slice of cake?
Infuse Flavors
Milk, because it is so heavy in fats and protein, is also a great medium for infused flavors. Infused milk can take a regular recipe to spectacular. Here are some of our favorite flavors.
- Cinnamon
- Vanilla beans or extract
- Citrus
- Fresh herbs
- Cranberries
- Star anise
- Clove
- Honey
- Nutmeg
- Juniper berries
Although not labeled “scalding,” we see this process a lot in ice cream recipes. Think about simmering a vanilla bean in milk and allowing it to cool. It is the same process.
Two Ways to Scald Milk
There are two ways to scald milk: on the stovetop and in the microwave. Although it is a little more time consuming, I prefer to scald milk on the stovetop.
How to Scald Milk on the Stovetop
This is the most traditional method and gives you the most control because you can quickly remove it from the heating element. It heats slower and more evenly than microwaving.
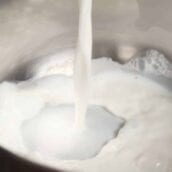
- Pour the milk into a heavy bottom saucepan or double boiler. Slowly heat milk over medium-low heat.
- The key here is to heat the milk, but not to bring it to a boil. If this makes you nervous, keep checking the temperature using a thermometer.
- Boiling will burn the milk and kill other vital proteins. Stir continuously to prevent milk from thickening, burning or sticking to the bottom of the pan. Bring to 180°F.
- While the milk is heating, monitor the temperature of the milk, but also stir the milk and stir frequently for even heat distribution.
- Look for steam and small bubbles around the edges of the pan, then remove immediately from the heat.
- Allow the scalded milk to cool to below 138°F before adding it to your recipe. If it is too hot, it can kill the yeast or bring all of the ingredients, especially the butter, to an undesired temperature, impacting the finished the product.
Scalded milk is milk that has been heated to 180 °F. Do not heat over 212°F.
How to Scald Milk in the Microwave
Scalding milk in the microwave gives you less control over the temperature, but is quicker. You will also need a microwave safe utensil of some sort to break the surface plane and prevent the milk from overheating and scorching. Many people use a wooden or plastic chopstick, or something else similar.
- Heat the milk in 30 second increments at 50% power, stirring between each heating and monitoring the temperature.
- Follow the same guidelines as when you scald milk on a stove top. Be careful removing milk from microwave, as the bowl will also be super hot.
Questions About How to Scald Milk
Yes! But remember, it has less fat. If the recipe calls for whole milk or just “milk” assume it means full fat. Less fat can impact the texture and flavor, especially in baked goods.
If you are like me and usually only have skim milk on hand, you can substitute 1 cup of skim milk with 1 1/2 teaspoons melted butter for every 1 cup of whole milk.
No, almond milk isn’t dairy and doesn’t have the same proteins as regular milk so it is not required.
You can use powdered milk for scalded milk. It is just a dehydrated version of liquid milk, so it has the same proteins and chemical makeup.
Not really, but you can use un-scalded milk powder. If your recipe calls for yeast, try to make sure milk is at least room temperature so it doesn’t inhibit activating the yeast.
Technically, no, but you will see the two terms used interchangeably in recipes. Scorched milk is burnt milk and all of the proteins have been heated up and out of the mixture.
Yes! Any recipe that calls for milk, especially those with yeast, are ideal for scalded milk. If it doesn’t call for it from the get-go, make sure you make a little extra to account for evaporation. It will make the final produce lighter and fluffier!
It would be after scalding, unless the recipe explicitly calls for the volume before. Some water will evaporate so adda little more in than the recipe calls for to make sure you have enough and measure it again after heating.
Nope! Scalded is milk is like the beginning stages of evaporated milk, but it lets about 50% of the water evaporate to a think consistency.
Sweetened condensed milk is evaporated milk, but with added sugar so it is thick, sticky and sweet.
Can I think it? If your recipe calls for a thickened milk, use a small amount of cornstarch slurry to thicken.
Recipes That Use Scalded Milk
Ready to test out your new technique. Here are a few recipes that call for scalded milk.

How to Scald Milk
- 4 cups whole milk
- Pour the milk into a heavy bottom saucepan or double boiler.
- Slowly heat the milk over medium-low heat. The key here is to heat the milk, but not to bring it to a boil. Boiling will burn the milk and kill other vital proteins.
- Stir continuously to prevent it from thickening, burning or sticking to the bottom of the pan.
- Look for steam and small bubbles around the edges of the heavy bottom sauce pan, then remove it immediately from the heat.
- Allow the scalded milk to cool before adding it to the intended recipe. If it is too hot, it can kill the yeast or bring all of the ingredients, especially butter, to an undesired temperature, impacting the finished the product.
- Scalded milk is milk that has been heated to 82 °C (180 °F). Do not heat over 212°F. You can use a candy thermometer to monitor the temperature.
- Remove from heat and allow to cool or use while still hot. Consult your recipe for the best temperature to use it at.
- If you have tried this techinque, come back and let us know how it went!
Check out even more articles on how to become a better home cook!
- The Key To Perfect Hard Boiled Eggs
- How to Make Clarified Butter
- How to Roast Garlic
- How to Soften Brown Sugar
- How to Soften Butter Fast






I’ve never heard of this! Thanks for enlightening me to something new. I will have to try this next time I make a cake.
This is really great recipe. Good thing that you shared this. I am definitely going to try to scald milk. I might be needing this for my dishes.
I can’t wait to try this the next time I use a recipe in which requires yeast.
This is a great tutorial! And I really want to try those apple pie cinnamon rolls!
This was an interesting read. I’ve never heard of scalding milk. I didn’t even know it was a thing or that you needed to do it.
Honestly, I didn’t know about this before I read it. I really am not a fan of milk at all. I rarely have it but I’ll show my husband, who does like milk.
I’ve read about scalding milk before in recipes and wondered what it meant! So thank you so much for this round up on how you go about it.
Hi, Jessica! Thanks for your thorough explanation of the process and effect of scalding milk. I have recipes that call for heating milk to near boiling, but they did not mention reasons for doing so. (You might want to correct a typo in your text: ‘temperture’ should be ‘temperature. ‘)
Thanks, Leigh! So many people complain about all the “nonsense” info, but I like to learn about the techinque and ingredients I work with and know others do too. I appreciate the feedback and I’ll change that typo.
I am not much of a baker, therefore, I have never heard of this before. I am anxious now to give this a try and see the difference.
Such an informative post and recipe! Thanks for sharing.