Explore the Kansai region with the Kansai-Hiroshima JR Pass for less than S$900 with this 8-day Japan itinerary.
After realising we were able to explore Osaka, Kyoto and Nara for under S$70 a day (including flights and accommodation), we were back this time with the help of our Japan Rail Pass (JR Pass) to explore the Kansai region and beyond for under S$900! Detailed budget breakdown can be found below.
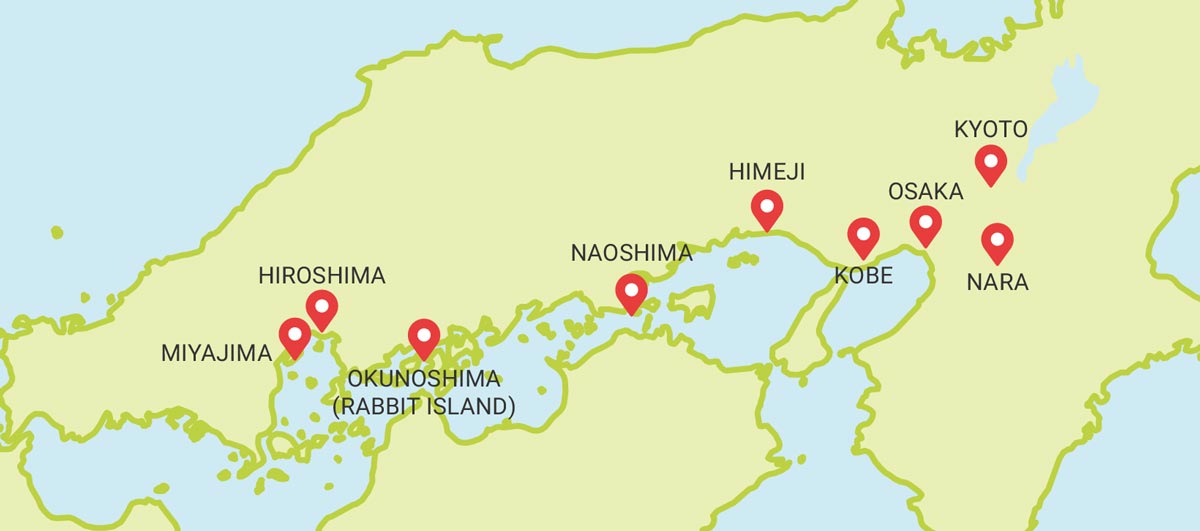
Beginning our trip from Osaka, there were several attractions we wanted to visit west of Kansai — including Kobe, Okunoshima (Rabbit Island), Naoshima (Yellow Pumpkin), Miyajima (floating Torii gate) as well as Hiroshima — so instead of getting a Whole Japan JR Pass (~S$340), we realised we could cover all these with the 5-Day Kansai-Hiroshima JR Pass (~S$167).
For an itinerary that covers Tokyo, Osaka, Kyoto and other interesting cities between, check out this 10-day Tokyo to Osaka Itinerary or our 8-day Whole Japan Winter itinerary.
To find out more about the different JR Passes available, check out our comprehensive JR Pass Guide to make sure you’re maximising the value of your JR Pass.
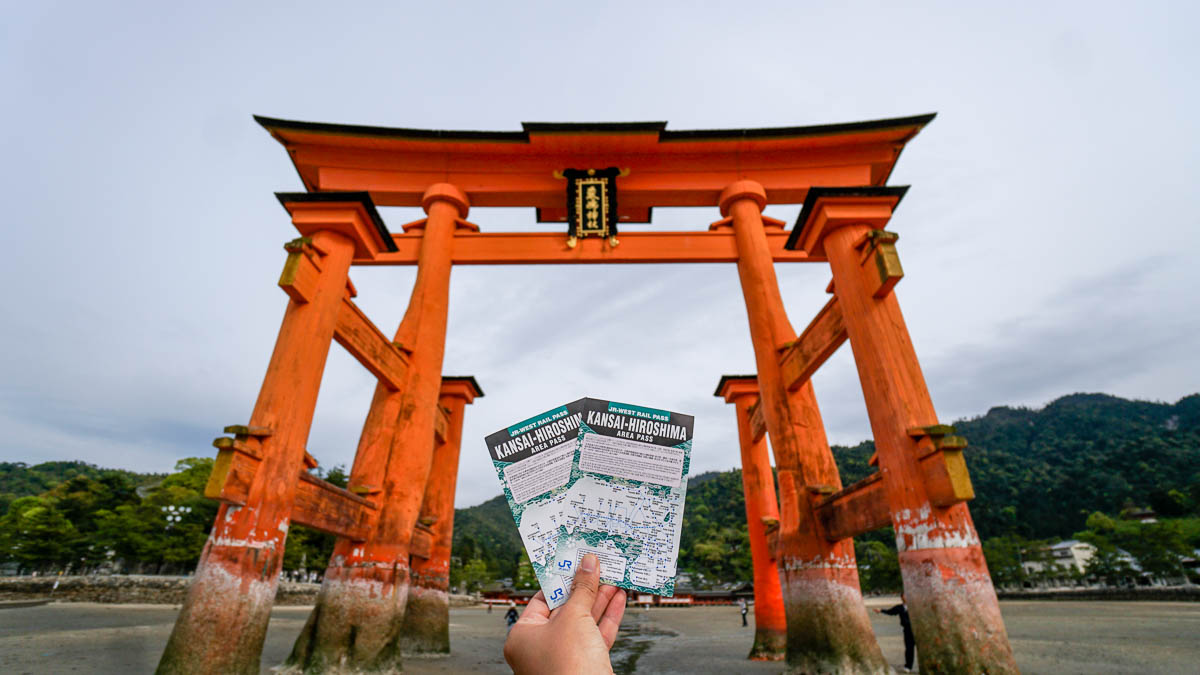
JR Pass Savings
Apart from getting all our rides covered on JR Trains between cities (which can cost as much as ¥8000/trip), the pass also had other perks such as free bicycle rental and rides on the ferry to Miyajima. In fact, with the 5-Day Kansai-Hiroshima pass JR Pass, we managed to save a total of ¥20,880 (~S$270). Here’s the breakdown:
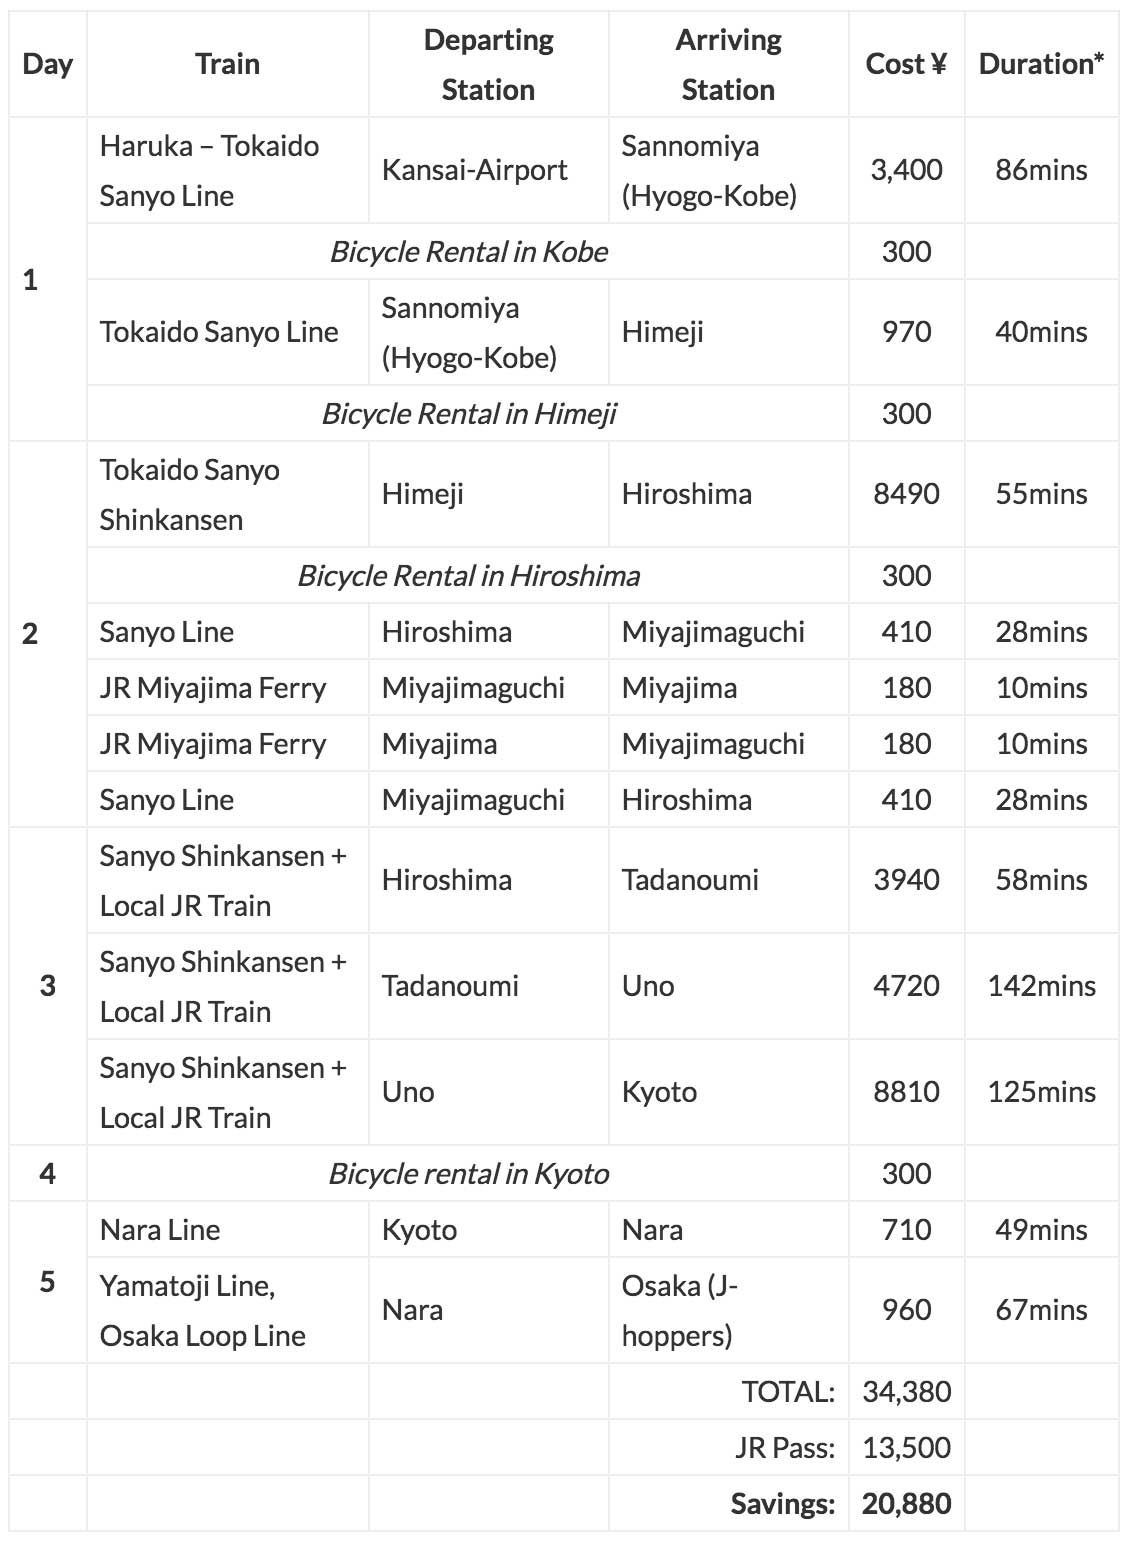
*Pro-tip: Use this handy tool to find out the exact train timings while planning your route.
For an idea of whether it’s worth getting a JR Pass for your Japan Itinerary, check out this train cost estimation tool.
Get Your JR Pass (Japan Rail) in Singapore
Klook sells a range of passes from the Whole Japan Rail Pass to the region specific one like the Kansai-Hiroshima pass we got. Since the passes usually last for 3-7 days, you can really save a lot if you’re able to plan and narrow down on the places you want to visit with the regional passes.
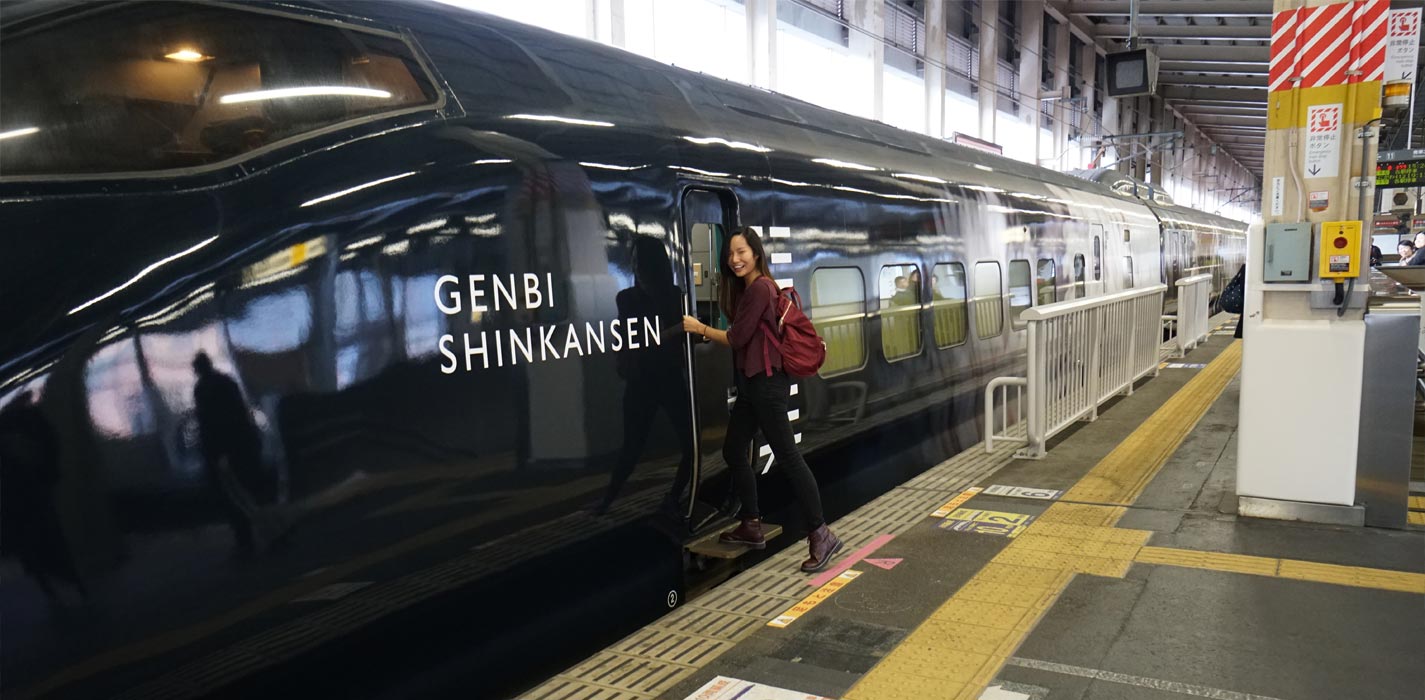
Collection of this pass was super convenient. After booking our JR pass through the Klook app, we were able to collect the pass straight from the HIS counter at Kansai International Airport (Osaka) and were good to go!
Note that the collection process for other passes like the Whole Japan Passes or JR East regional passes might be different. More of your questions answered in our comprehensive JR Pass guide
Day 1: Osaka — Kobe — Himeiji
Arrive in Osaka (KIX):
WiFi/4G Connectivity: Pre-order this 8-Day Unlimited 4G SIM Card (~S$26), and collect the SIM Card from the airport counter on level 1. This is definitely cheaper than getting one from the airport when you arrive.
Flights: To get from Singapore to Osaka, you can check prices here:
If you can’t see the widget above, check flight prices here instead!
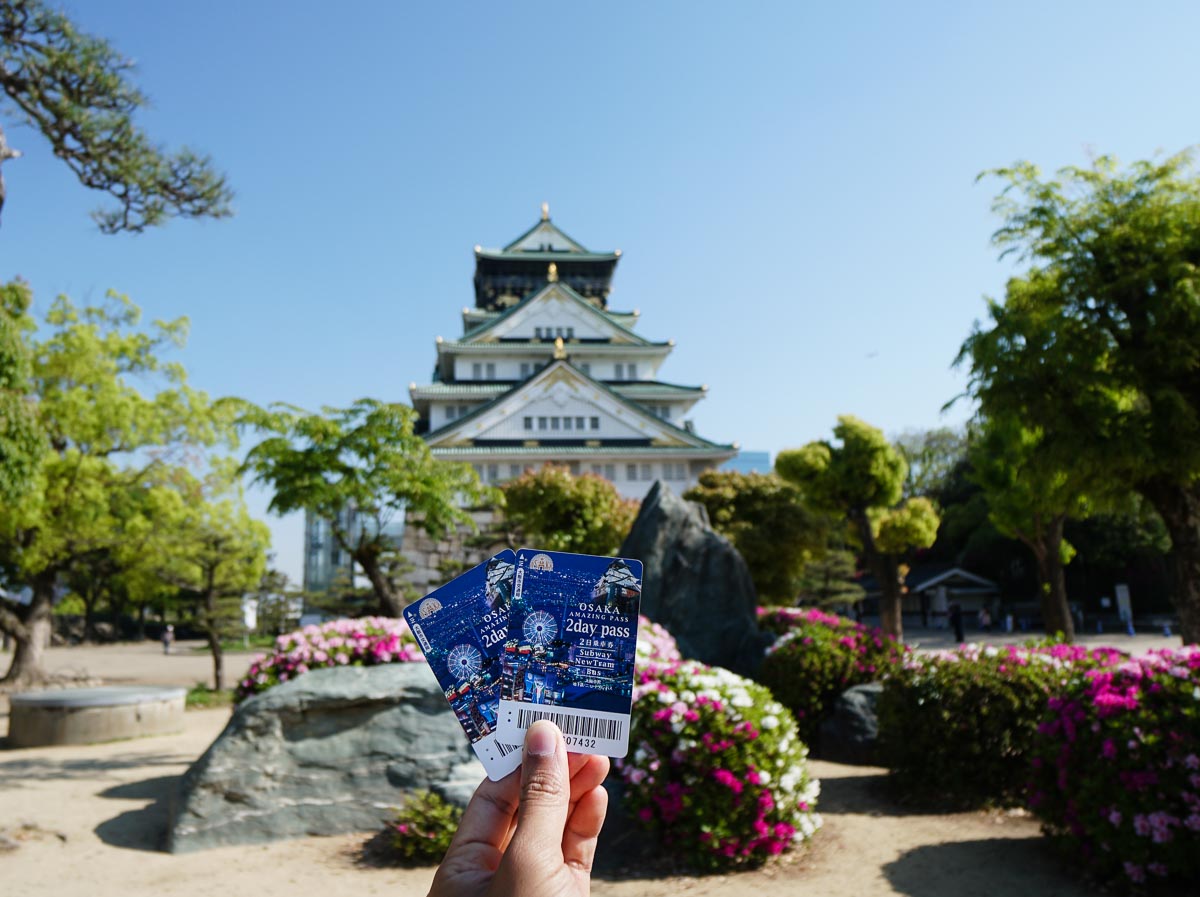
2-Day Osaka Amazing Pass: This gave us free access to over 50 iconic attractions in Osaka on top of free transport on most subway lines in Osaka. Since the pass only gets activated on the day you first use it, we decided to leave exploring Osaka towards the end of our trip (when our JR pass expired).
5 Day Kansai-Hiroshima JR Pass: The 5-day pass begins when you take the first JR line out so we used this to get out of the airport, saving on the cost of the Nankai Express which we used on the way back.
Since the pass gave us free access to bicycle rental in most of the places we covered, that saved us transport costs within the cities!
Collection for both the 2-day Osaka Amazing Pass and 5-Day Kansai-Hiroshima pass JR Pass is at: Osaka Kansai International Airport Terminal 1 – HIS counter (1/F) next to the Northern Exit in the Arrival Hall / Opening hours: 8:30am-10:00pm
Kobe
JR TRAINS:
Kansai Airport Station (Haruka Express Towards Kyoto) — Shin-Osaka Station
Shin-Osaka Station (Tokaido-Sanyo Line towards Aboshi) — Sannomiya Station (Kobe)
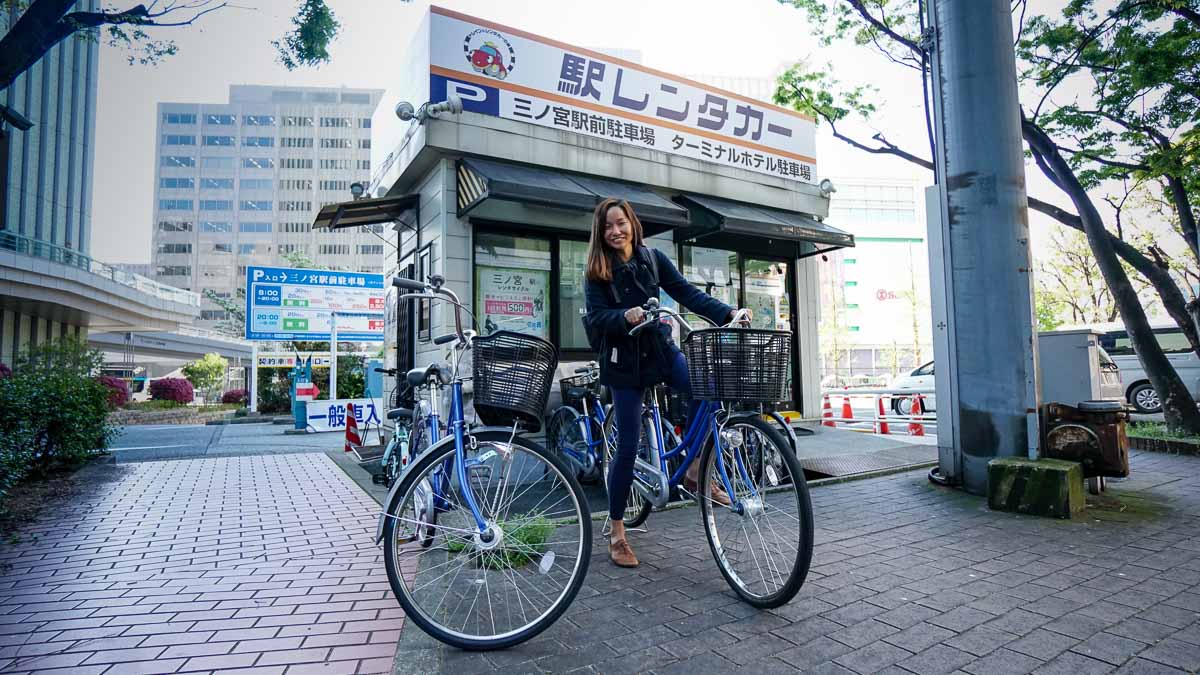
We dropped off our luggage at the station’s locker, picked up our bicycle rental from Ekirin Kun (free when you show your JR Pass) and went to explore.
Most people stop in Kobe just to try the famous marbled Kobe beef but there are a couple of nice residential areas to cycle through before stopping for lunch.
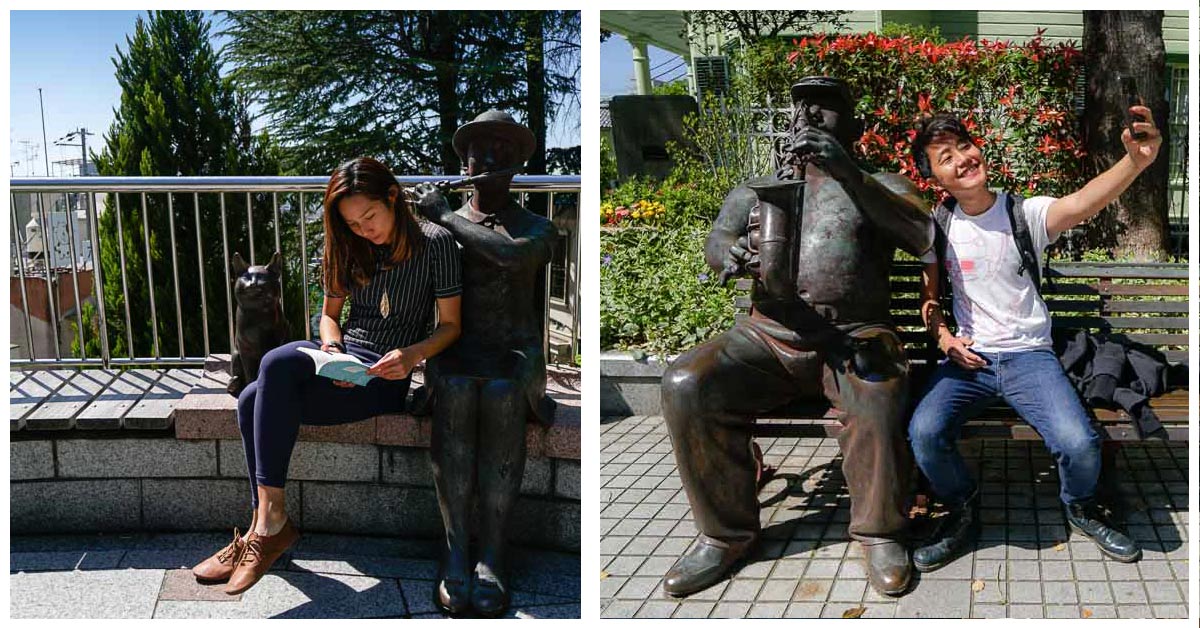
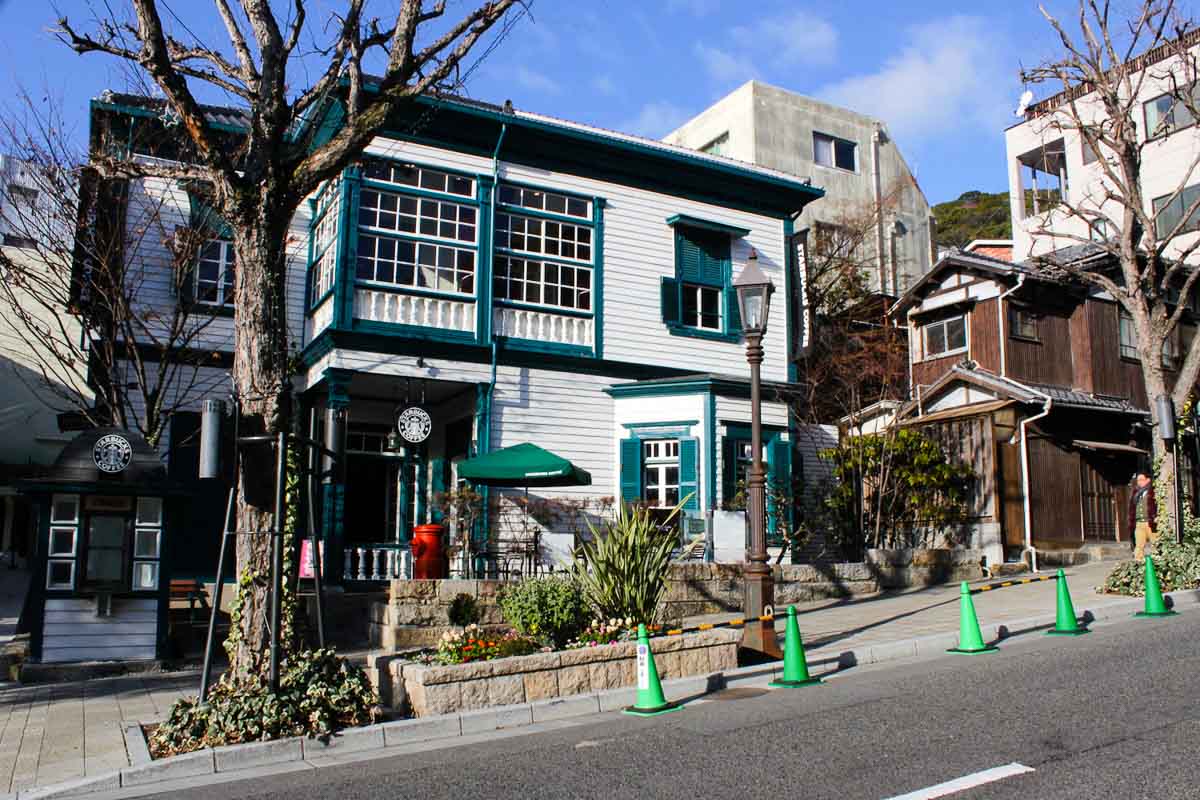
A 1.2km ride from the Sannomiya Station brought us to the Kitanocho area — a charming historical district with western designed houses owned by foreign residences who came in during the late Meiji period.
Grab a drink from one of the prettiest Starbucks along the way before hoping back on the bike.
There are many options for Kobe Beef around the Sannomiya JR Station but we ended up at Steakland, known for its affordable cuts.
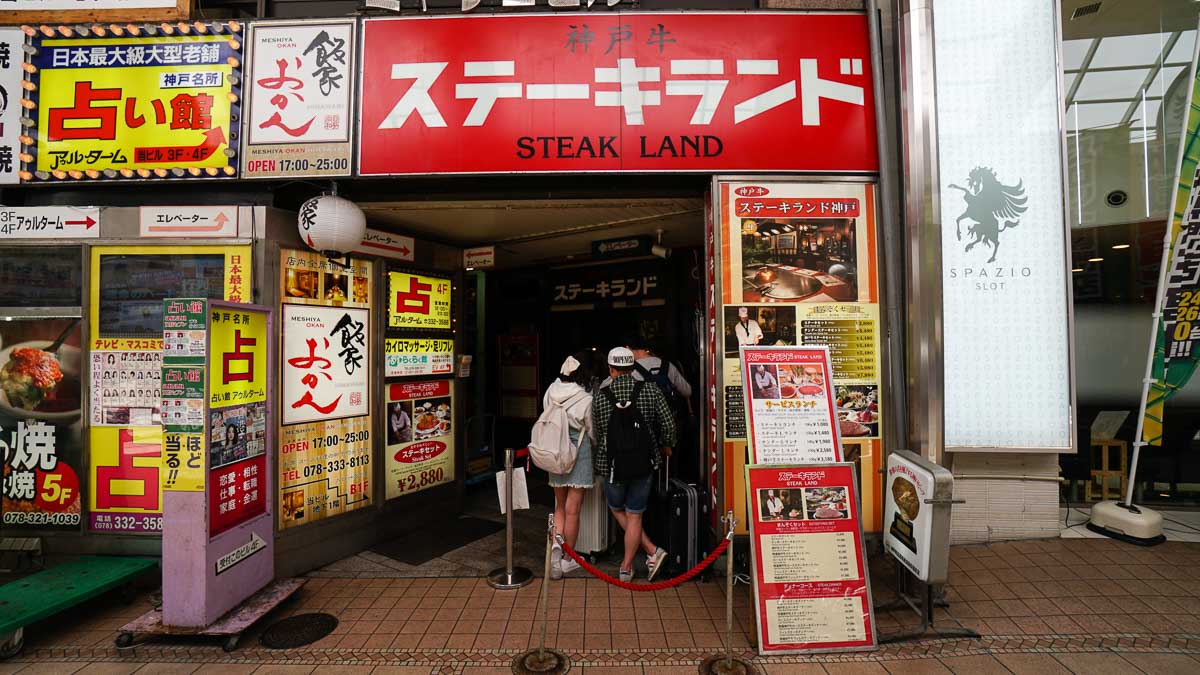
The queues can be really long during lunch but starts to clear up around 1:30pm.
After lunch, we returned our bikes, collected our luggage from the lockers and left for Himeiji.
Himeiji
JR TRAINS:
Sannomiya Station (Tokaido-Sanyo Line towards Himeji) — Himeji Station
There isn’t much to do in Himeji but the castle is so popular in Japan (probably one of the prettiest in fact), people usually travel just to visit the Himeji Castle.
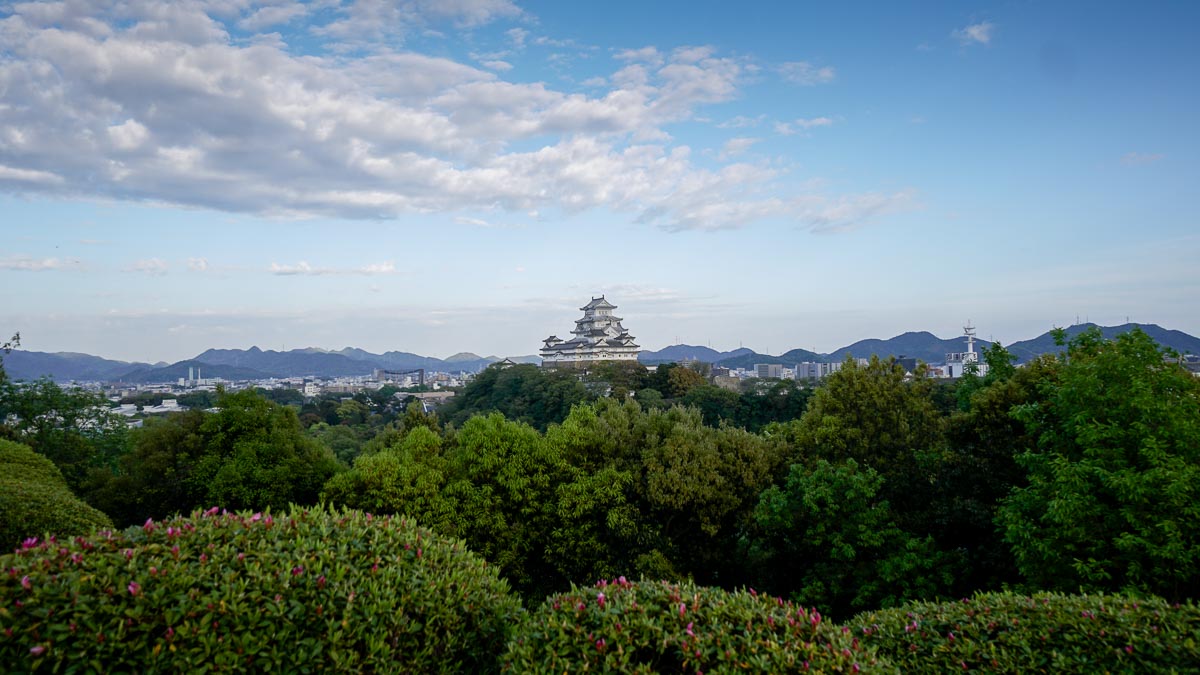
There’s also an Ekirin available at Himeji station although most of the spots here can be covered by foot. We rented one anyway to get to our accommodation for the night at the 588 Himeji Guesthouse — a small and homely traditional townhouse with 1 tatami-styled private room and about 10 dorm beds.
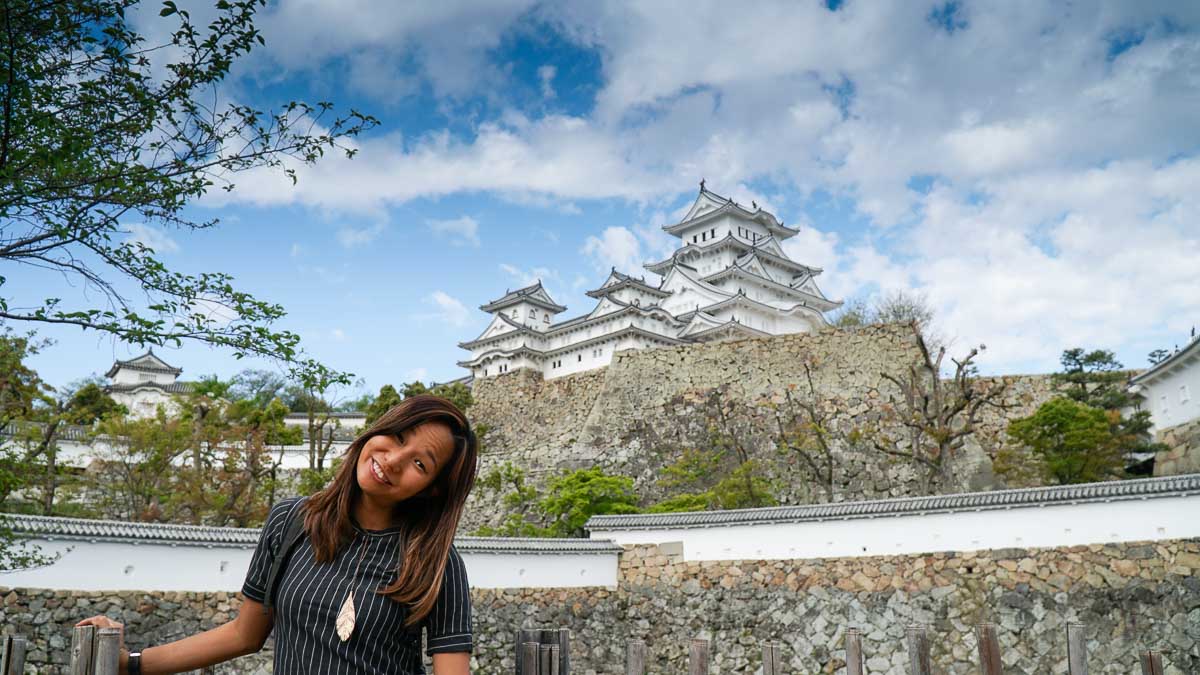
The location is perfect being only a 6 minute walk to the famous Himeji Castle (¥1000) — a charming white castle that survived through earthquakes, surrounding air raids and village fires. Walk through all 6 floors to the top while discovering mini fun facts from the info boards (available in English) on each floor.
Fun fact: The castle was once painted black so it could not be seen during air raids. I guess that worked pretty well!
*Himeji castle closes at 5pm but make sure to arrive before last entry at 4pm.
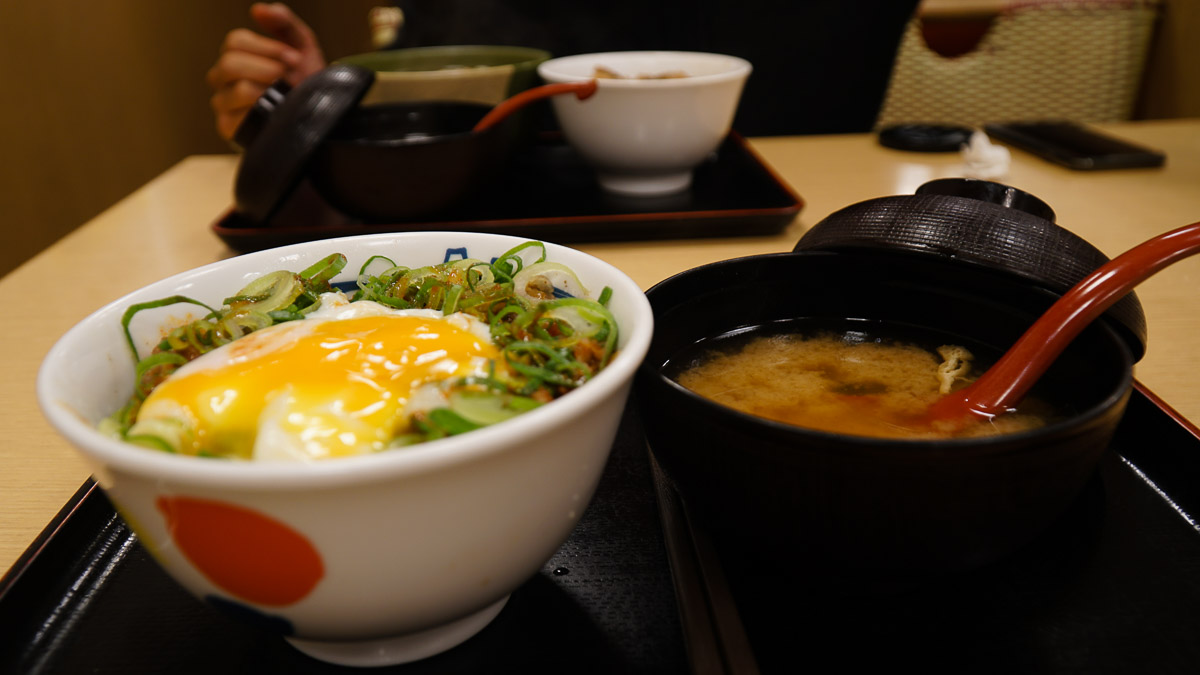
You will find most shops in Himeji closed by 8pm. Luckily we found our favourite 24-hour Salaryman set meal place, Matsuya (松屋 姫路店). You can get a full udon and a mini Gyudon for well under ¥1,000.
Another popular favourite in this city is Oden — various ingredients such as daikon (raddish), toufu, potato, fish cake etc. stewed in a rich Dashi broth and a tinge of ginger. Makes for a great post dinner snack to have with an ice cold beer.
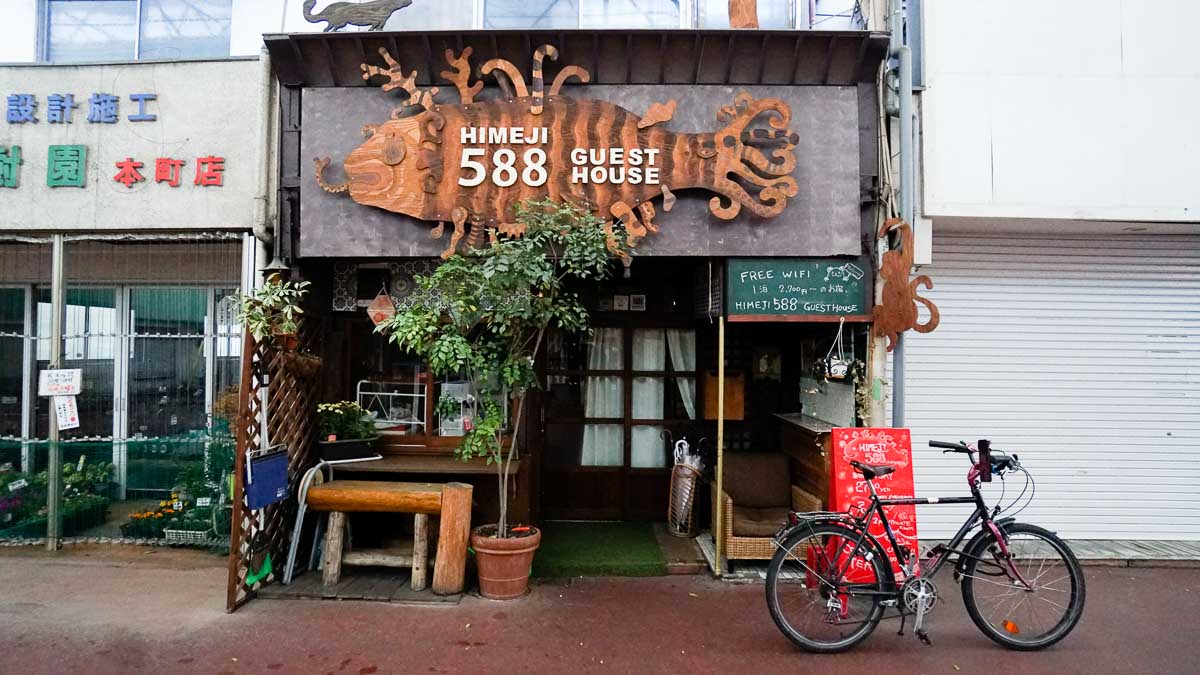
Accommodation: 588 Himeji Guesthouse (1.2km from Himeji Station)
Day 2 : Himeji – Hiroshima – Miyajima — Hiroshima
JR TRAINS:
Himeji Station (Tokaido-Sanyo Shinkasen) — Hiroshima
The shinkansen ride from Himeji to Hiroshima is pretty straightforward. We grabbed breakfast from one of the convenient stores and arrived in Hiroshima in slightly under an hour.
First stop was to drop our bags at the J-Hoppers Hiroshima Hostel which was about 3km away from Hiroshima station. Since we travelled with backpacks, we could make use of the free Ekirin bicycles to get to our hostel (which takes around the same time if you take the local trains).
*Pro-tip: To locate Ekirin shops from the train station, look out for car rental signs since most of the Ekirin shops are right next to a car rental parking lot.
Hiroshima
Known as the first city in the world to be attacked by a nuclear bomb back in 1945, most people visit Hiroshima to delve into the stories of this city’s dark past. A good place to begin is at the Peace Memorial Museum (¥200).
Read about the stories behind the owners of old uniforms and other belongings left behind as well as survivors like Sadako (paper crane girl) who only suffered the consequences some 10 years later. I’m sure the world knows of how horrific this was on the residents of Hiroshima but you don’t really get a true sense of the gravity until you walk through this museum — how stones boiled and glass shattered at such force it lodged itself into cement walls.
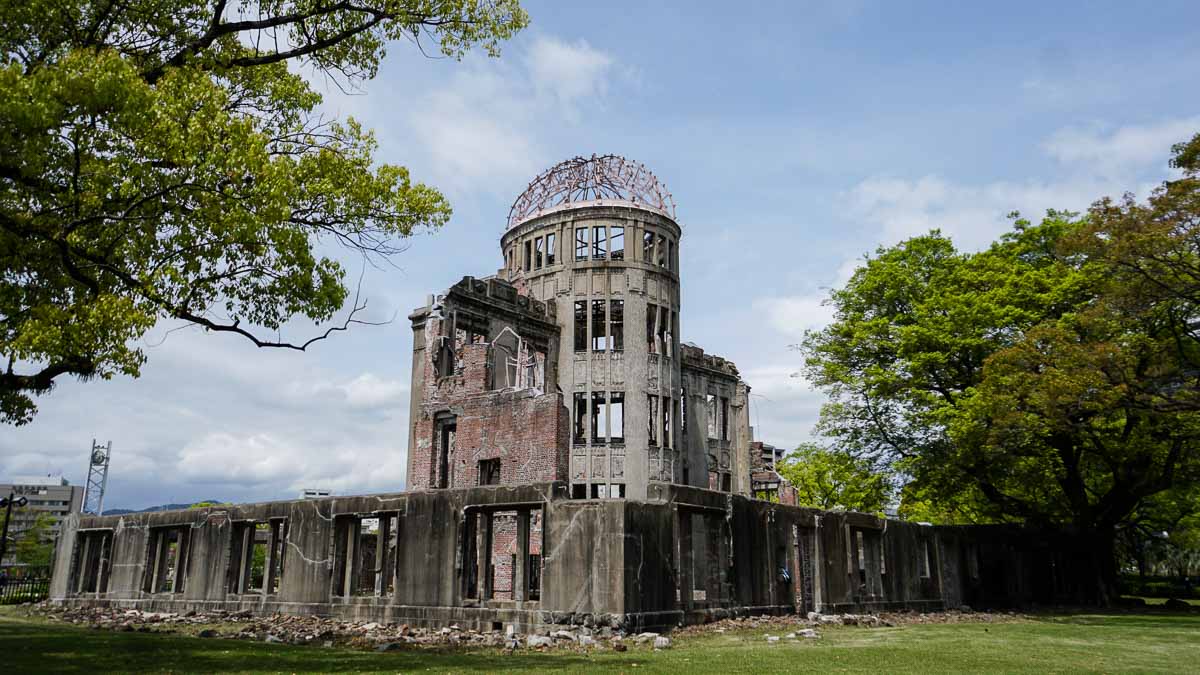
One of the only remains left of the damage is the A-bomb dome, a former convention centre built by a Czech architect in 1915. At less than 200m away from the hypocenter of the bomb, it’s quite amazing how much of the building still stands.
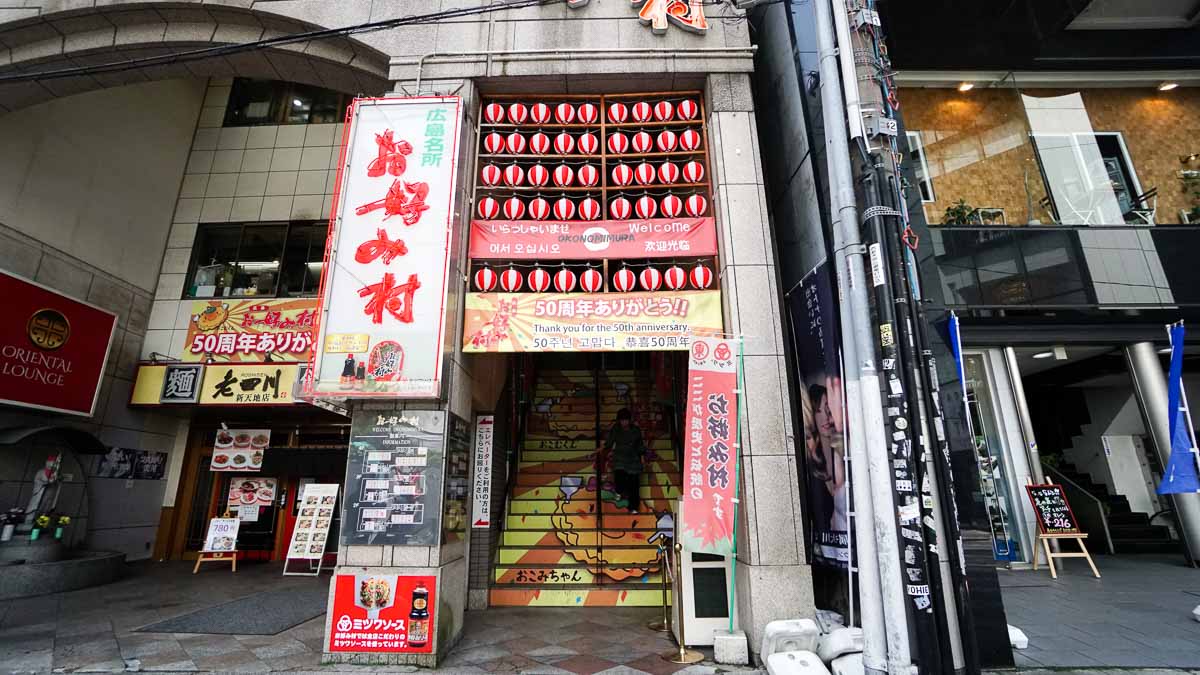
Apart from its tragic past, Hiroshima today is also known as a food haven and home to some of the best Okonomiyaki — a Japanese pancake made out of egg, cabbage, noodles. We arrive at Okonomi-mura for lunch, a 2 storey building housing 20 over restaurants that only specializes in serving Okonomiyaki; each one with a slightly different style and set of ingredients.
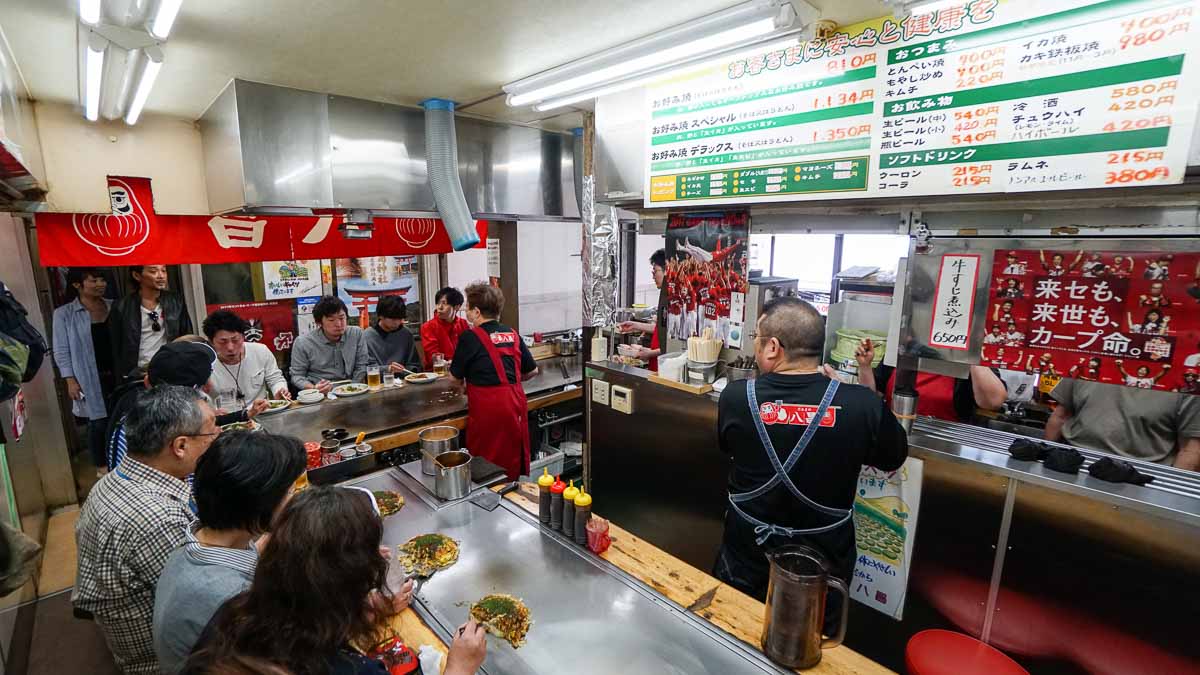
We end up at the very first store on the second floor which happened to be the only store with a full house apart from 2 seats; the Singaporean in us just couldn’t help falling prey to social Proof 😛
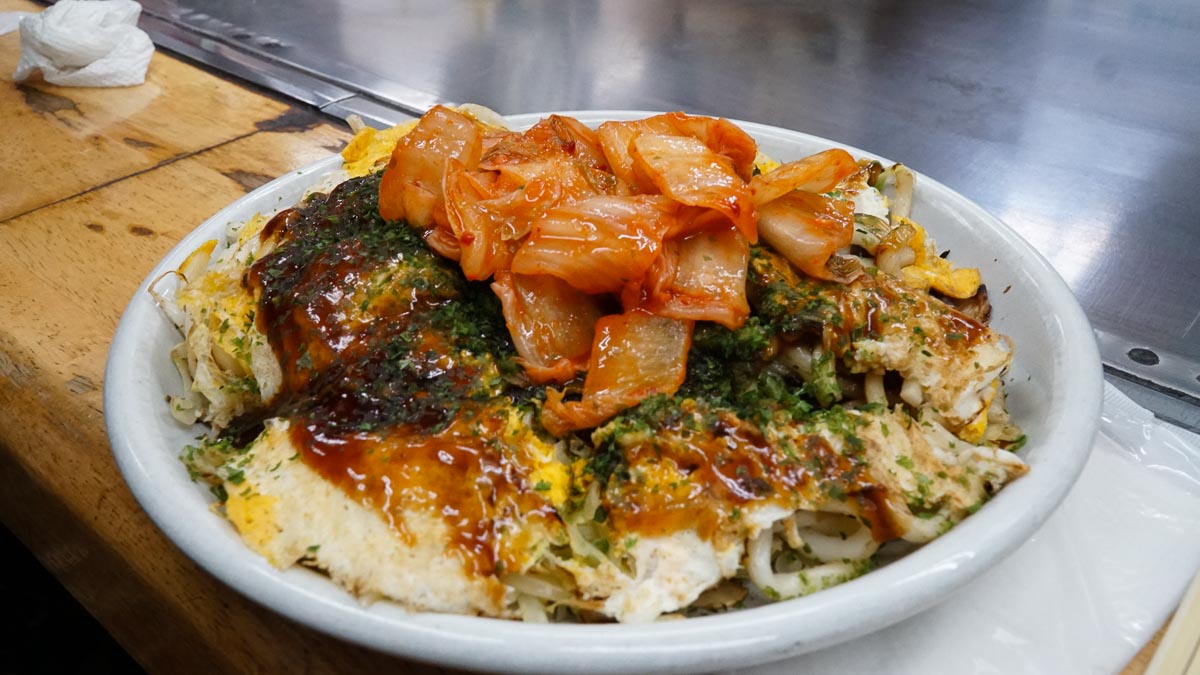
The standard set here costs ¥810 with a choice of Udon or Soba and options to add-on such as cheese, prawns, squid or even kimchi for a top-up of ¥100-200.
Servings here were huge and could probably feed 2 with space for appetisers and desserts but unfortunately the rule here is, every guest must have their own plate of Okonomiyaki. We none the less enjoyed it until we felt way too full.
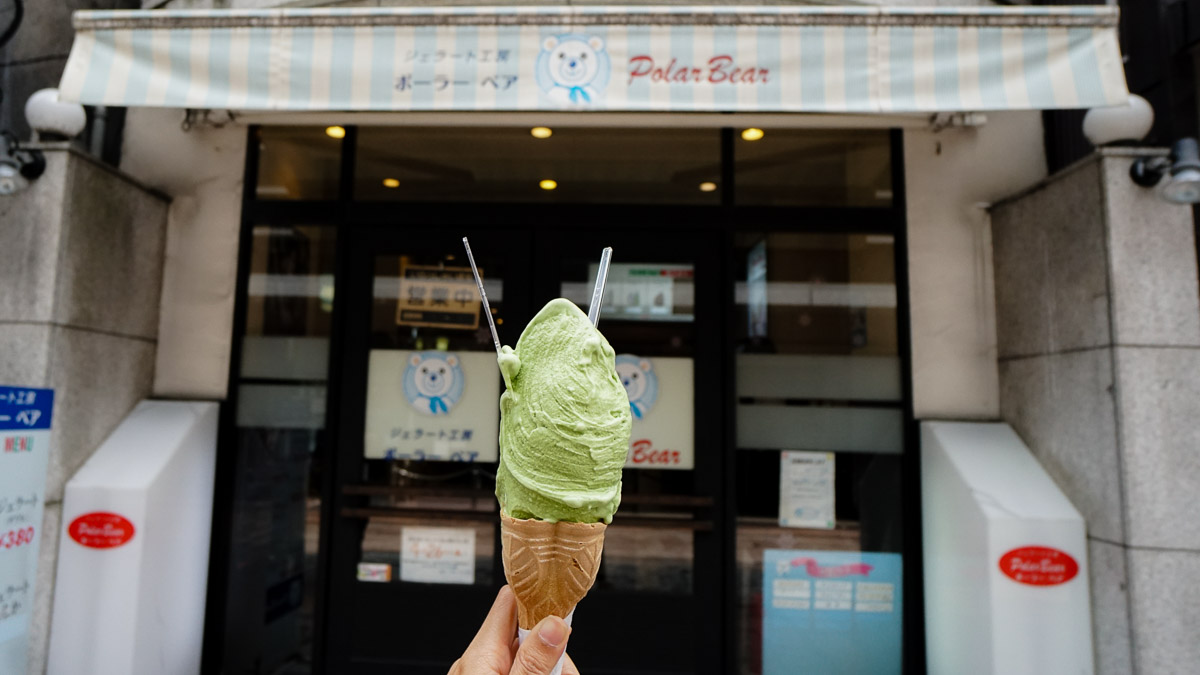
Though, our advice is try not to stuff yourself to the brim because just a 5 minute walk away is one of the best gelato find in Hiroshima — Polar Bear (¥310 for single scoop with cone). The ice cream was so incredibly soft, smooth and fluffy you can understand why the shop has a constant flow of local customers streaming in just to get a cone despite the chilly weather outside. The popular flavours here are Matcha and Sakura.
After lunch, we drop our Ekirin bikes off and head for Miyajima — island with the floating Torii gate (and lots of cheeky deers).
Miyajima
JR TRANSPORT:
Hiroshima Station (San-yo Line towards Iwakuni) — Miyajimaguchi Station
JR Miyajima Ferry — Miyajima Island
Miyajimaguchi (San-yo Line towards Itozaki) — Hiroshima Station
We were so grateful the Kansai-Hiroshima pass included the ferry to Miyajima because the ferry happened to be about to leave just as we arrived. The officers quickly ushered us into the ferry seeing that we had our JR Pass peeking out of our hands.
Check this timetable to plan your departure.
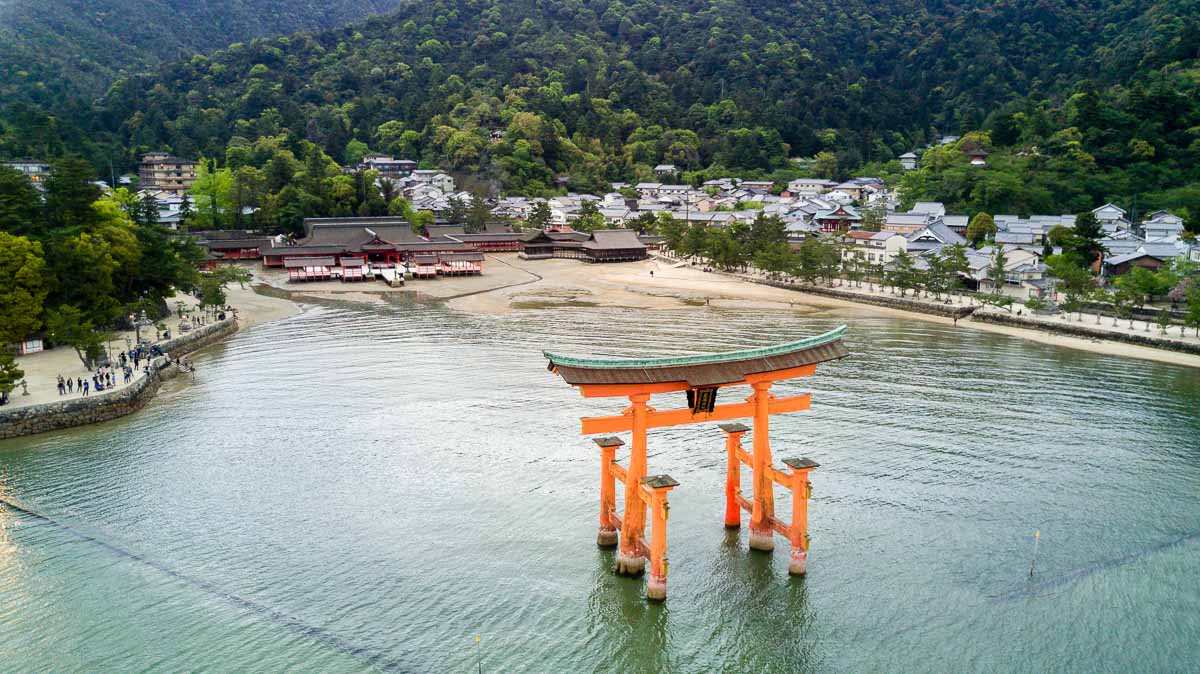
If you arrive during low tide, you can walk up to the gate and watch some of the local obasans digging the ground around for mussels. If you look closely, stuffed within the cracks of the wooden gate are coins and tiny trinkets left by visitors. Many come by during low tide to make a wish before leaving a small token on (or wedged into) the Torii gate.
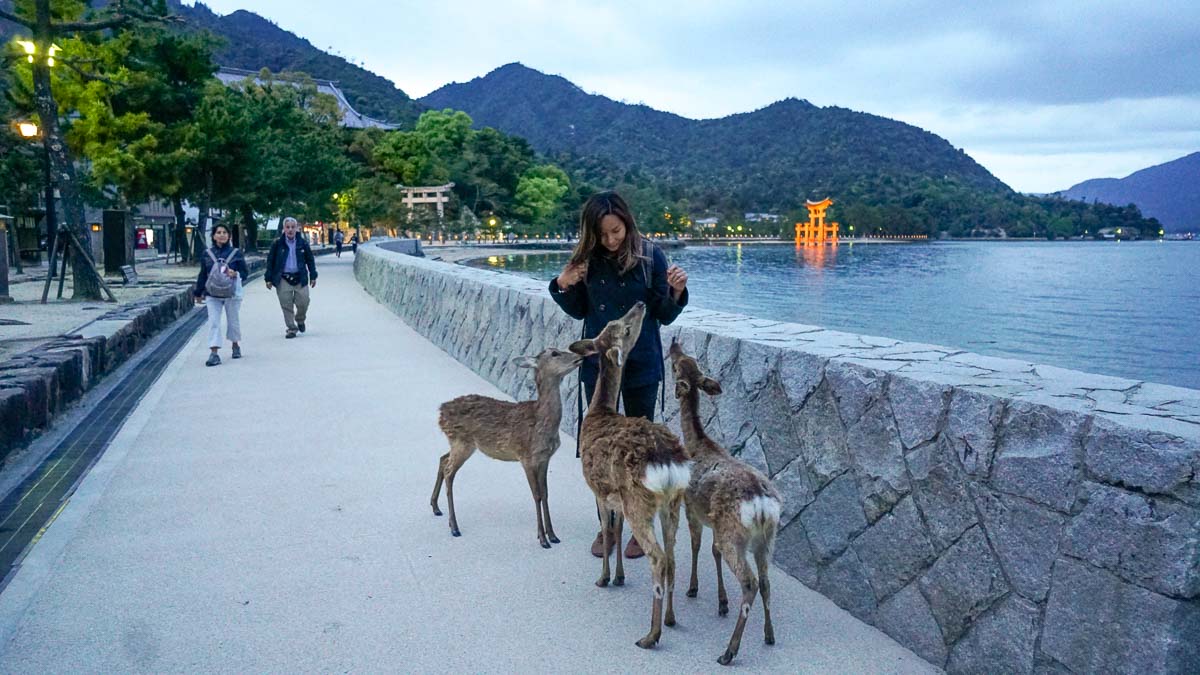
The next thing you’ll probably notice here are the deers! There are thousands of them on the island and all pretty hungry for paper (or any kind of food probably) so be careful of your JR Pass ($100+ worth of deer food)! Apart from being a little insistent when they know you have paper or food accessible on you, these deers are actually a lot tamer than the ones found in Nara. You’ll find most of them lazing under a tree and are more than happy to stay still while you snap a selfie or two.
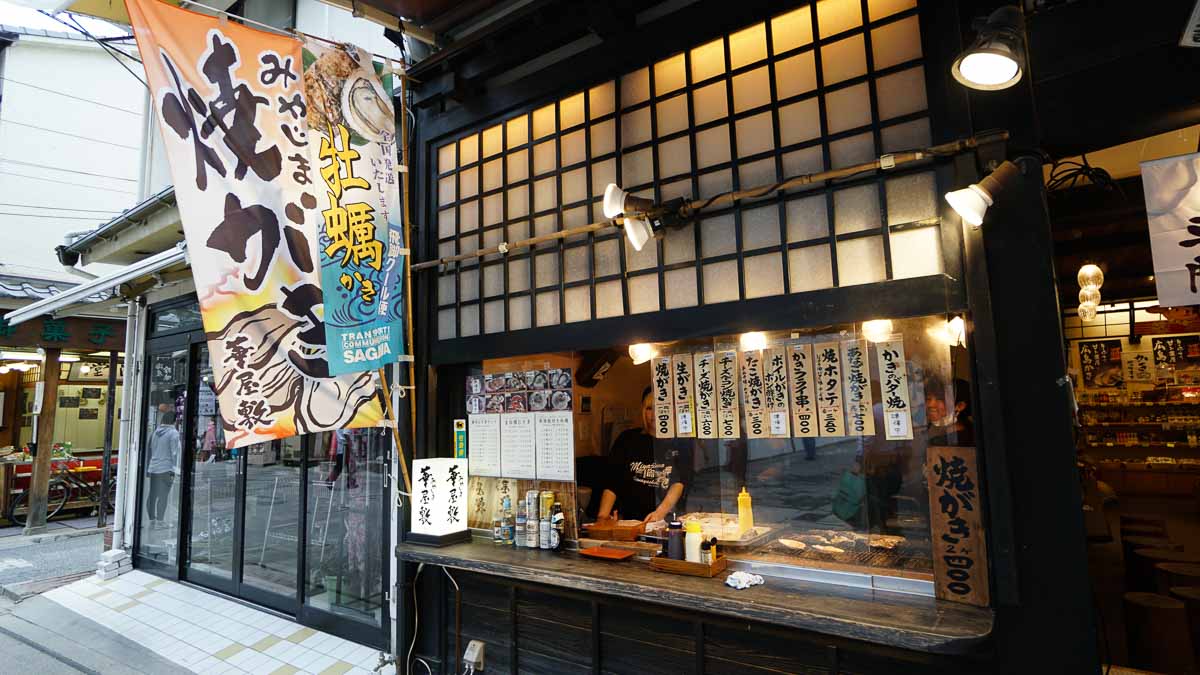
Oysters are a must-try in Miyajima. The famous shop here is called Kakiya and can probably be easily spotted with a long queue outside. Unfortunately it was closed that day so we ended up at a souvenir shop called Hanayashi which was connected to a small seafood grill.
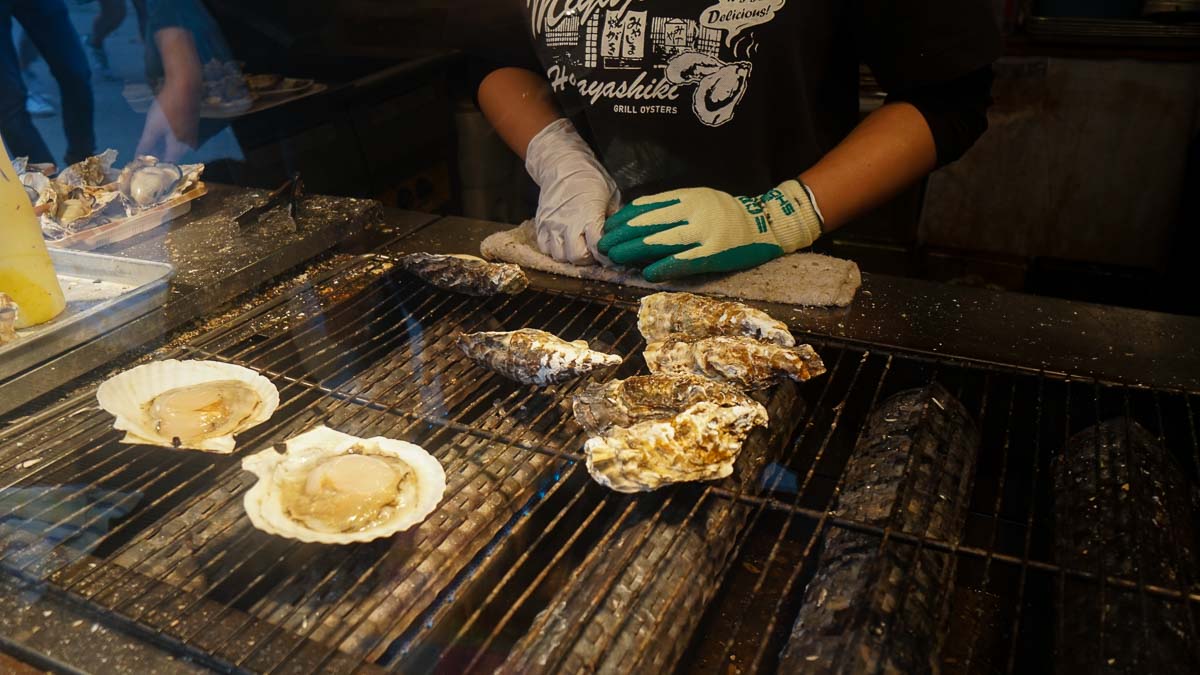
We can’t say for sure how it compares to Kakiya but ¥400 for 2 fresh as they can be oysters, we were happy customers!
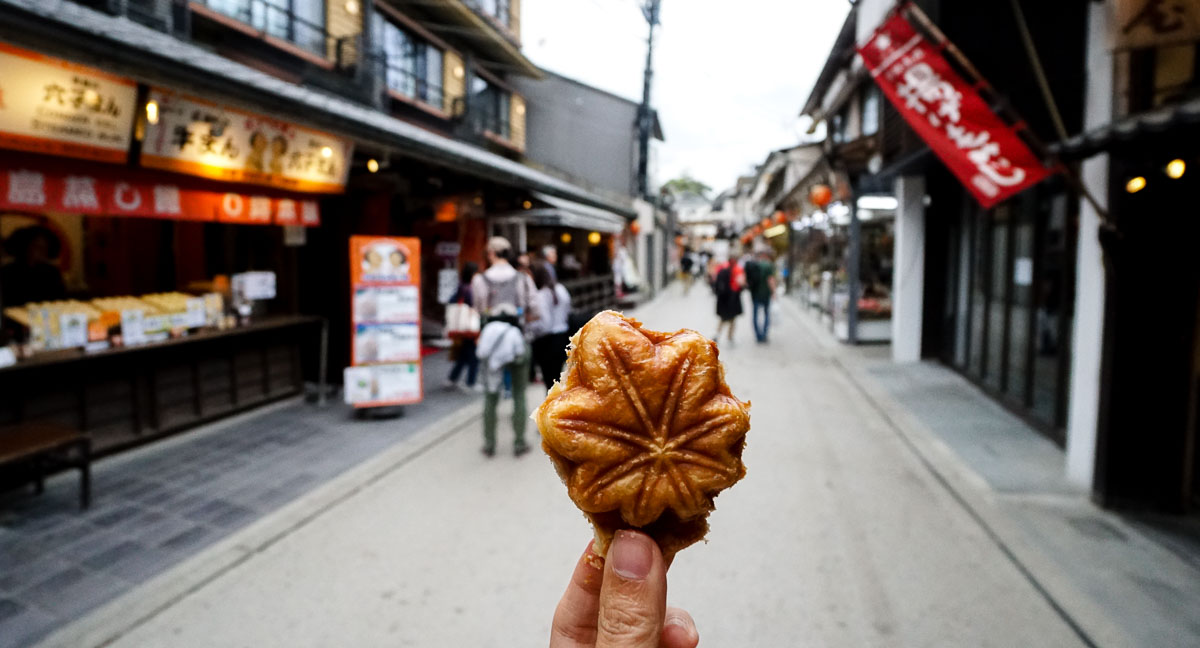
Other famous snacks you can find here are the maple leaf pastries traditionally filled with red bean but can be found in other flavours such as cheese, chocolate or caramel. There’s also a melon-pan (sweet toasted bun sandwiching a scoop of ice cream — bliss) store on the way up to the Misen ropeway.
If you have time on your hands, you can take the Misen ropeway up the hill followed by a 30 minute walk to the highest part of Miyajima to enjoy a panoramic view of the island and its surroundings. Do note that the last ride down is at 5:30pm so factor in walking time to the station.
Also make sure to catch the last ferry back to Miyajimaguchi as well as the last train back to Hiroshima!
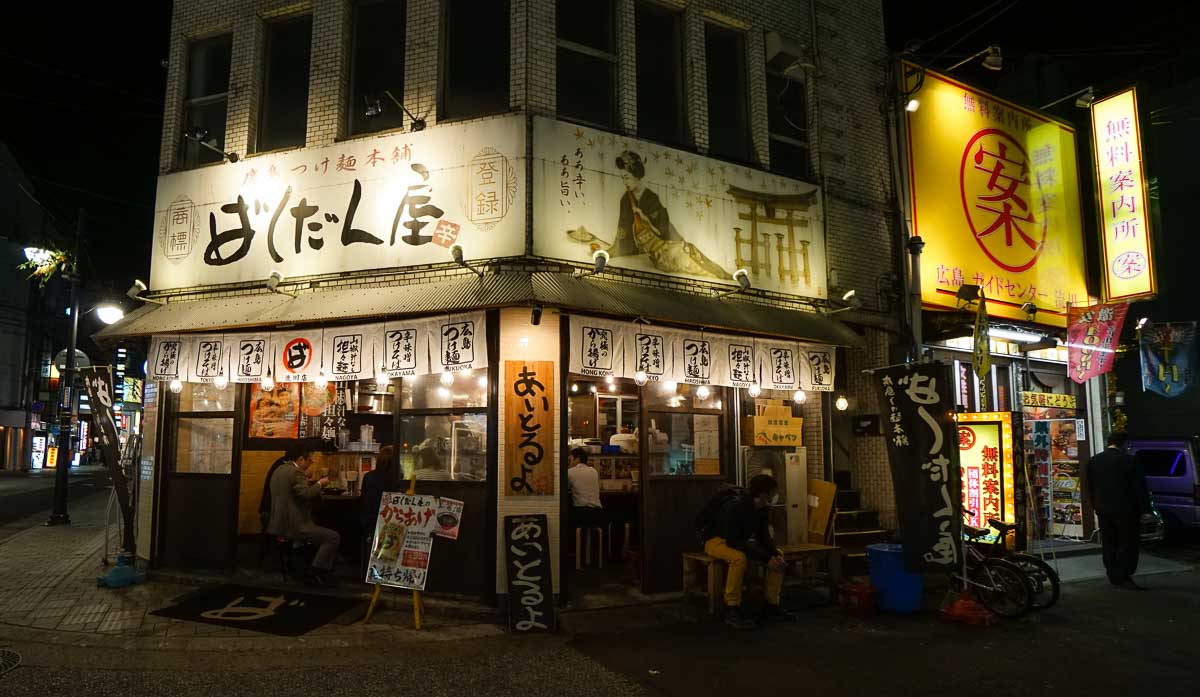
Back in Hiroshima, we missed the last local train and ended up walking in on one of the city’s most famous places for Tsukemen — cold ramen dipped in varying degrees of spicy broth, Bakudanya (1.7km away from Hiroshima Station).
Bakudanya got so famous it opened up various outlets in other cities like Tokyo, Nagoya and even one abroad in Hong Kong but this outlet in Hiroshima is where it first started out. I’ll be fondly waiting till they reach Singapore’s shores!
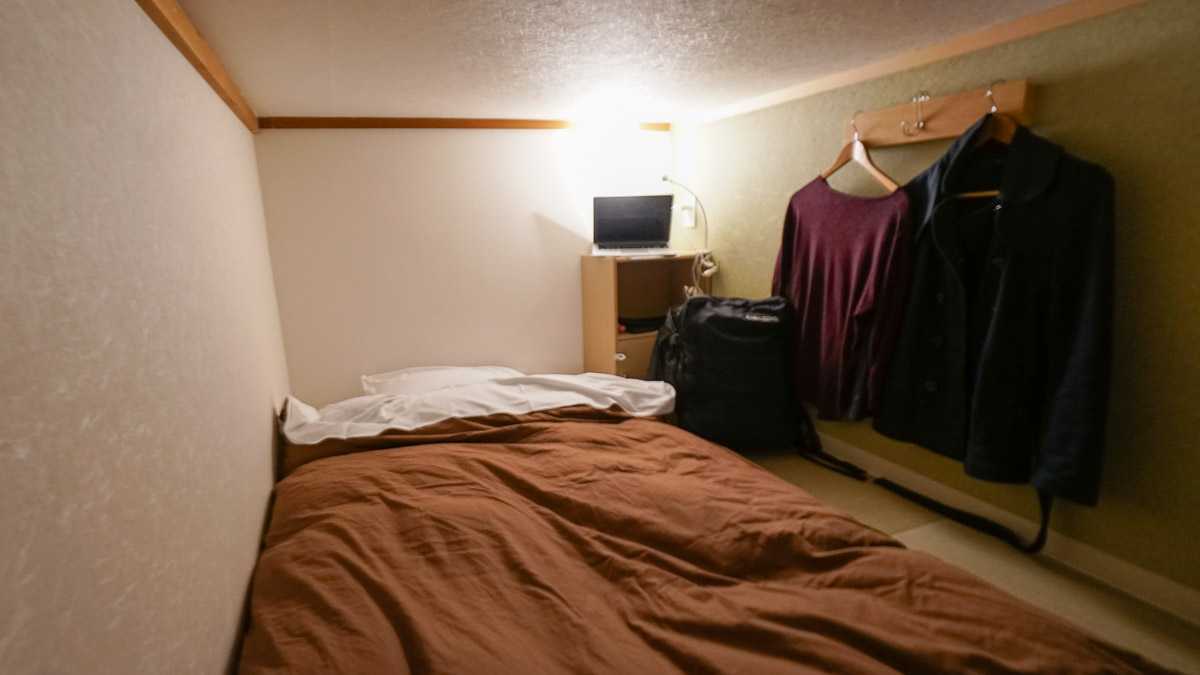
Accommodation: J-Hoppers Hiroshima Hostel — loved how spacious the beds were. It even had enough space at the sides for our backpacks and a small working corner. J-Hoppers has various outlets across Japan (2 in Osaka) so if you’re staying at a couple of them, be sure to grab a stamp booklet from the counter and enjoy ¥300 off every 3rd night stay.
Day 3: Hiroshima — Okunoshima (Rabbit Island) — Naoshima — Kyoto
Ōkunoshima
JR TRANSPORT:
Hiroshima Station (Tokaido-Sanyo Shinkasen towards Tokyo) — Mihara Station
Mihara Station (Kure-Line towards Hiroshima) — Tadanoumi Station (Bunny Island!)
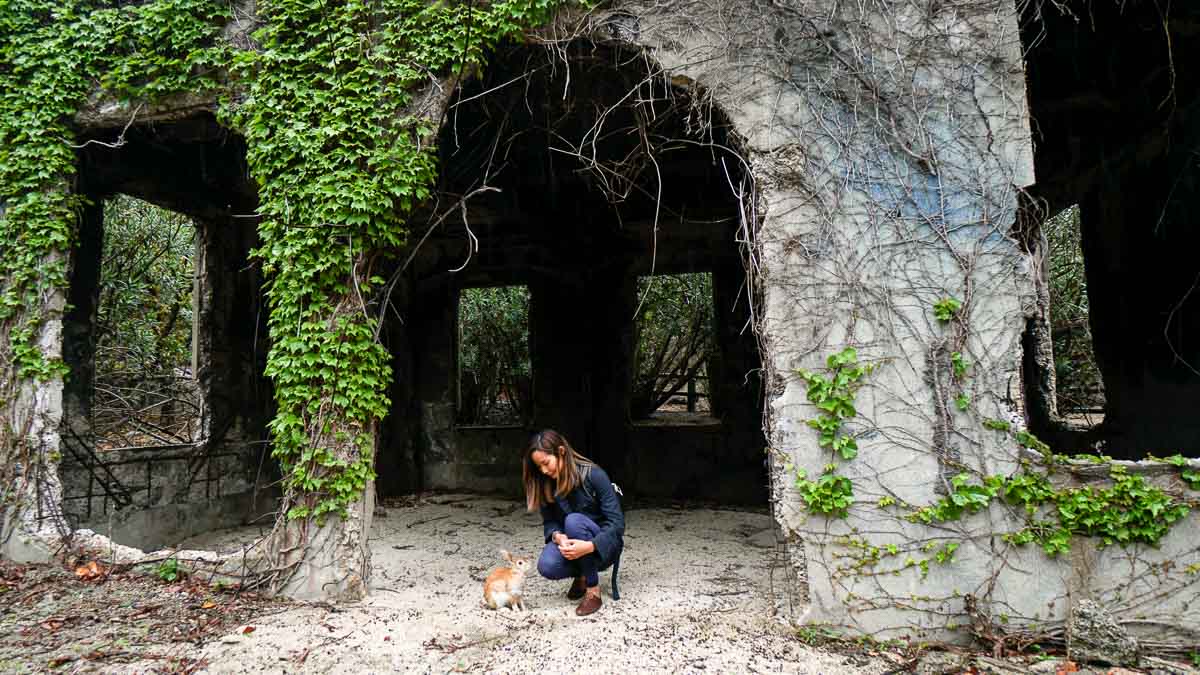
One of my favourite days on this trip was our visit to Ōkunoshima or better known as Rabbit Island! The island was a site for Japan’s poison-gas production during WWII but today, it’s almost synonymous to bunny paradise.
Just slightly over an hour’s ride away, Okunoshima is perfect for a day’s trip out from Hiroshima city. But since we were on the way back to Osaka, we checked out of the hostel and brought our luggage along.
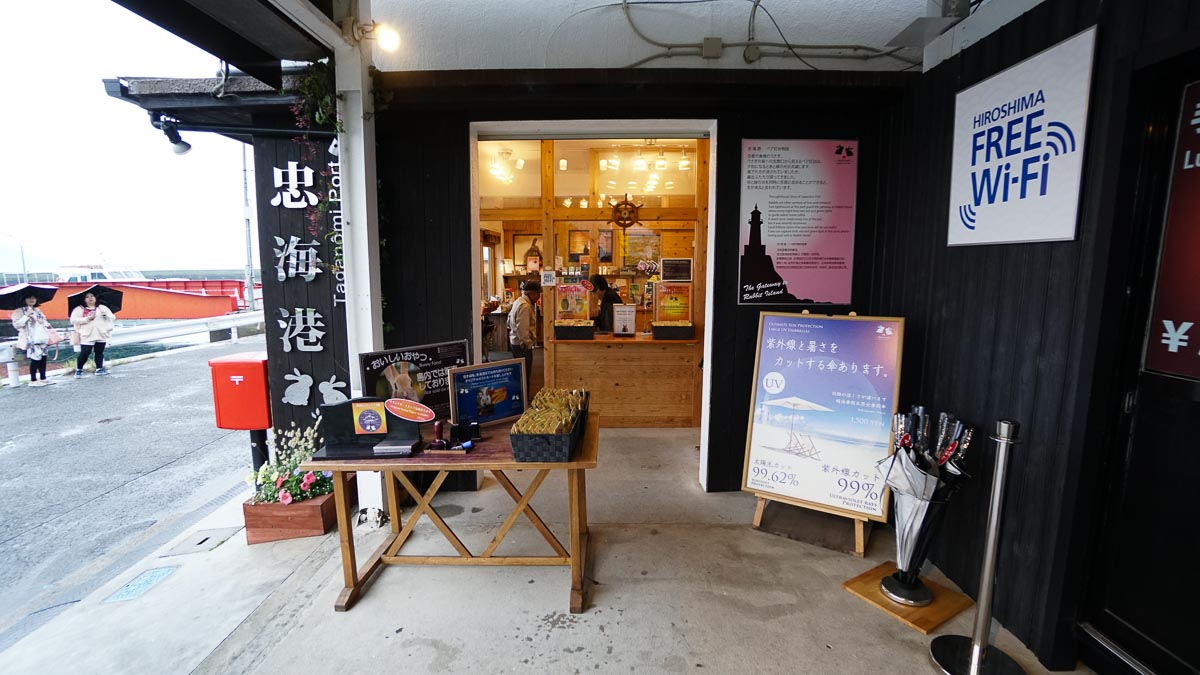
Tadanoumi Port: This is where you can leave your luggage (¥500 per luggage piece), buy ferry tickets (¥620 round trip via the vending machine), and load up supplies of bunny food (¥100/pack) at the shop by the ferry terminal, or FamilyMart near the train station — we recommend at least 2 packets/pax you won’t regret! Also rabbit food can’t be found on the island itself.
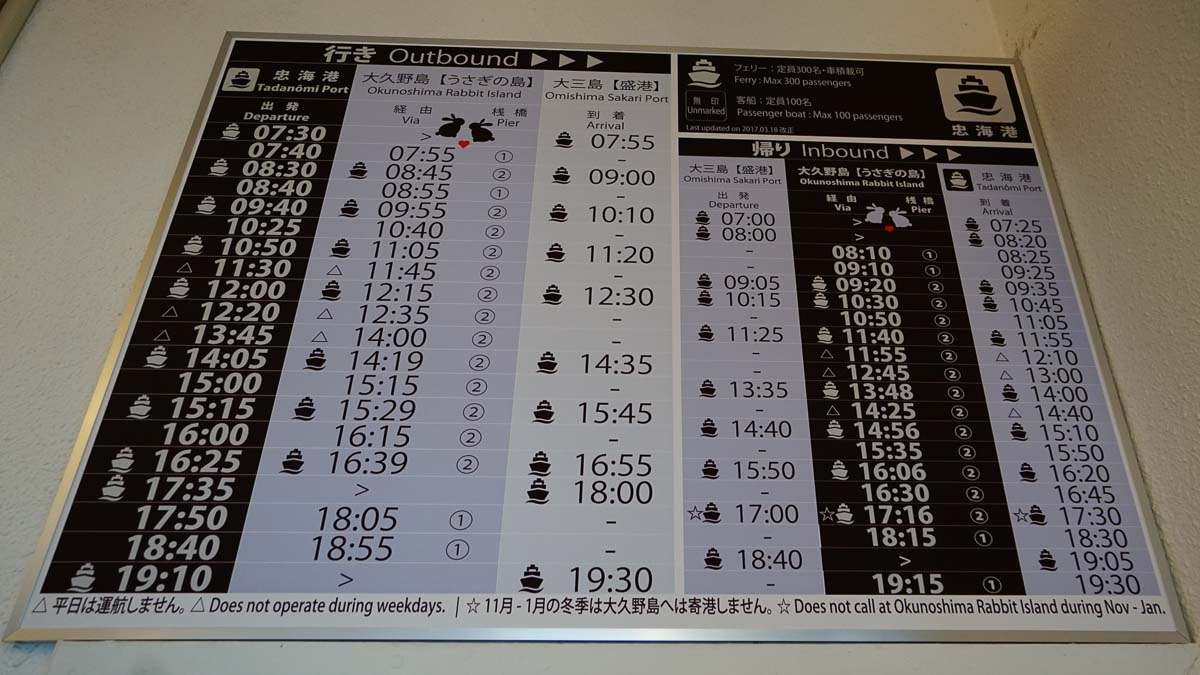
One thing to note on trip planning is the train leaving Tadanoumi station only comes once or twice every hour, so check the ferry timings above and be sure to plan your return ferry so you don’t miss the train at Tadanoumi station!
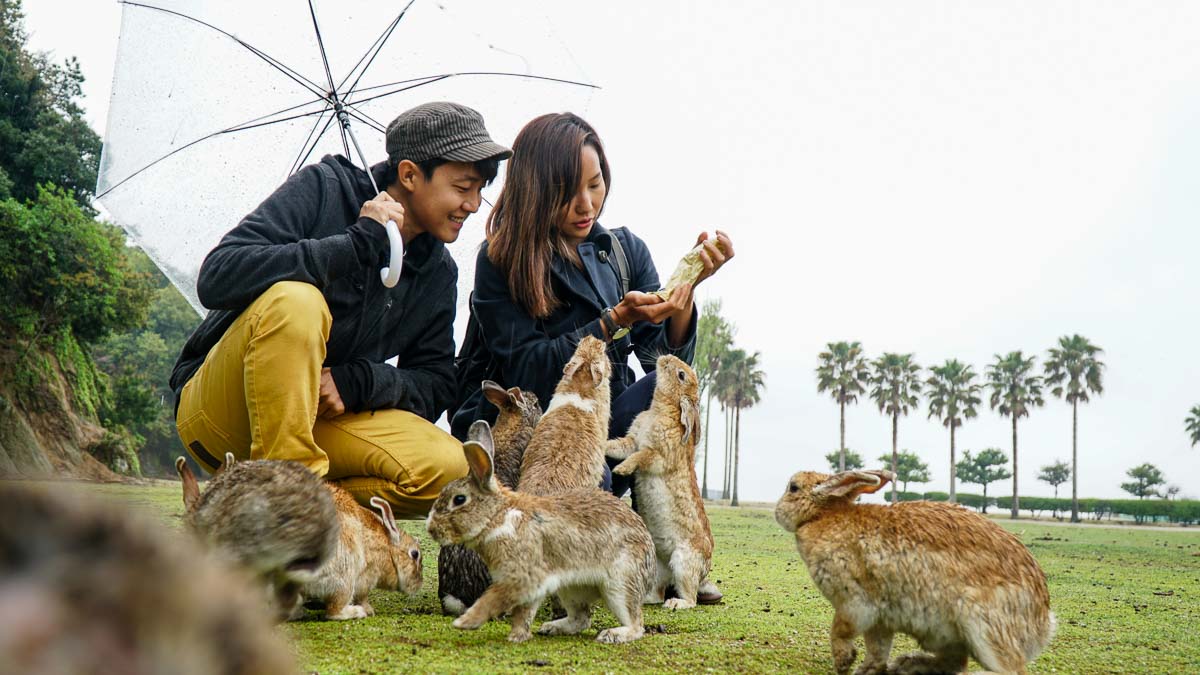

A little apprehensive at first as rabbits are known to deliver pretty painful bites, these furry ones were so friendly we warmed up to each other quickly.
We were practically the only foreigners that arrived that morning so you can imagine how excited the bunnies were when we started shaking the bag of food in our hands. There was literally a hoard hopping towards us at one point!
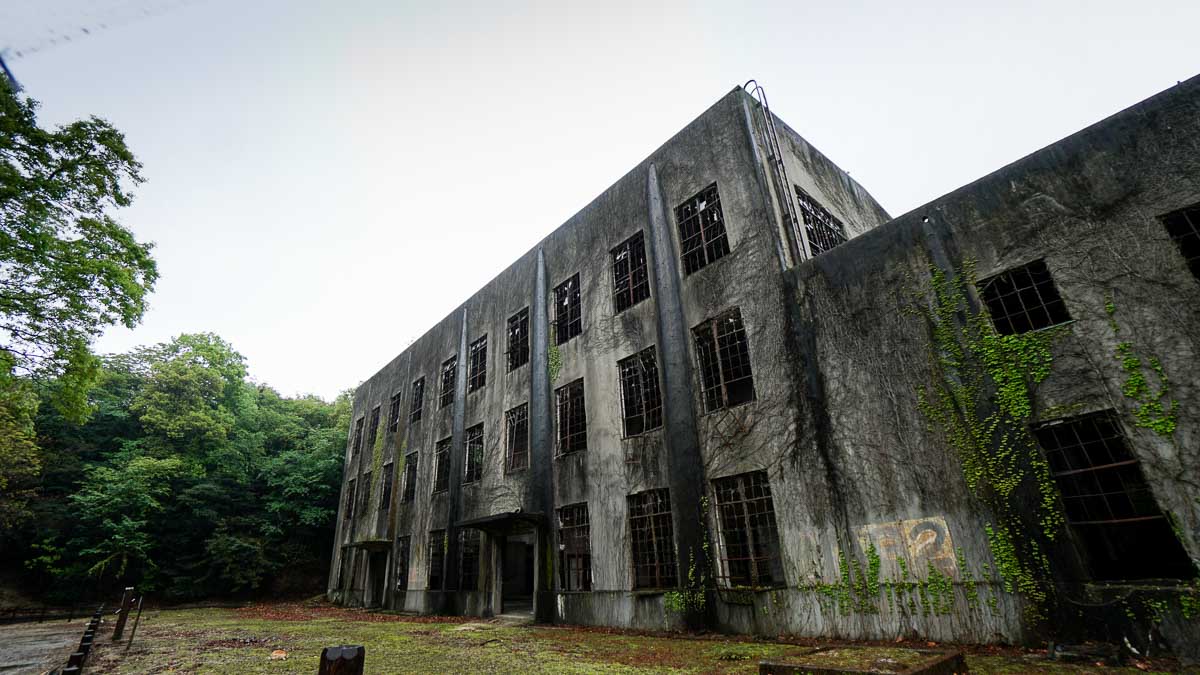
The island also has a poison gas museum where you can find more info on the island’s sneaky history in WWII as well as other abandoned structures such as this power plant on the right side of the port. Yes the rabbits are everywhere and can even be found hopping in and out of the buildings.
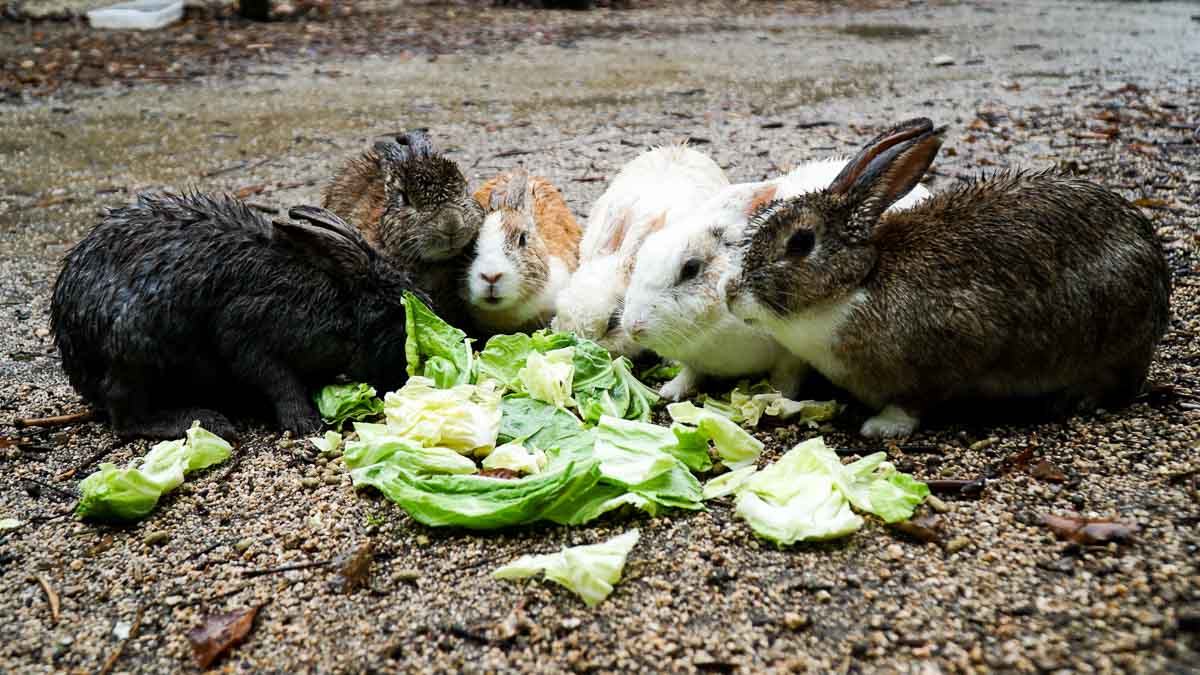
It was really heartening to see that there were locals bringing basket loads of fresh lettuce and other vegetables for the rabbits to feast on. After about 1.5 hours, unwilling as we were, we left to catch out train out of Tadanoumi on to our next island visit!
Naoshima
JR TRANSPORT:
Tadanoumi Station (Kure-Line towards Itozaki) — Mihara Station
Mihara Station (Takaido-Sanyo Shinkasen towards Tokyo) — Okayama Station
Okayama Station (Uno Line towards Uno) — Uno Station (Naoshima)
Uno Station (Shikoku Ferry) — Naoshima (¥520 round trip; Not covered by JR Pass)
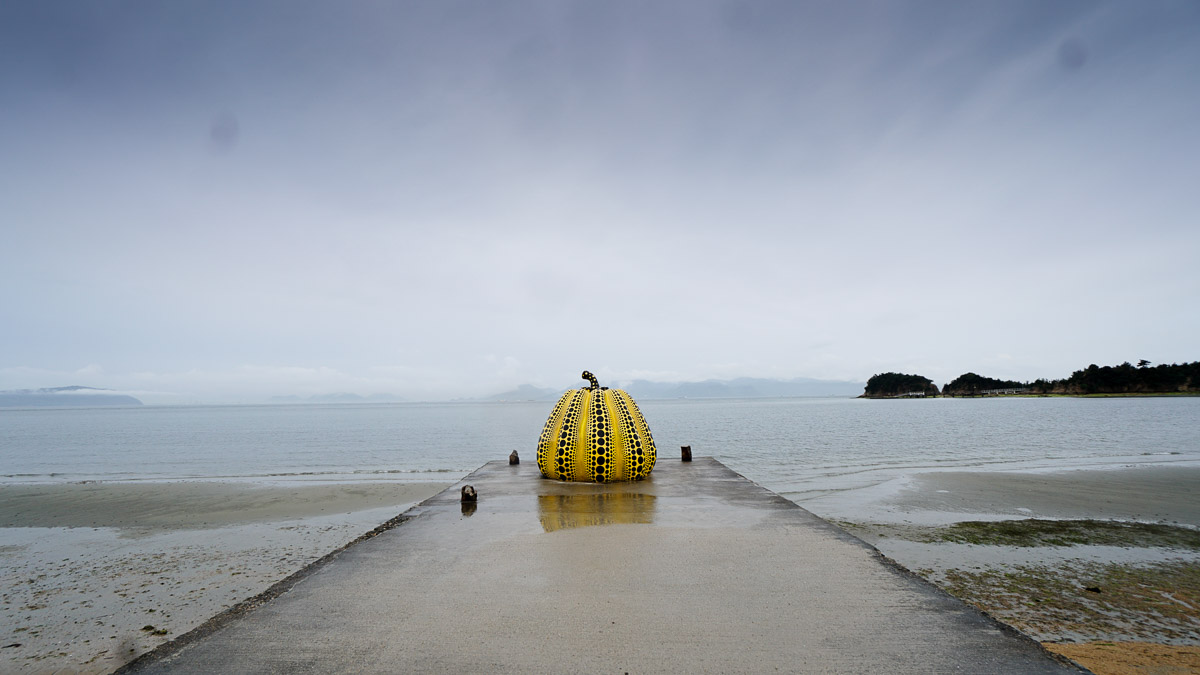
Naoshima is known for many contemporary art museums as well as outdoor exhibits and installations spaced out around the island. Probably the most famous one here is the yellow pumpkin by Yayoi Kasuma.
You can rent a bicycle (not covered by the JR Pass) to get around the island but between the Tsutsujiso bus stop and the art museums, bicycles are not allowed. You can hop on the free shuttle bus that runs twice every hour or just go on foot while exploring all the interesting outdoor installations along the way.
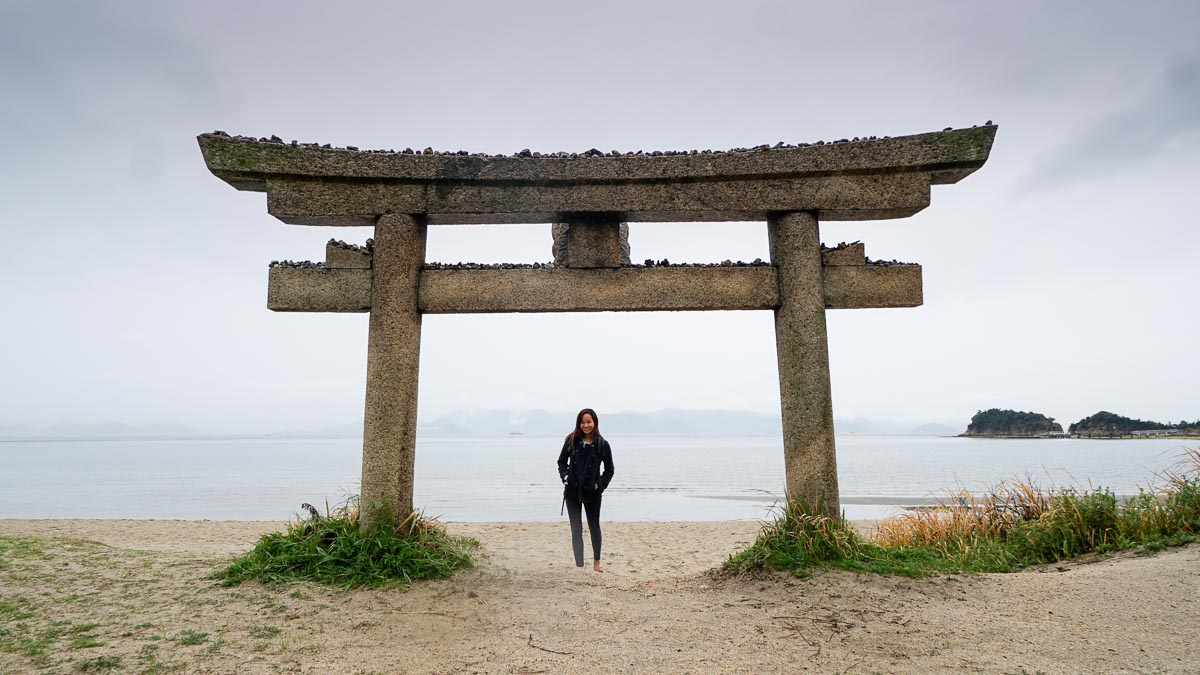
There are also two different ports so if you’re short on time, you can enter the island through Miyanoura port and exit via Honmura port. Note that the last ferry out from Honmura port is at 6:10PM so check the ferry schedules to plan how long you can spend on the island.
Kyoto
JR TRANSPORT:
Uno Station (Uno Line towards Okayama) — Okayama Station
Okayama Station (Tokaido-Sanyo Shinkasen) — Kyoto
Arrive in Kyoto for the night and be prepared to wake up early for the next day’s adventures!
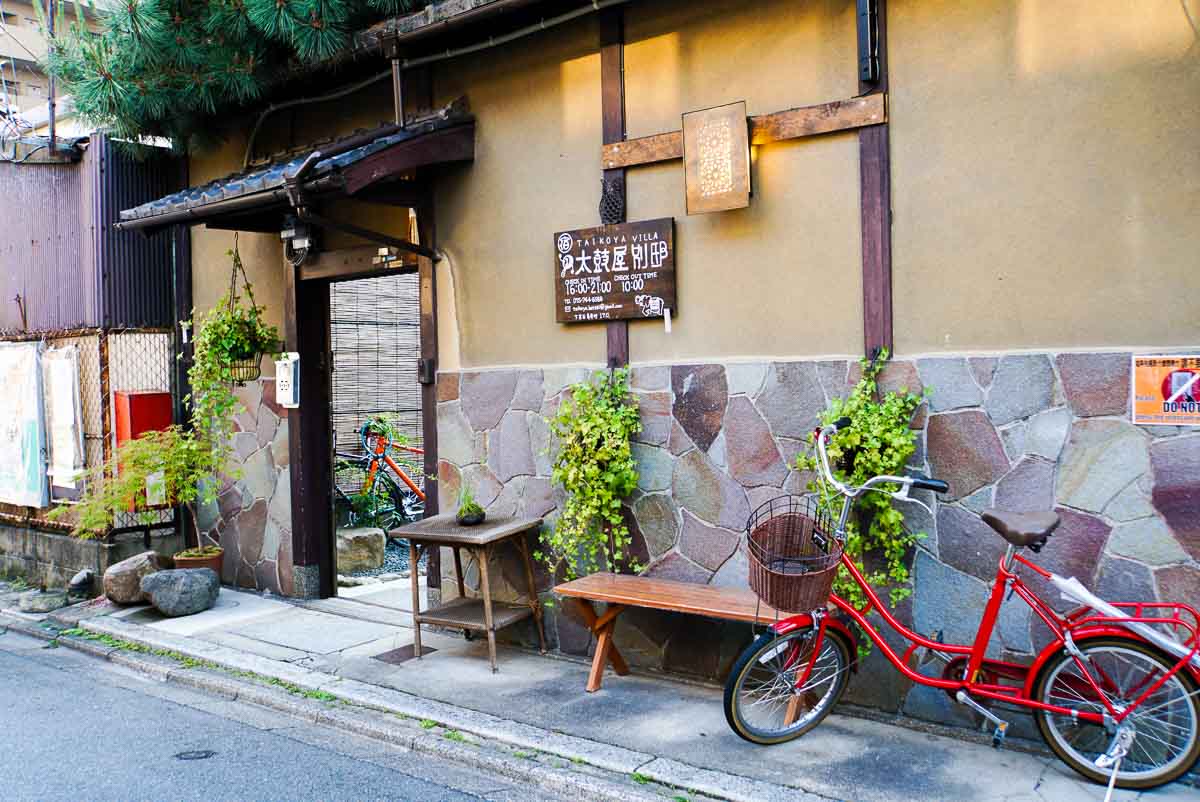
Accommodation: Taikoya Bettei Guesthouse
Kyoto Station (Karasuma Line towards Kokusaikaikan) — Karasuma Oike Station ¥210
Day 4: Kyoto
As a former capital of Japan, Kyoto has no shortage of instagrammable spots with many charming temples and shrines preserved in the most tip-top conditions.
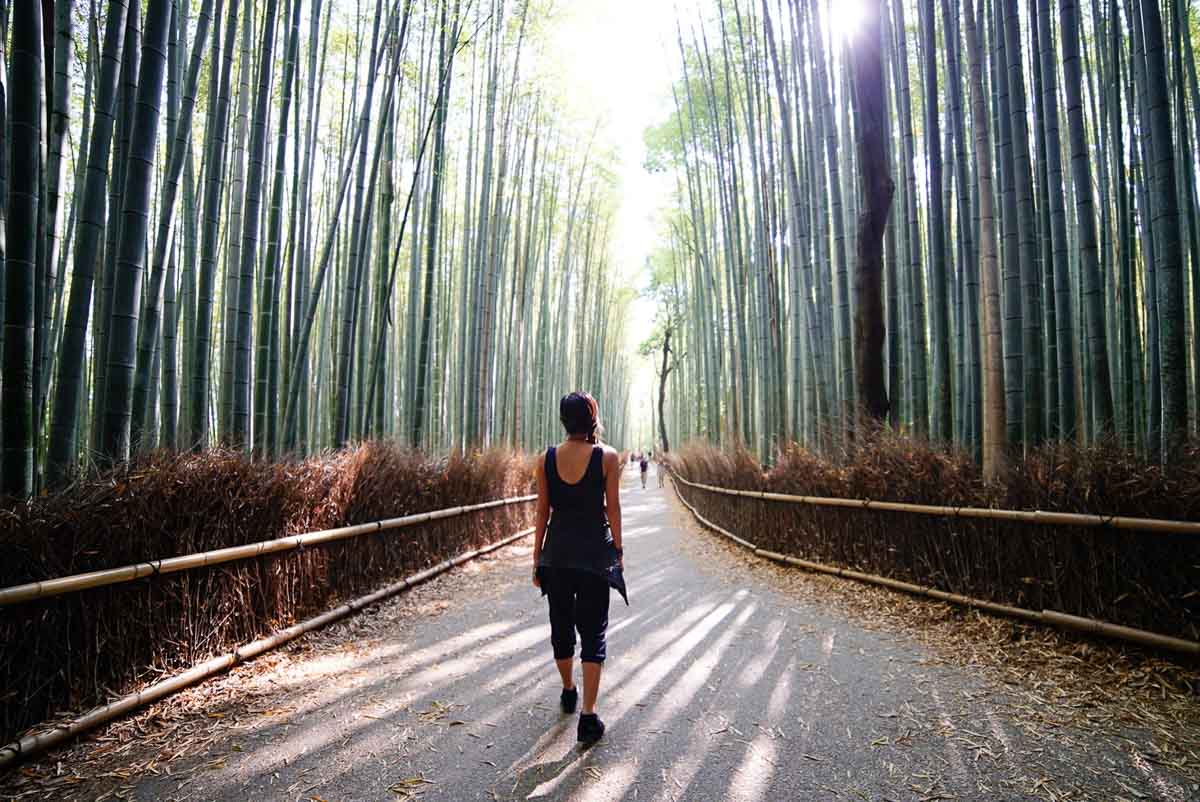
But one of the most iconic sights of Kyoto is the Arashiyama Bamboo forest (25 mins by local train from the Gion area). The Bamboo forest really is best experienced first thing in the morning when you practically have the whole place to yourself. Tour buses start streaming in around 8:30am so brace yourself if you’re arriving later than that.
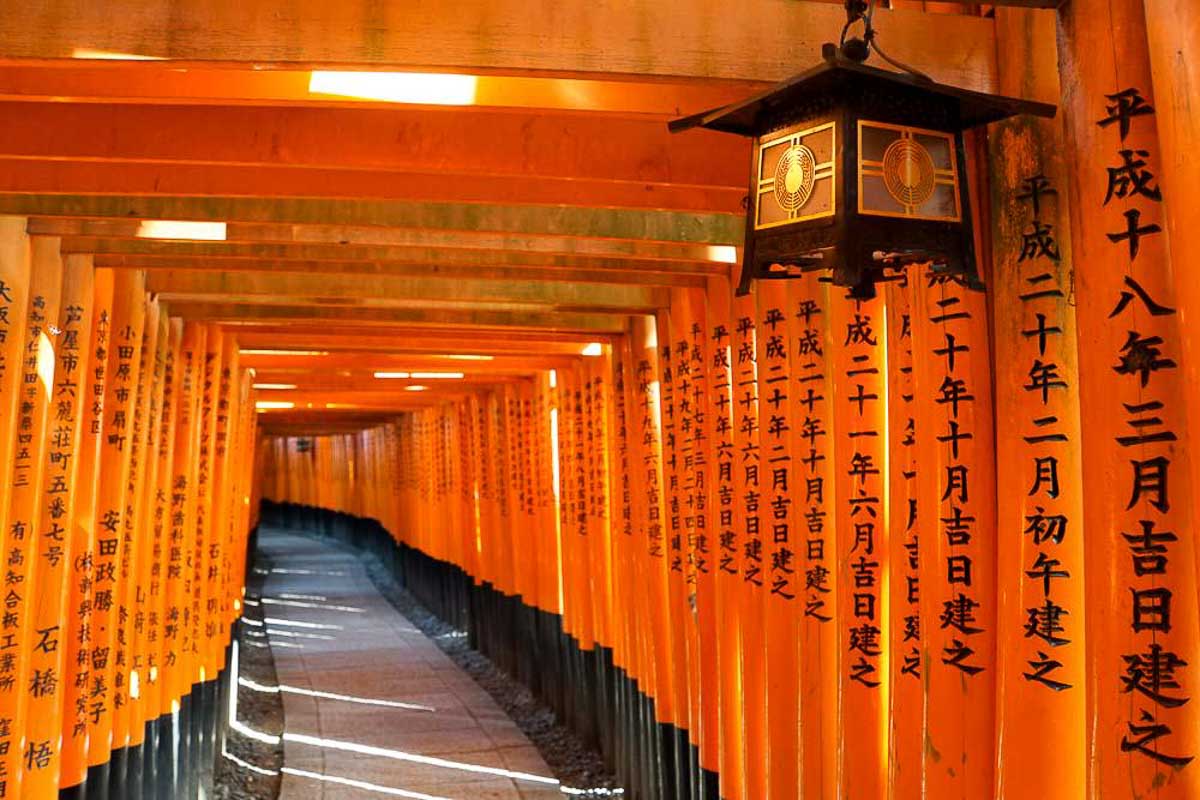
The Fushimi Inari Shrine is another must-visit in Kyoto famous for its never ending line of torii gates donated by individuals around the world. This is also the gateway to several hiking tracks that take about 2-3 hours to complete.
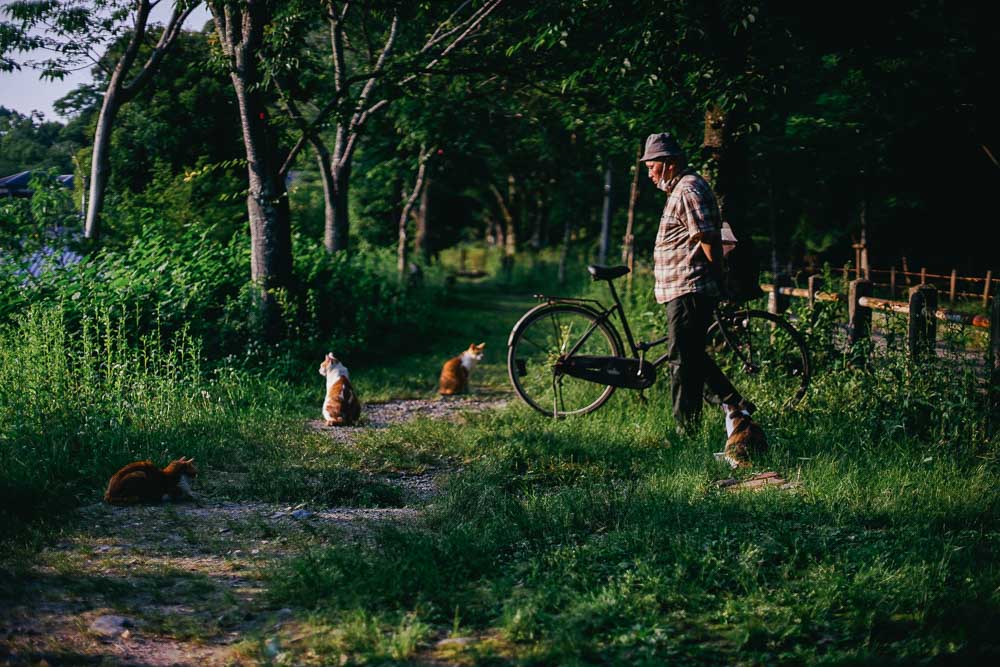
Back to Kyoto station area, pick up an Ekirin bicycle to explore the next few areas. Check out the Old Gion district — known as Kyoto’s Geisha district and cycle through the Philosopher’s Path — a canal path lined with cherry trees (especially famous in April during Hanami period). Just don’t get distracted by the cats along the way if you’re looking to visit some of the shrines in the area as most of them close at 4pm.
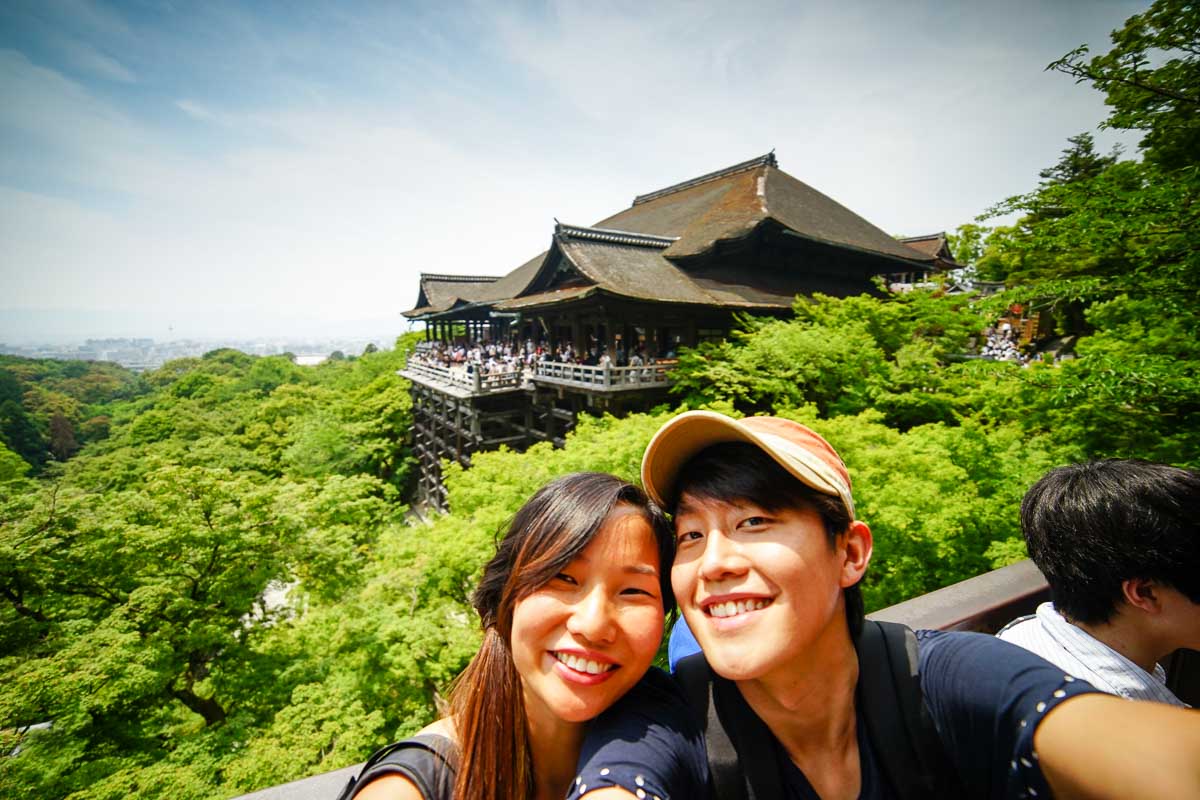
If there’s only one temple you plan to visit in Kyoto, Kiyomizu-dera (¥400) is the one. The 13m tall wooden platform jutting over the hillside offers an extravagant view of greenery in front. Really gives you a sense of calm despite the crowd you can probably expect throughout the day.
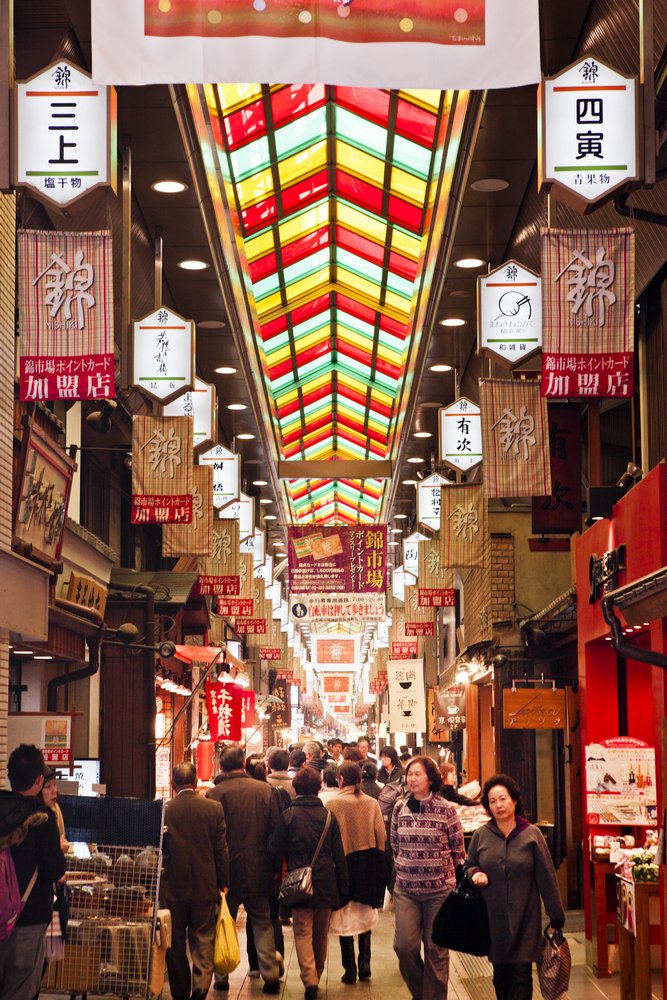
When you’re ready to look for food, the best place in Kyoto is the Nishiki market. Some of our favourites here were the Soy Milk Donut from Konnamonjya, Oysters from Daiyasu, the matcha soft serve from Sawawa (so incredibly rich in flavor!) as well as the fluffy and toasty manju-buns.
Read 16 foods you must try in Osaka and Kyoto for more details!
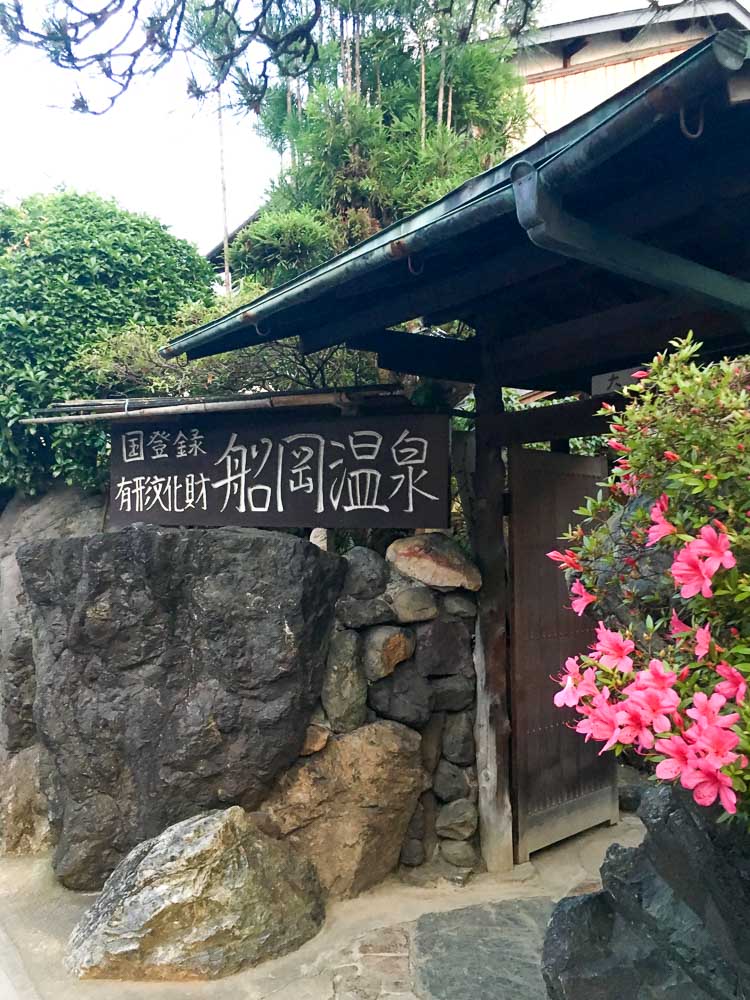
One of the best ways to end the day is a dip in an Onsen. We ended up at Funaoka Onsen (¥430), about 30 minutes away from Kyoto Station. Our favourite was the electric pool and the jet massage jacuzzi corner.
Read Also: Kyoto Budget Guide for more things to see, do and eat.
Accommodation: Taikoya Bettei Guesthouse
Day 5: Kyoto — Nara — Osaka
JR TRAINS:
Kyoto Station (Nara Line towards Nara) — Nara Station
Nara Station (Yamatoji Line towards Osaka) — Osaka Station
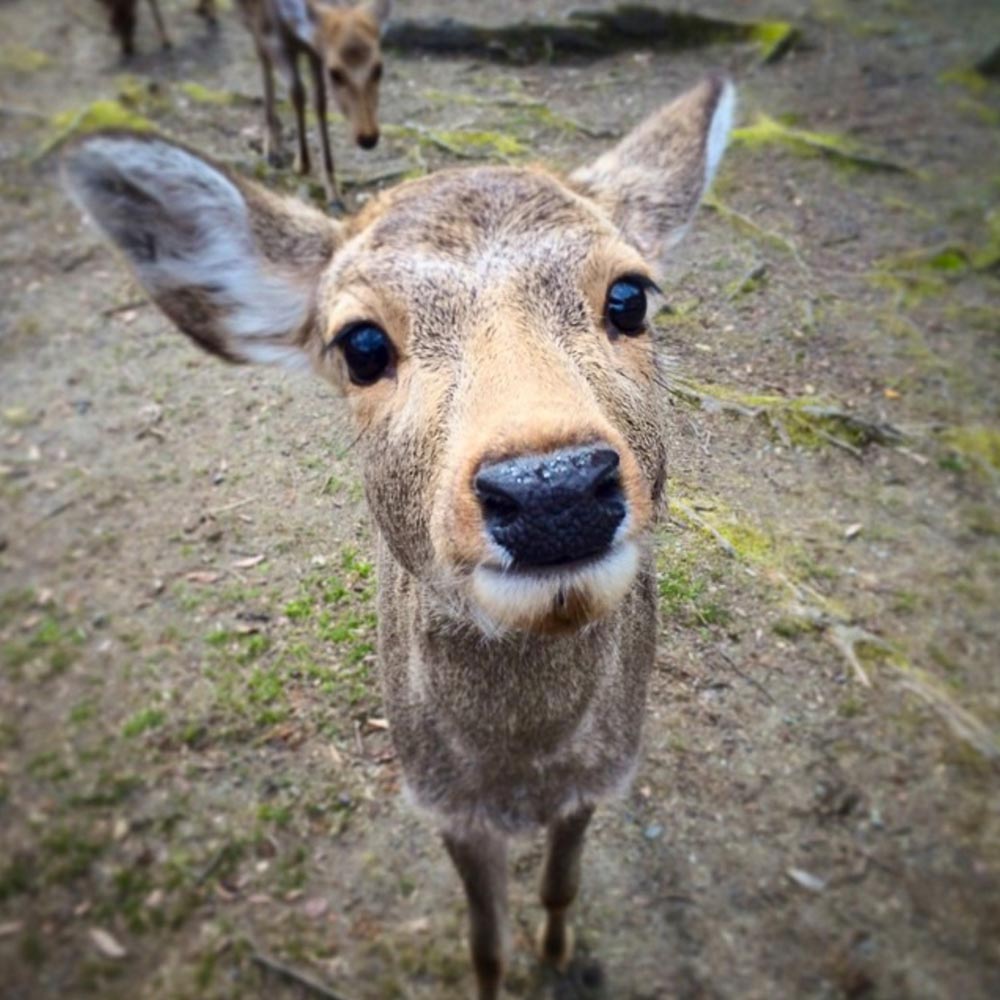
Check out early and head for Nara — under an hour’s train ride from Kyoto. Leave your luggage at the station’s lockers and grab an Ekirin bicycle. You can grab breakfast around the station but be sure to eat it before looking for the deers. These are not as chilled as the ones at Miyajima.
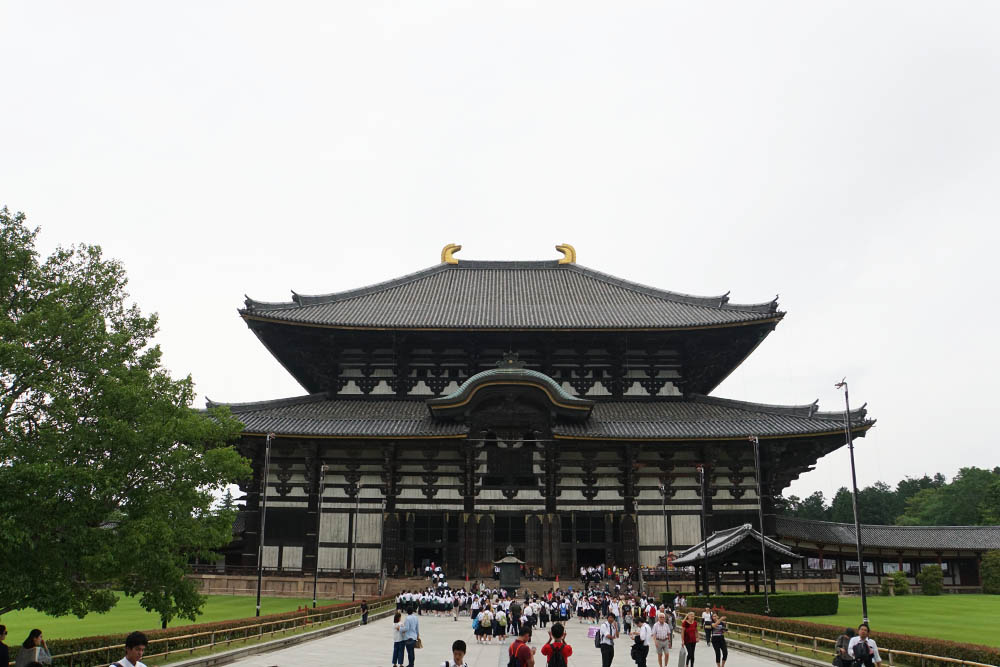
First stop, start riding towards the Todaiji temple (¥500) — one of the world’s largest wooden building and houses a massive 15m tall bronze buddha statue. When you’re done with the main complex, explore around and visit the other halls like the Nigatsudo hall, the Hokkedo hall as well as the Todaiji Museum.
*Pro-tip: Don’t be distracted by the deers and miss the opening hours of the other attractions as they can be found everywhere!
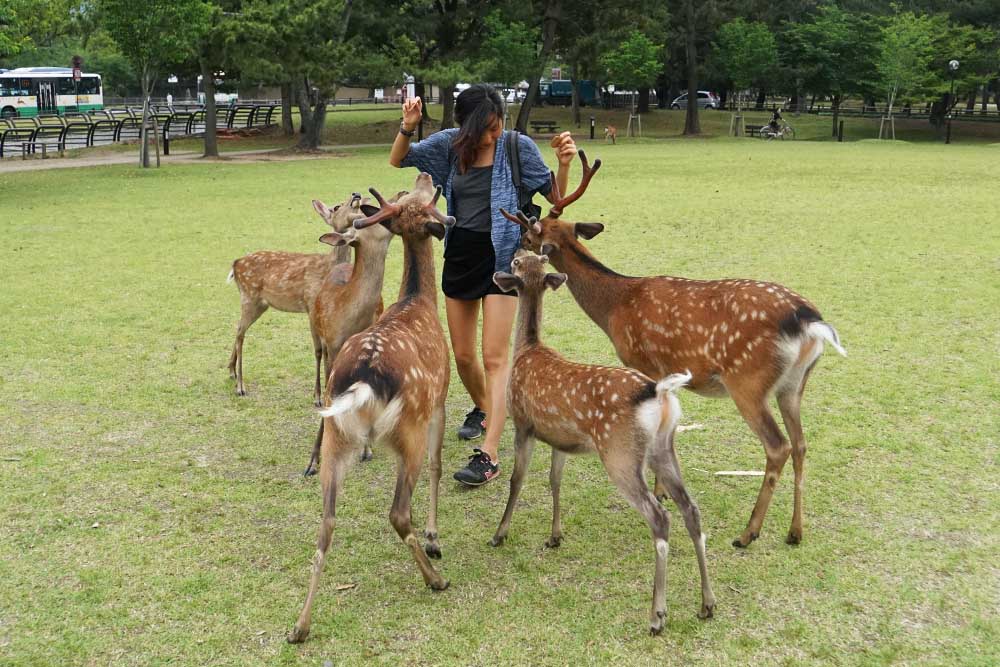
Of course, one of the things you must do is feed the deers in Nara Park.
You can purchase a stack of biscuits for the deers at ¥150 from a couple of vendors around the park. A lot of the deers will even bow in front of you before expecting a biscuit from your hand. Do be careful though as they can get quite playful some times.
Read also: Nara Budget Guide if you’re intending to stay the night or look for food in the area.
Osaka
JR Train:
Nara Station (Yamatoji Line towards — Tennoji Station (Osaka Loop Line) — Nishijuko Station (Sakurajima Line towards Sakurajima) — Ajikawaguchi Station
Before the sun sets, make your way towards J-Hoppers Osaka Universal for the night. Thankfully, there were JR lines that got us right to the accommodation so we could still make use of the JR Pass for the last time that day.
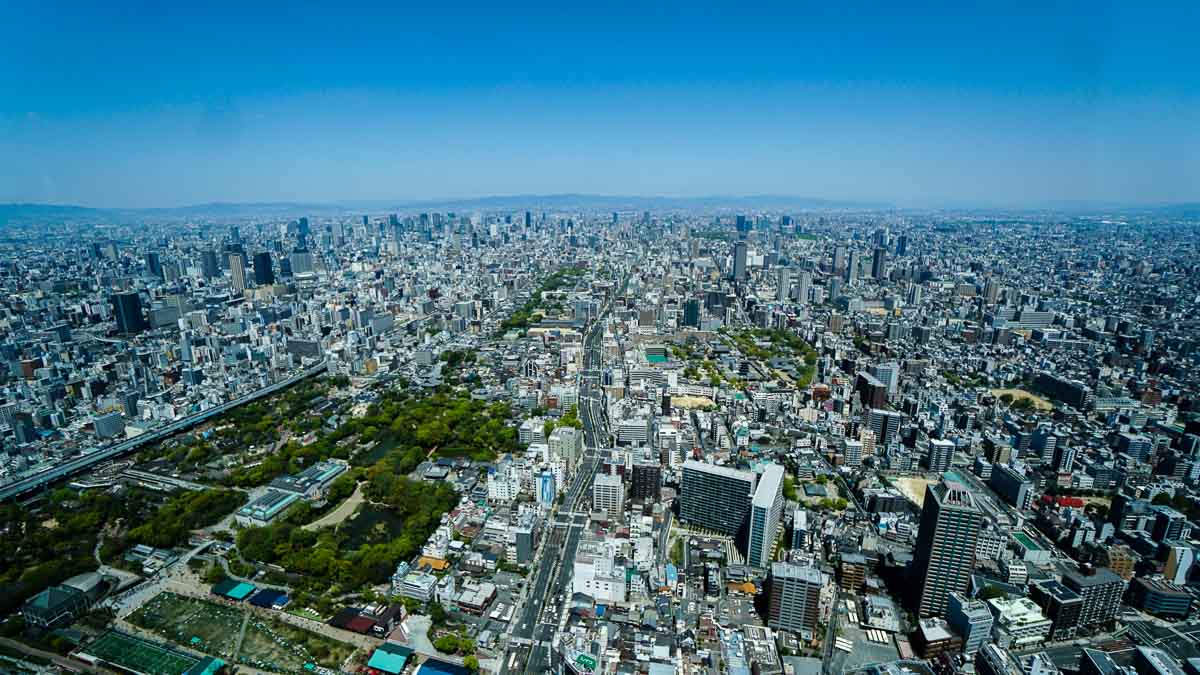
If you purchased the USJ VIP Wristband (allows you to enter the park 15-30mins earlier than everyone else) remember to collect them from Harukas300 (closes at 10pm). The pass also includes entrance fees to the Observatory of the tallest building in Japan.
Fun fact: Although the Harukas300 is marketed as the tallest building in Japan (300m), the Tokyo Skytree is in fact taller at 634m but is not considered a building ~ sneaky.
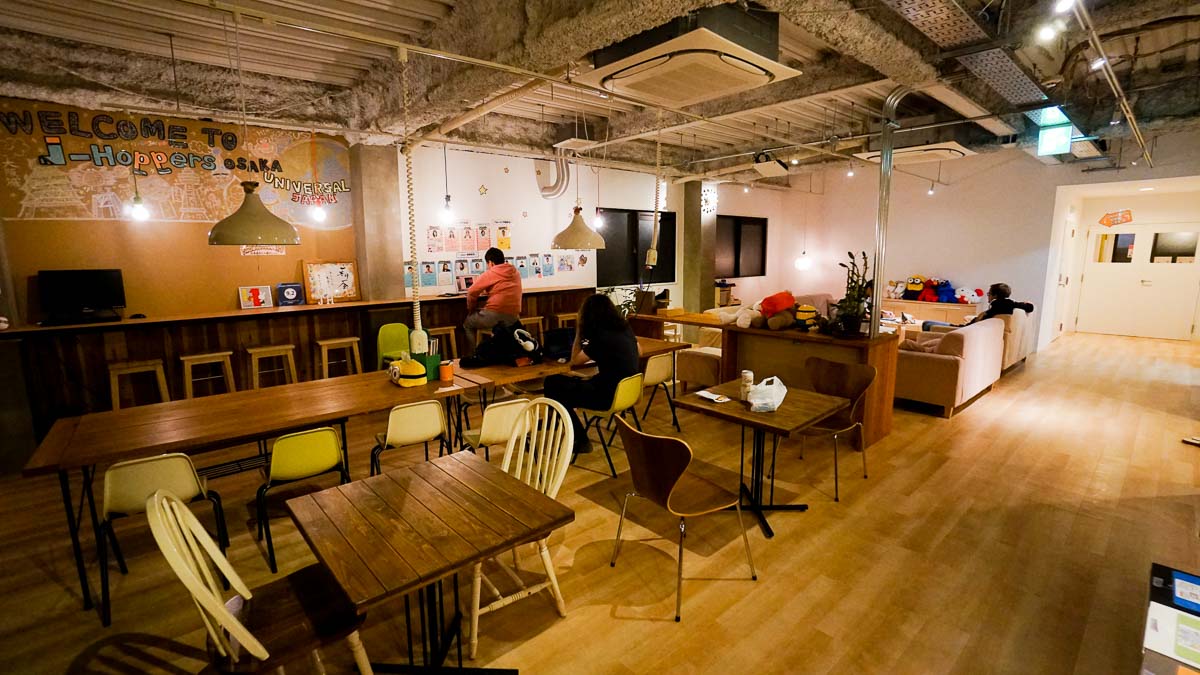
Accommodation: J-Hoppers Osaka Universal — just one stop away from Universal-City Station, this is one of the best budget accommodation options if you’re planning to visit Universal Studio Japan the next morning.
Day 6: Osaka (USJ)
We suggest buying your USJ tickets online so you can skip the queues and head straight into the park.
If you purchased the USJ VIP Wristband, you can find out the unofficial opening hours of USJ and enter 30minutes earlier than the rest through an exclusive password that lasts for 24 hours. This is especially helpful if you did not buy the USJ Express pass so you’ll be able to grab timed-tickets for the Harry Potter World before anyone else.
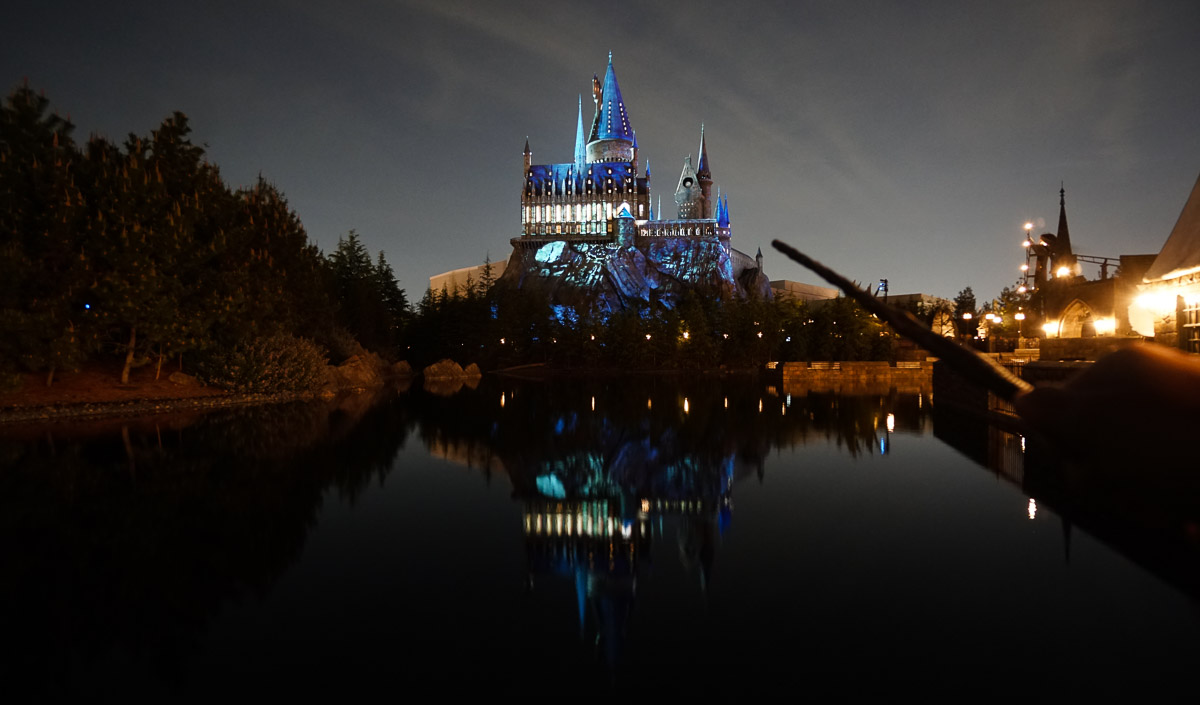
However, if would really like to try all the exciting rides, an express pass is definitely essential.
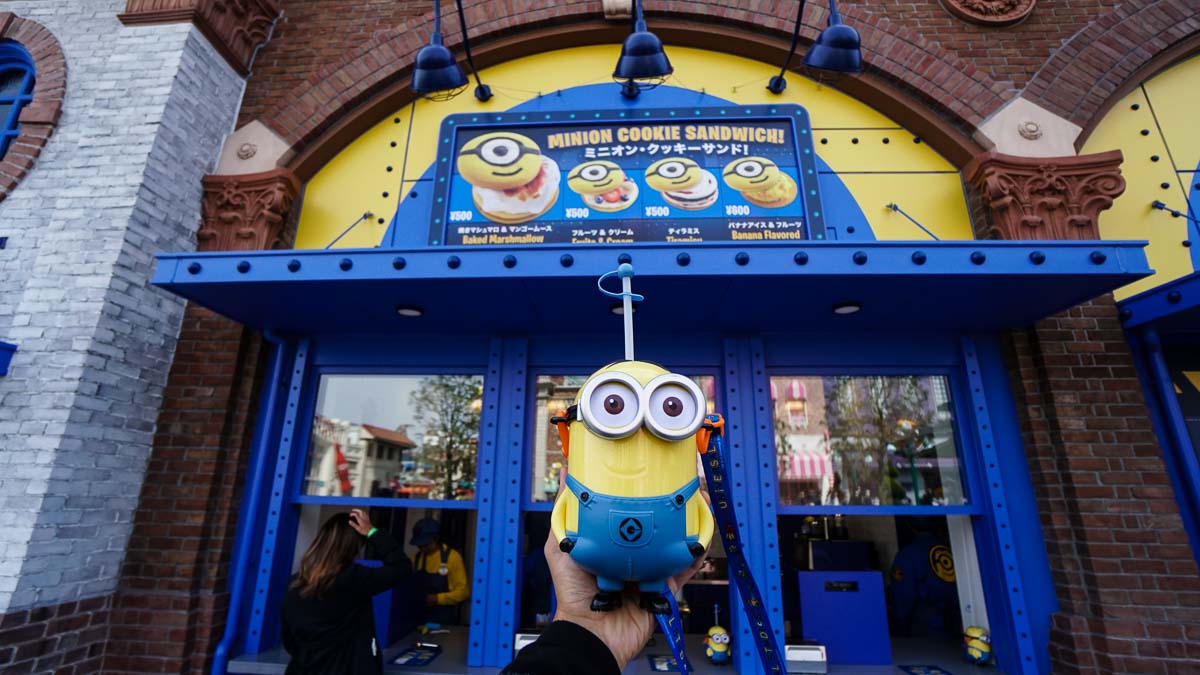
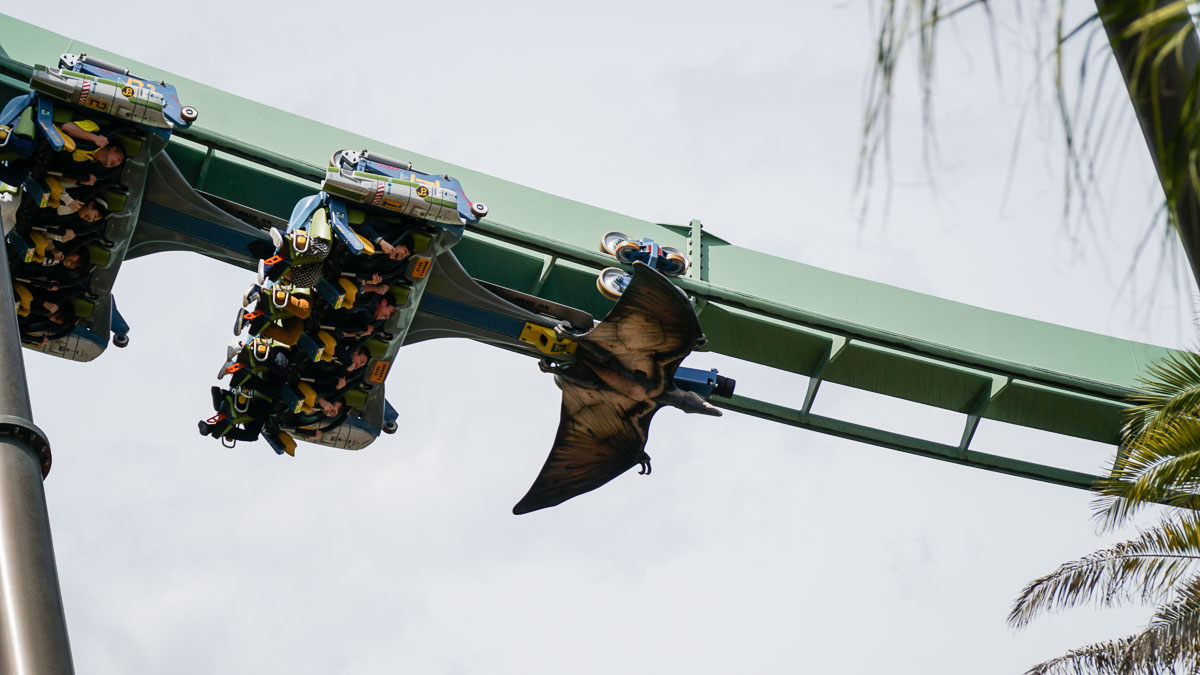
Some of the must-try rides are the Minion Hachamecha, The Wizarding World of Harry Potter, Hollywood Backdrop, The Flying Dinosaur, and Jurassic Park (although you can get really wet from this one!)
Get the summer special frozen butter beers from Three Broomsticks! Our personal favourite out of the 3 options (hot, cold and frozen).
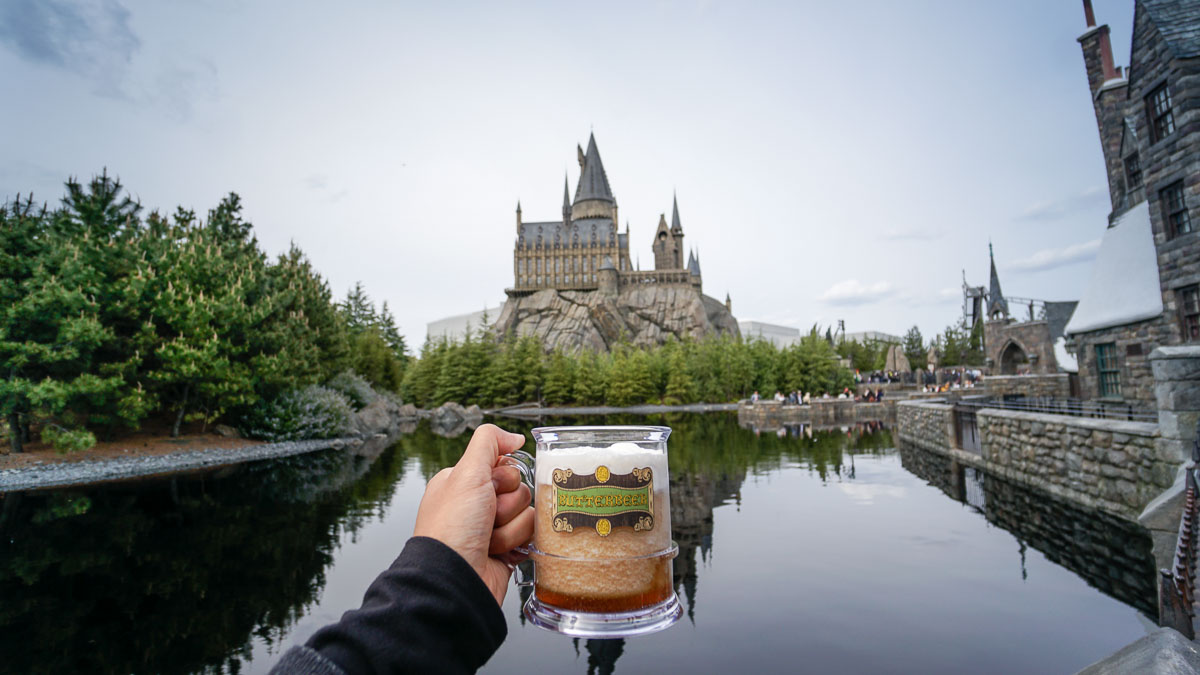
Read Also: Ultimate USJ Guide to planning a magical experience
Accommodation: J-Hoppers Universal Osaka
Day 7-8: Osaka (2 Day Osaka Amazing Pass)

The Osaka amazing pass gives you free entry to around 33 different attractions, discounts at restaurants and shops as well as free rides on all the buses and local trains (except JR lines).
*Pro-tip: Pick 2 weekdays to activate the pass as some free admissions are not applicable on weekends.
Although most of the sights that were of interest could be covered in a single day, the savings actually exceeded the cost of the 2-day pass on the first day. On the second day we made use of the pass to get around as well as enjoy the Onsens (one on each day!). Some of the interesting free attractions include:
1) Osaka Castle (usually ¥600 to enter the castle and the observatory at the top)
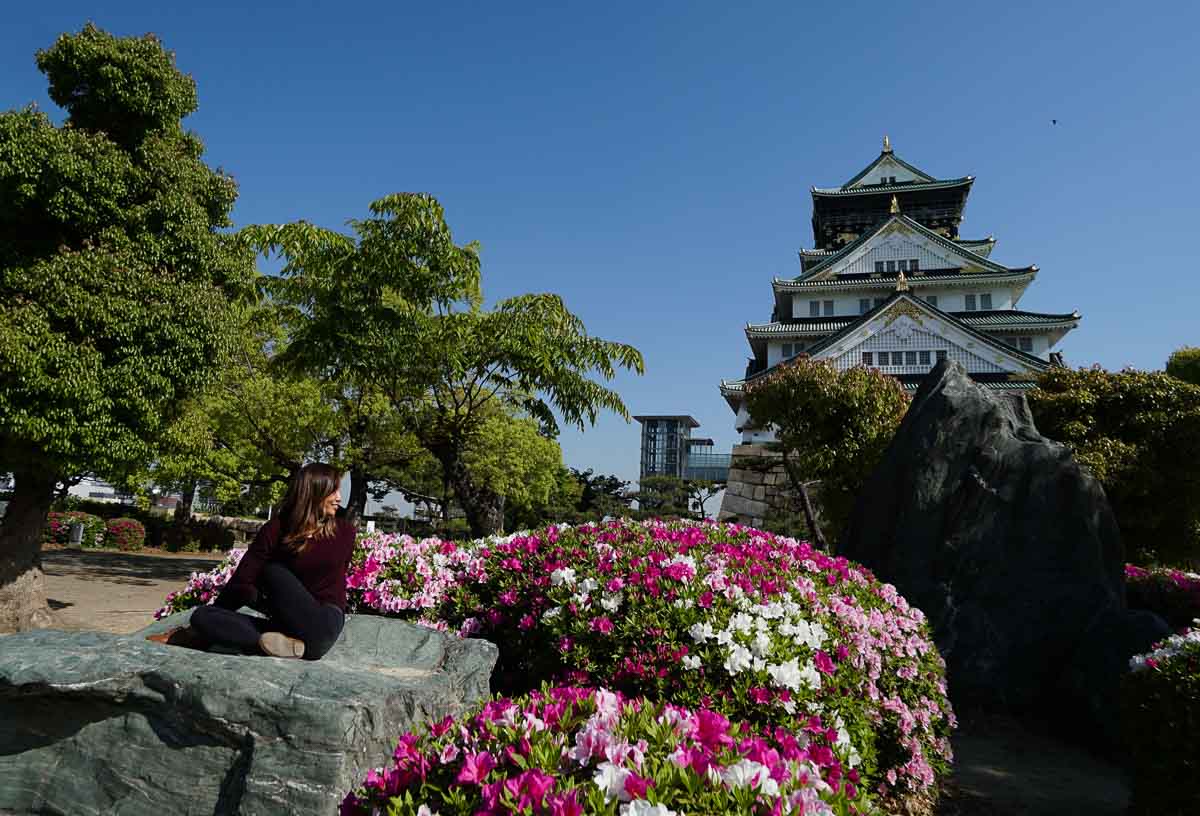
The queue to take the lift up can get quite long so save the time and take the stairs up. You can start from enjoying the views at the Observatory on the 8th floor before making your way down each level while going through interactive story-telling features of Toyotomi Hideyoshi. Last entry at 4:30pm.
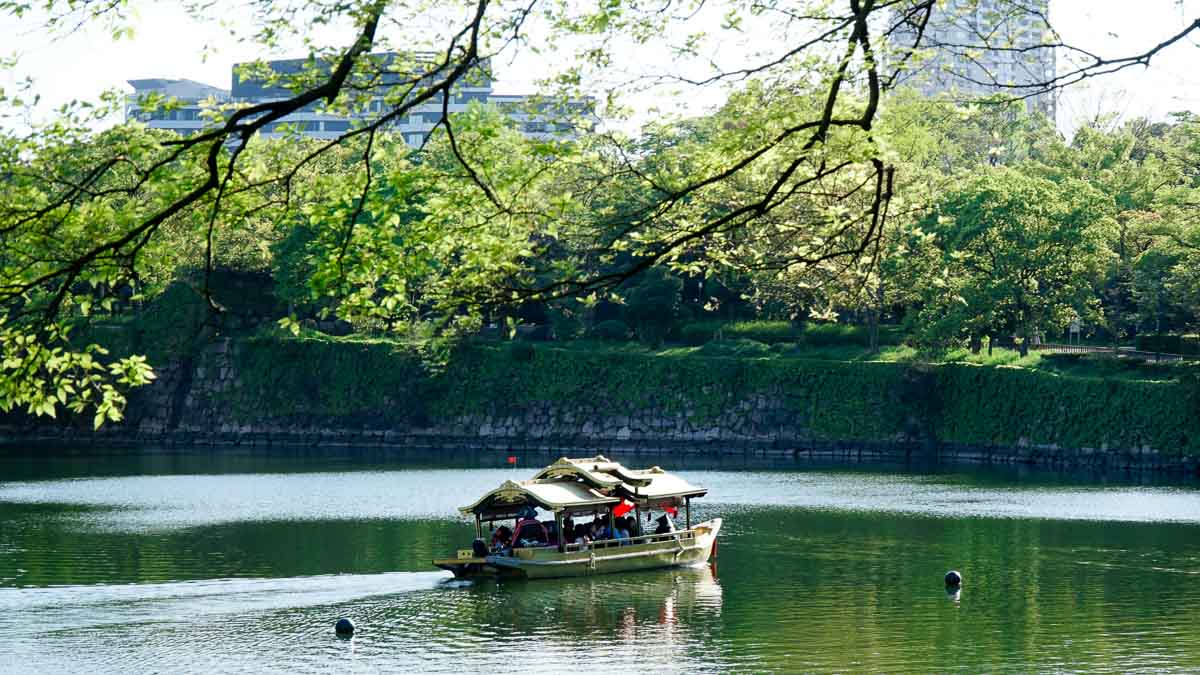
2) Osaka-jo Gozabune Boat (usually ¥1,500 to ride)
20-minute ride around the Osaka Castle Inner moat in a gold-leaf decorated boat. Last ride at 4:30pm.
3) Tempozan Giant Ferris Wheel (usually ¥800 to ride)
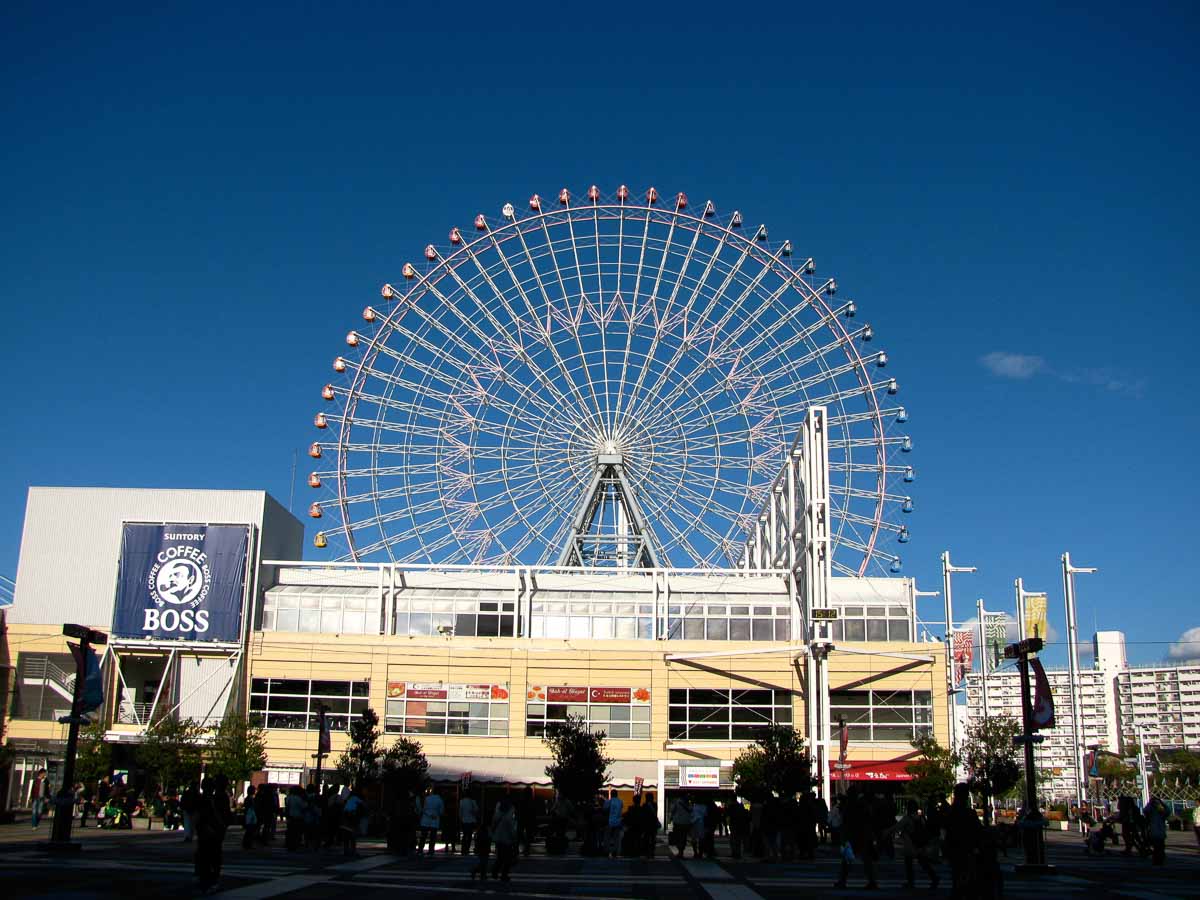
One of the World’s biggest Ferris Wheel measuring 112.5m in height. If you’re lucky, you could score a ride on the see-through gondolas with a transparent floor. Last ticket sold at 9:30pm.
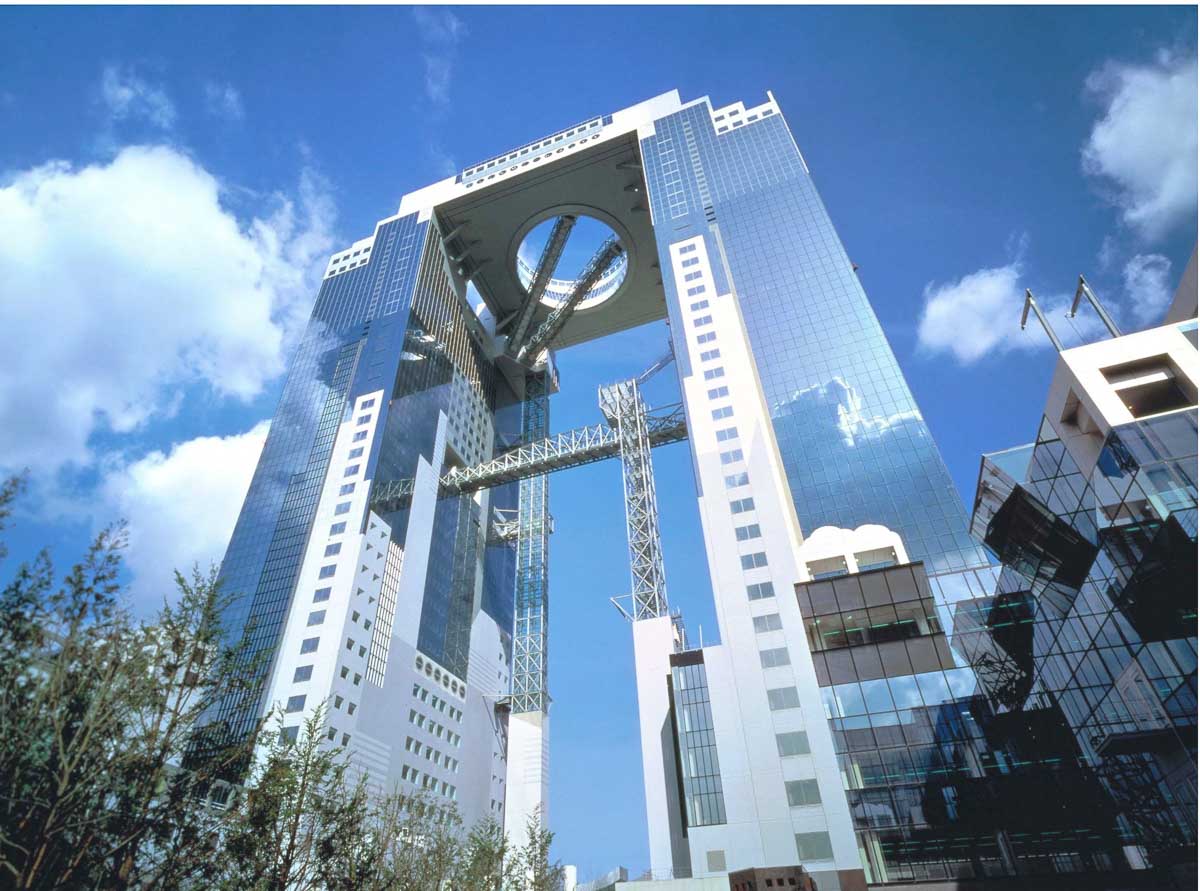
4) Umeda Sky Building Floating Garden Observatory (usually ¥1,000)
Famous for the 45m high see-through escalator that brings you through to the floating garden observatory. Last entry at 10pm.
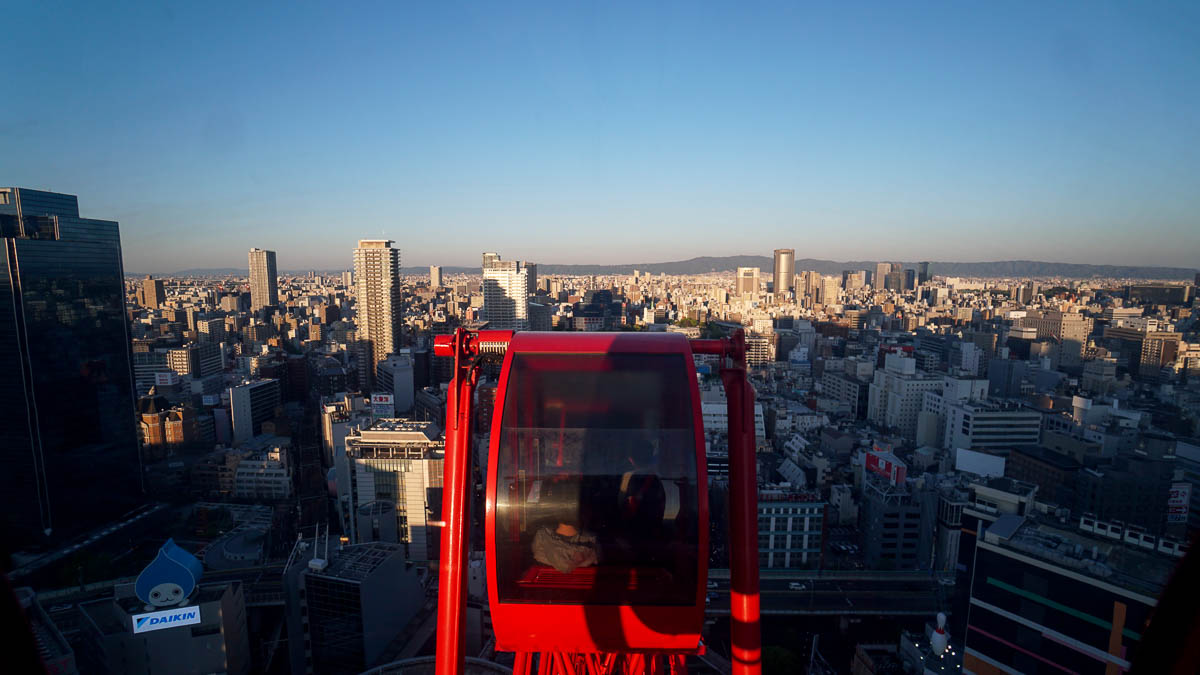
5) HEP FIVE Ferris Wheel (usually ¥500)
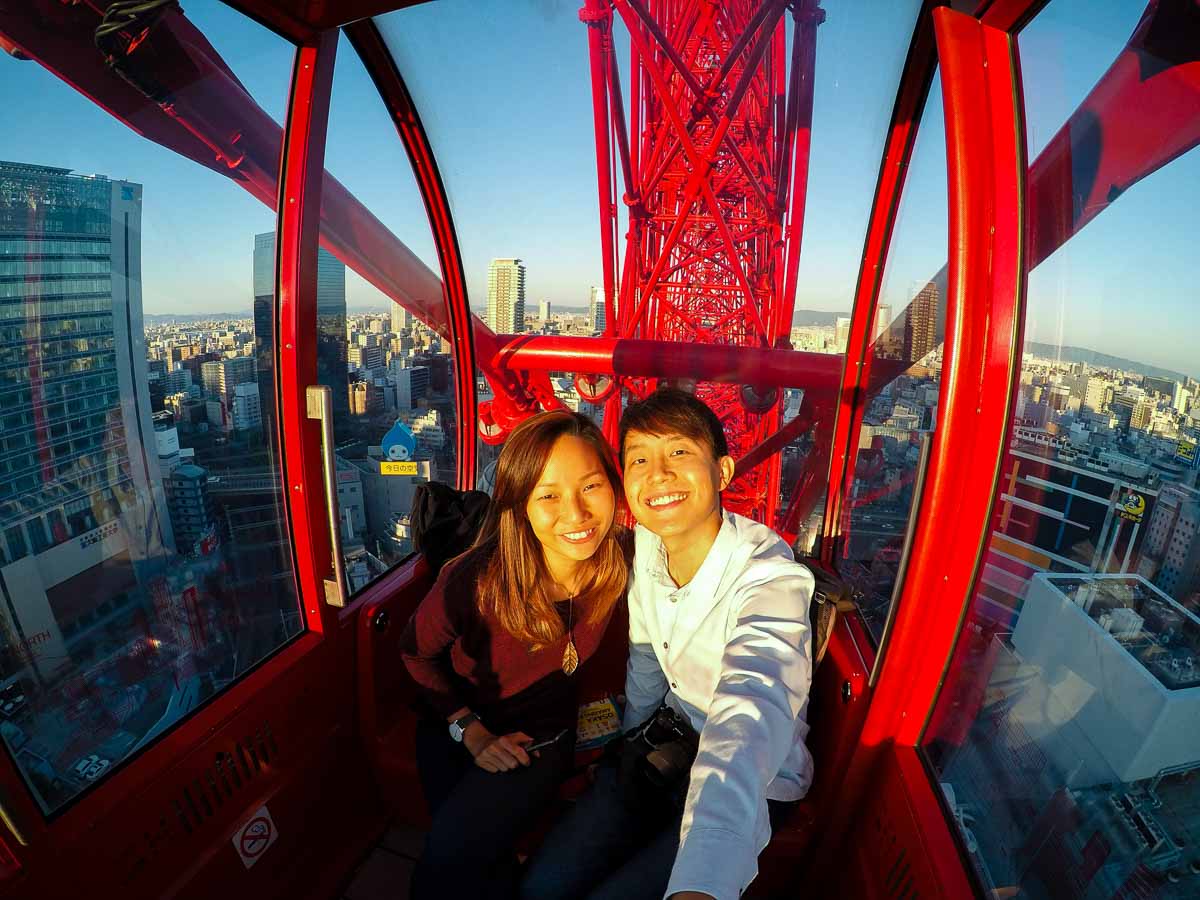
Located at the top of a shopping mall, this red wheel can be seen from far away. What probably added to the experience was that they had personal speakers in each gondola where you could plug in your own music during the ride ~neat.
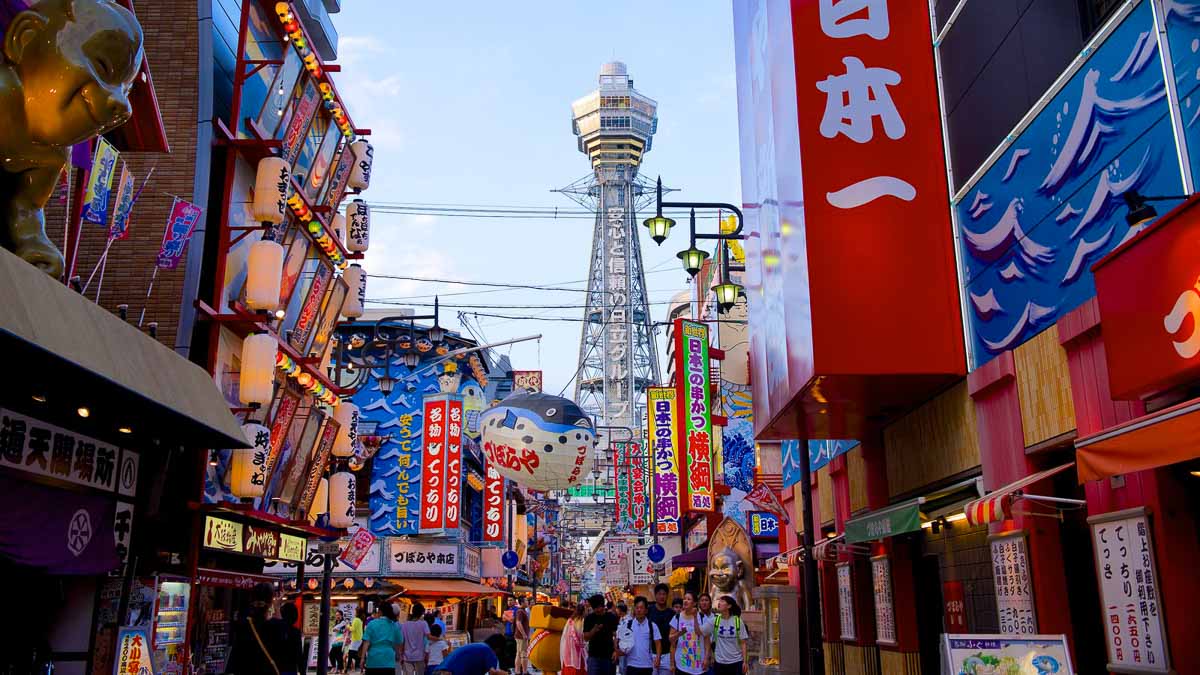
6) Tsutenkaku Tower (usually ¥600)
Rubbing the foot of the Billiken statue is believed to bring good luck. There’s also a hot spring under the tower for ¥440. Remember to bring your own towel!
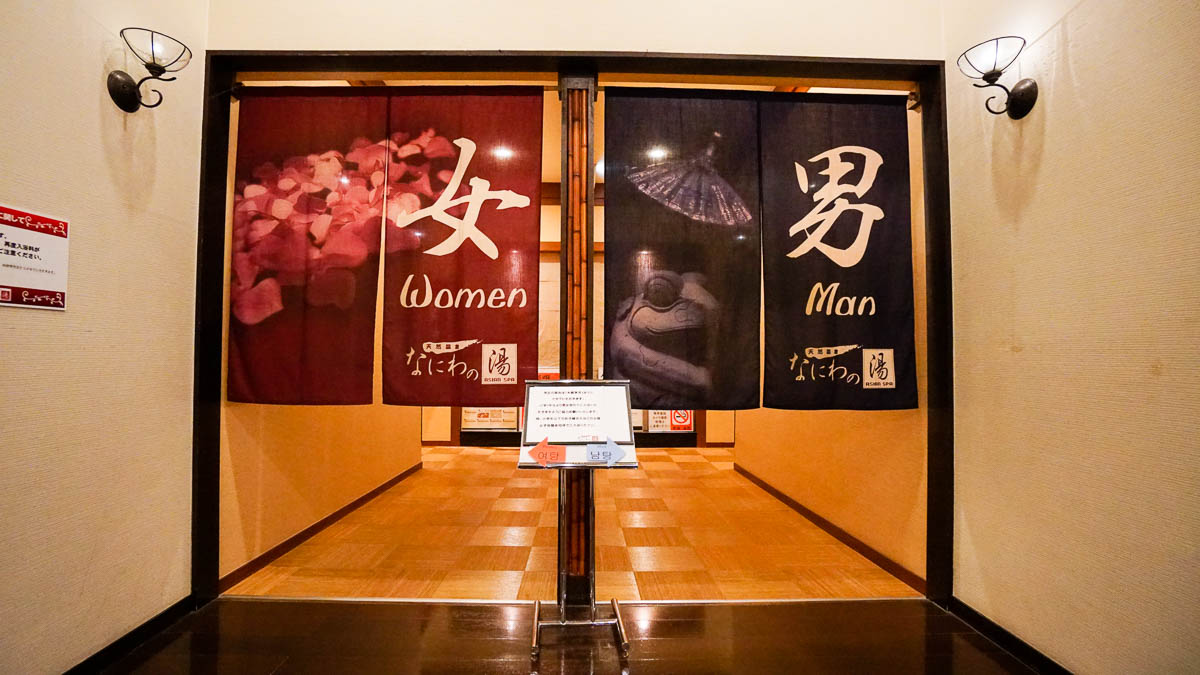
7) Naniwanoyu Hot Spring (usually ¥800)
You can buy a small towel for ¥150 or bring your own. Especially enjoyed the individual outdoor tubs. Last entry 12mn.
8) Suminoe Hot Spring (usually ¥750 ) — Towels can be rented for ¥200. Last entry 1am.
Food in Osaka:
The 2 main places to try a variety of food is Dotonbori and Ichiba Kuromon market
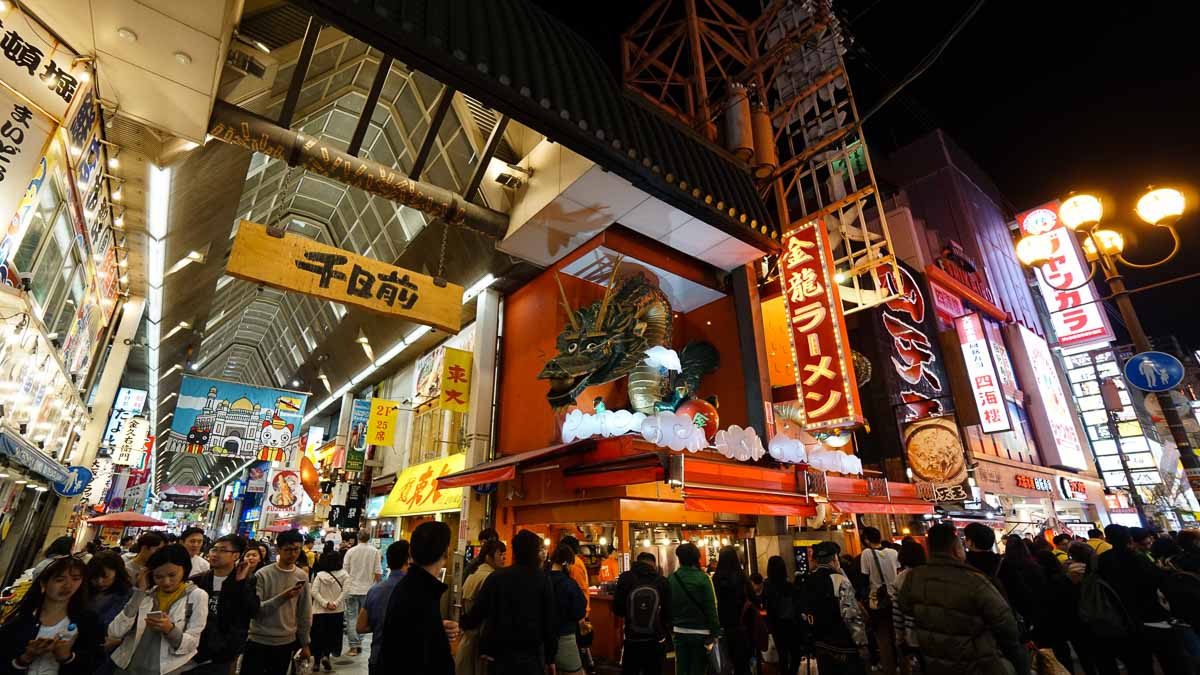
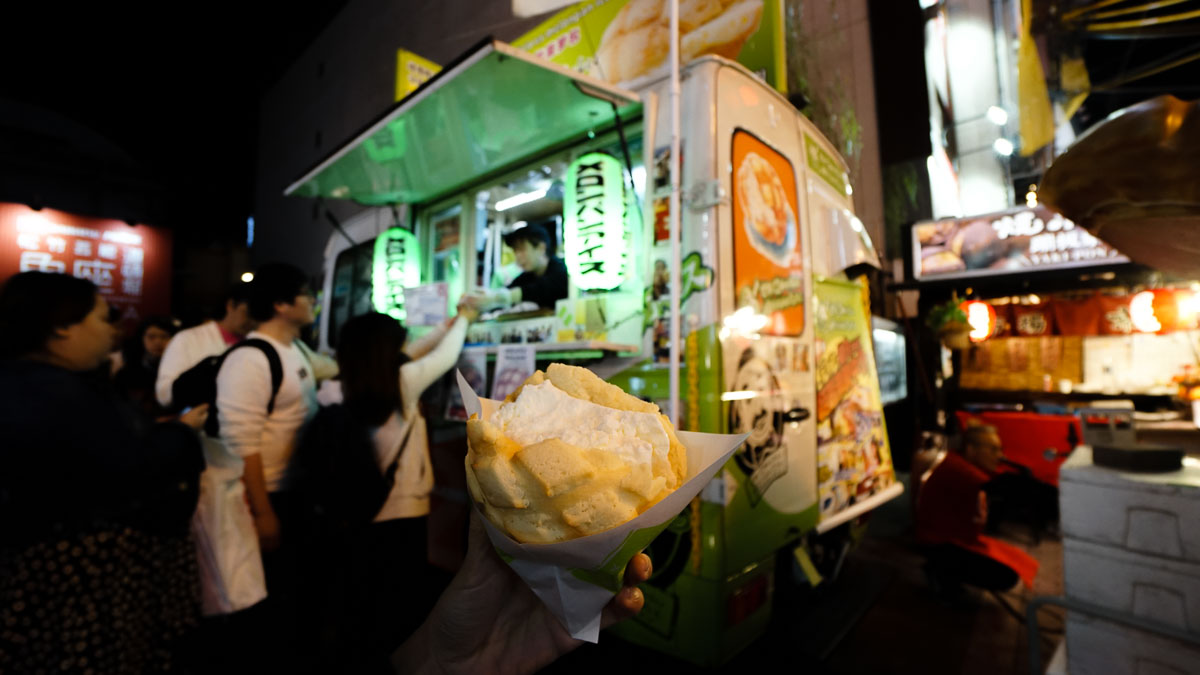
Dotonbori — Probably the best place in Osaka to get your fill of street food, you can find mouth watering snacks here for really affordable prices. Some of the must-tries are the Creo-ru Takoyaki (order the one with the onsen egg and spring onions!), the Melon Pan (a sweet crispy bread served with ice cream in the middle), as well as the Golden Dragon Ramen (a rich pork broth with free flow kimchi for spiciness and leek).
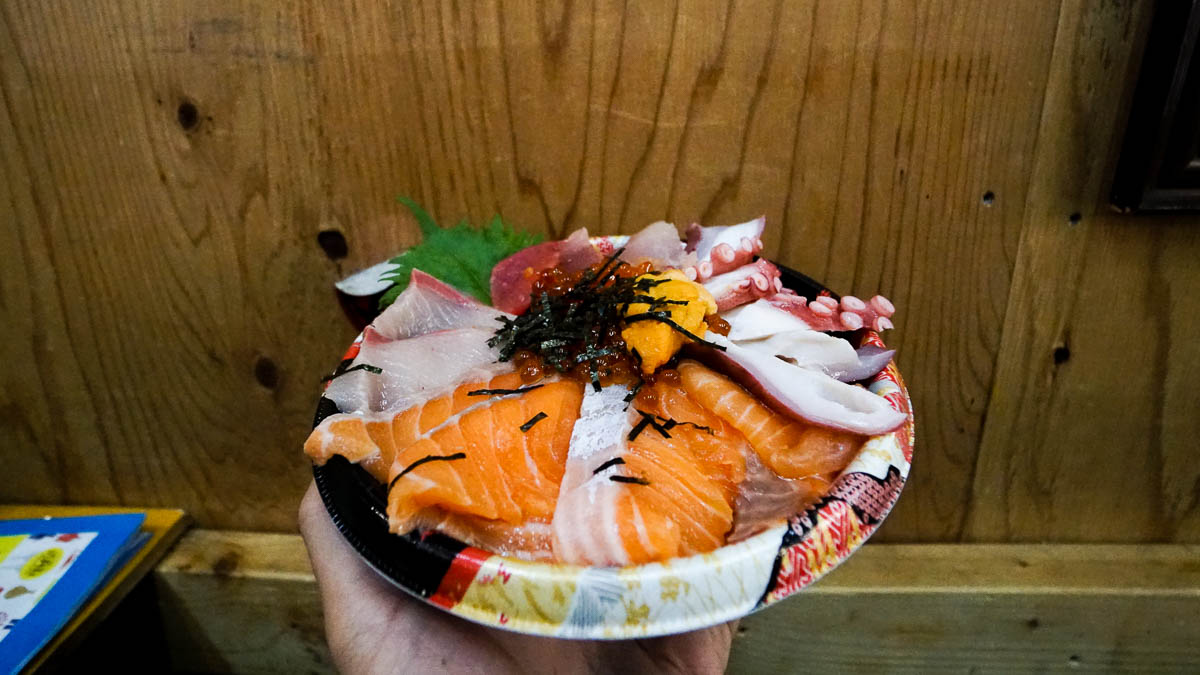
Ichiba Kuromon — One of the top spots for fresh seafood, you can find various stores selling freshly cut sashimi don for as low as ¥380, ramen bowls for ¥250, as well as oysters and grills on sticks. One of the more popular ones in the area is Fukahiro where sashimi bowls are made-to-order. Get a standard set for ¥1,500 (includes rice) or choose your own seafood and add a bowl of rice for ¥300. Osaka Amazing Pass holders gets a free bowl of rice or ¥300 off the standard rice sets.
Read: Osaka Budget Guide for more food options and things to do in Osaka!
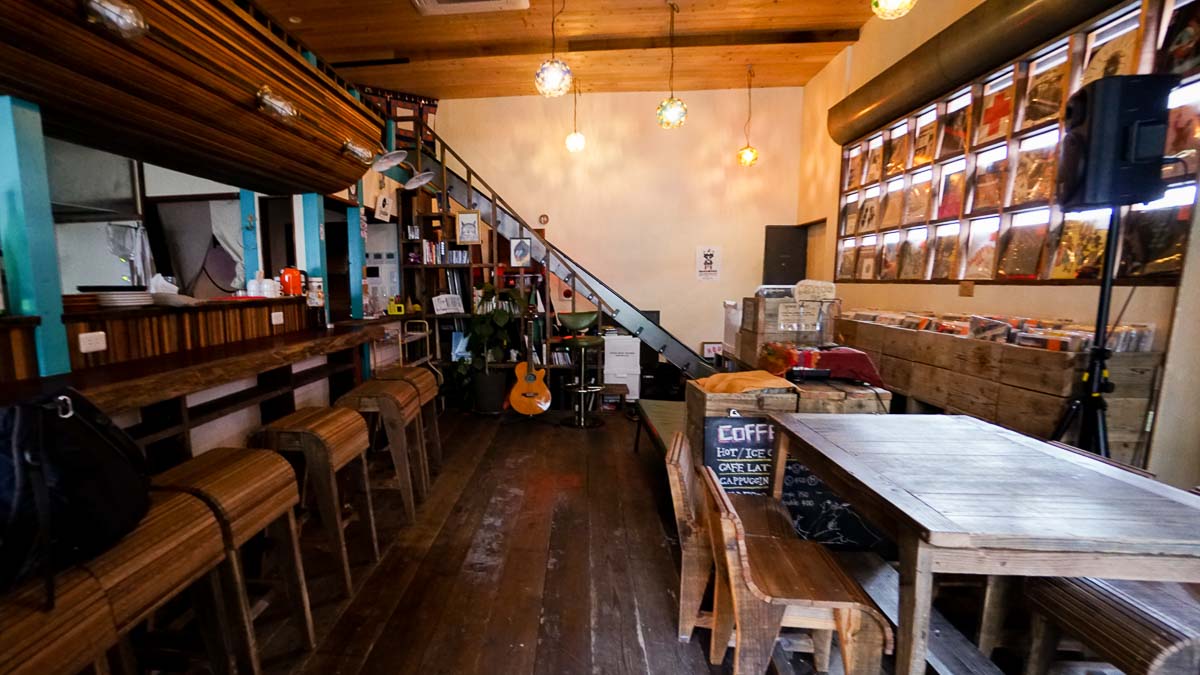
Accommodation: The Pax Hostel (100m walk to Tsutenkaku Tower)
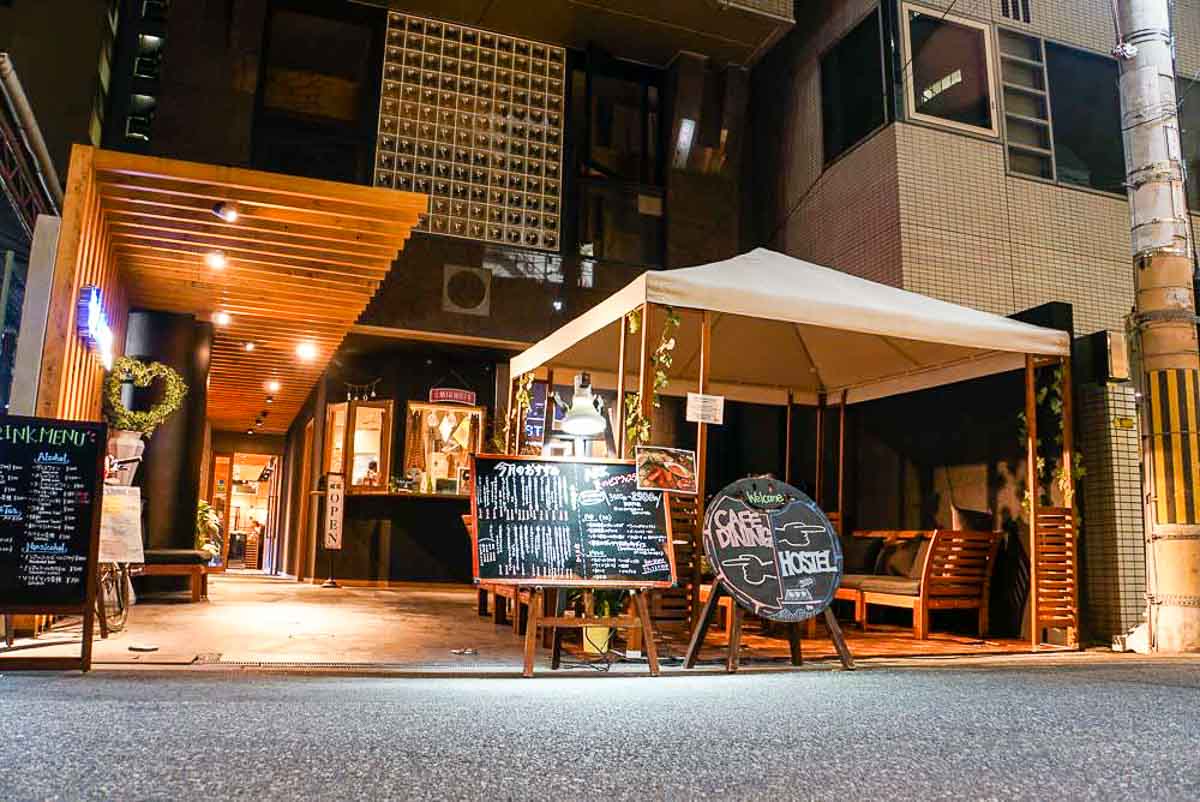
On our previous trip, we’ve stayed at a the Capsule Hotel Asahi Plaza (5-min walk to Dotonbori) as well as The Ark Hostel (3 stations from Namba Station) both pretty cosy and affordable.
Budget Breakdown
5-Day Kansai-Hiroshima JR Pass: S$167 from Klook*
Osaka Amazing Pass: S$41 from Klook*
8 Nights Accommodation: ¥21,200 or S$26
Food: ¥21,007 or S$262.58
Activities & Local Transport: ¥11,620 or S$145.25
GRAND TOTAL: S$880.83 (Excl. flights)
Please refer to this for our detailed budget breakdown.
*Do note that the prices fluctuate slightly depending on the day’s exchange rate.
Check Flight Prices to Osaka
If you can’t see the widget above, check flight prices here instead!
Budget Saving Tips
1) Food
Food in Japan is surprisingly very affordable. Most of our breakfast consisted of grab and go meals from Konbinis (convenience stores such as Family Mart, 7eleven, Lawson etc.) that usually cost under ¥300. In the smaller cities where restaurants close as early as 7pm, we always had one of the 24-hour Salaryman shops like Matsuya to fall back on. You can order a Gyu-don for ¥250–350 or a set which includes a bowl of Udon or soba for ¥780 (varies across cities). And lastly, ¥100 conveyor belt outlets like Sushiro or Kura sushi were always an option for affordable sushi!
2) Transport within cities
We personally love walking between locations especially in a place like Japan on a sunny day out. Because of the number of times we had to change trains to get around, it made a lot more sense to get to our destination by foot while enjoying the sights on the way. Thankfully this time we had access to free bicycle rental from Ekirin Kun via the JR Pass. Even without this perk, ¥300 for a full day rental will surely beat what you’ll be paying for local train tickets.
3) Purchase a JR Pass in Singapore
Last but not least, get a JR pass and buy them in Singapore! Not only does Klook have the cheapest JR Passes in the Singapore market, they’re also cheaper and more fuss-free to collect once you get to Japan. If you’re following this route, this pass will definitely save you a good chunk of cost.
Read also: The Most Comprehensive JR Pass Guide for Singaporeans
Let us know in the comments section if you found this useful! Hopefully we’ll be able to explore with the other JR Passes covering specific areas and update you guys again in future.
This post was brought to you by Klook.


hi! thanks for your comprehensive posts! I read through your osaka –> kyoto –> nara guides but is there one post that combines these 3 cities you visited? I am just confused as to which rail pass I should buy and the above itinerary is a little too packed for my travel companions. So it’d really help if you could direct to me a suitable post or if you could advise on which pass I should buy! I am just planning to visit osaka (and usj) kyoto and nara for 8.5 days and flying in and out from osaka. Thanks in advance!
Hi rt, if you’re only visiting these 3 cities then perhaps this pass might be better: http://bit.ly/2EQ0V2l (comes in 1-4 days)
These 3 cities aren’t far from each other so you can also just get an ICOCA card: http://bit.ly/2Do5YDV and use it as a rechargeable card that covers all trains and buses in the Kansai region.
Btw, for USJ you might want to consider the new 1.5 day pass! It’s currently cheaper than the 1 day pass! http://bit.ly/2DJded7
Hello, thanks for such a well written itinerary! Can I check, for the bicycle rental, are we allowed to keep the bicycles indefinitely during the period of the JR Pass? Or must we return it every night? Thanks in advance!
Hi Cheng Wee,
You will have to return them each day!
Hi, I just would like to ask how much did you pay for the locker in Kobe and other stations? Thank you.
heys! To be honest we can’t really remember but it’s usually a couple hundred yen depending on the size.
Hi..
Is Ekirin Kun (rental bike) near from Sannomiya Station ?
Thank you..
hello how to go to the rabbit island ? going from Osaka nearer or Kyoto ?
Hi Amanda, it’s between Hiroshima and Osaka!
JR TRANSPORT:
Hiroshima Station (Tokaido-Sanyo Shinkasen towards Tokyo) — Mihara Station
Mihara Station (Kure-Line towards Hiroshima) — Tadanoumi Station (Bunny Island!)
hello, did you use your Osaka Amazing Pass to Kansai International Airport? Thanks!
Nope! The OAP doesn’t cover Nankai lines from the airport so we got the Nankai Line express ticket to get to Namba and back: https://www.klook.com/activity/599-kansai-airport-namba-train-ticket-osaka/?aid=312
This article helps me a lot!
I’m interested in the free bicycle rent you mentioned. Is it also free for Whole Japan JR Pass?
Nope! Just for the Kansai one
What a pity 🙁
Thanks!
5D Kansai Hiroshima Pass
My family of 4 travelling to Hiroshima/Kobe/Kyoto/ Osaka this December. I would like to know, do we have to top up cash to have reserve seats for Shinkansen rides. Thanks.
The Kansai Hiroshima pass doesn’t include seat reservations so there’ll be a top up fee if you’re planning to have seats reserved. If you head to the station about 30mins before the train departs and queue at the non-reserved section, it’s actually not hard to get seats and there’s more flexibility in terms of train schedule. Hope that helps!