DIY A Simple Bag Makeover for Practical Style
Sometimes the simplest projects can turn out to be the ones that we love the most. That turned out to be the case with my most recent DIY fashion project, a simple bag makeover that took a canvas bag from boring to fabulous!
DIY Simple Bag Makeover
I'm not what you'd call a fashionista in my day to day life. I'm don't feel compelled to have a different purse for every outfit. My style is just very practical. But because of that, I can get nit picky about selecting the bags that I buy. I care how they look. But more than looks, I obsess about finding something that functions exactly the way that I want. This is especially true of bags that I buy to travel with. Traveling is stressful. The right bag can make it so much easier!
[Disclosure: This article contains Amazon affiliate links that pay this site a commission at no cost to the reader when a purchase is made after a click.]
My most recent bag was purchased for my upcoming trip to Europe. It will serve as both my sightseeing bag and as my bag to tote on the trade show floor at Creativeworld. This bag needs to do (and carry) a lot of things! It took me a long time to find something that was just right. I wanted to find the right size, big enough to carry my my things but not too big for going in museums. I needed zips to keep my things secure, and a long strap for crossbody carry.
Simple Canvas Bag
Finally I found this canvas utility style bag. It holds my iPad mini and Rick Steves Paris Guide Book, and has a few nice zip compartments. It's practical for touring but won't look out of place at the trade fair.
It looks like this bag might currently be sold out in the brown that I ordered (although plenty of similar bags are available on Amazon). But it is still available in a distressed black that is really cool, especially if you replace the zipper pulls with ribbon or fabric. The distressed black could make a great "man bag" for travel, too. Try pairing it with patches like a retro cassette tape, a Gryffindor crest, or maybe a Star Wars Jedi patch for this project. Or try this virtually identical bag from another company, available in a huge range of colors!
As much as I love this bag, it looked a bit plain, and not very girly. I decided to use my DIY brain to do something about it. After considering some options, I finally settled on customizing it with a patch to create a kind of bohemian style look. I got lucky and found a beautiful peony patch on Amazon that gives the look of embroidery when applied. These come two to a pack so you can do this project and have one left over!
Sew on Rose patch
It takes only a few supplies to do this project - needle, thread, scissors, pins, and a seam ripper. The thread colors don't have to be exact matches to the green and pink. Close is good enough.
Simple Bag Makeover supplies
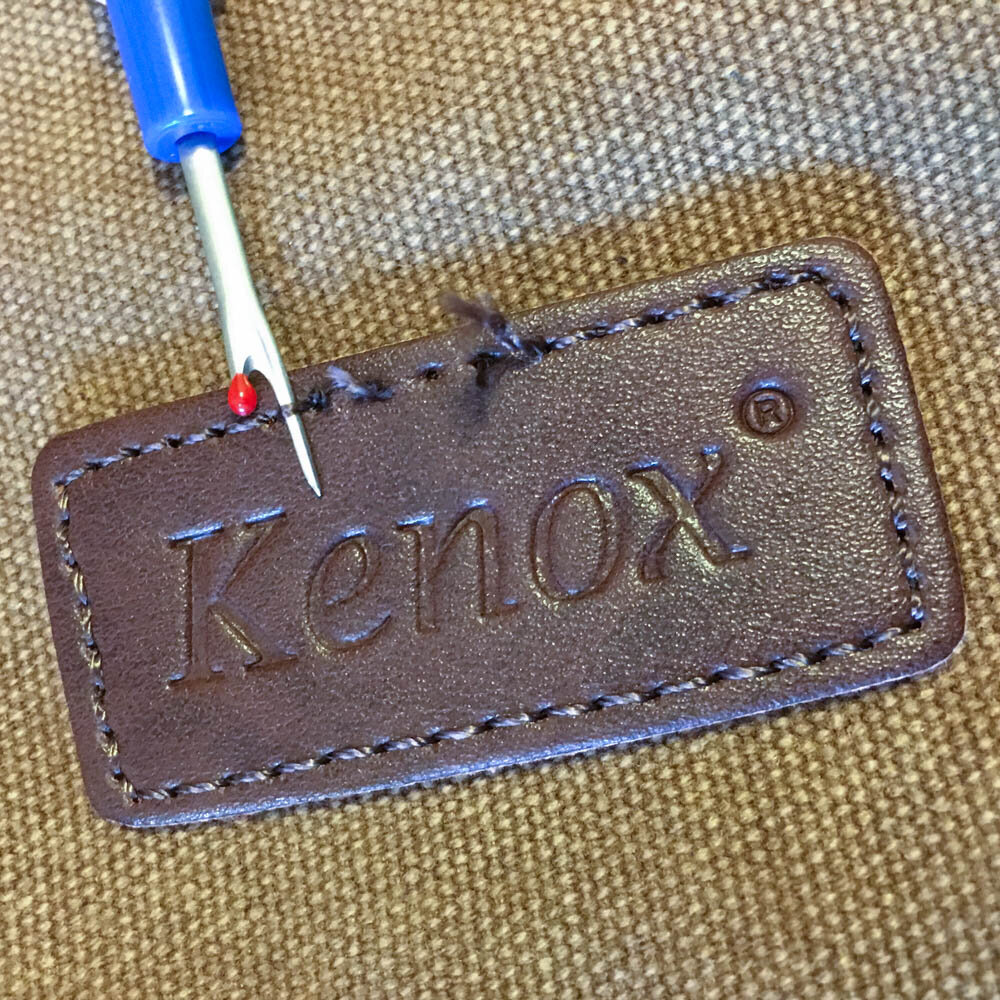
Even though the patch would cover that area, I started by removing the brand label tag from the bag front. Removing the tag allows the patch to lay flat on the front. It just looks nicer that way. The sewn on tag removes easily with the seam ripper. I slid the seam ripper under the stitches and started cutting them! Once they were all cut, I just pulled the tag off and removed the stray threads.
Removing stitches for simple bag makeover
The next step was trying out my patch on the bag. Once I positioned it exactly how I liked, then I pinned it in place so it wouldn't move while I sewed it. I started with the red thread for the middle of the flower. The sewing is really simple. I tied a knot in the end of my thread and then pulled it through from the back of the patch to secure the thread. Then I whip stitched over the patch's edge and through the first layer of the bag's fabric. I suggest sticking your hand in the bag's front zip pocket occasionally to check you haven't sewed it shut!
Patch pinned in place on bag
As I stitched, I stretched and smoothed the patch to make sure that it would lay flat when I was done. This thin patch "gives" a bit so it can be worked to make sure that it lies smooth.
I'll admit that the stitching is tedious, but it's not difficult. The canvas can be hard to push the needle through, so my fingers became a bit sore and raw!
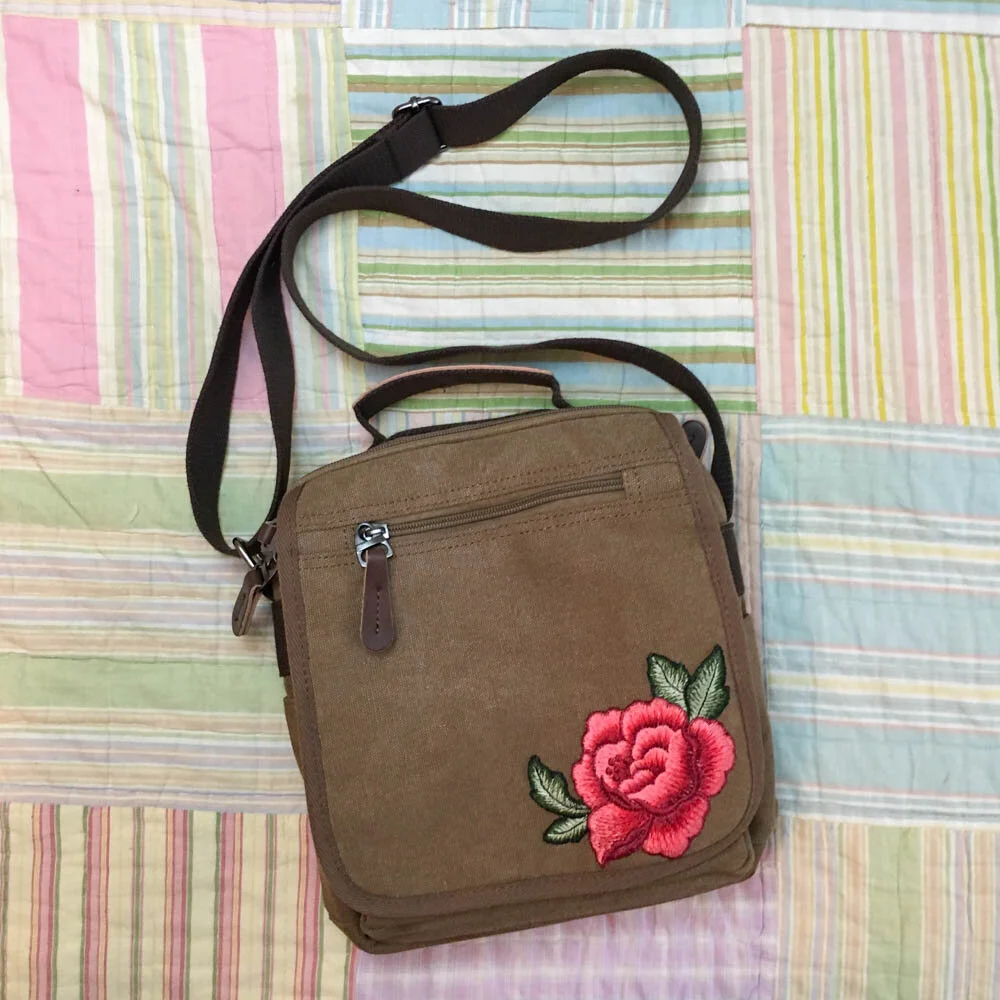
The results made it all worth it though!
Simple Bag Makeover


