Grease and flour your pans in one step with this Homemade Cake Release! Learn how to prepare cake pans so that your cakes come out perfect every time.
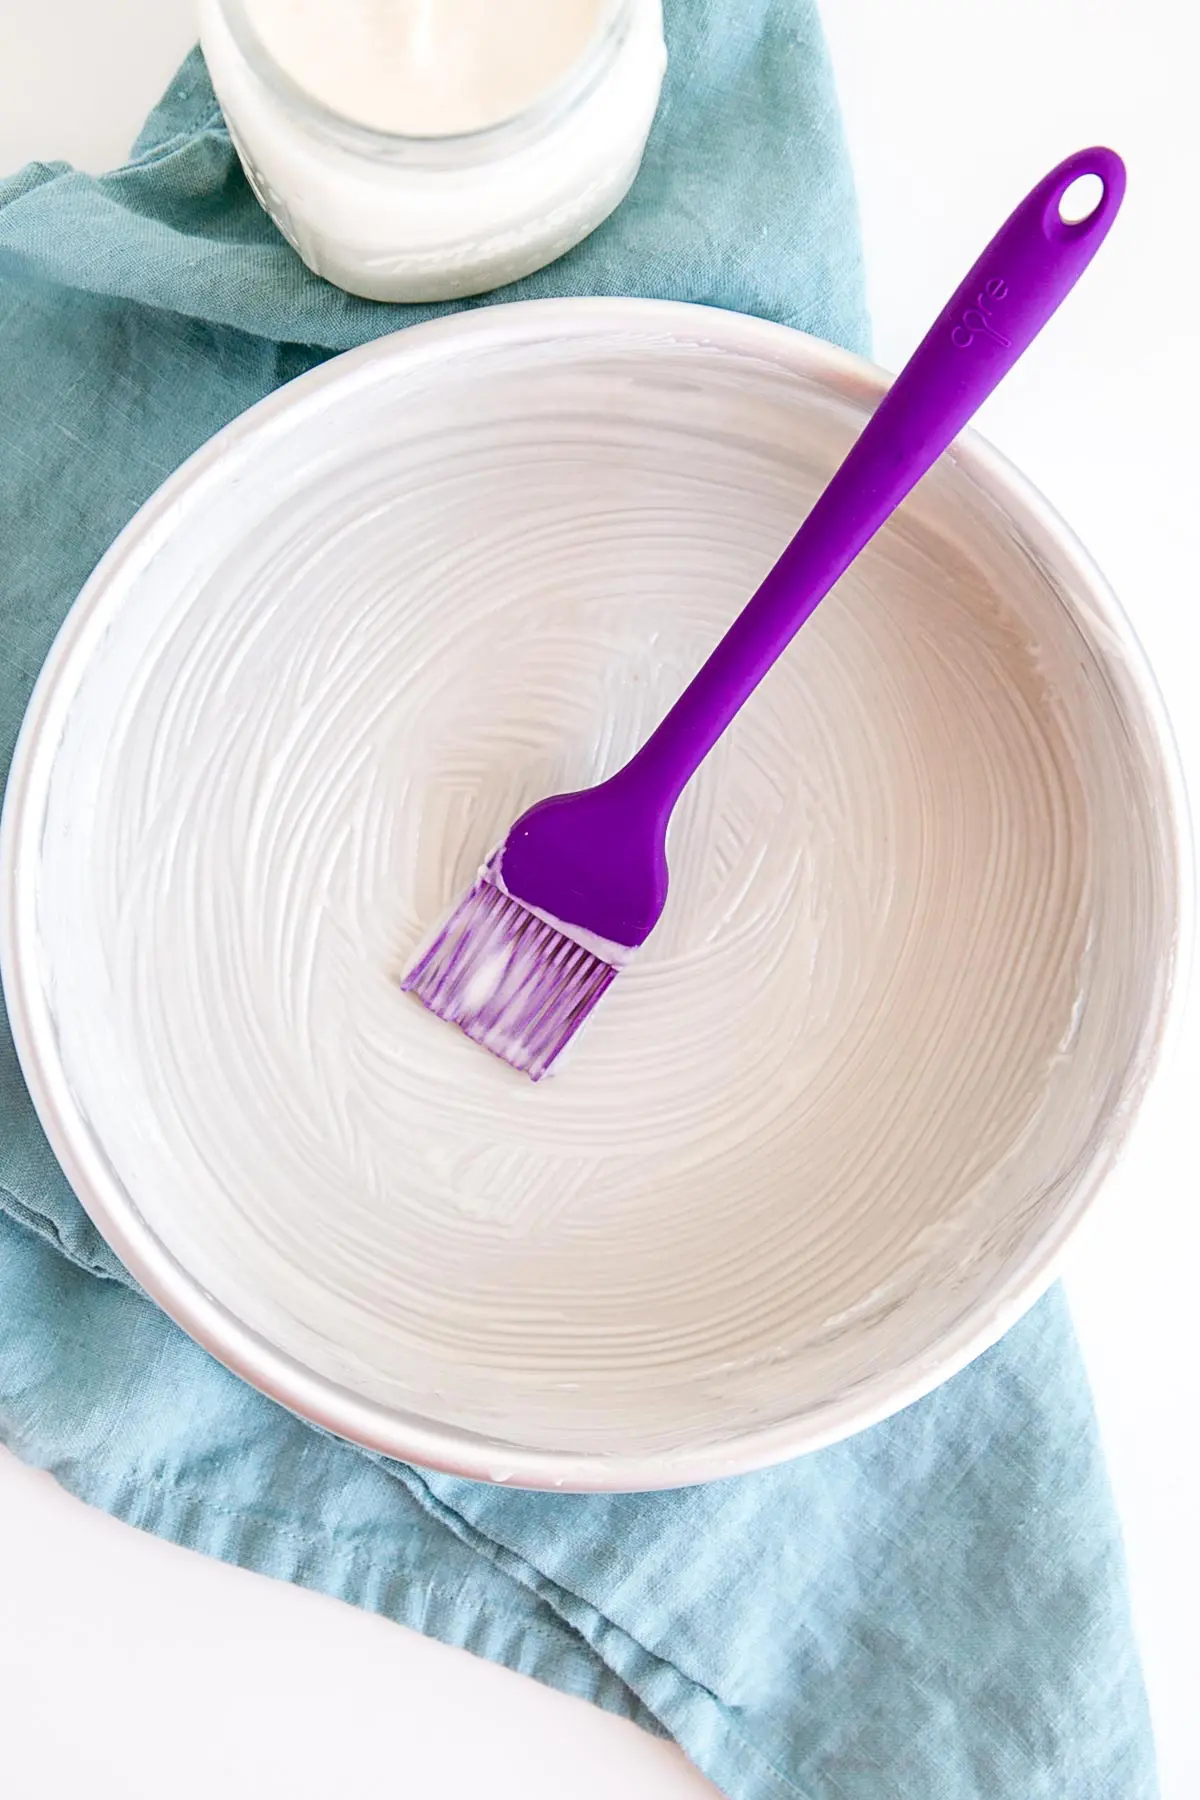
It was high time I updated one of the oldest posts on my site. This Homemade Cake Release was first posted back in Aug of 2014, shortly before I started Pastry School. I had been using this for years and years to prep my cake pans and thought others might find it handy too.
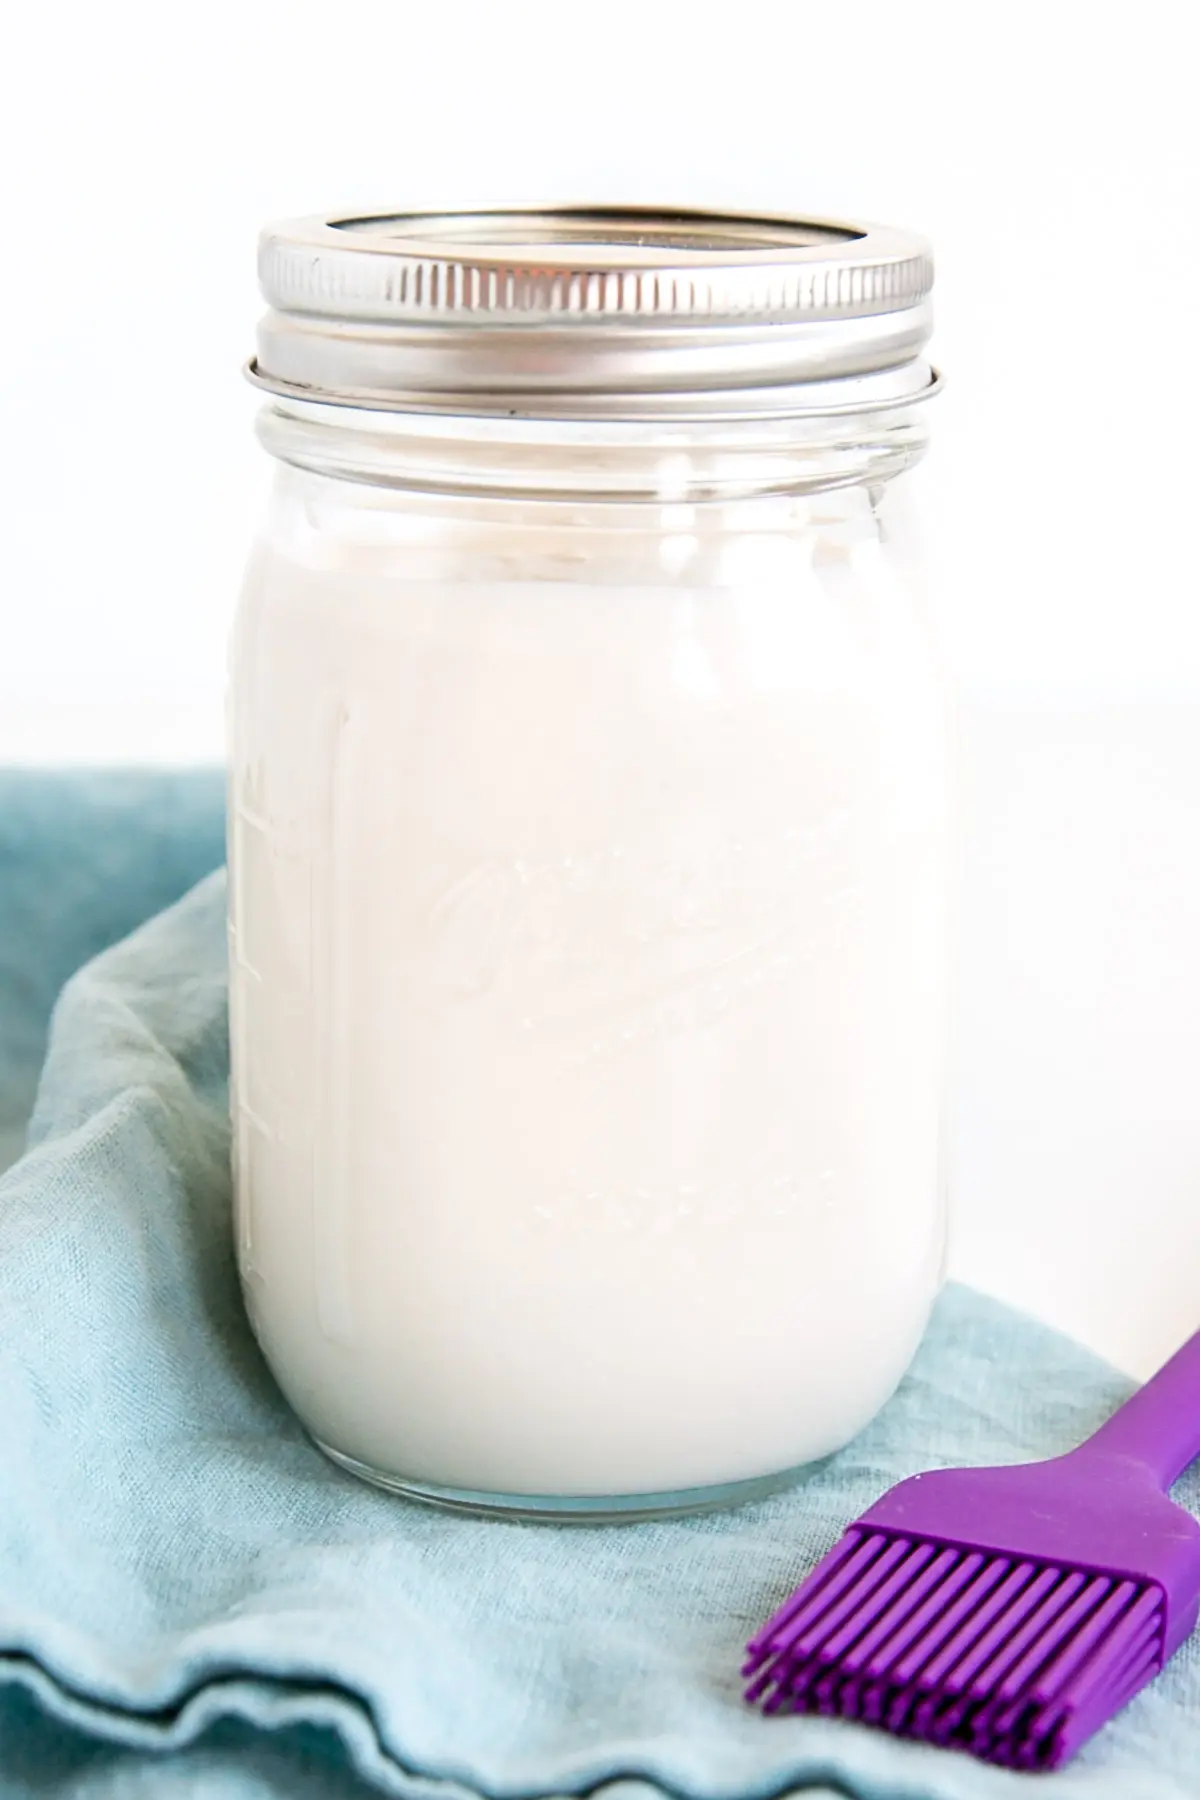
What is Cake Release?
Also known as pan release or cake goop, it is a mixture of shortening, oil, and flour that’s used to coat your cake pans.
I like it because it’s a one step process — just slap it on with a pastry brush and you’re set — rather than the old, messy butter/flour process.
I also find that it leaves my cakes flour residue-free, which is great for when you’re making a chocolate cake that you intend to use as a naked cake, or similar.
How do you make Cake Pan Release?
Homemade cake release consists of a simple ratio of equal parts flour, vegetable oil, and shortening. I use 1/2 cup of each, but you can make as much or as little as you like.
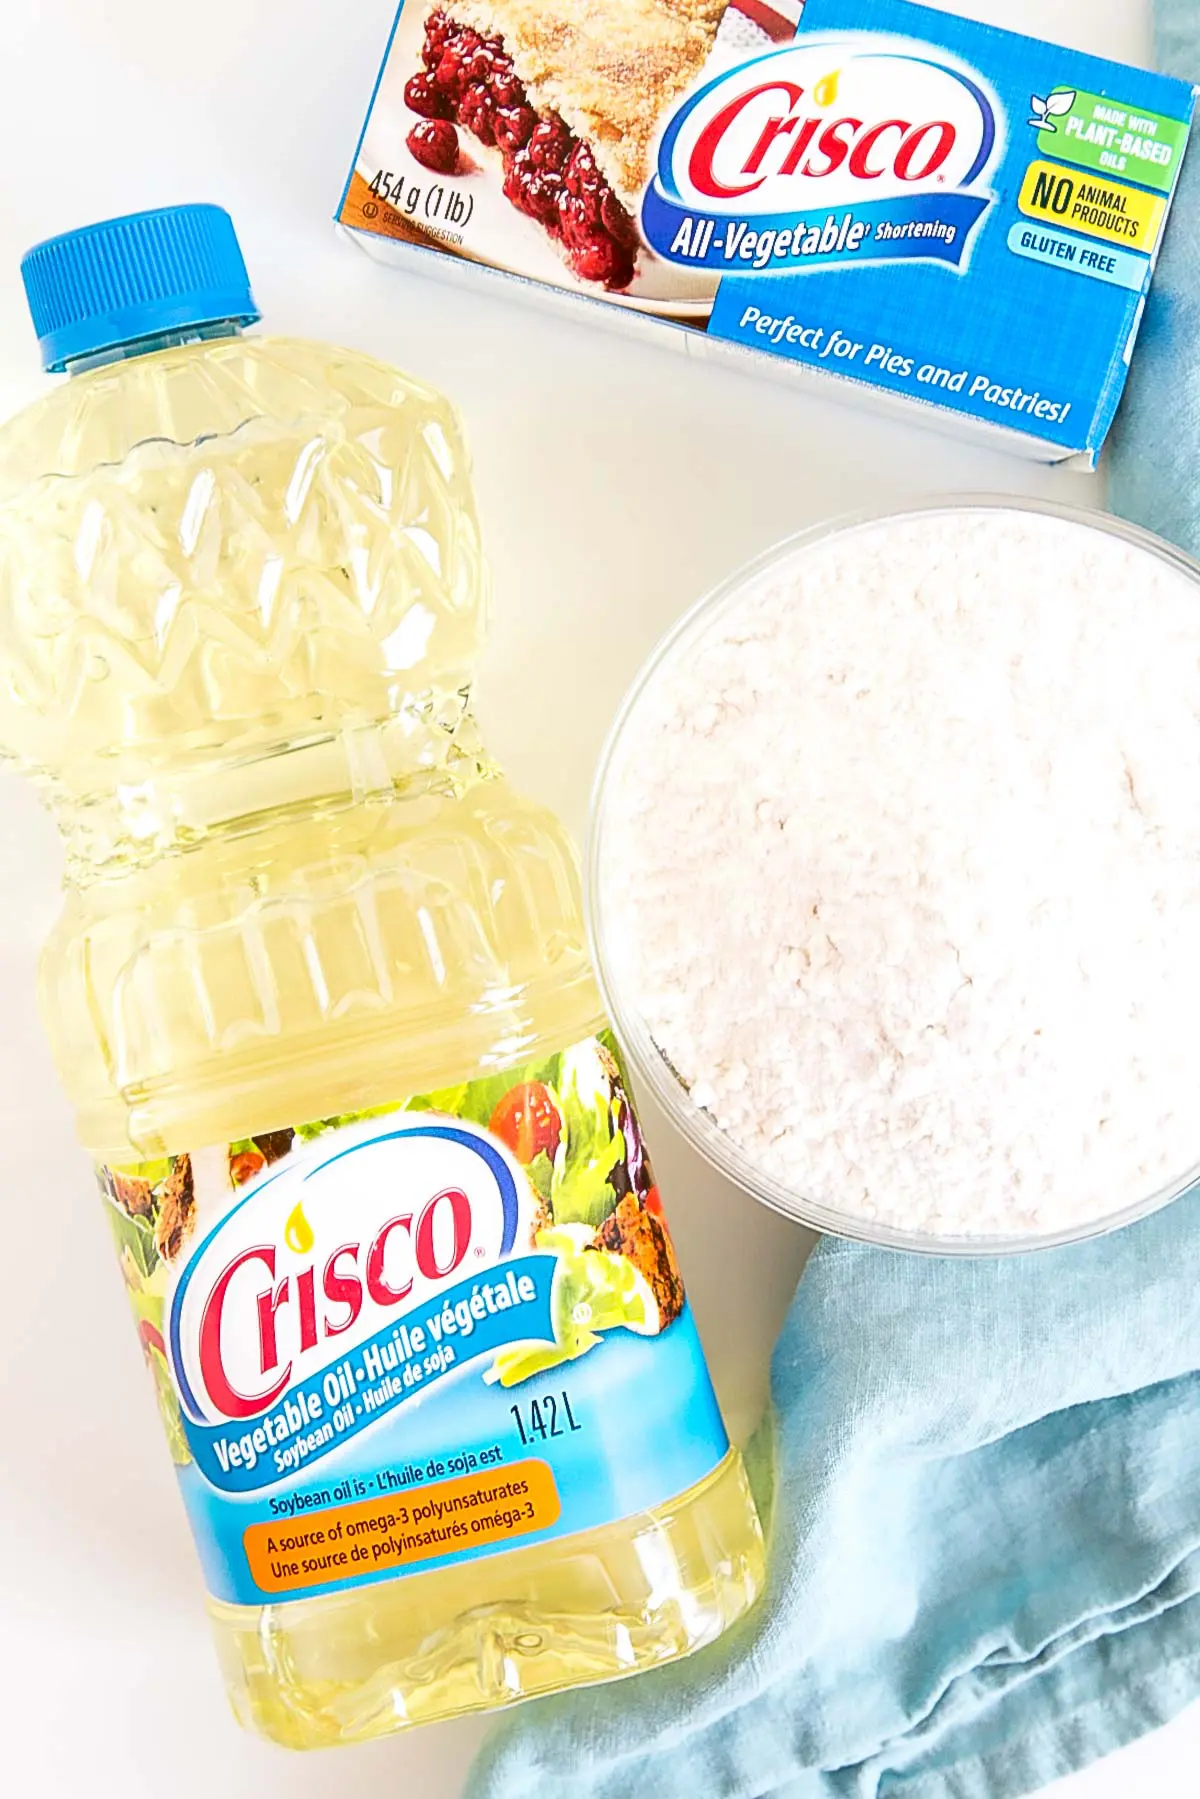
Place all of the ingredients into a bowl and whisk it together.
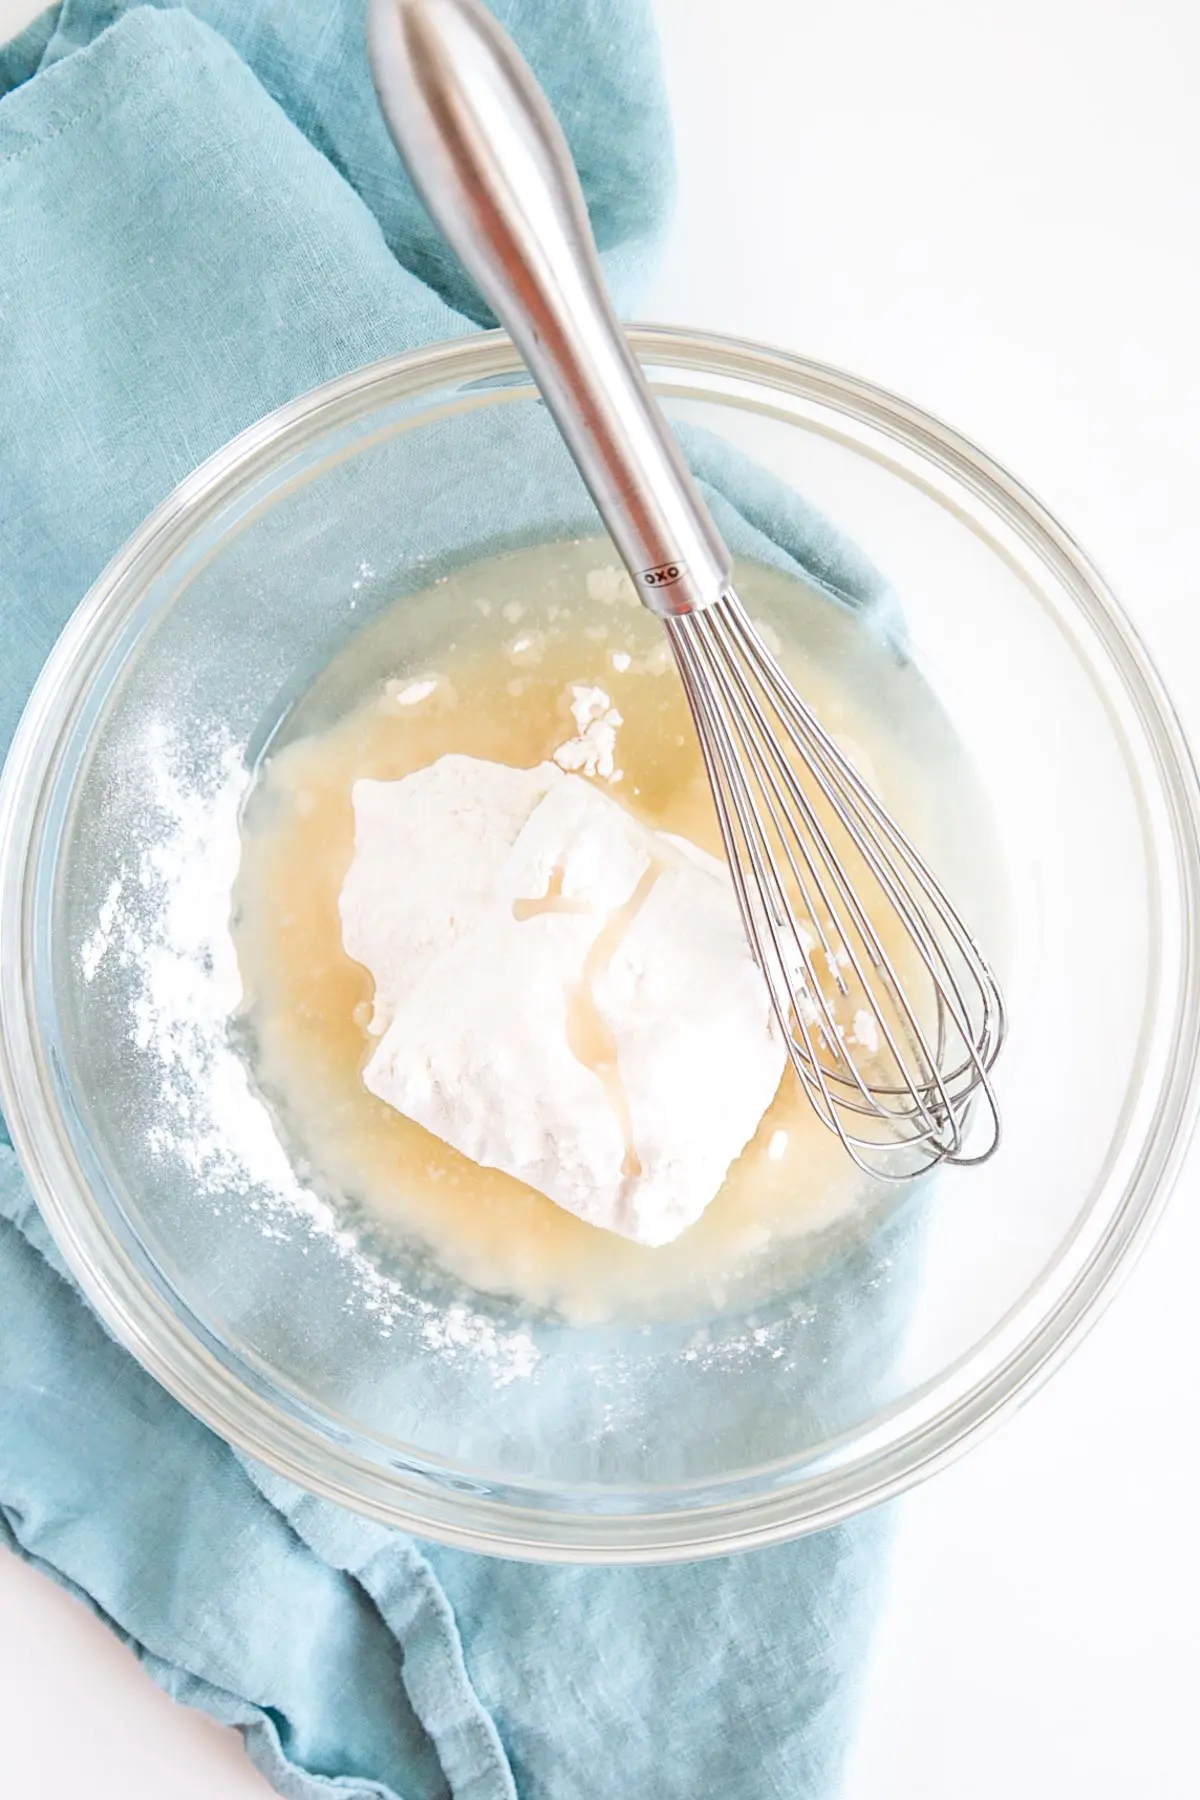
The mixture will look lumpy at first…
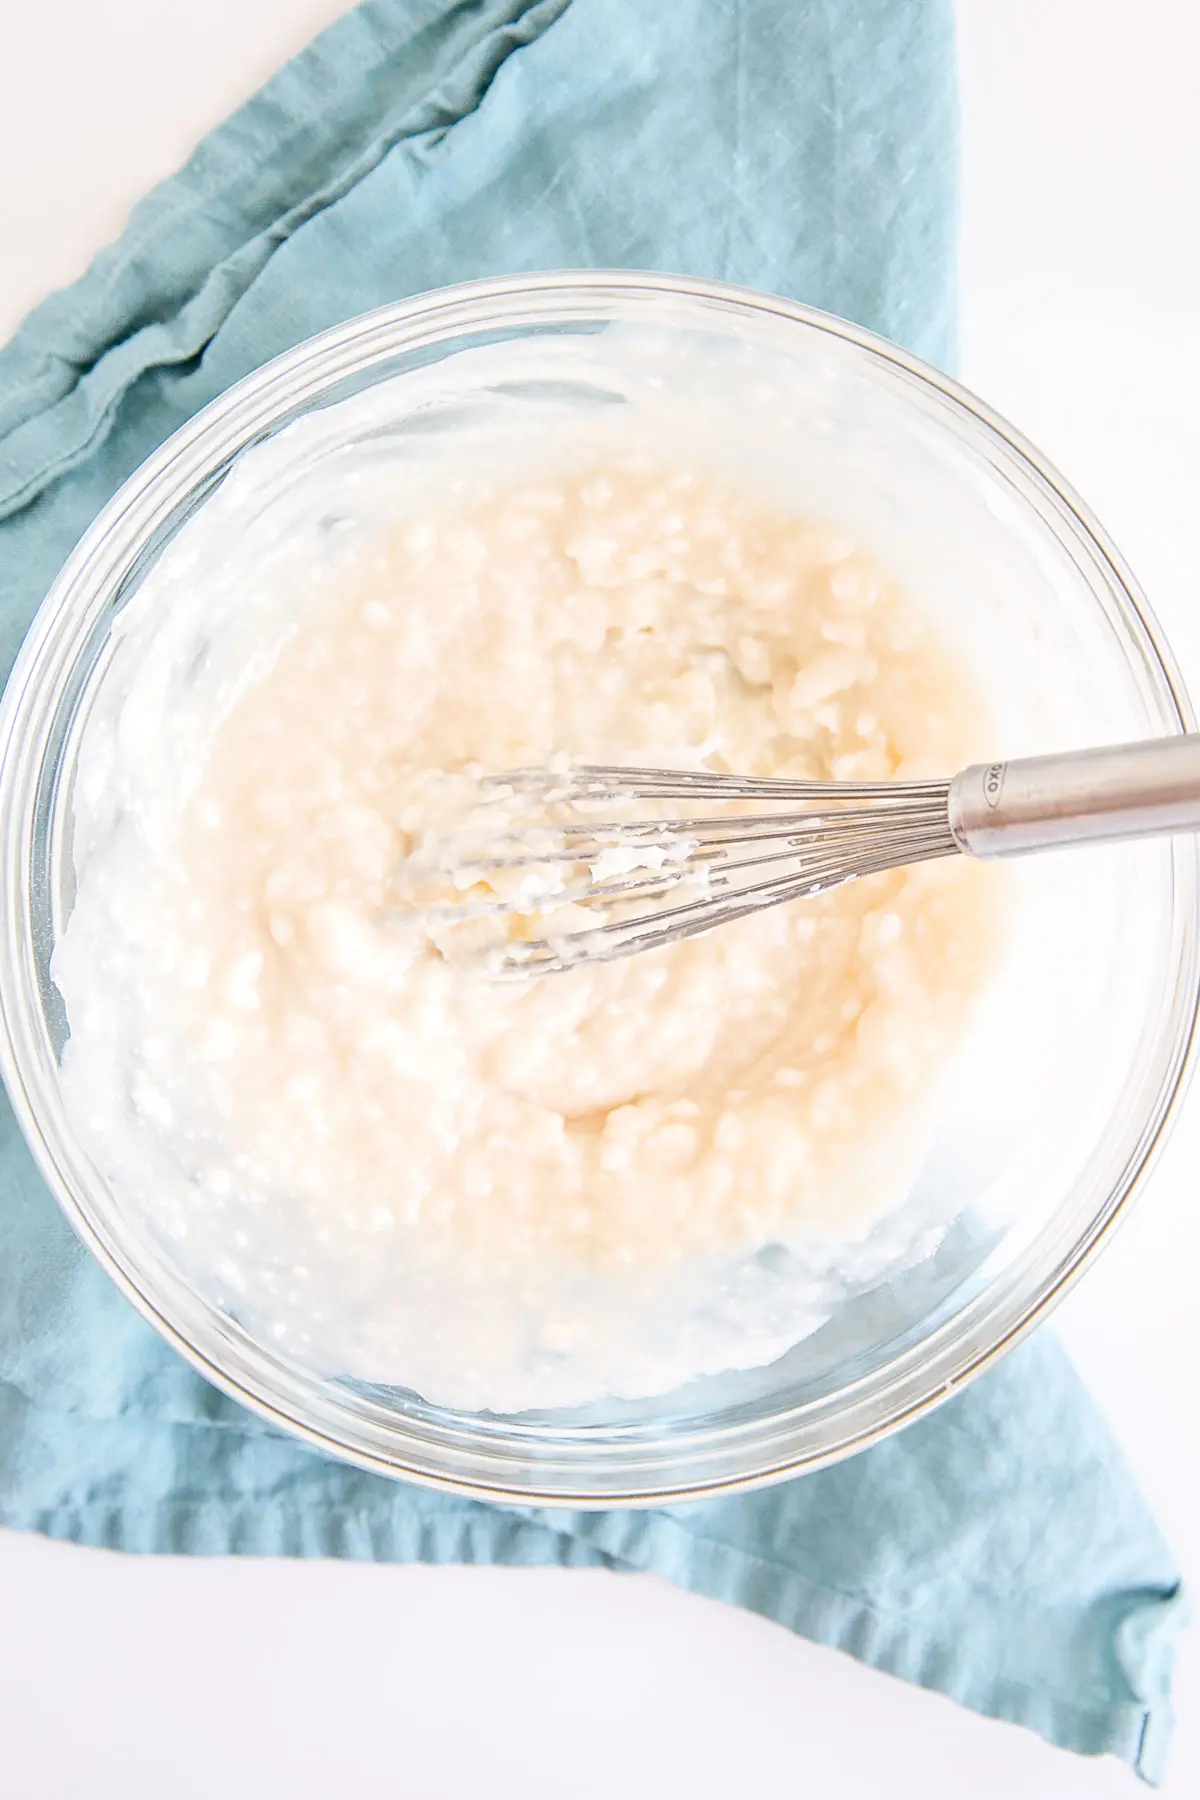
So you really need to whip it to get all those lumps out.
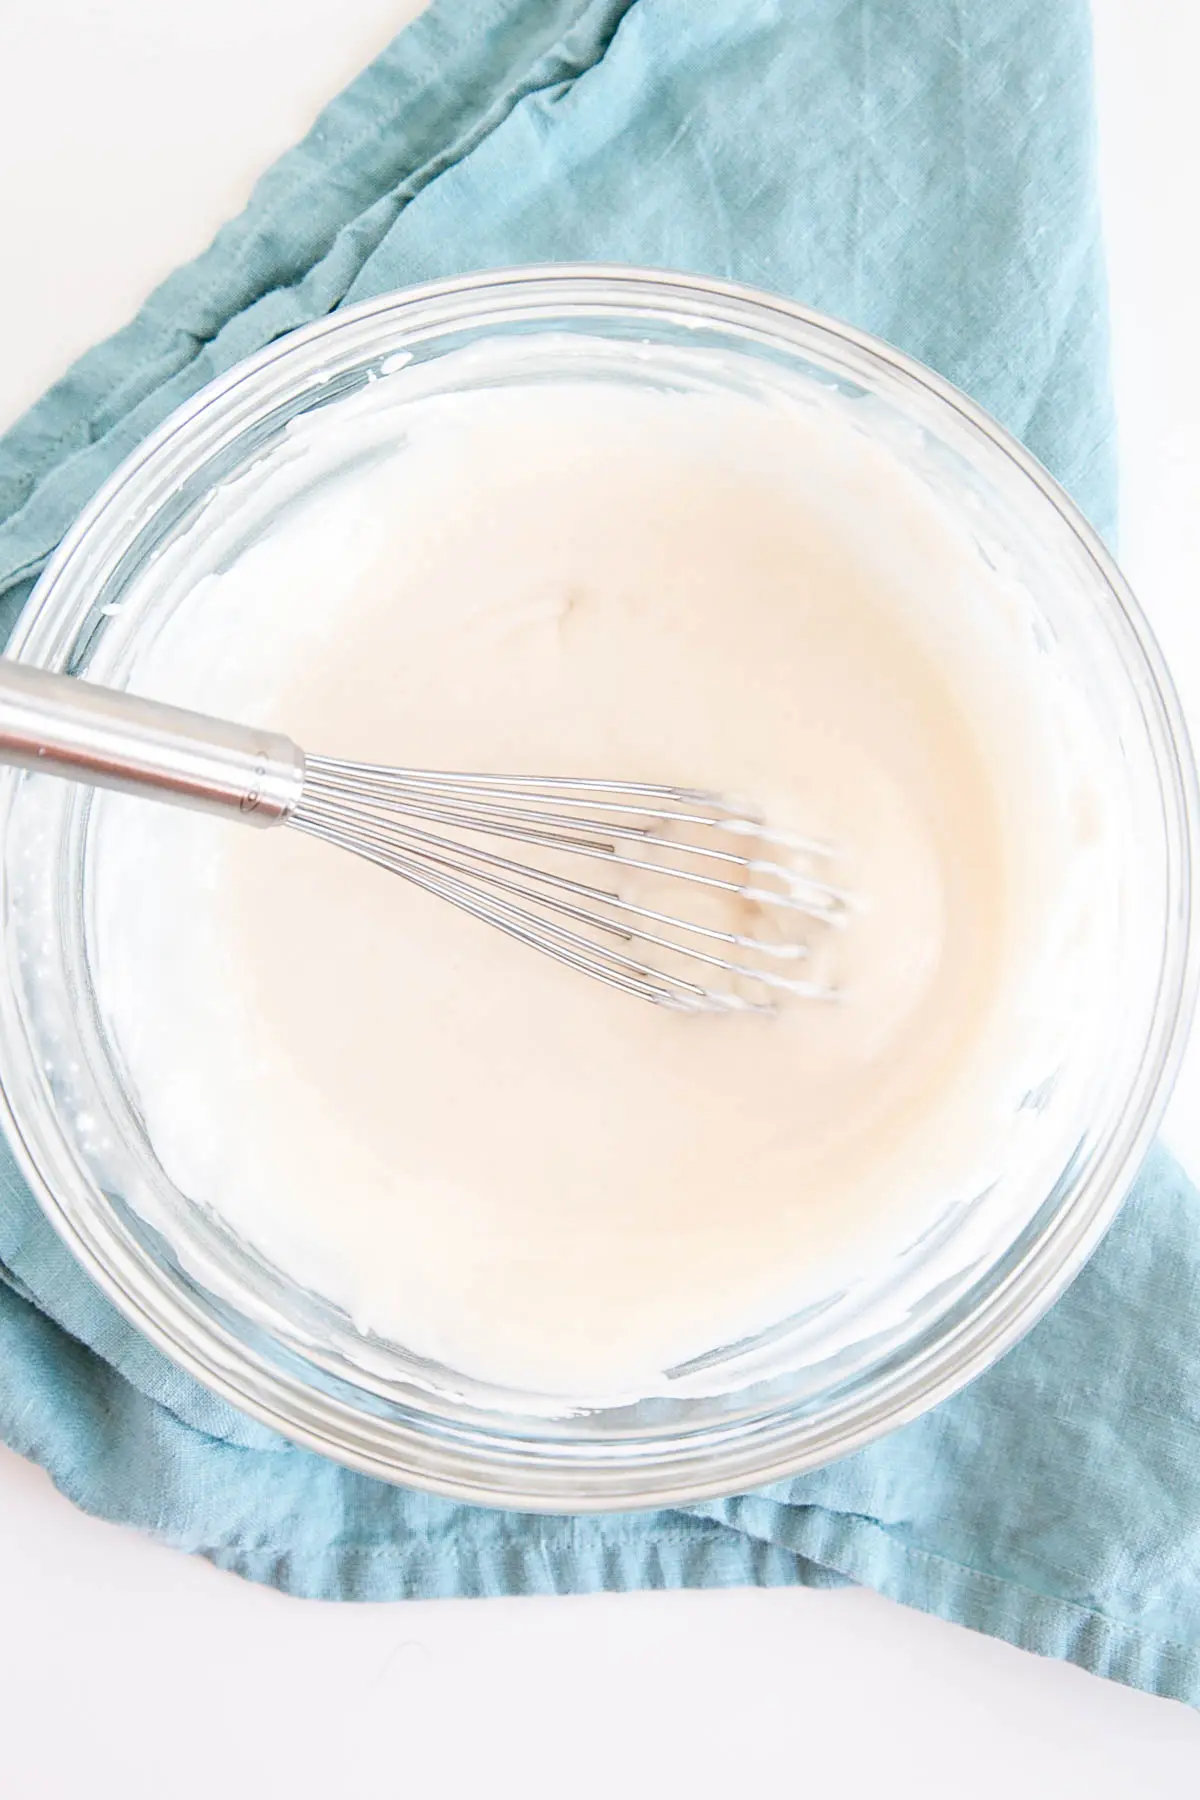
I just do this by hand but you can use a mixer if you prefer.
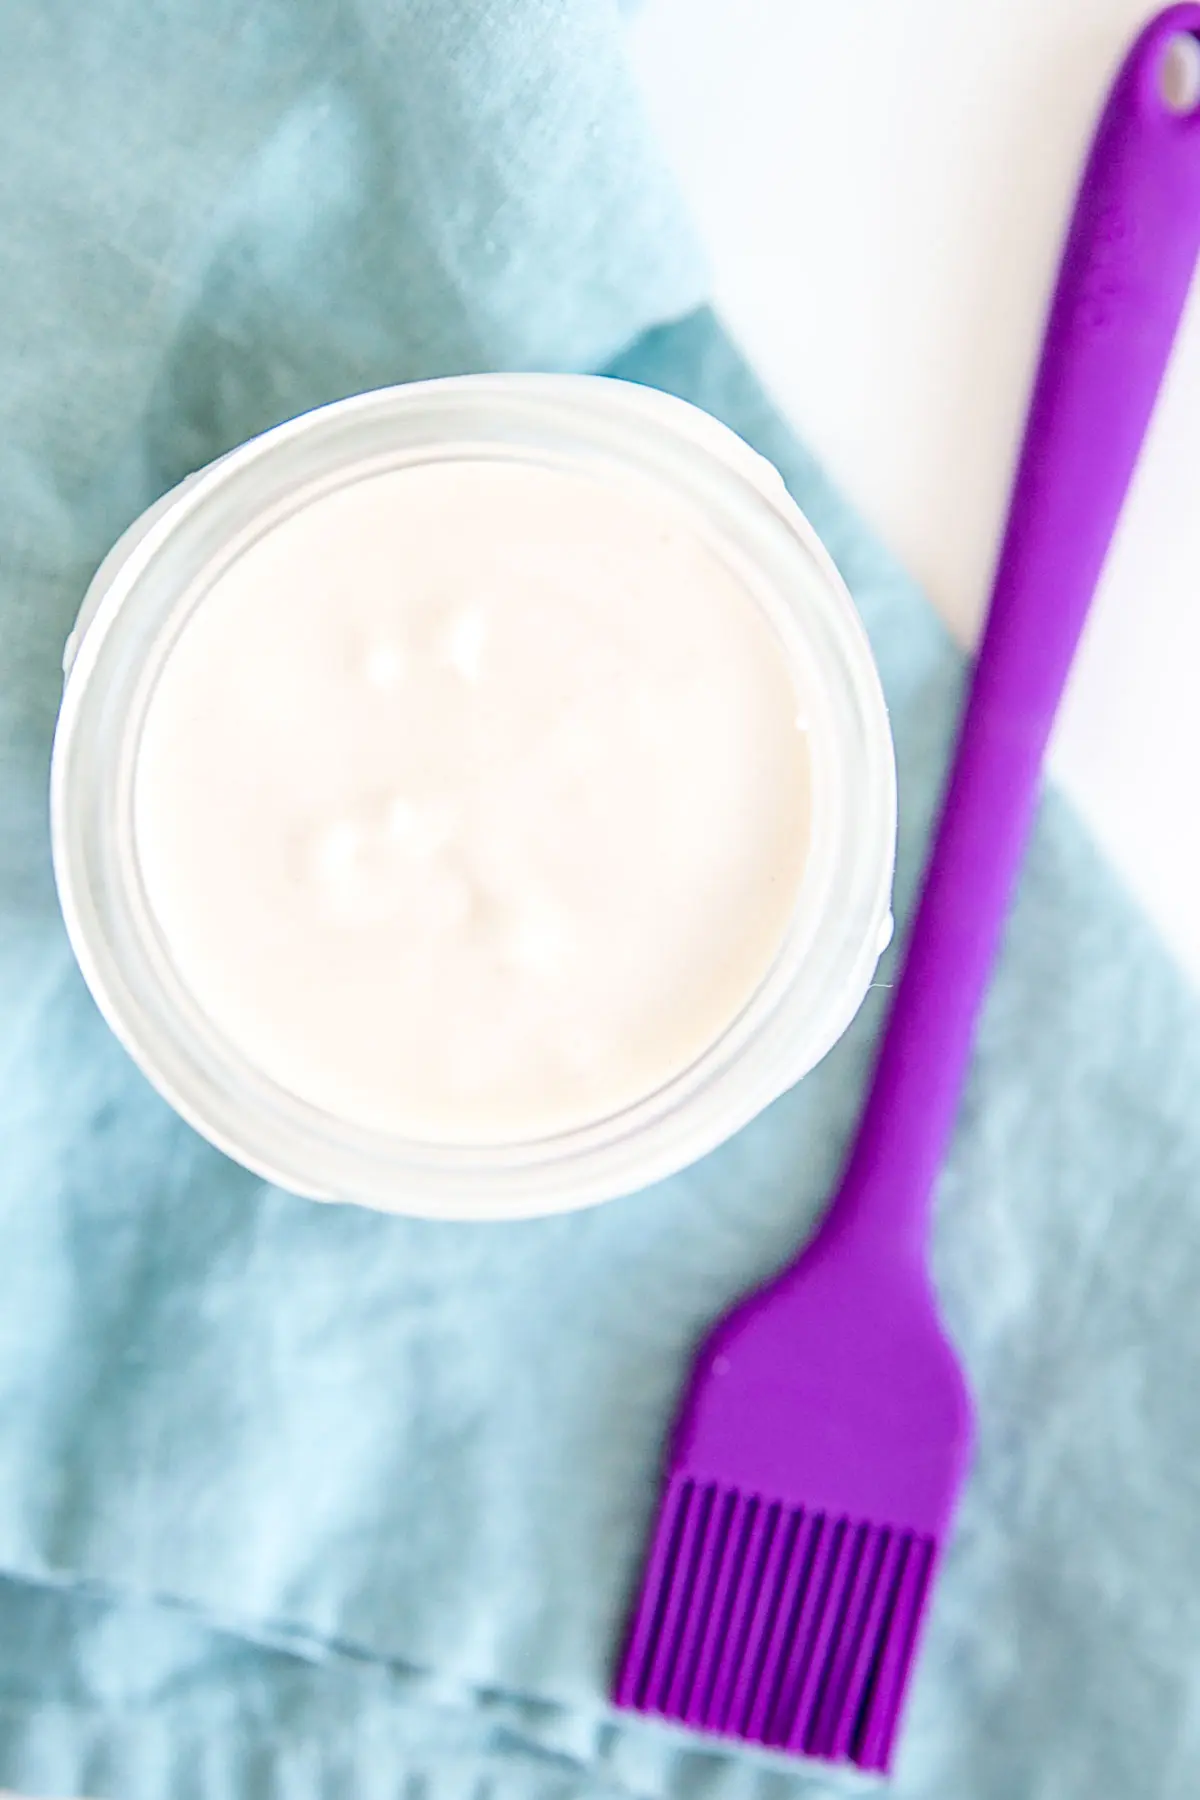
For a Gluten-free version replace regular All-Purpose Flour with Gluten-Free flour. I recommend using Cup4Cup, King Arthur Flour, or Bob’s Red Mill.
How do you use Cake Goop?
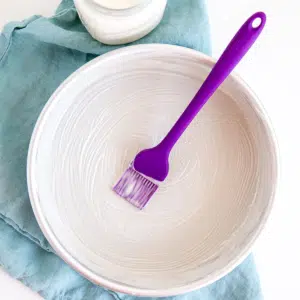
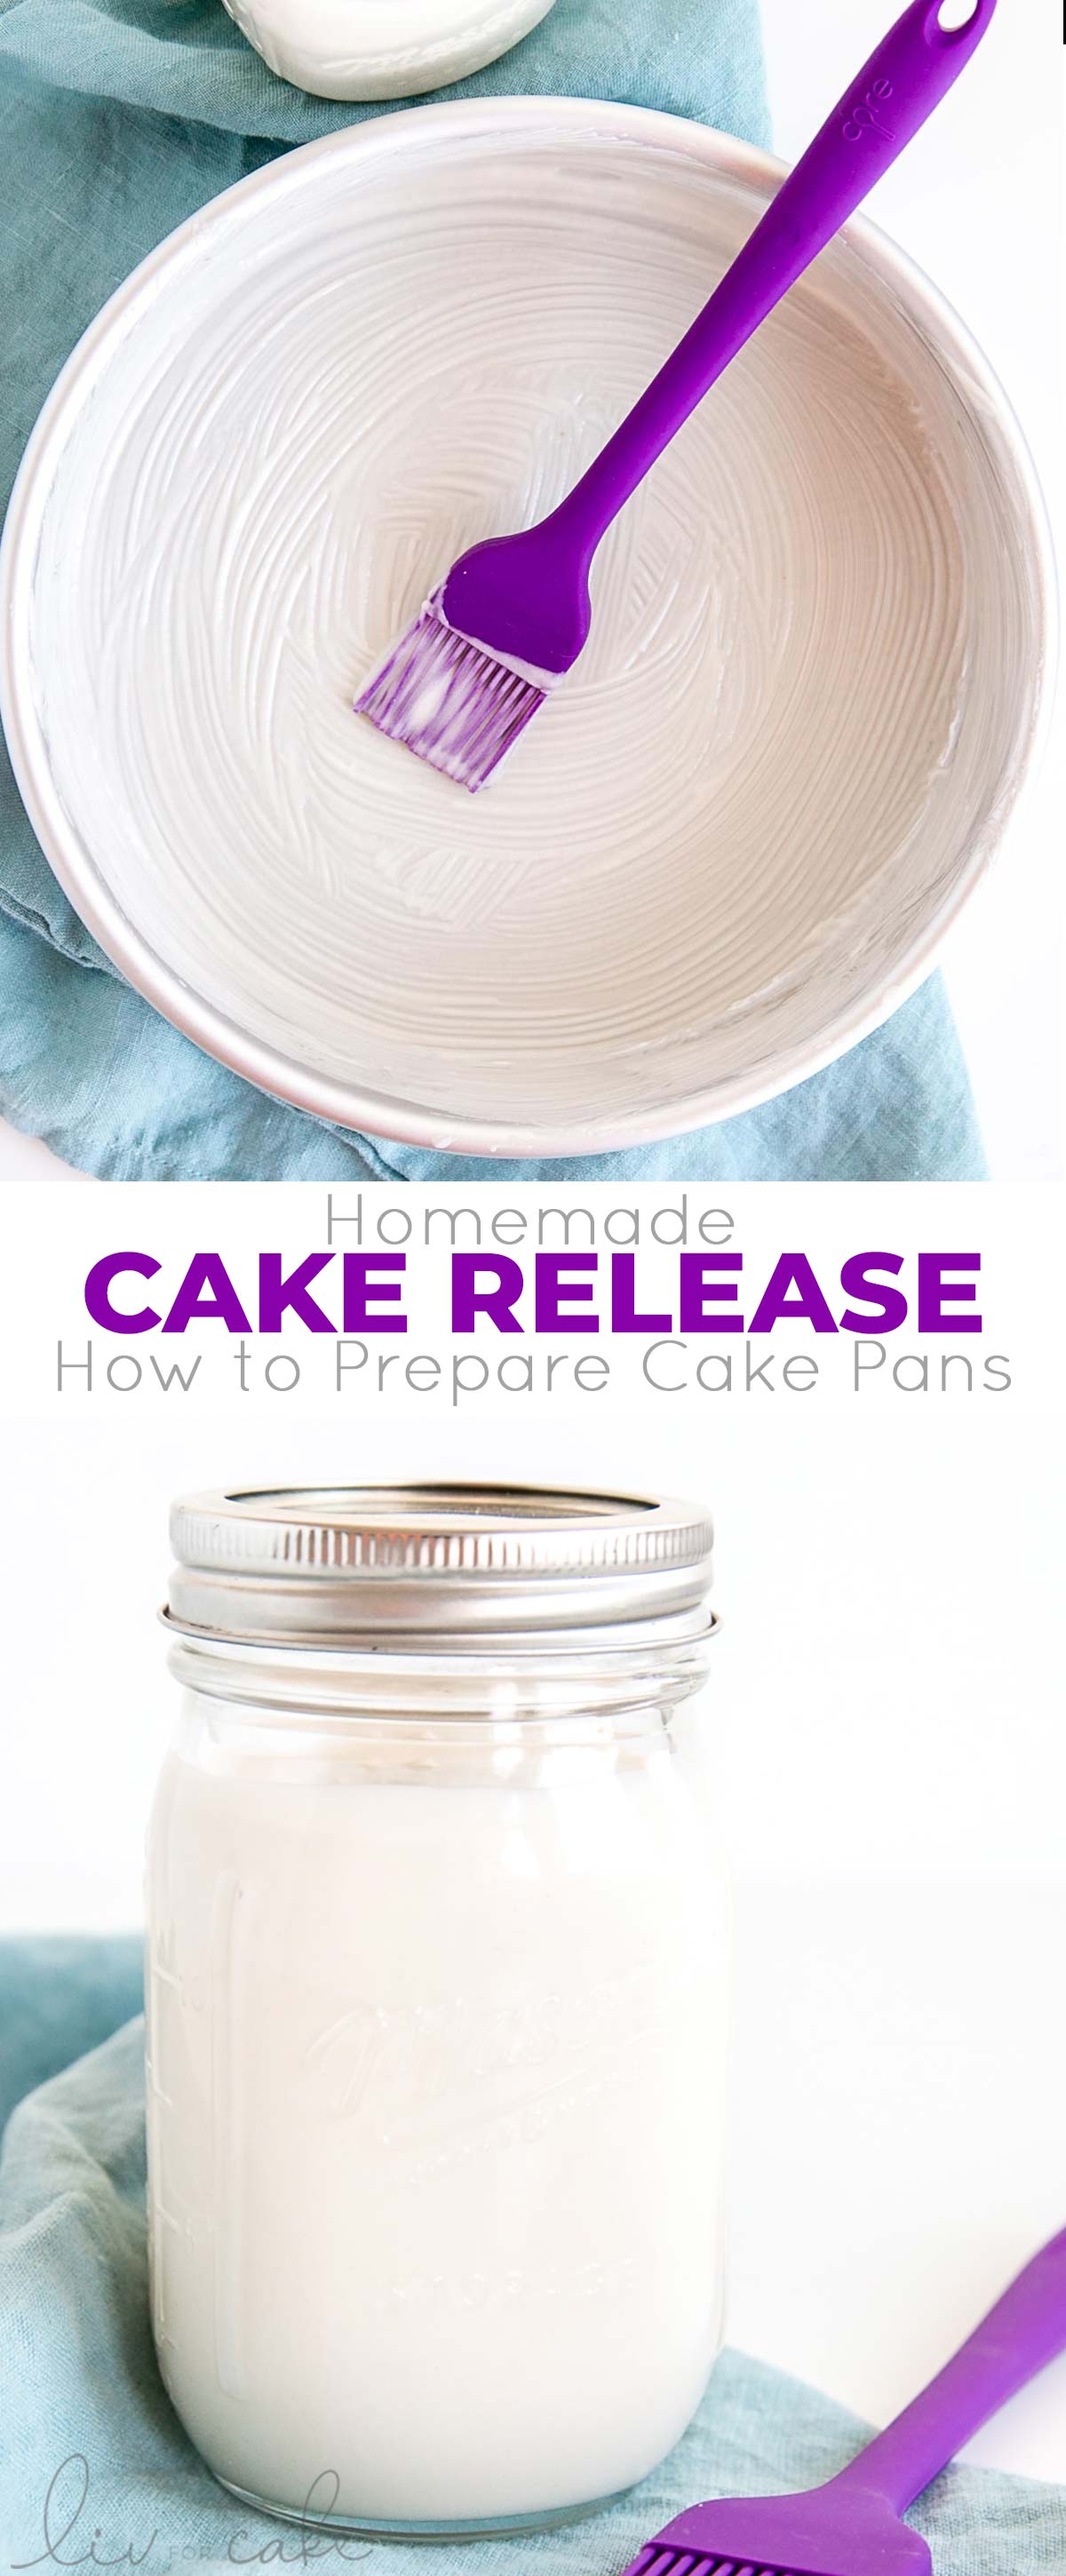
Using cake release on your pans is simple. All you need to do is dip a pastry brush into the cake goop and brush it onto your pans. I tend to brush it on pretty liberally.
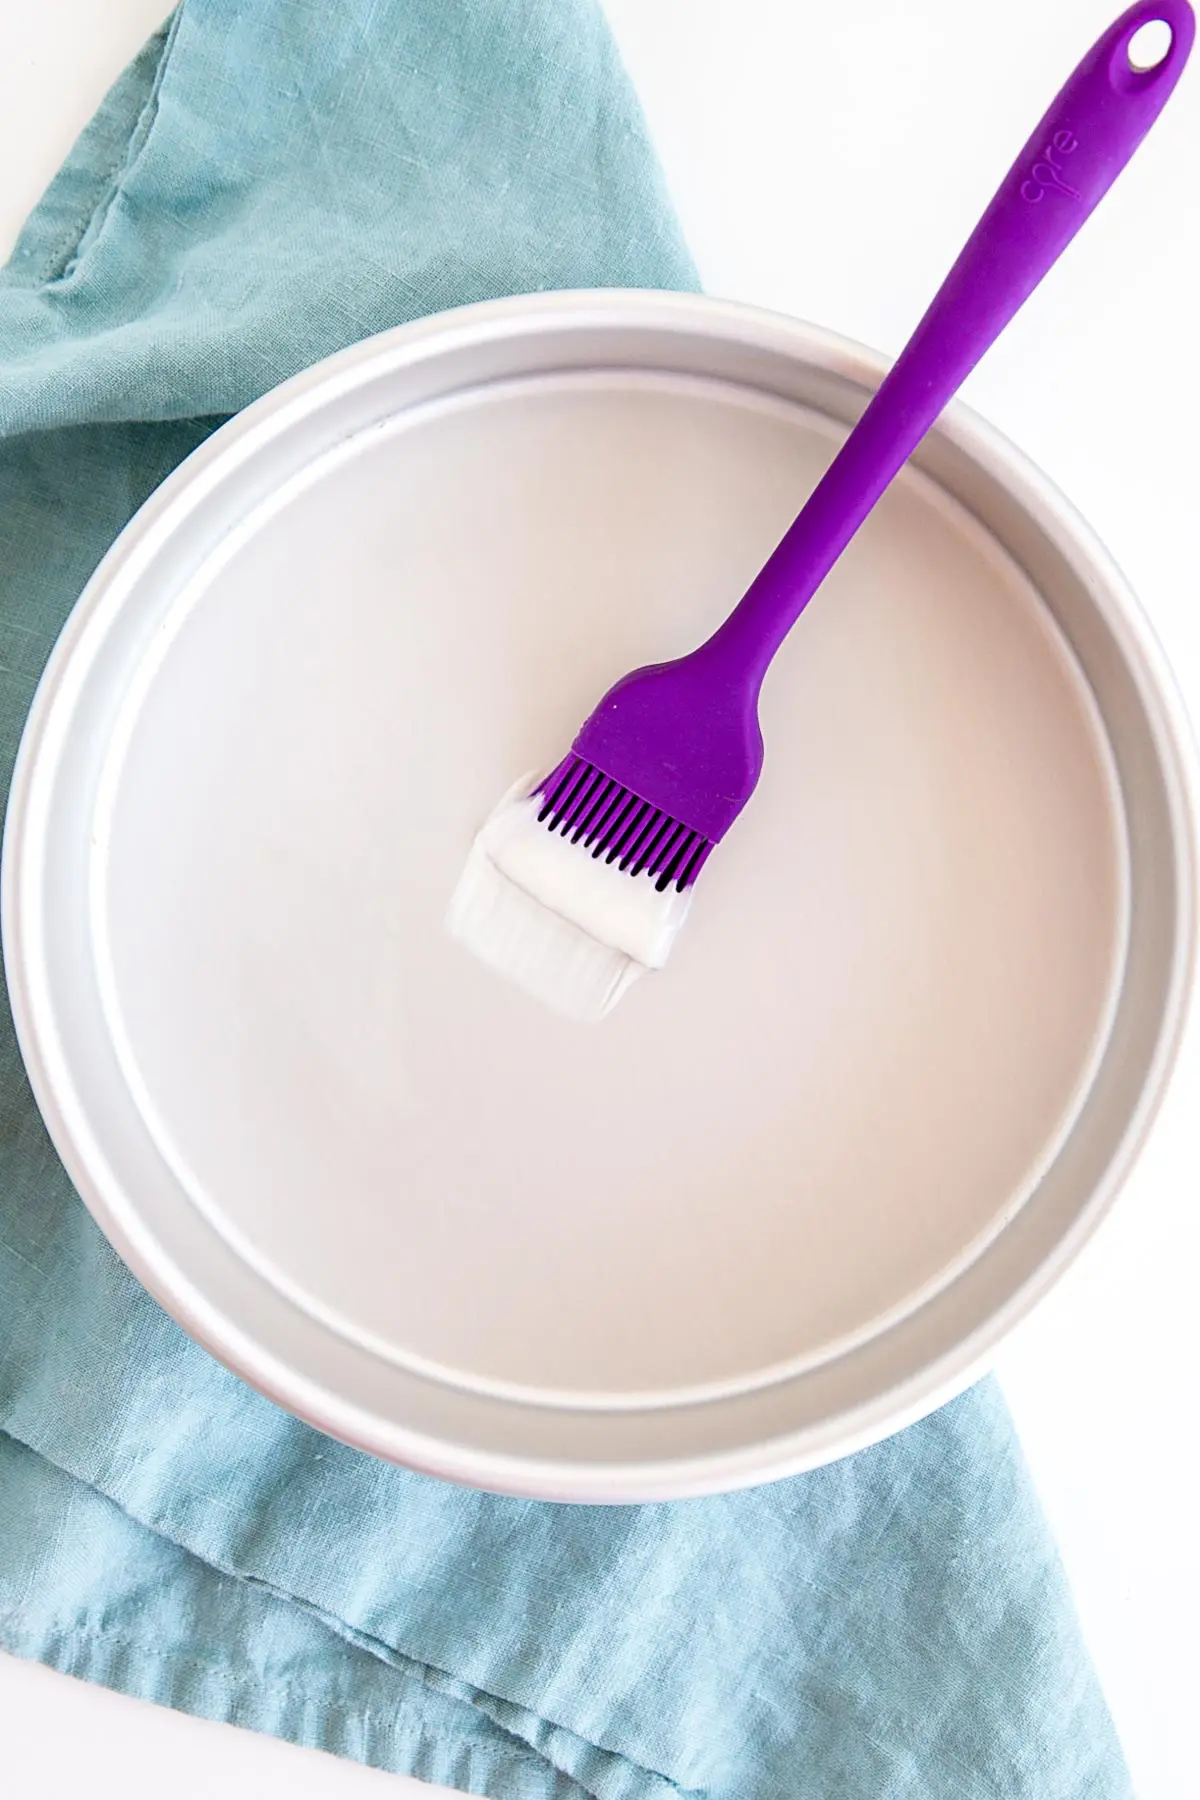
I like to use a silicone pastry brush for easy cleanup (aka toss it in the dishwasher).
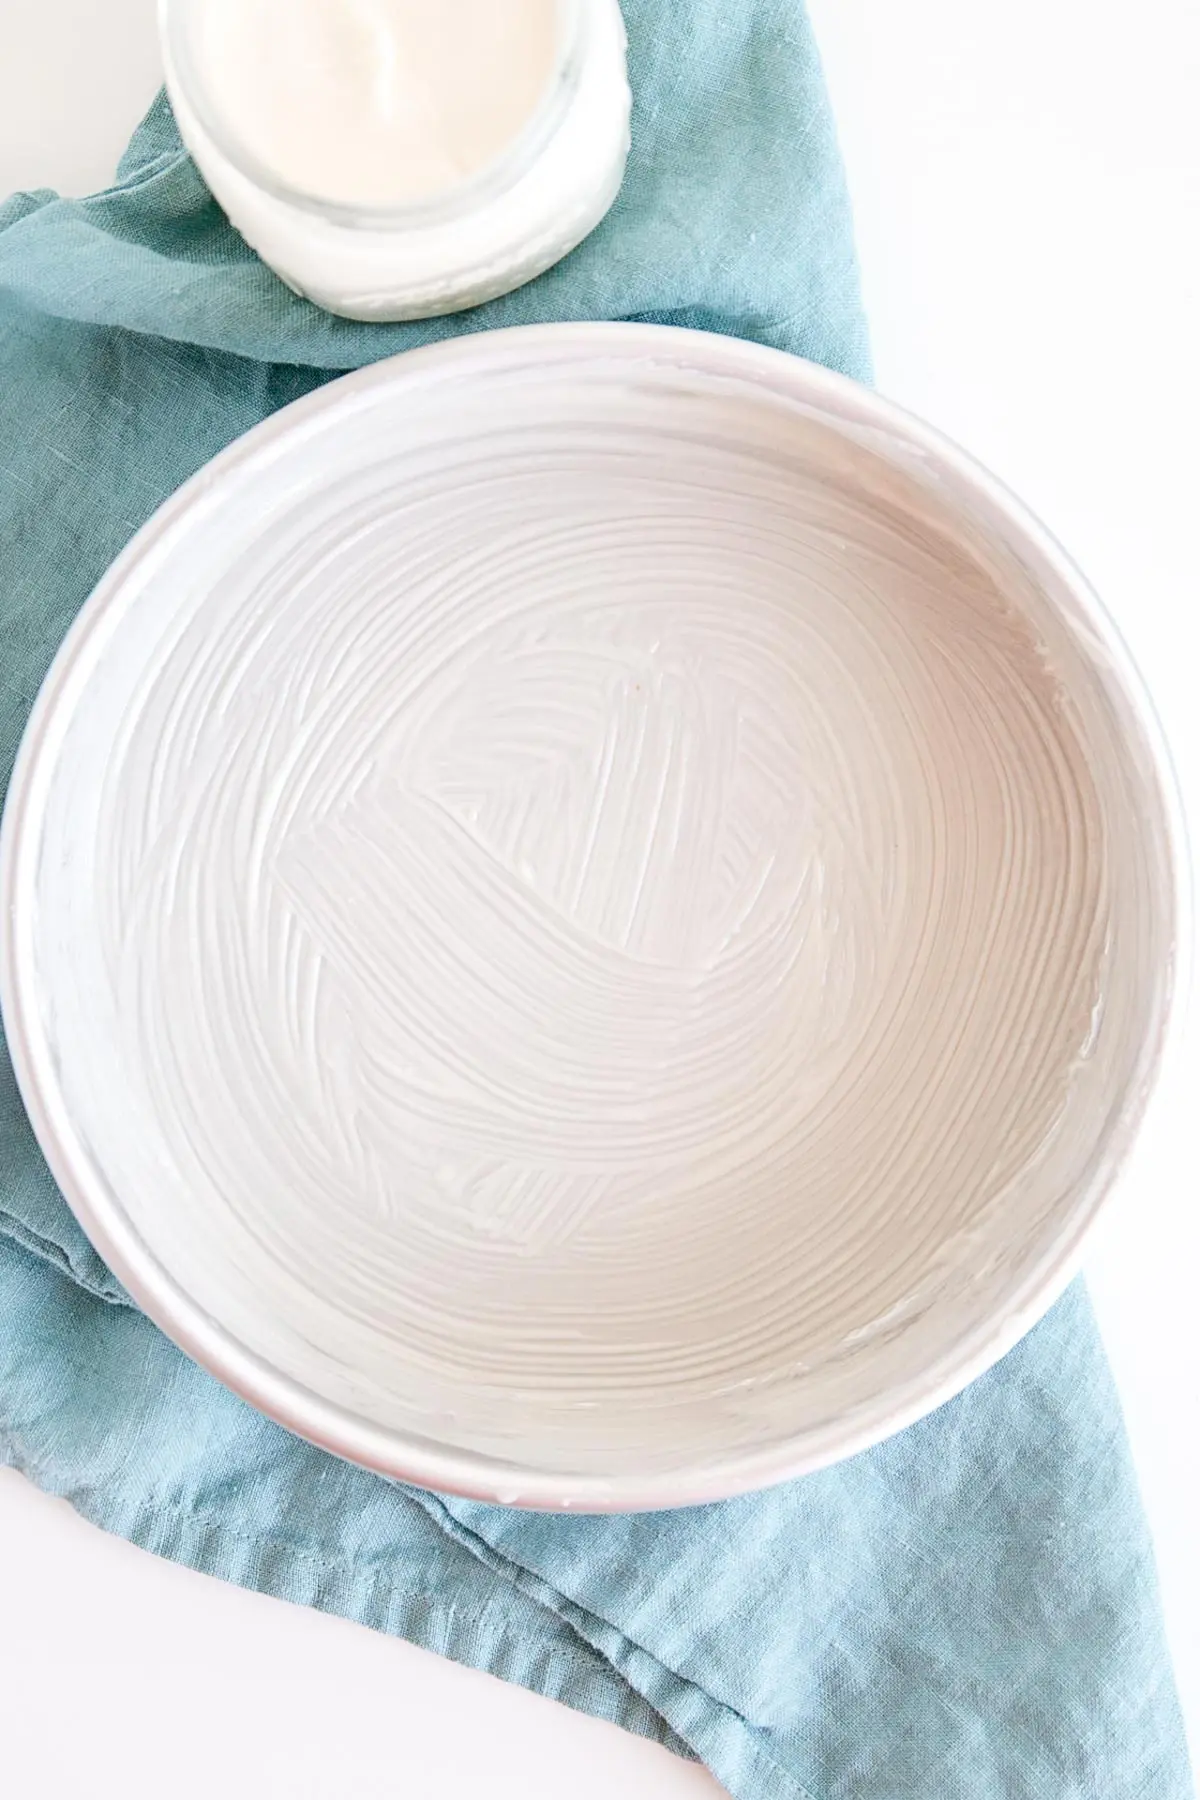
It also works great for those intricate Bundt pans as you can get it into all of the nooks and crannies.
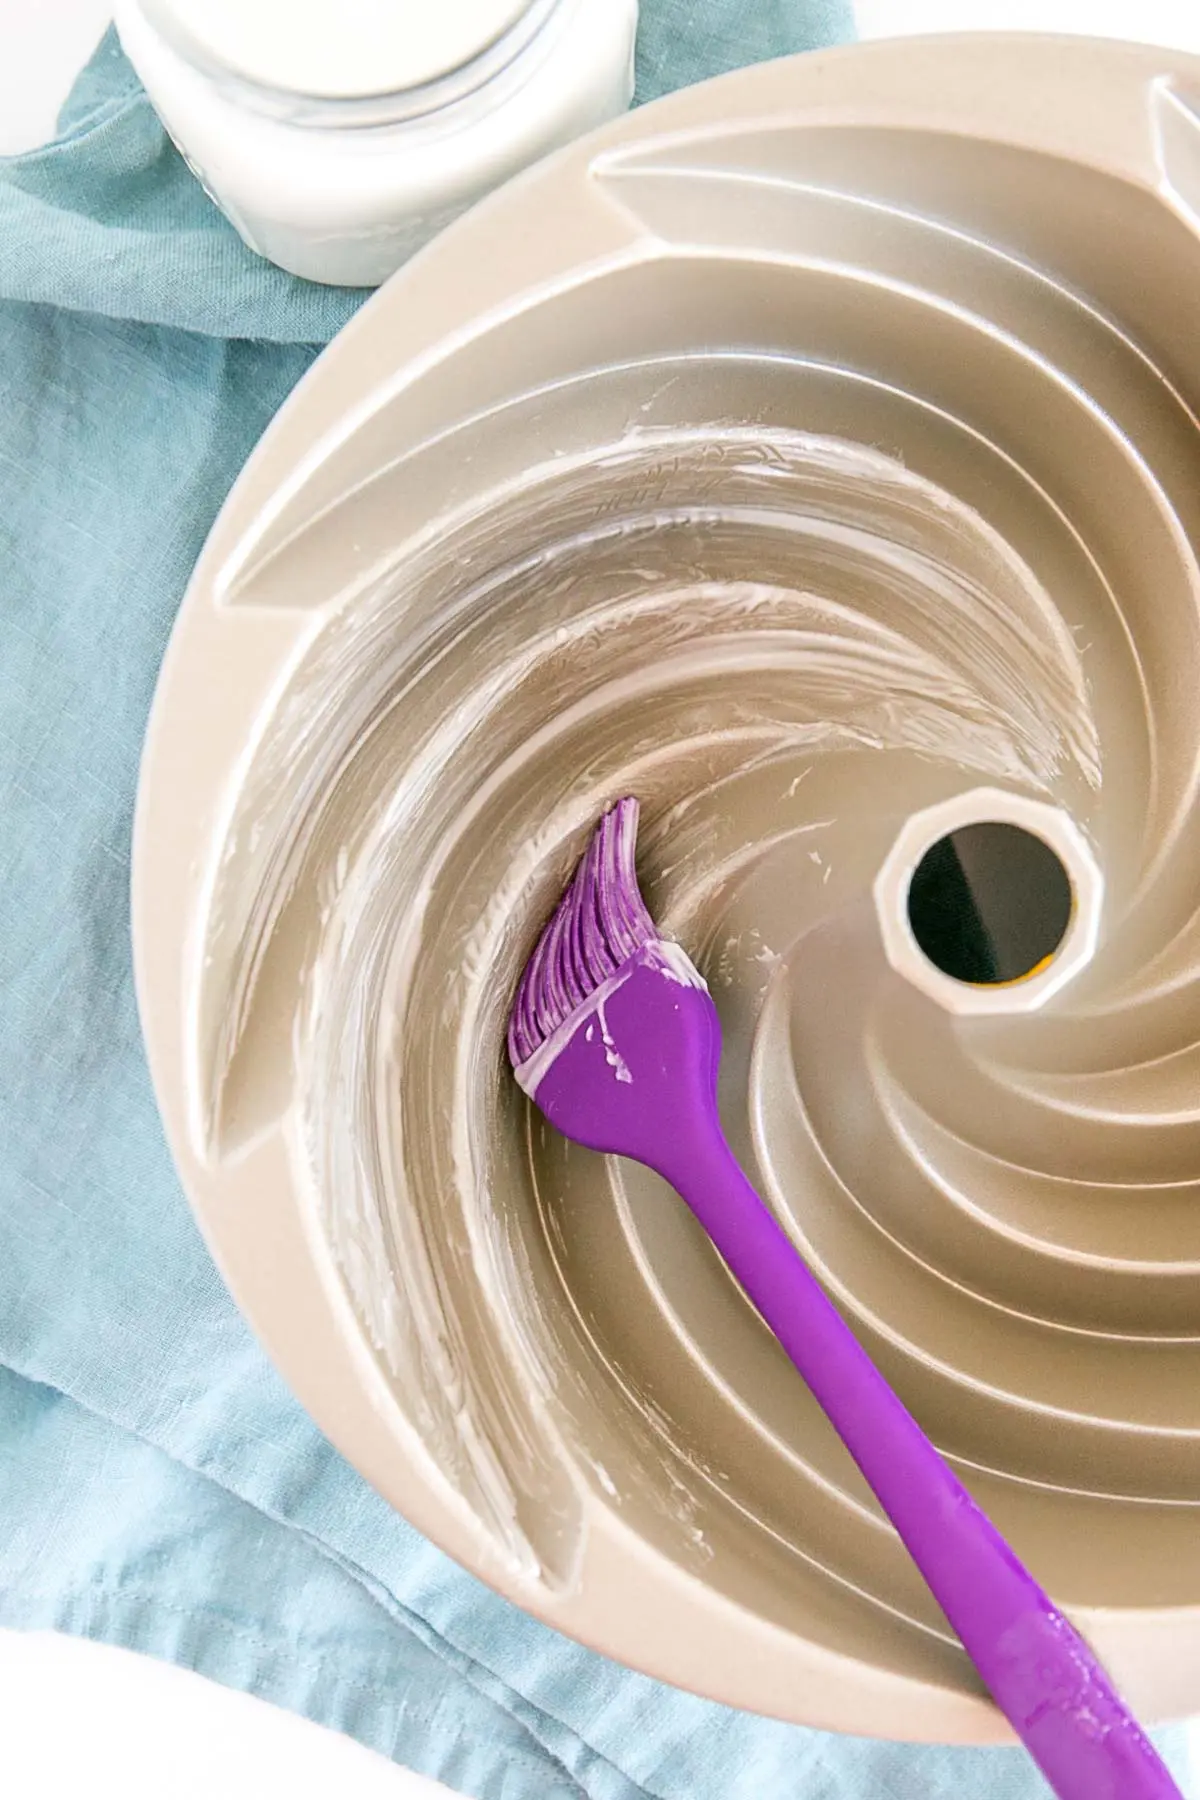
Lately, I had started using baking spray on my pans, but I’ve had mixed results and am now going back to good old cake release.
You can also buy premade cake release, but I like to make it myself — I know all of the ingredients and there aren’t any yucky additional preservatives. It’s also more cost-effective!
On that note…one thing that is not at all cost-effective (but I am very happy to pay for) is pre-cut parchment liners for my pans.
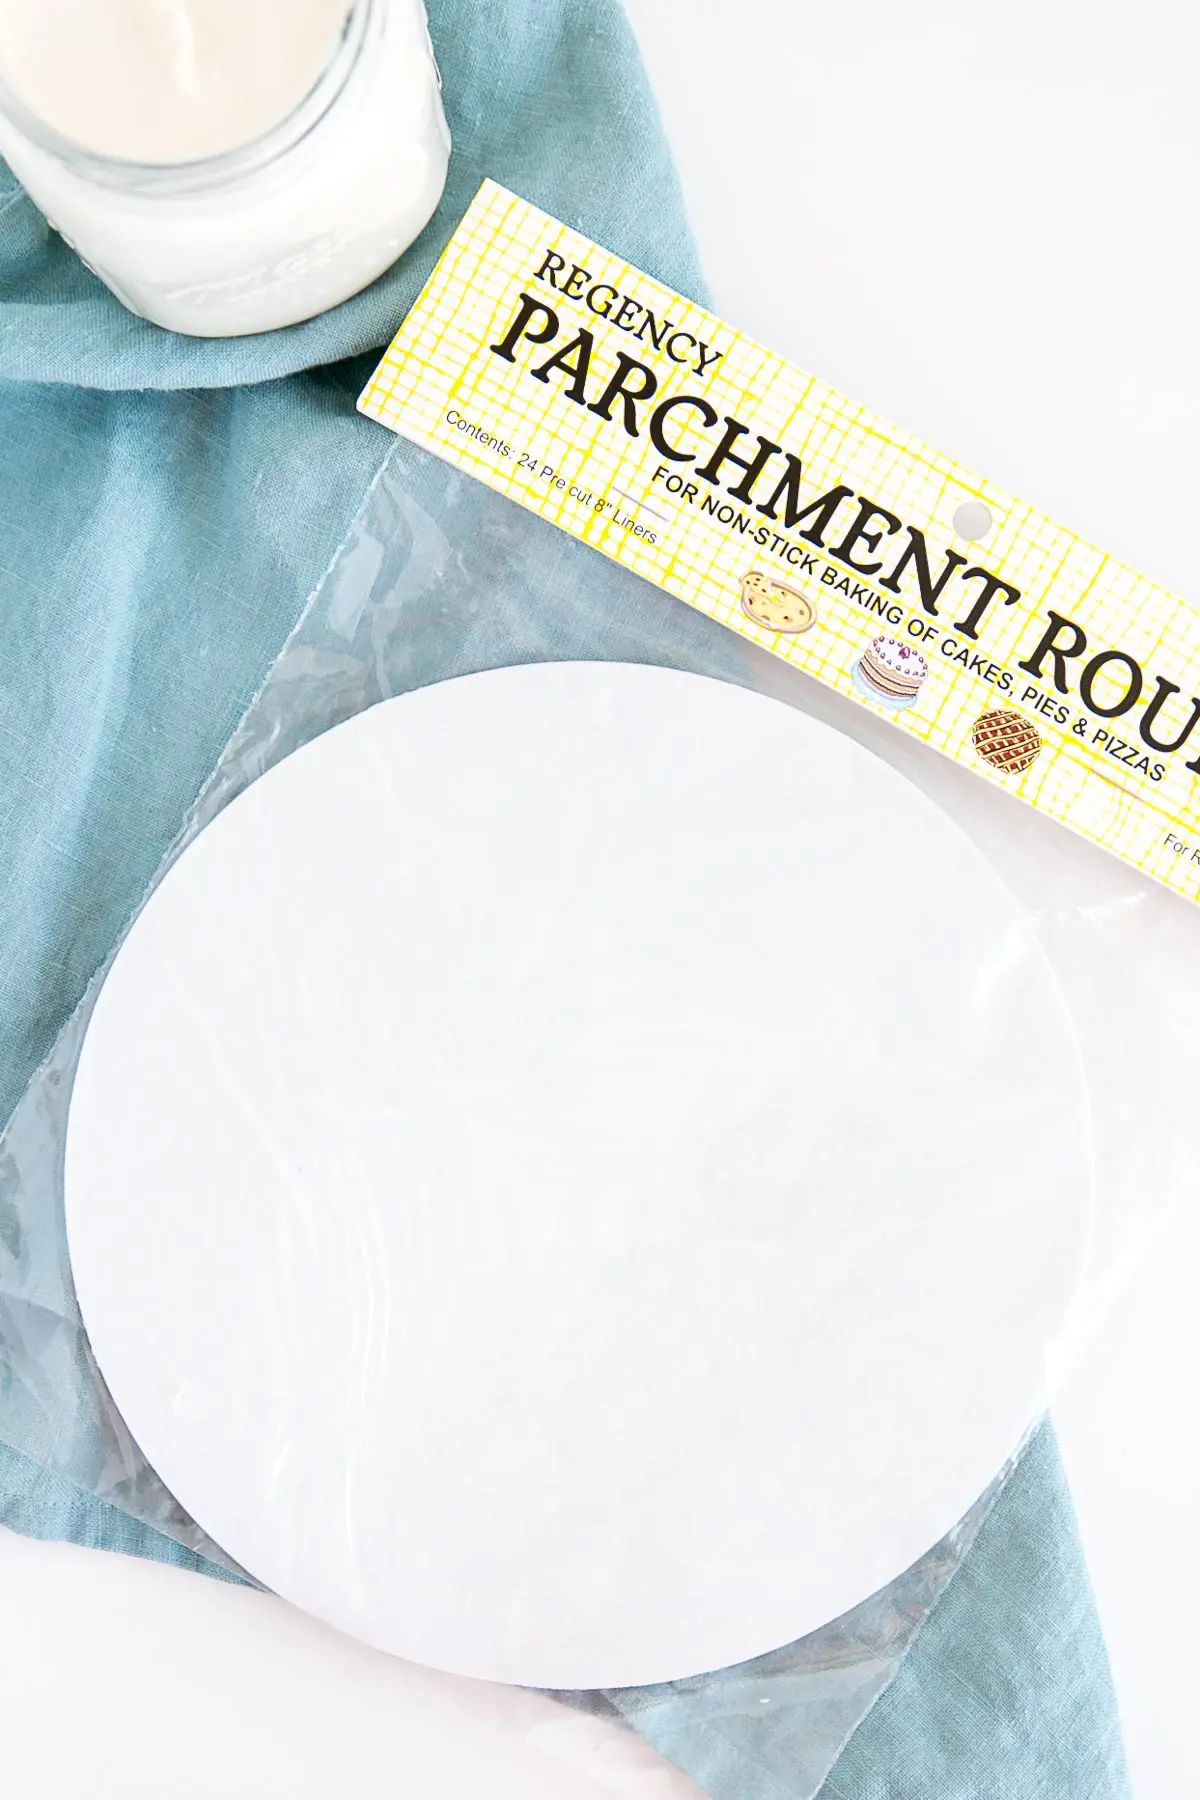
I didn’t even know these existed until I stumbled across them at a culinary supply store. I may have gasped at the sight of them. My only hesitation was whether to buy multiple packs.
I hate cutting out parchment! Almost more than anything. It never lies flat and is awkward to cut. Bleh. I’m happy to pay for the extra convenience.
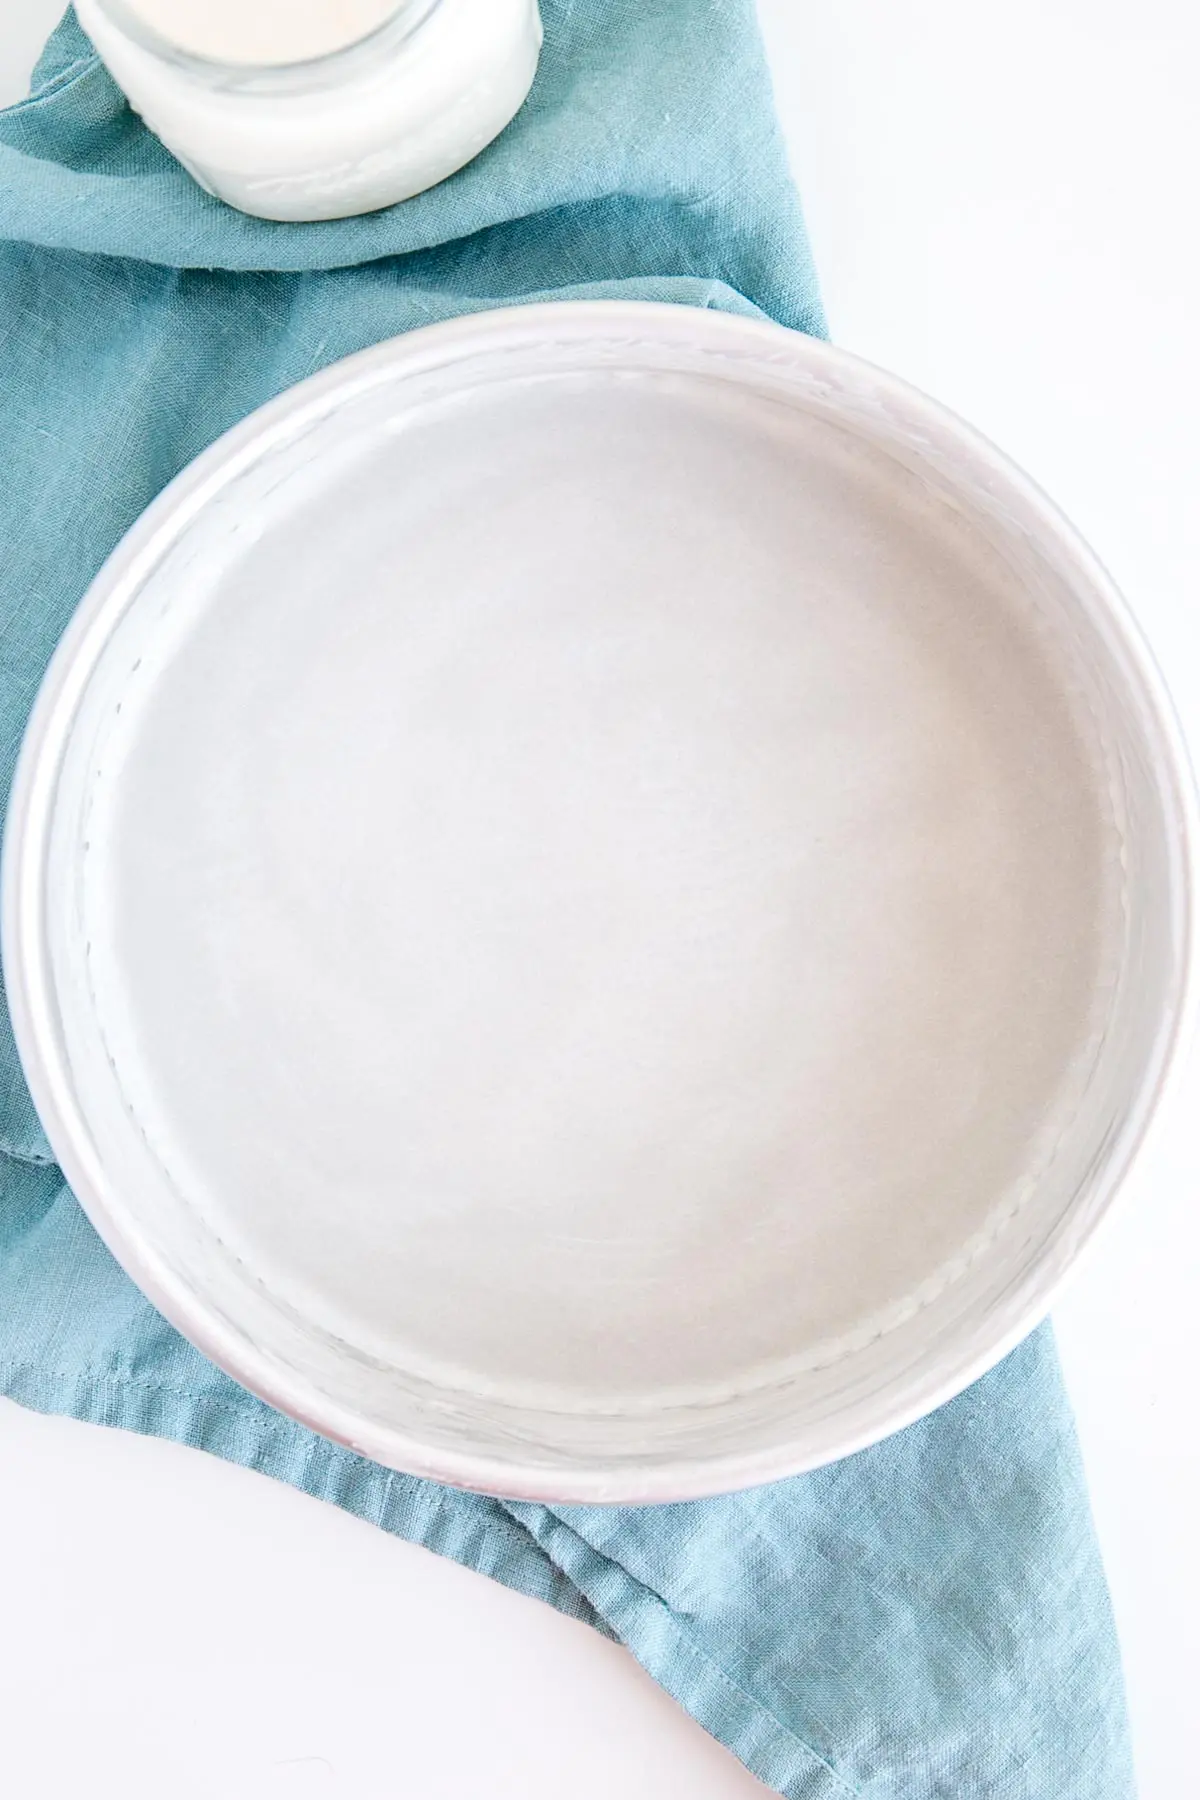
Another great, earth-friendly, option is these silicone cake pan liners from Silpat. I was skeptical about these working well, but they work great!! Came right off the cake no problem.
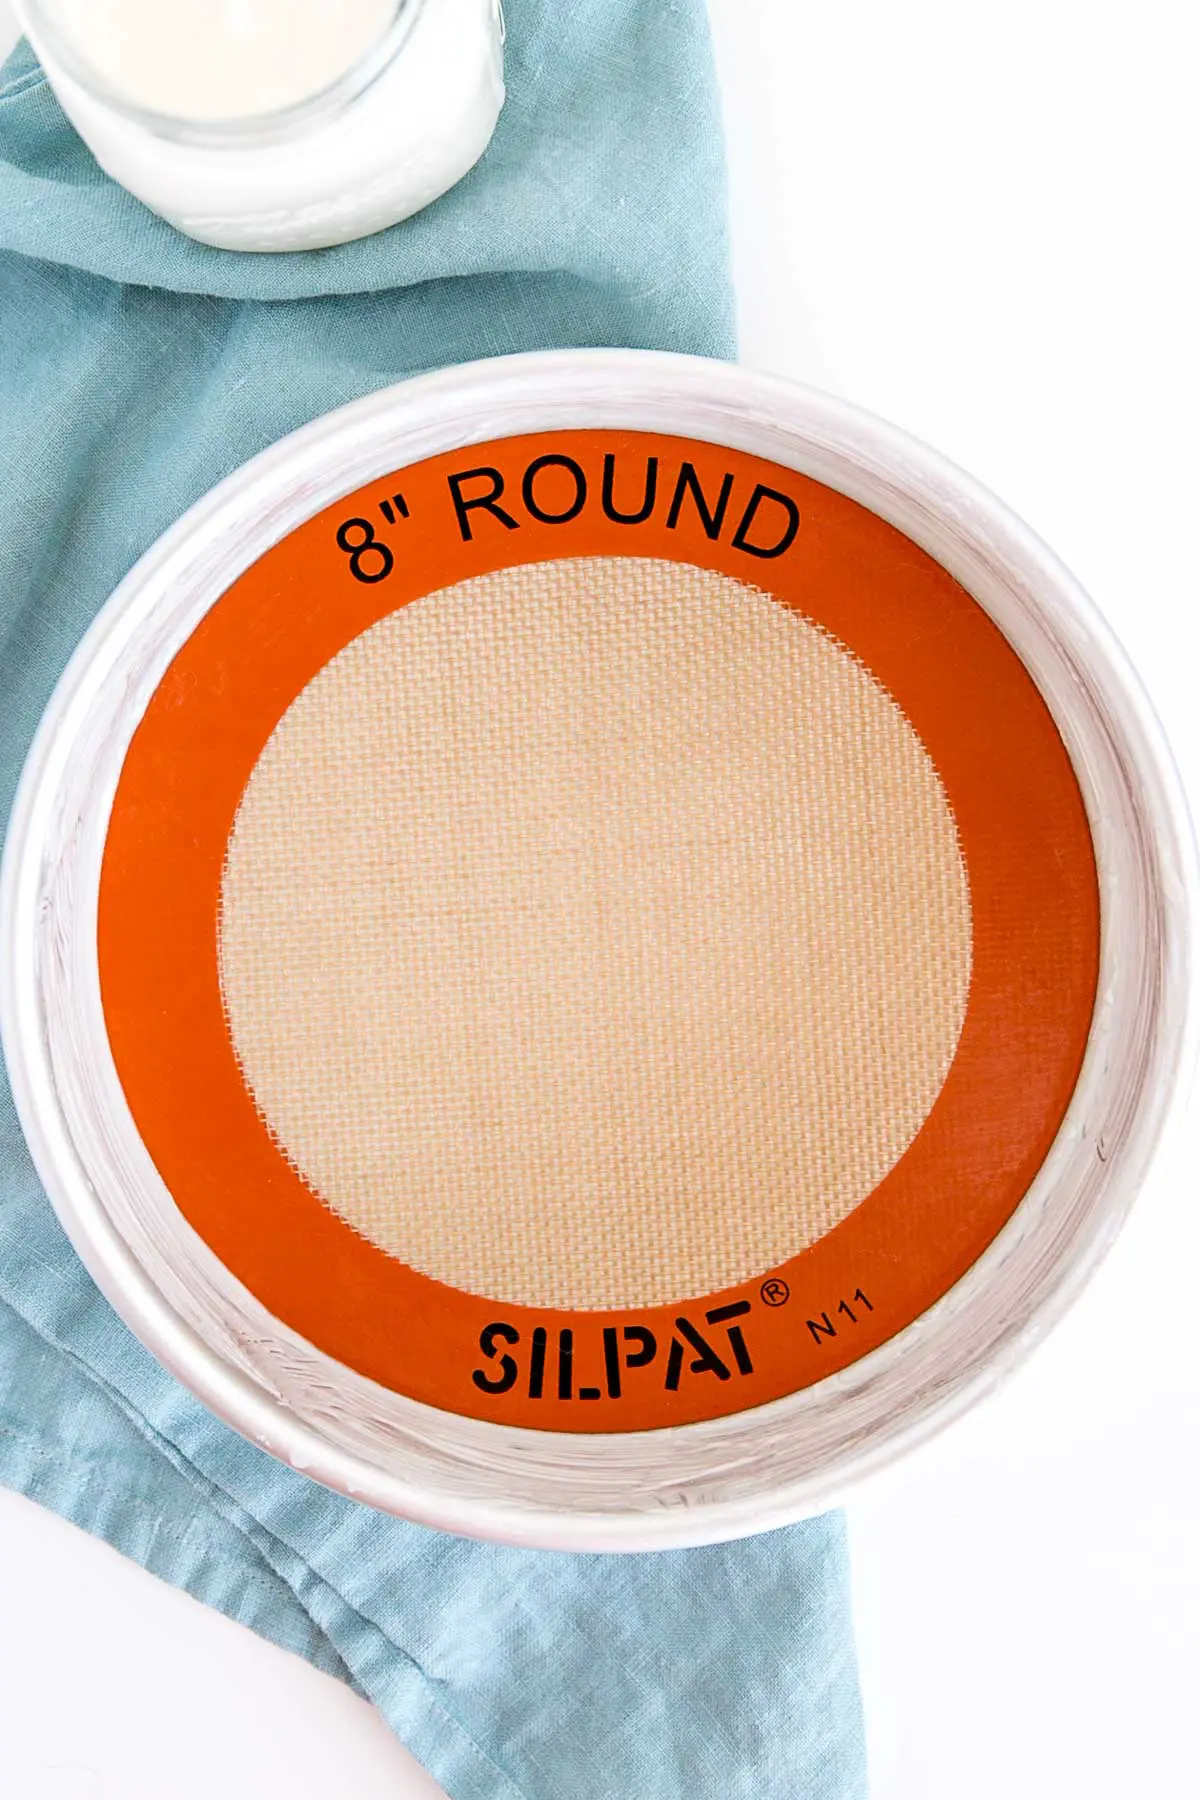
I found one at my local Homesense for a steal and am on the hunt for another two. You can order them off Amazon though.
How do you Store Cake release?
I like to store mine in a glass jar or container, but plastic will work fine too. Just make sure it’s airtight. It will last for:
- 3 months at room temperature
- 6 months in the fridge
Really though, it will last as long as the ingredients themselves will. I like to do the sniff test if it’s been sitting around a while. If it smells a bit rancid, toss it.
Check out these other tutorials!
- Check out my Swiss Meringue Buttercream tutorial for how to make the best buttercream ever.
- Learn how to keep your cakes moist using Simple Syrup.
- Make Caramel Sauce at home with this easy recipe.
- To help ensure your cake layers bake up nice and flat, check out my How to Bake Flat Cake Layers post!
Homemade Cake Release
- 1/2 cup all-purpose flour
- 1/2 cup vegetable oil
- 1/2 cup shortening
- Place all ingredients into a bowl and whisk until smooth.
- Brush onto pans before lining with parchment.
- Store in an airtight container for up to 3 months at room temperature or 6 months in the fridge.

Margaret Ann Schmelzer says
Why do you use parchment paper is you have prepped the pan with cake release?
Olivia says
Hi Margaret Ann! I just use it as extra insurance to make sure the cakes pop right out of their pans.
Blair D Madsen says
I am trying to avoid hydrogenated oils from my diet. I would use avocado oil for this recipe. Can I substitute lard for the shortening?
Olivia says
Hi Blair! I have only tried it with the ingredients listed, but I would give it a go. I recommend making a smaller batch to make sure it combines ok.
Sharon Knisley says
I I made this cake release. It is very runny. Should it be like that
Olivia says
Hi Sharon! It should be the consistency shown in the photos. Thin enough to brush onto your pans but not runny.
MrsSW says
Pan coat can also be stored in the freezer. Handy for those who don’t bake cakes very often.
Sheila
Olivia says
Thanks for the tip MrsSW!
Sammi Green says
I want a real cookbook, please? One I can thumb through and open up and look at recipe not on phone . Do you have any printed books ?
Olivia says
Hi Sammi! You are so kind. I do not have any printed cookbooks at this time. I have ebooks available that you can print yourself but nothing published otherwise.
Crystal says
can you use this for brownies?
Olivia says
Hi Crystal! For sure, that should work fine.
Aileen Sadler says
Can you recommend your preferred baking pans?
Olivia says
Hi Aileen! My favourite cake pans are from Fat Daddios. I have them linked under Essential Tools here: https://www.amazon.com/shop/livforcake