This post may contain affiliate links. Please see our disclosure policy.
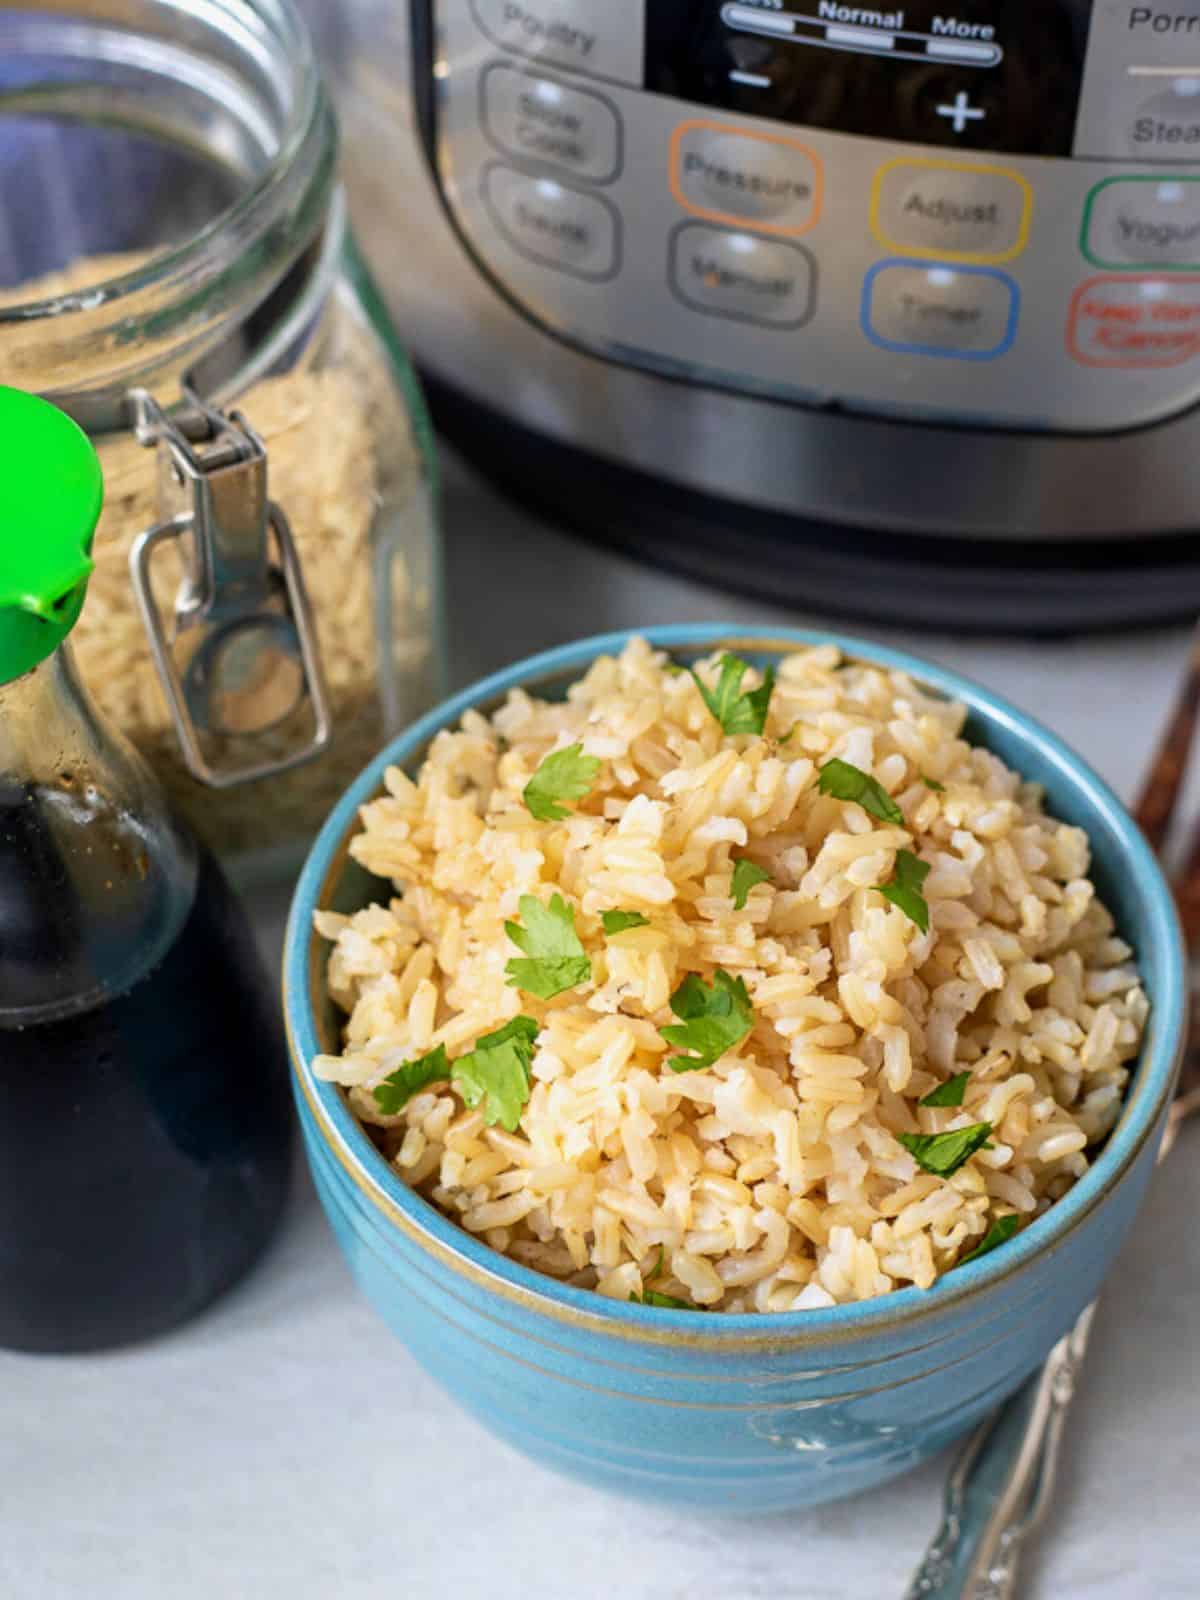
Instant Pot Brown Rice is everything rice should be! With this fail-proof recipe, you are guaranteed to have perfectly cooked, fluffy, nutty brown rice every single time–and it couldn’t be easier to make!
Have basmati rice or jasmine white rice on hand? Refer to my fool-proof Instant Pot White Rice.

In This Post
Kristen’s Key Takeaways

- My embarrassing truth. Cooking rice on the stove has always been my nemesis. The Instant Pot changed that permanently! Instant Pot Brown rice makes perfect fluffy rice–just like a rice cooker. Plus, your Instant Pot can tackle staples like hard-boiled eggs, steel-cut oats, and baked potatoes as well.
- Do NOT use the rice function. The preset rice function does not know what type of rice you are cooking and can default to low pressure on some models. For best results, manually set the time and pressure yourself.
- Never fill inner pot more than halfway. Whenever cooking starchy items, like rice, you should not fill the inner pot more than halfway full. That equates out to 3 cups of dry rice in a 6-quart model and 5 cups of dry rice in an 8-quart model.
Happy Cooking! xo Kristen
How To Make Instant Pot Brown Rice
While this is an incredibly simple recipe, if you are unfamiliar with cooking in an Instant Pot or the functions of your Instant Pot, be sure to start with How to Use an Instant Pot for the best results on this and future recipes. You will find the full recipe in detail in the recipe card below.
- Rinse the rice. Place your rice in a fine-mesh strainer and rinse under running water for 1-2 minutes. Alternatively, place the rice inside a large bowl, cover with water, drain the water off and repeat 2-3 times until the water runs clear. This is CRUCIAL. Rinsing rice helps to remove the excess starch on the grains of rice, ensuring that the grains don’t clump together when cooking.
- Use a 1:1 rice to liquid ratio. For every 1 cup of rice, you will need 1 cup of liquid of choice (broth, stock, water, juice, etc.). Add both to the inner pot along with a pinch of salt. Then gently push the rice down into the liquid, so that it is fully submerged in the liquid, to ensure ensure even cooking.
- Set the cooking time using the pressure cook or manual button. Remember, you don’t want to use the rice function!
- Let pressure release naturally. Do not be tempted to do a quick release of pressure. It will result in mushy rice and starchy liquid spewing all over your kitchen.
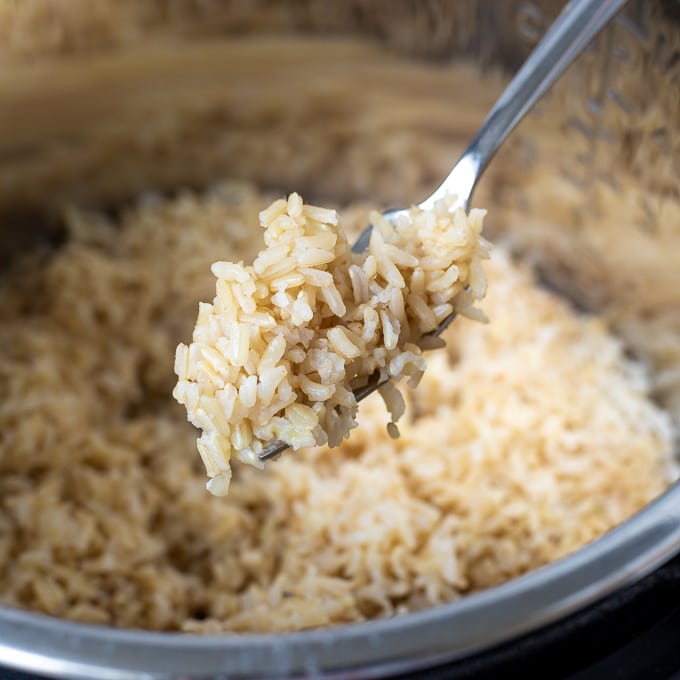
- Use a fork to fluff the rice. NEVER stir cooked rice with a spoon. A fork separates the rice grains without the rice breaking or crushing the grains up, as spoons tend to do.


Options for Seasoning
This recipe for Instant Pot Brown Rice is a very basic recipe, making it the perfect base for endless dishes–like Broccoli Cheese Rice Casserole and Creamy and Cheesy Chicken and Rice. However, you can also opt to add seasonings to the rice and liquid BEFORE pressure cooking if desired. Below are a few of my favorite seasoning options.
- Dried Onion Soup Mix: Add 1 tablespoon of Dried Onion Soup Mix to the rice before pressure cooking, for a rich oniony taste.
- Butter: For a rich, buttery taste you can opt to add 1 to 3 tablespoons of butter before or after pressure cooking. If adding your butter before pressure cooking, be sure to add the butter last, to prevent a burn notice. If adding after, simply add and let the butter melt while fluffy the rice with the fork.
- Taco Seasoning: Add 2-3 teaspoons of taco seasoning to the rice before pressure cooking for a simple, Tex-Mex style rice.
- Cajun Seasoning: Add 2-3 teaspoons of Cajun seasoning to your rice before pressure cooking and finish with 1-2 teaspoons of hot sauce for an additional kick.
How to Store and Reheat Brown Rice
It is crucial to cool the cooked brown rice before placing it into a storage container, as this will help prevent bacteria from growing. It is also important to not leave rice out at room temperature for longer than one hour, as it is very moist, making it a perfect breeding ground for bacteria to grow quickly.
- Refrigerate: Transfer the cooled rice to an airtight container and refrigerate for 3-4 days.
- Freeze: Place cooled rice into a freezer-safe container and freeze it for up to 3 months. Defrost in the refrigerator overnight and use within 3 days or defrosting.
- Reheat: Place the rice in a heat-safe container. Sprinkle rice with 1-2 teaspoons of water. Reheat in the microwave, in 30-second intervals, stirring between each interval, until the rice is warmed through.
More Instant Pot Rice Variations
Did you make this recipe?
If you enjoyed this recipe, please leave a comment with a 5-star review at the bottom of the post. Thank you!
Instant Pot Brown Rice


- 2 cups long-grain brown rice, see notes for short-grain brown rice
- 2 cups liquid, broth or water
- ½ teaspoon kosher salt, optional
- Measure out 2 cups long-grain brown rice and place it into a fine mesh colander. Rinse under cold water for 1-2 minutes until the water runs clear. Alternatively, place the rice inside a large bowl, cover with water, drain the water off and repeat 2-3 times until the water runs clear.
- Place the rinsed rice into the inner pot of the pressure cooker. Pour 2 cups liquid of choice over the rice and add in ½ teaspoon kosher salt if using. Gently push the rice down so that it is fully and evenly submerged in the liquid.
- Place the lid on the Instant Pot and be sure the vent knob is sealed. Hit the manual or pressure cook button and cook on High Pressure for 22 minutes for long-grain brown rice or 24 minutes for short-grain brown rice. Do not use the rice function!
- Once the cooking time has elapsed, allow the pressure to release naturally. This takes about 15-20 minutes, depending on how much rice you prepared.
- Once the pressure is fully released, remove the lid from the pressure cooker and gently fluff the rice with a fork. Serve as desired.
Nutrition information is automatically calculated, so should only be used as an approximation.
This post was originally posted in 2017 and updated in 2025.


When could additions such as mushrooms or peas be added to the rice?
Hi Denny! I would add peas (frozen is fine) after pressure cooking. While you fluff the rice with a fork, the peas will begin to warm through. You can also pop the lid on the Instant Pot to finish cooking the peas. As for mushrooms, I would saute first using the saute function. Then add in the liquid, (scrape up any browned bits), rice and cook as directed.
This came out perfect compared to the other high rated ones I’ve already tried
Fabulous! Thanks for sharing, Matt!
I hardly ever feel compelled to leave a recipe review, but this recipe is awesome. My stovetop brown rice always comes out mushy and split and this is nothing like that. Each rice kernel is full, nutty, separate, tender–amazing. I thought this would be too long to cook rice, but it’s perfect. My husband and I both love white rice, but we both agreed we’d eat more brown rice if it comes out like this.
Yay! Thank you so much for taking the time to leave a review. I am honored you felt compelled and of course, thrilled you enjoyed the rice.
I usually prefer Basmati white rice because it tastes better. (It cooks great in the Instant Pot in 6 minutes.) My wife would like me to eat brown rice because it is healthier. This recipe rinses the raw rice. Everything that I have ever read claims that rinsing the rice will wash away nutrients. At that point, the brown rice might not be a healthier choice. ????
Hi Phil! Some varieties of white rice have been sprayed with nutrients. So technically, that will rinse away those vitamins. However, rinsing rice will not remove rice’s natural nutrients and benefits. So in terms of nutrition and fiber, brown rice is better for you overall.
We prefer brown to white rice nowadays. Do you have a recipe for chicken and rice (or other meats and rice) that uses brown rice?
Hi Ed! I fully understand you would prefer to eat brown rice. To use brown rice for this recipe, follow the recipe as stated, omitting the chicken and using brown rice instead of white rice. Cook for 22 minutes on HIGH pressure. Once the cooking time has elapsed, allow pressure to release naturally and stir in precooked chicken AFTER pressure cooking.