Whether you’re into action, adventure or travel photography, here is what you need to know on how to create awesome GoPro photography!
GoPro’s are known for being the best action camera on the planet but can prove to be pretty tricky for a beginner to truly master.
2024 UPDATE! – Check out our detailed review of the GoPro HERO13 Black!
All GoPro’s come with an instruction manual on how to use it but the only way to really learn how to use your GoPro is to get it out and be hands-on, experimenting with all the settings, buttons, angles and light sources.
GoPro photography can be quite different to using a DSLR or compact camera as you aren’t given the array of buttons that a larger camera has, but are instead limited from 1 to 3 buttons depending on the GoPro model.
Still, they really are one of the top travel cameras on the market!

Table of Contents
Improve Your GoPro Photography Today!
The simplicity of a GoPro is very handy when you are out shooting action sports, sky diving to scuba diving and this is what makes GoPro so loved by millions of photographers around the world.
It took me many years to master GoPro photography and to this day I still persist on learning new methods to taking the best shot possible.
This is why I have come up with 7 GoPro tips on how to take awesome GoPro photos so that you will be out there taking some stunning shots in no time.
Don’t miss my guide to the best GoPro accessories – seriously needed if you want to take your photos to the next level.

Tip 1 – Framing the Shot
GoPro models below the Hero 3 Silver don’t have a screen to view your photos, and that makes it difficult in seeing what’s in the field of view in the frame of the picture.
But newer models do have a screen, and my tip is this: Use the screen all the time!
One of my pet peeves is taking a decent photo only to have branches or long pieces of grass sticking out across the corners of the photo. Make sure you set the GoPro up so that it has only what you want in the field of view.
Most of the times that my photos have been wrecked is because I was too lazy to frame the shot properly. If you find something sticking out you can always crop it, but this can lower the image quality of the photo.
UPDATE – The new GoPro HERO 13 is available to buy. If you’re thinking about upgrading your GoPro, this is by far the best one yet.

Tip 2 – Originality
Every man and his dog uses a GoPro, and to most GoPro users there are only a set amount of ways you can take a photo until it looks like someone else’s idea.
Think of the classic “the hands in front of the GoPro while in a forest or sunset” or the “rocking hand out of the water” to “holding your girlfriend’s hand while walking in a corn field” shots. Everyone can do it, and it’s outdated.
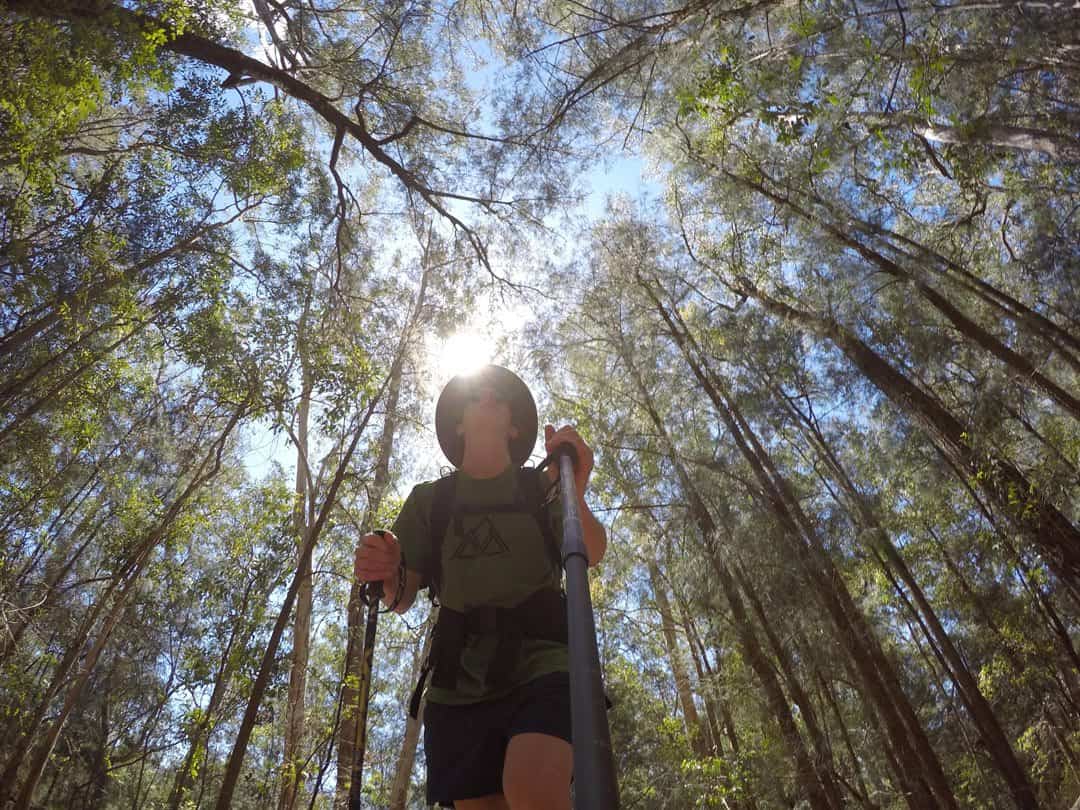
Instead grab some poles to go hiking, put a handlebar mount toward the bottom of the poles and attach the GoPro while going walking under the canopy of a forest. It looks epic!
READ MORE: Learn about the GoPro HERO12!
A selfie stick can also be used to take far more than selfies! Try shooting photos and videos while swinging the selfie stick out in different directions while walking, swimming, paddling or any other activity you may be into.
To get your photos seen you need to be as creative as possible. There are unlimited amounts of ways in which a GoPro can be used. So just think outside the box and you will have some stunning angles in no time!

Tip 3 – Plan in Advance
Depending on how serious you are with your GoPro photography, it really is ideal to plan for what you want to capture days, or even weeks, beforehand.
Planning gives you the upper hand on what the weather will be like, what’s actually at the place, what gear you will need and what photo mode and settings your GoPro will need to be set to.
There are many instances that I have gone to shoot and came away empty-handed because my research sucked and improvising doesn’t always work. Here are some examples:
Unplanned
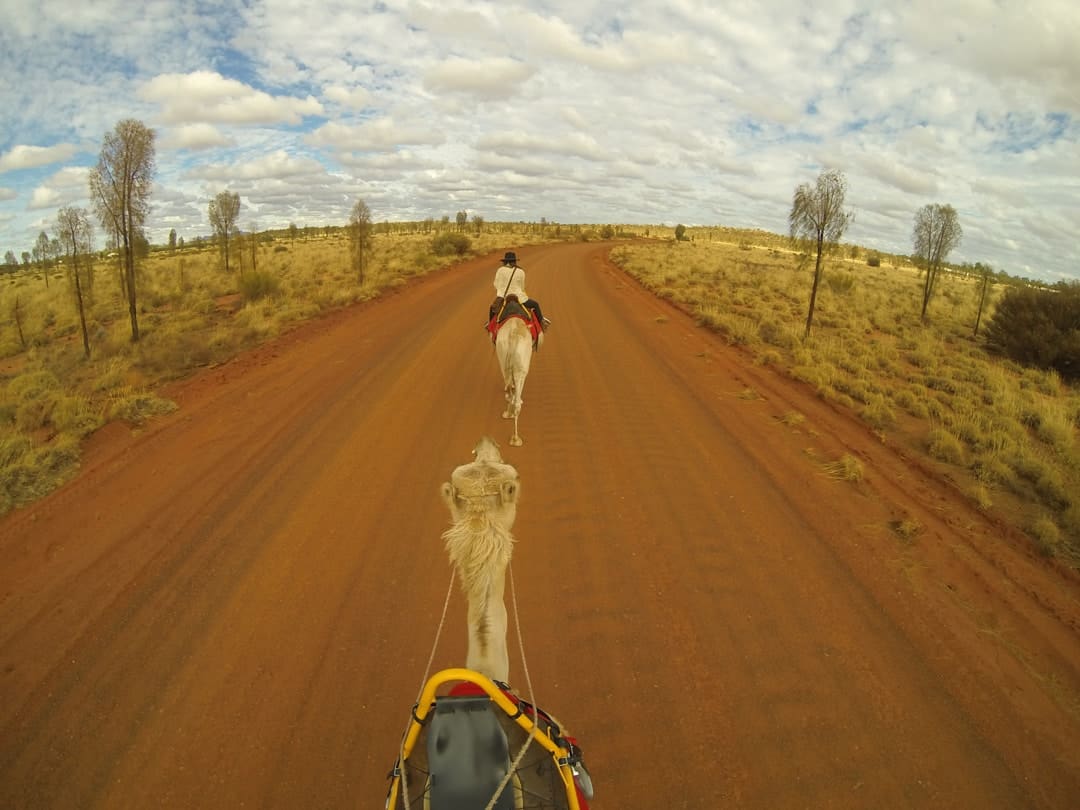
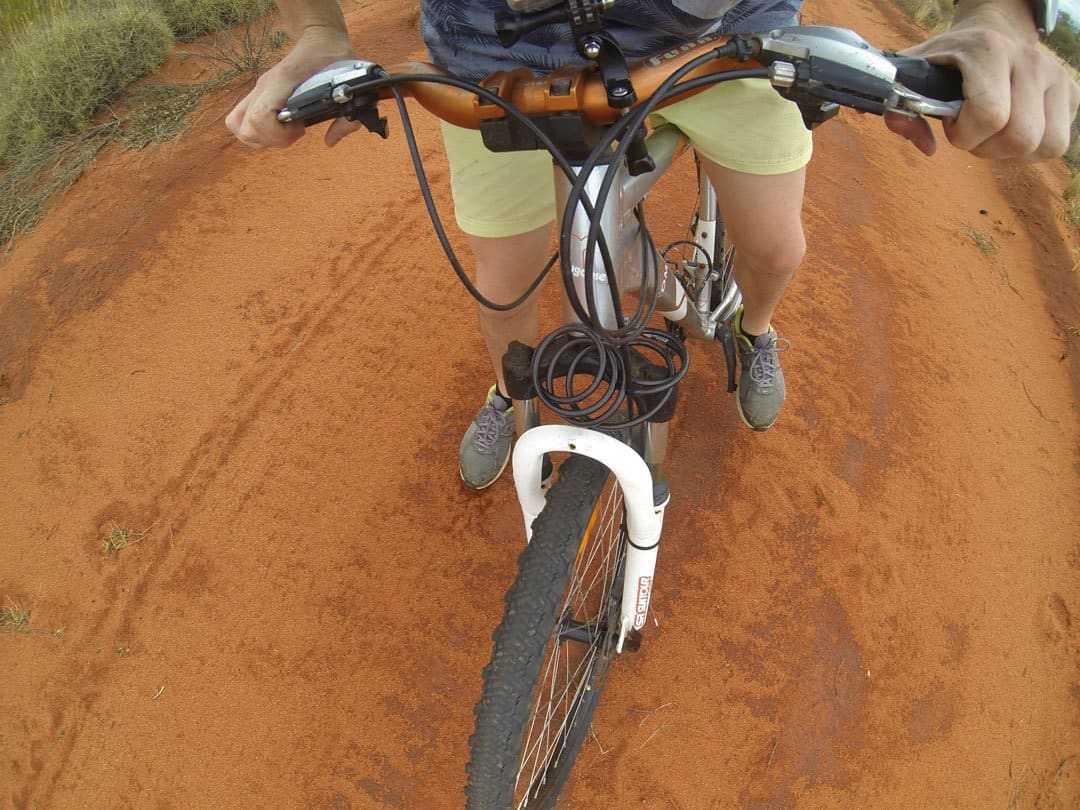
Once I was riding through the desert of Central Australia equipped with 2 GoPro cameras and limited mounts and none of my shots turned out, as you can see the lack of planning going into this photo.
I managed to get my legs and a wheel in the frame but what about the desert or the fact that I am riding through a desert?
Simply because I didn’t plan beforehand what shots I wanted to capture resulted in capturing 200 odd messy photos.

Planned
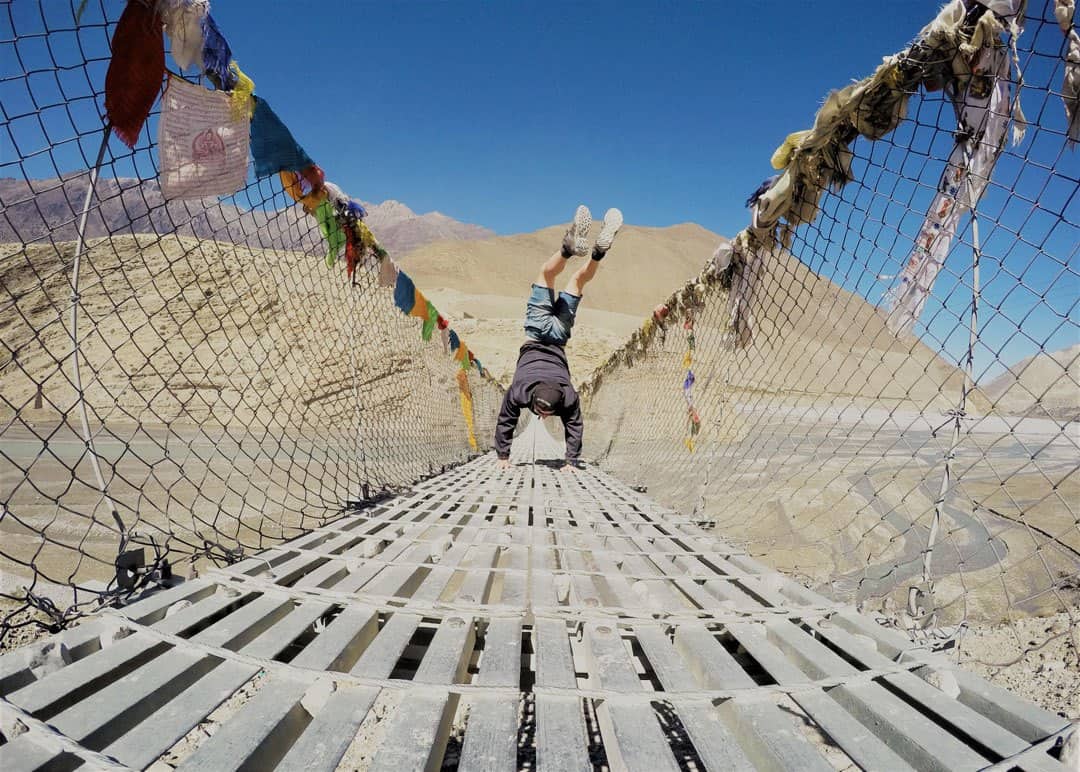
Hiking through the Upper Mustang in Nepal provided many opportunities to envision and create shots such as this one on a bridge.
I was equipped with most of my GoPro’s mounts as I was on the road for a long period of time, so when I saw an awesome setting I was ready to go.
All I needed to do was adjust the settings to “Time Lapse” mode and shoot at a shutter speed of 1 photo per second, attach the GoPro to my tripod and do a handstand on an averagely built bridge over a massive gorge.

Tip 4 – Shoot at Sunrise or Sunset, Never Midday
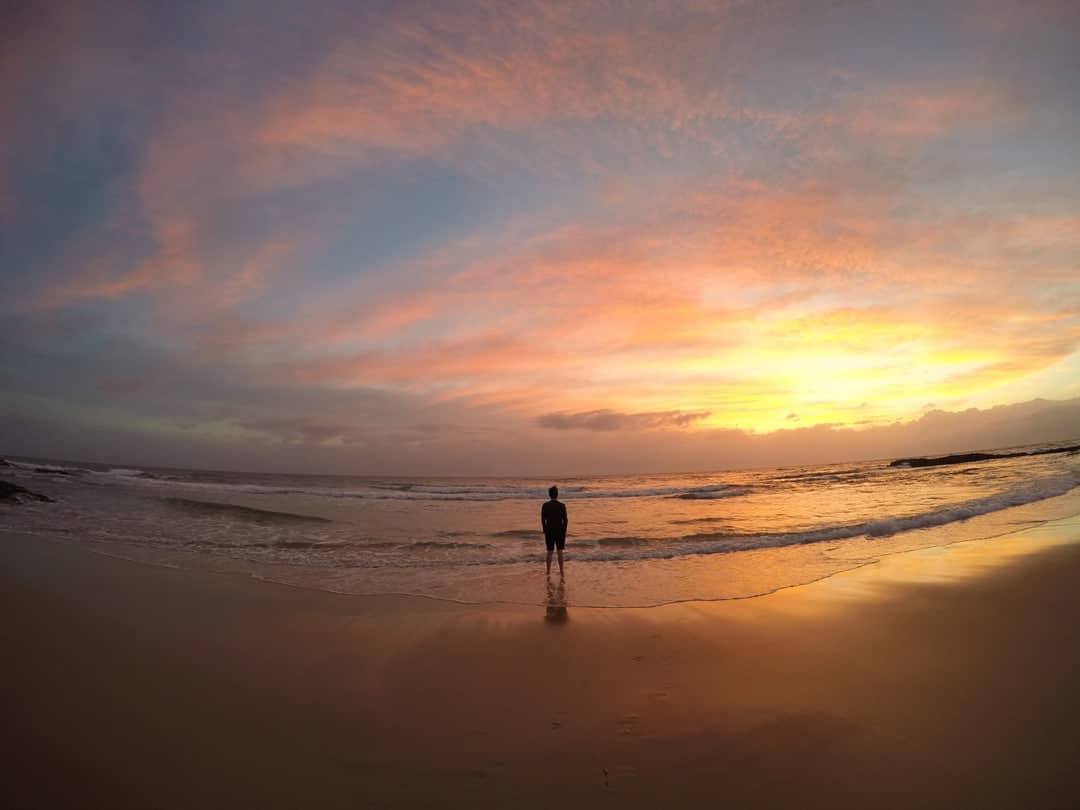
Like all photography, the best time to get out your GoPro is early morning during the golden hour just as the first rays are coming over the horizon, or when the sun is setting.
The light coming into the camera’s sensors isn’t as intense creating a soft glow giving a perfectly exposed photo. Too early or late, however, will negatively impact the image quality with the low light.
READ MORE: Have a read of our GoPro HERO11 review!
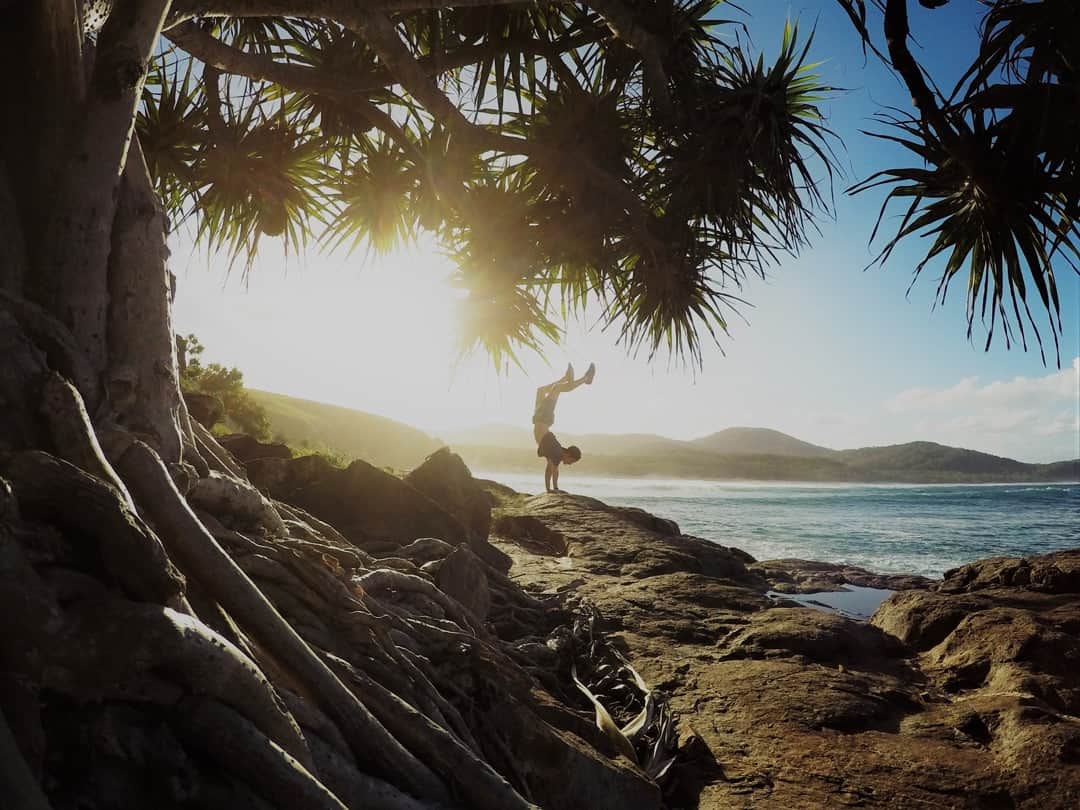
In this photo where I am hand-standing on rocks, the colour of the light is golden (not white as you would get during the middle of the day). The pandanus palm has a soft glow and the ocean has a calm vibrancy.
If you are shooting at midday when it’s the brightest, shoot away from the sun or use filters that can be attached to the outside of the GoPro limiting the light coming into the lens.
If I am shooting at when the sun is at its brightest I use a Polar Pro UV and neutral density filter which fits onto the standard GoPro casing.

Tip 5 – Experiment with the Settings
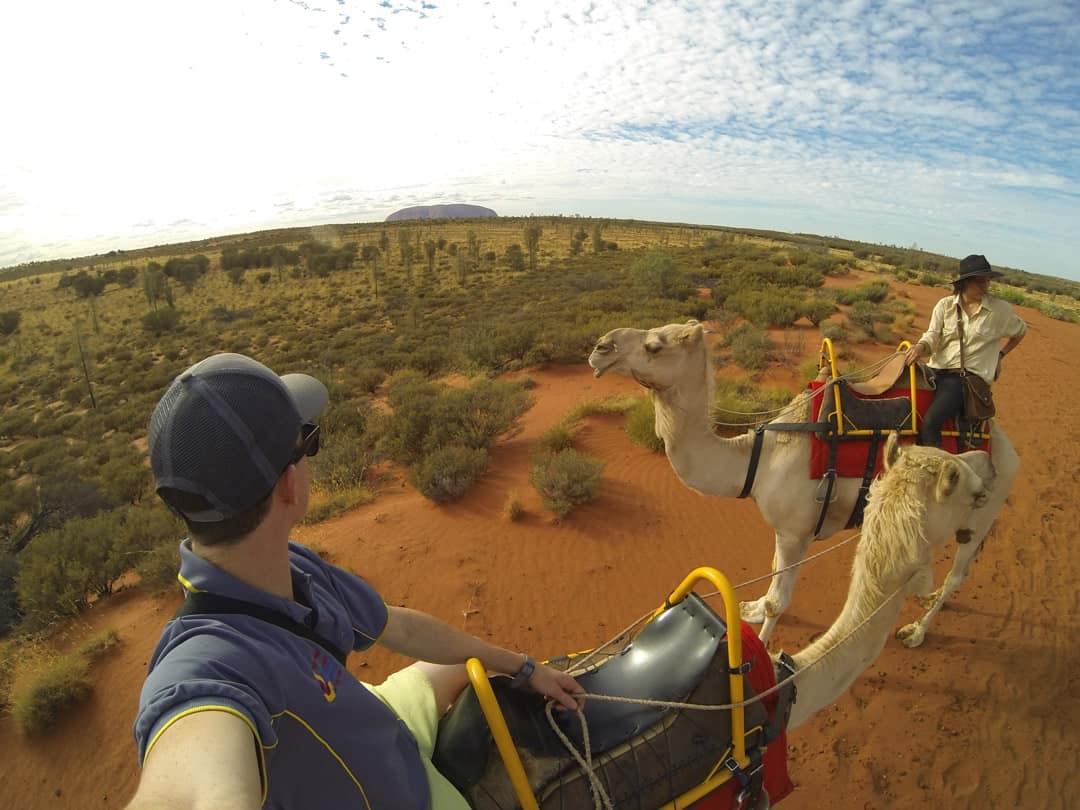
There are countless places to put GoPro cameras, things to shoot and settings to use. The more familiar you become with the settings on the GoPro, the better your images will be.
If you’re new to GoPro photography, start with the basics of handheld shots (remembering some of the above tips) then continue to experiment with settings.
Some important settings for which to be familiar:
- Time lapse mode,
- Night lapse mode and
- Photo burst mode.
Once you get familiar with these settings the world is yours.

Tip 6 – Gear
I like to keep it simple when I shoot, so I limit what I have in my bag but take enough gear that will enable me to shoot with whatever situation comes before me.
If you could only choose 3 mounts this is what I would recommend:
- Jaws Clamp: By far GoPro’s best and most versatile mount. You can attach this beauty to skateboards, surfboards, horse saddles, roof racks on cars, the list goes on. Buy on Amazon.
- Gorilla Tripod: A bendy, segmented tripod that comes in different sizes. Pretty hand for attaching to most stationary objects. Ideally, go for the largest tripod as it will wrap around pretty much everything. Buy on Amazon.
- Floaty Back Door: The last thing I want to do is go diving for my GoPro at the bottom of the ocean because I found out my GoPro doesn’t float. The floaty back door is pretty brilliant at keeping your GoPro above water. Buy on Amazon.
Of course, having the standard equipment is essential. Always have a backup memory card, an extra battery or two and a selfie stick of some kind. The last thing you want when taking GoPro photos is finding the perfect shot and not having the right gear to capture it!
And note that GoPro cameras have come a long way since the days of the GoPro Hero4 silver when it comes to waterproof housing. The GoPro8 is waterproof up to 10m. But if you plan to dive deeper than this you’ll want to invest in waterproof housing.
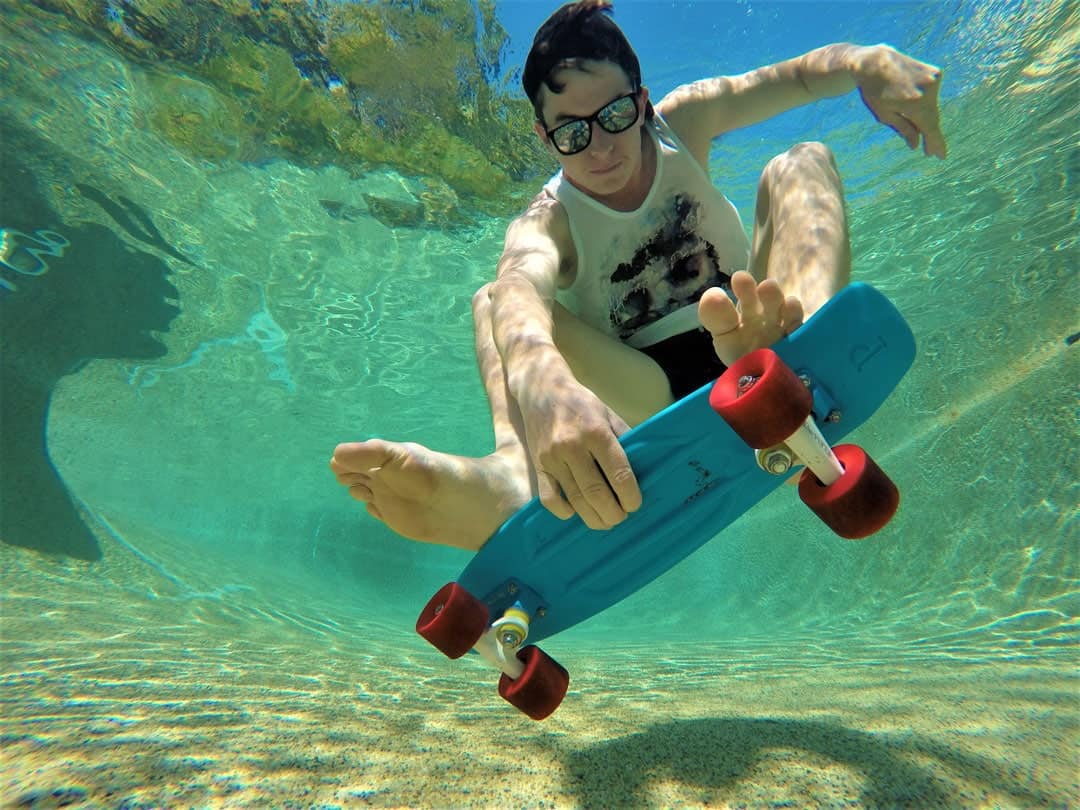

Tip 7 – Get Good
There are many different types of activities that you can capture with your GoPro.
If you are a beginner with the camera, target a specific activity and get really good at it.
Once you master GoPro photography and different activities, move onto to something else to expand on your skills.
For myself, I find that activities like rock climbing, street and landscape photography work well, so I continue to practice shooting them but will always keep expanding, and learning new methods to taking awesome GoPro photos!
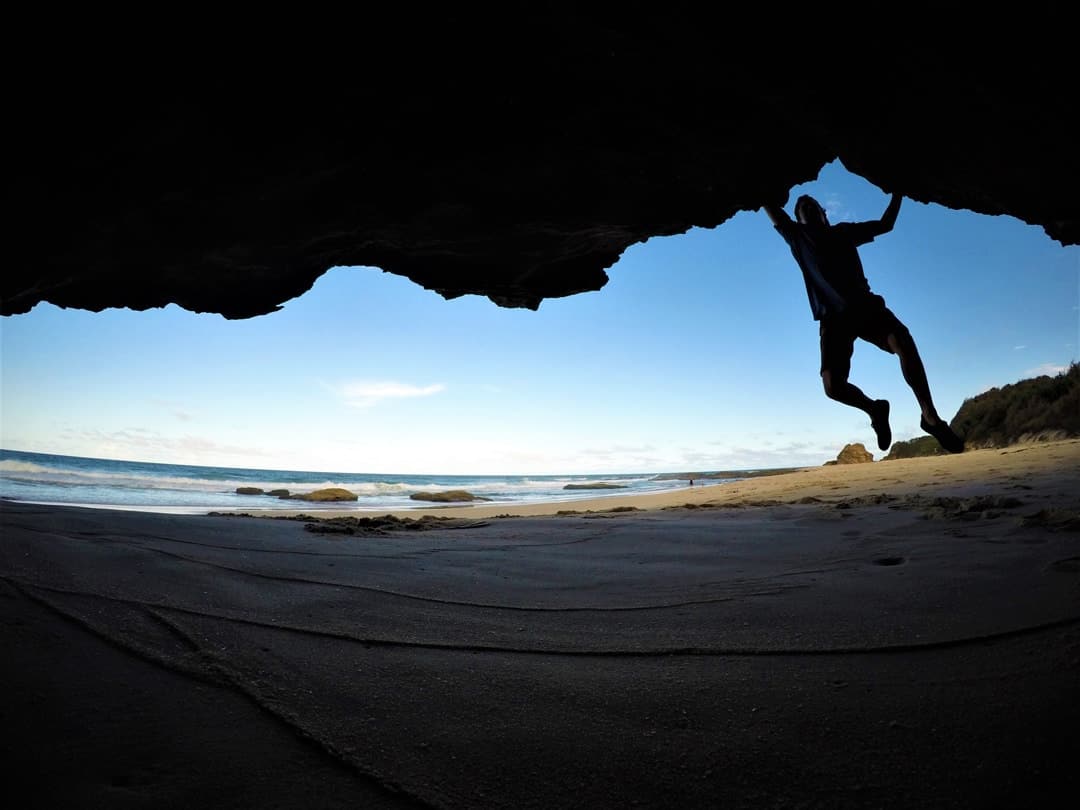

If you put all these elements into taking a photo with your GoPro you should be producing some awesome pictures.
To get an example of the kind of sick shots you can take, check out my Instagram account and please feel free to reach out to me with questions, tips or even your own photos!
Happy Shooting!
Save this Pin for later?

21 thoughts on “7 Easy Tips for Taking EPIC GoPro Photos (2024 Photography Guide)”
Loved these tips! I can’t wait to try out the framing techniques you suggested. The underwater shots are always a challenge for me, but I feel more confident now. Thanks for sharing your expertise!
Great tips! I never thought about using the time-lapse feature for capturing sunsets. Can’t wait to try all the suggestions in my next adventure! Thanks for sharing!
This is such a helpful guide! I especially loved the tips on lighting and composition. Can’t wait to try out the underwater shots during my next beach trip. Thanks for sharing these practical insights!
Thanks so much for this informative info about shooting with a GOPRO ,and while I don’t have a GOPRO ( I have an AKASO V50X ) , still has the information I need , I will experiment with this unit , and learn , thanks again for the many ideas and some new ideas I never thought of , thx
Fantastic photos. Excellent blog post.
Martin Belmont photography
I love tips like this! I’m always looking for ways to take better GoPro photos and this list has some great ideas. Thanks for sharing!
Thanks for checking out our article. Glad it was helpful with your GoPro photos. 🙂
Hi, a very nice tutorial for GoPro photos 🙂 thanks!
Thank you so much 🙂
Great tips – especially about not shooting at midday!
Thanks Nick. Glad you liked it.
A fantastic Blog indeed, I have got a new GoPro for my next trip. This is my first one and i was surfing on the web to get some tips on how to click good photos. This blog is indeed helpful. Thanks for sharing.
Thank you so much. We are happy we could help out. Calumn knows his stuff with GoPro. Have fun using your GoPro Armaan. 🙂
Great Article! I’m on the fence about buying the 6 or just a good wide angle. Like you I’m doing a lot of practice with the 4 but after you “find the shot” it seems that most of the magic happens on the editing side of things. Do you use any kind of software to help you get your desired effect?
I just got my gopro. I need all the tips that I can get. Thanks.
All the best with you adventures! Just keep practising and you will have it in no time 🙂
Calumn.
Calumn knows his stuff. We love his Go Pro shots. Check out his instagram for inspiration. The link is above. Have fun and happy goproing. 🙂
Awesome tips Calumn! I just used a GoPro for the first time in the Isle Of Wight whilst doing some off-road driving and I definitely want to up my game! I’ll be taking your advice 🙂
Thankyou Alice!
Practice is the best thing, just keep shooting and shooting and you will master it in no time!
Hi Calumn! Awesome article and great tips!
The best way to master a Go Pro is practice, practice, practice…and making mistakes in order to improve!
We bought a Go Pro Hero4 just before our travels started, but there was so much to sort out, we didn’t get a change to practice. That was a BIG mistake. Yeah sure we have managed to take some good pictures, at least some good videos with the camera, but we are now really looking into developing our photography skills!
I agree with you about the best time of the day to take pictures, that is something that we are changing too.
What do you recommend the settings to be at for night pictures, like with stars? Have you tried that yet?
Thomas @ Blank Canvas Voyage
Hi Thomas!
I agree, practice with a GoPro is crucial to mastering it.
Night time photography with a GoPro is something I am yet to master but the Hero 4 silver and Hero 5 have the ability to take decent night shots. The options available on a hero 4 silver are the shutter speed from auto to 30 seconds with interval selections (how often you want to shoot at the given speed) and the standard megapixels which you should always use 12mp wide. As I haven’t done much night stuff with my GoPro i can suggest using a tripod while experimenting in different lighting situations to see what is the best combination.