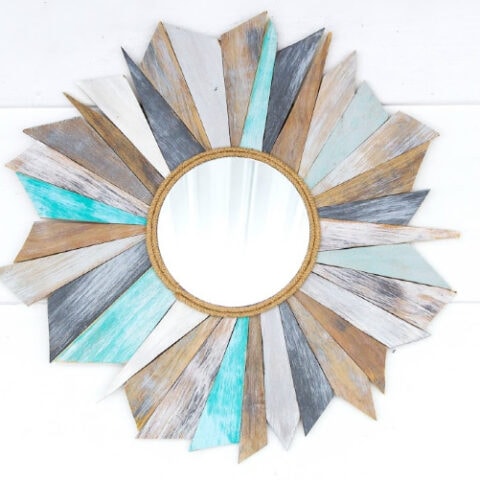
How to make a Sunburst Mirror using Scrap Wood


I love a good statement mirror – they are one of the best ways to add instant style to a blank wall. Unfortunately they are usually pretty pricey. This simple sunburst mirror manages to still make a big impact using very inexpensive materials.
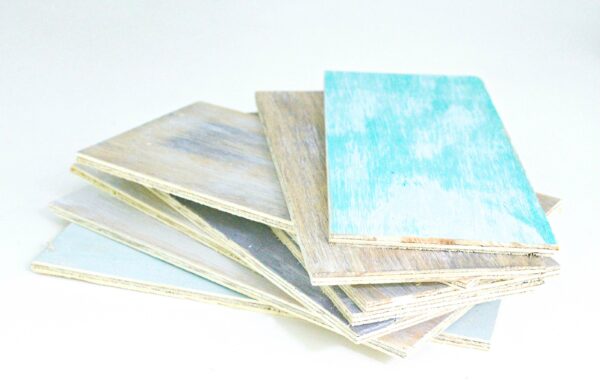
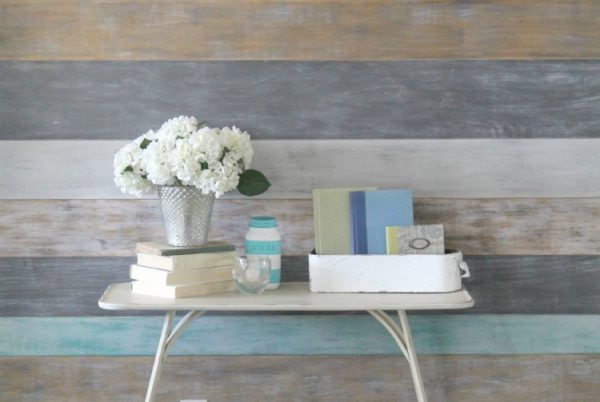
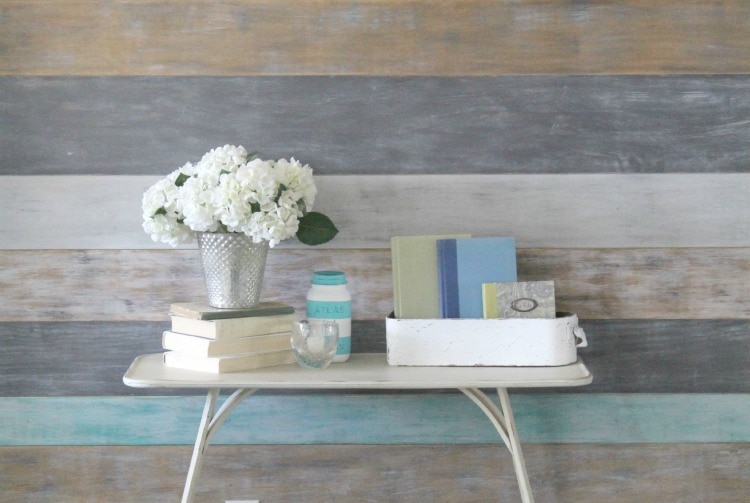
This mirror is totally a product of my preoccupation with repurposing and using what I’ve got. When I made my beloved plank wall a few years ago, there were some small scraps of painted wood left over.
Since then I have used those scraps to make this wooden banner and after cutting out the triangles for the wooden banner, there were still some skinny little triangle scraps left. As soon as I saw those skinny triangles, I knew they would be perfect to make into a sunburst mirror.
Of course you probably don’t have a stack of perfectly painted skinny little wood scraps, but luckily this mirror is cheap and easy to make using any scrap wood.
This post contains affiliate links which means if you make a purchase after clicking a link I will earn a small commission but it won’t cost you a penny more. Click here to see my full disclosure policy.
Materials for DIY Sunburst Mirror
scrap wood – no more than 1″ thick
various paints and stains (see the exact colors and process I used in my plank wall post)
chip brush
thin plywood or strong cardboard for backing at least 12″ x 12″
strong glue – I used DAP® RapidFuse™ All Purpose Adhesive
1.5 yards of thin braided rope or twine
How to make a DIY Sunburst Mirror
If your wood scraps are pretty big, cut them into smaller rectangles approximately 9 inches long.

Paint or stain each rectangle. To get a great beachy weathered finish like I did, dry-brushing is key. Paint or stain each piece one color. Then get a very small amount of paint on a chip brush, wipe most of the paint off on a paper towel, and then brush what is left onto the wood.
You can keep repeating this process with different colors until you like the look. (Again, if you want more specifics, I lay out exactly what colors I used on each of my planks here.)
Let the paint dry for a few minutes and then you can start cutting your wood into triangles, diamonds, and other similar shapes.
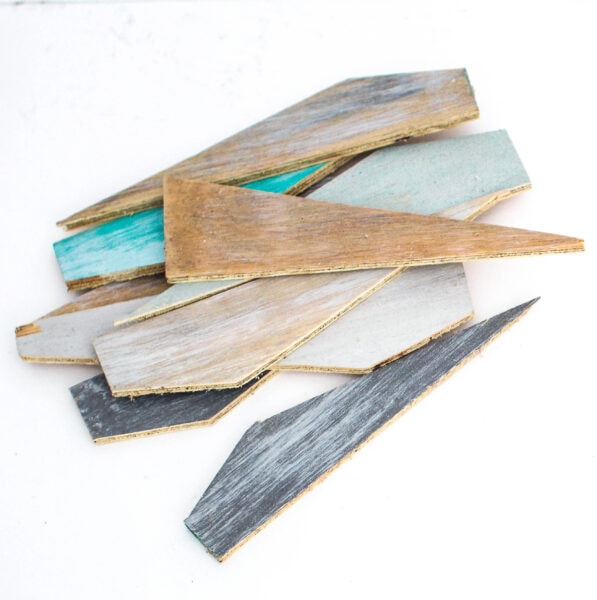

These are the four basic shapes I used on my mirror.


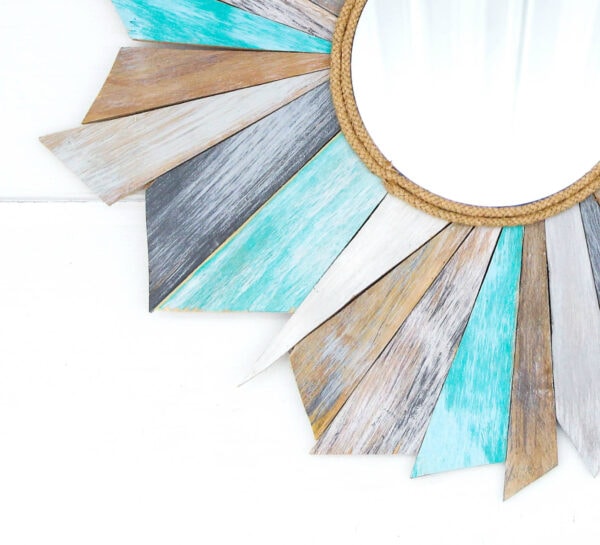
Once I had a pile of triangles (And polygons for all you math nerds like me), I started laying them out around my mirror.
I basically just tried to lay them out so that everything fit together and looked good. I also made sure not to use the exact same color or shape immediately beside one another.

As I was filling in around the mirror, I used my jigsaw to make additional cuts as needed until everything looked the way I wanted.
At this point, things look a little crazy, but that is ok because the mirror will cover all the craziness.


I cut a 12″ circle out of sturdy cardboard for my backing. Or you can use a jigsaw to cut a thin piece of plywood into a 12″ circle for the backing.
I used wood glue to attach all of my wood pieces to my cardboard backing. I also added wood glue between the wood pieces to make it extra sturdy.

Next I attached picture hangers to the back. (It seemed like a good idea to do any hammering and banging before attaching the mirror.)
I hammered two little picture hangers to the back of the cardboard and also used more glue to attach them as well just in case. Then I strung some picture wire between the two hangers and it was ready.
Finally, it was time to attach the mirror. They make special mirror glues because the chemicals in some adhesives can strip the finish from mirrors. If you have mirror mastic on hand, by all means use that.
I didn’t have any mirror adhesive on hand so I came up with a simple solution. I covered the entire back of the mirror with packaging tape to help create a barrier between the adhesive and the mirror backing. And then I just used more of the RapidFuse Adhesive to attach it to the wood frame. (Update – it’s been a couple of years since I first shared this diy mirror and I haven’t had any problems with this glue solution!)


At this point, I was feeling pretty happy with my DIY mirror, but it looked a little unfinished.
It needed something else. So I bought a piece of woven trim, cut it to size, and glued it around the mirror.


I tucked the loose ends in and added a bit of extra glue to make sure they wouldn’t unravel.

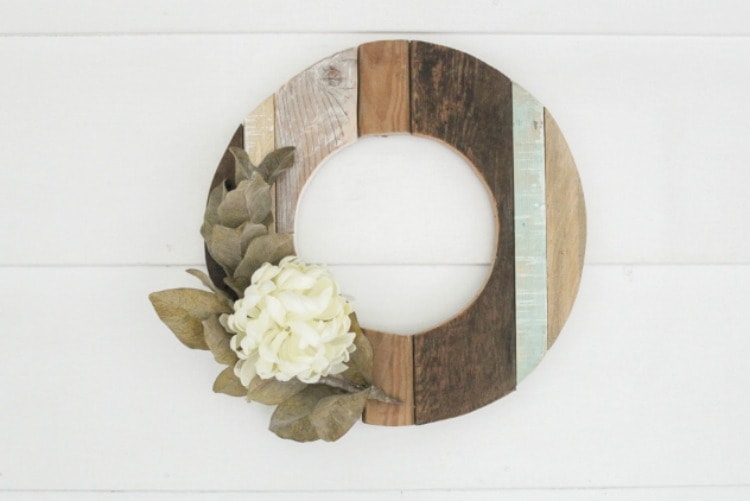
The perfect coastal touch and exactly what was needed to finish the mirror off.


Love! And even though it has a definitely beachy flair, I think it would look just as great in a farmhouse style space or an eclectic space like my own.
I’d love for you to pin this project on Pinterest!

And if you love this, you are also going to want to see the rest of the projects I created with this painted plywood. Who knew two sheets of plywood could go so far!

How to make a Sunburst Mirror using Scrap Wood
Learn how to make a beautiful beachy DIY sunburst mirror. It's an easy and inexpensive project. Plus, a great way to put your scrap wood pile to good use.
Materials
- scrap wood
- various paints and stains
- chip brush
- thin plywood or strong cardboard
- 8 inch round mirror
- wood glue
- 1.5 yards of thin braided rope or twine
- picture hanger
Tools
- Jigsaw
Instructions
- Cut your wood scraps into rectangles approximately 9 inches long.
- Paint or stain each rectangle until they are the look you want. Dry brushing works great for getting this look.
- Keep repeating this process with different colors until you like the look.
- Let the paint dry for a few minutes.
- Cut your wood into triangles, diamonds, and other similar shapes.
- Once you have a pile of triangles, start arranging them out around the mirror.
- Use a jigsaw to make additional cuts as needed until everything looks the way you want.
- Cut a 12″ circle out of sturdy cardboard or thin plywood for the backing.
- Use wood glue to attach all of the wood pieces to the backing.
- Attach a picture hanger to the back.
Recommended Products
As an Amazon Associate and member of other affiliate programs, I earn from qualifying purchases.
-
 Picture Hangers, Quality Picture Hanging Kit, 225pcs Heavy Duty Frame Hooks Hardware with Nails, Hanging Wire, Screw Eyes, D Ring and Sawtooth for Wall Mounting
 -
Tenn Well Braided Jute Twine, 165 Feet 3.5mm Thick Jute Rope for Crafting, Gift Wrapping, Bundling, Gardening and Macrame Projects (16 Strands)
-
Titebond 5064 Original Wood Glue, 16-Ounces
-
SOURCEONE.ORG Source One Shatter Proof Round Centerpiece Acrylic Mirrors
-
DEWALT 20V MAX XR Jig Saw, Tool Only (DCS334B)


I’m visiting from your post on Home Talk. I wanted to have a closer look at how you made this gorgeous sunburst mirror. I love coastal decor of all kinds. You did a wonderful job with this.
Thank you Beverly! I love coastal decor too even though I don’t live at the coast! I figure if I can’t live at the beach, I can bring a few touches of the beach to me.
This is such a beautiful coastal project! I have pinned it to my coastal board!
Thank you Maria!
What an awesome way to use scraps of wood! I love that you were able to make this without having to buy harding a thing. It’s so rewarding to be able to repurpose things that you already own.
Thanks Paula! Repurposing and using what I have seriously is my favorite!
This is one of my favorite projects of yours – I love the colors and the rope! Such a cute DIY!
Thank you Meg!
I absolutely love everything sun-related! This is a very unique idea and one I fully intend to use. Thank you so much for sharing!!
Thank you!