Soft, Fluffy Buckwheat Bread (Gluten-Free, Dairy-Free)
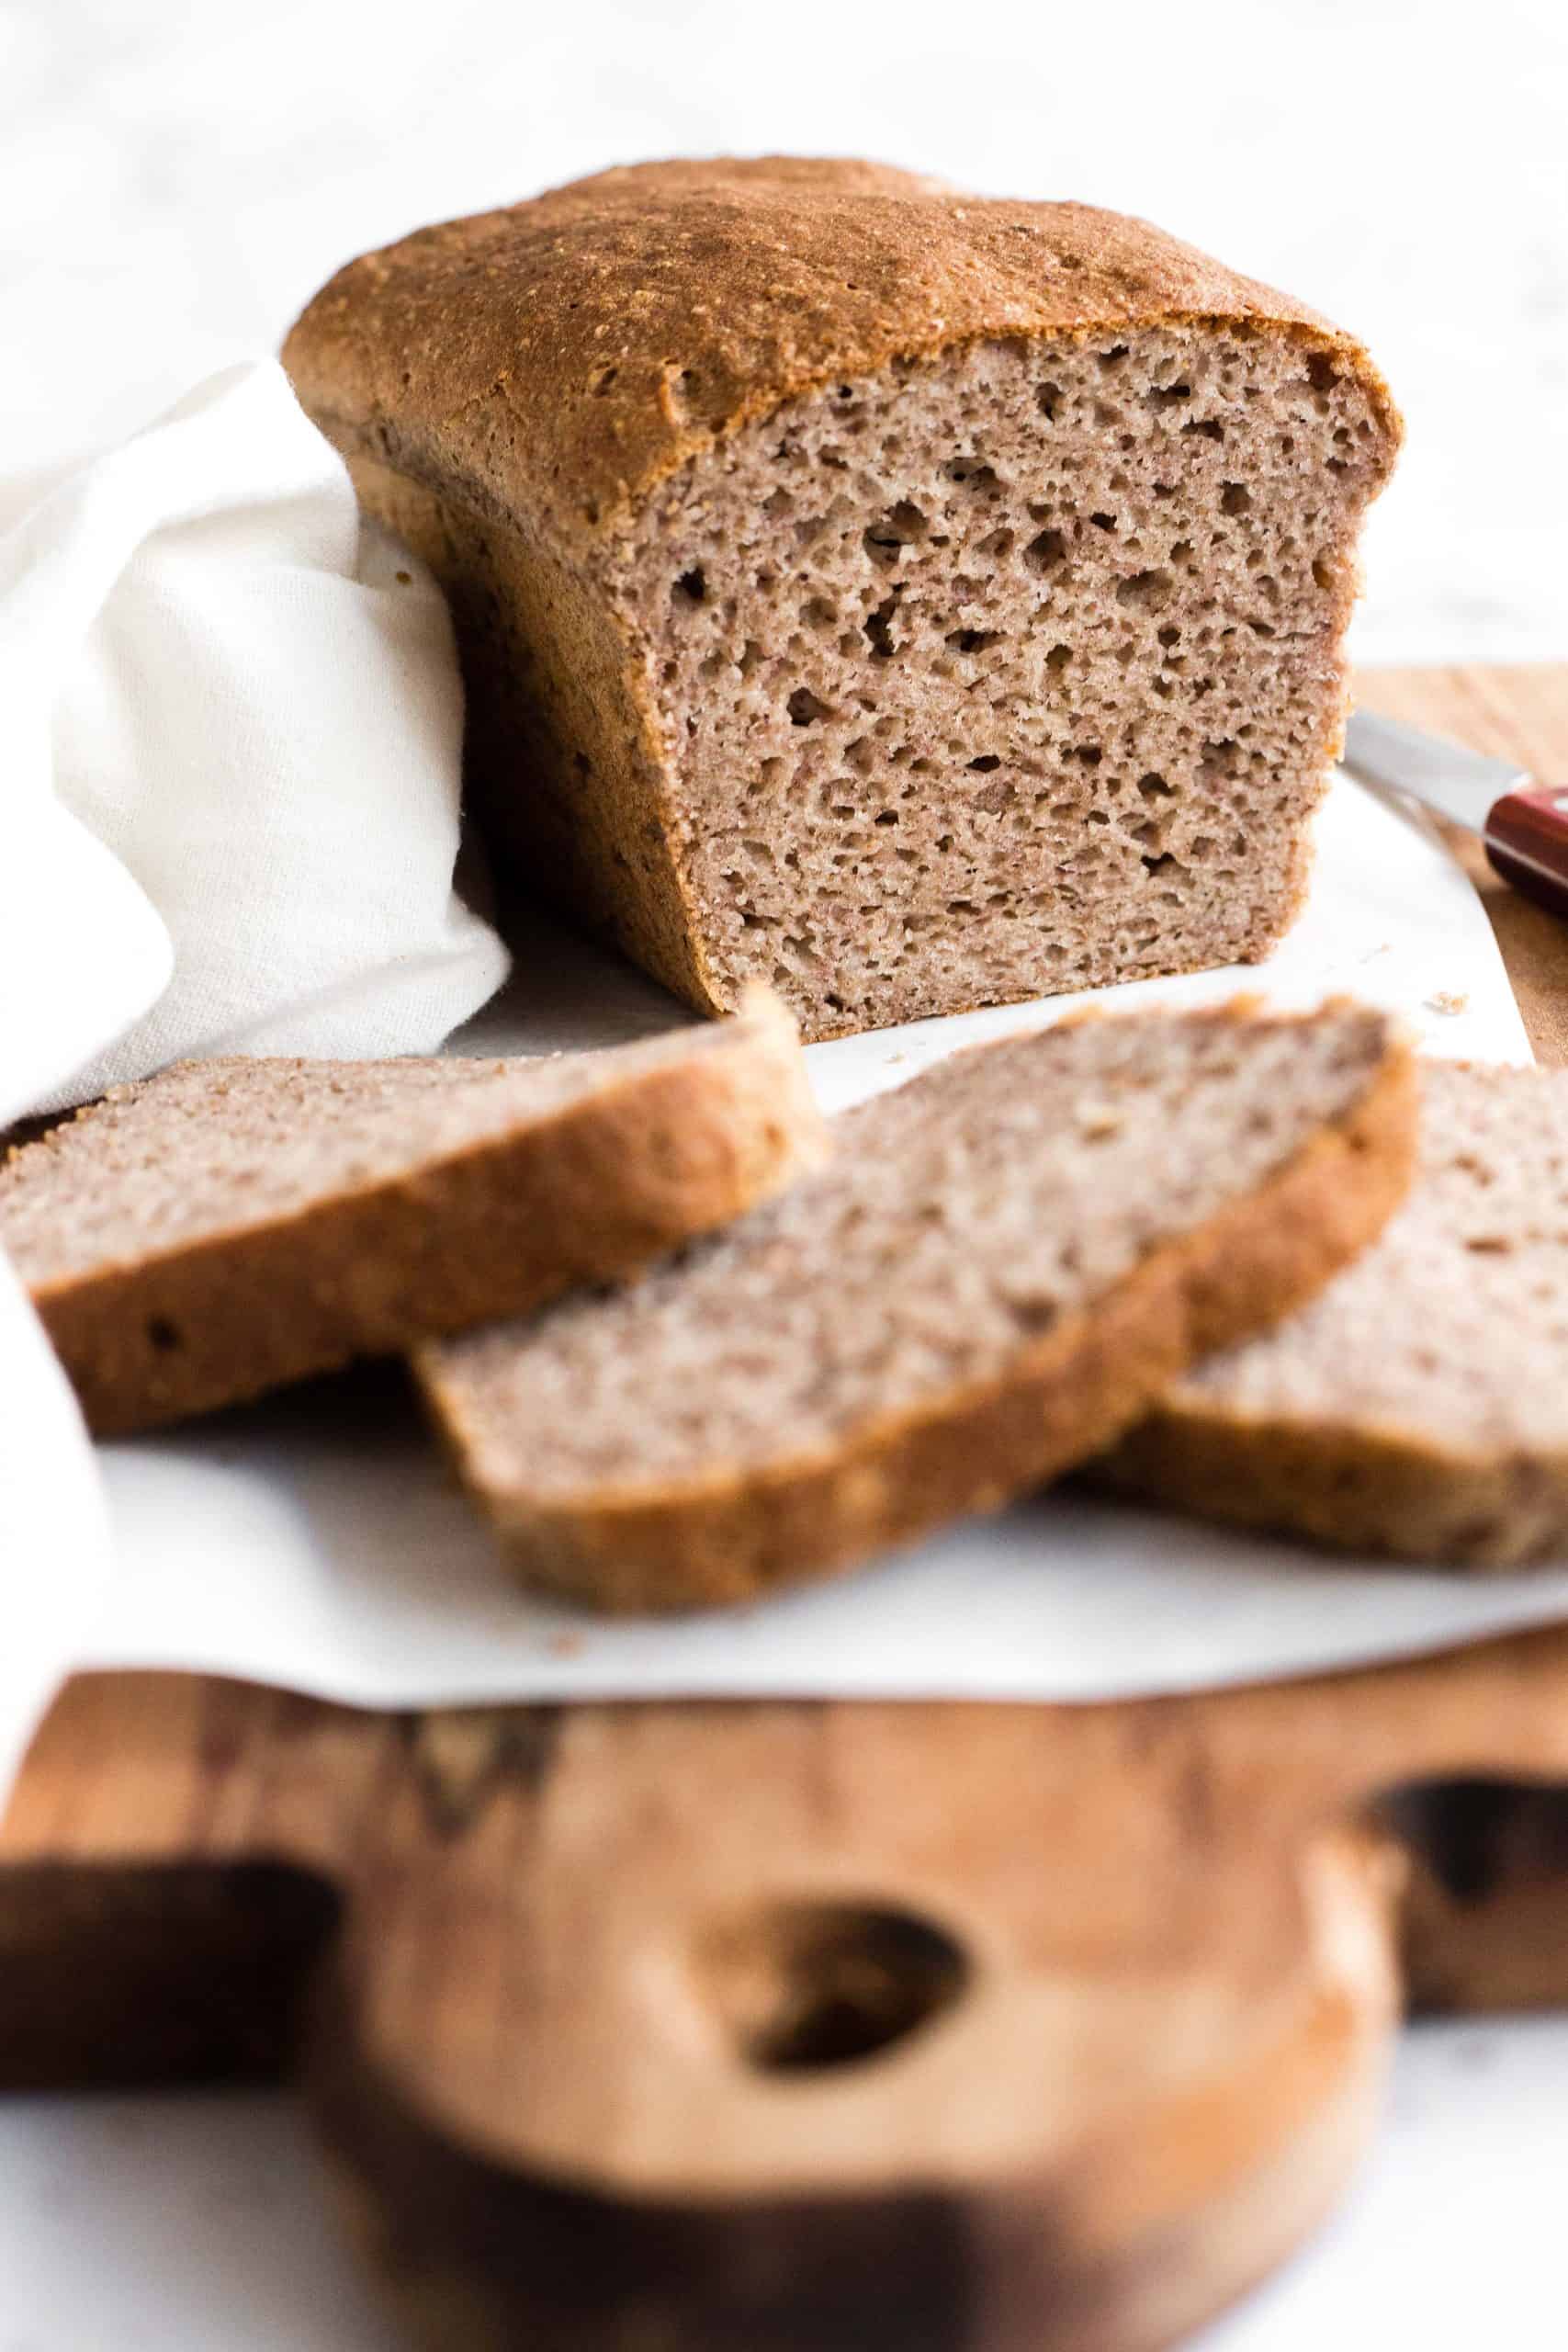
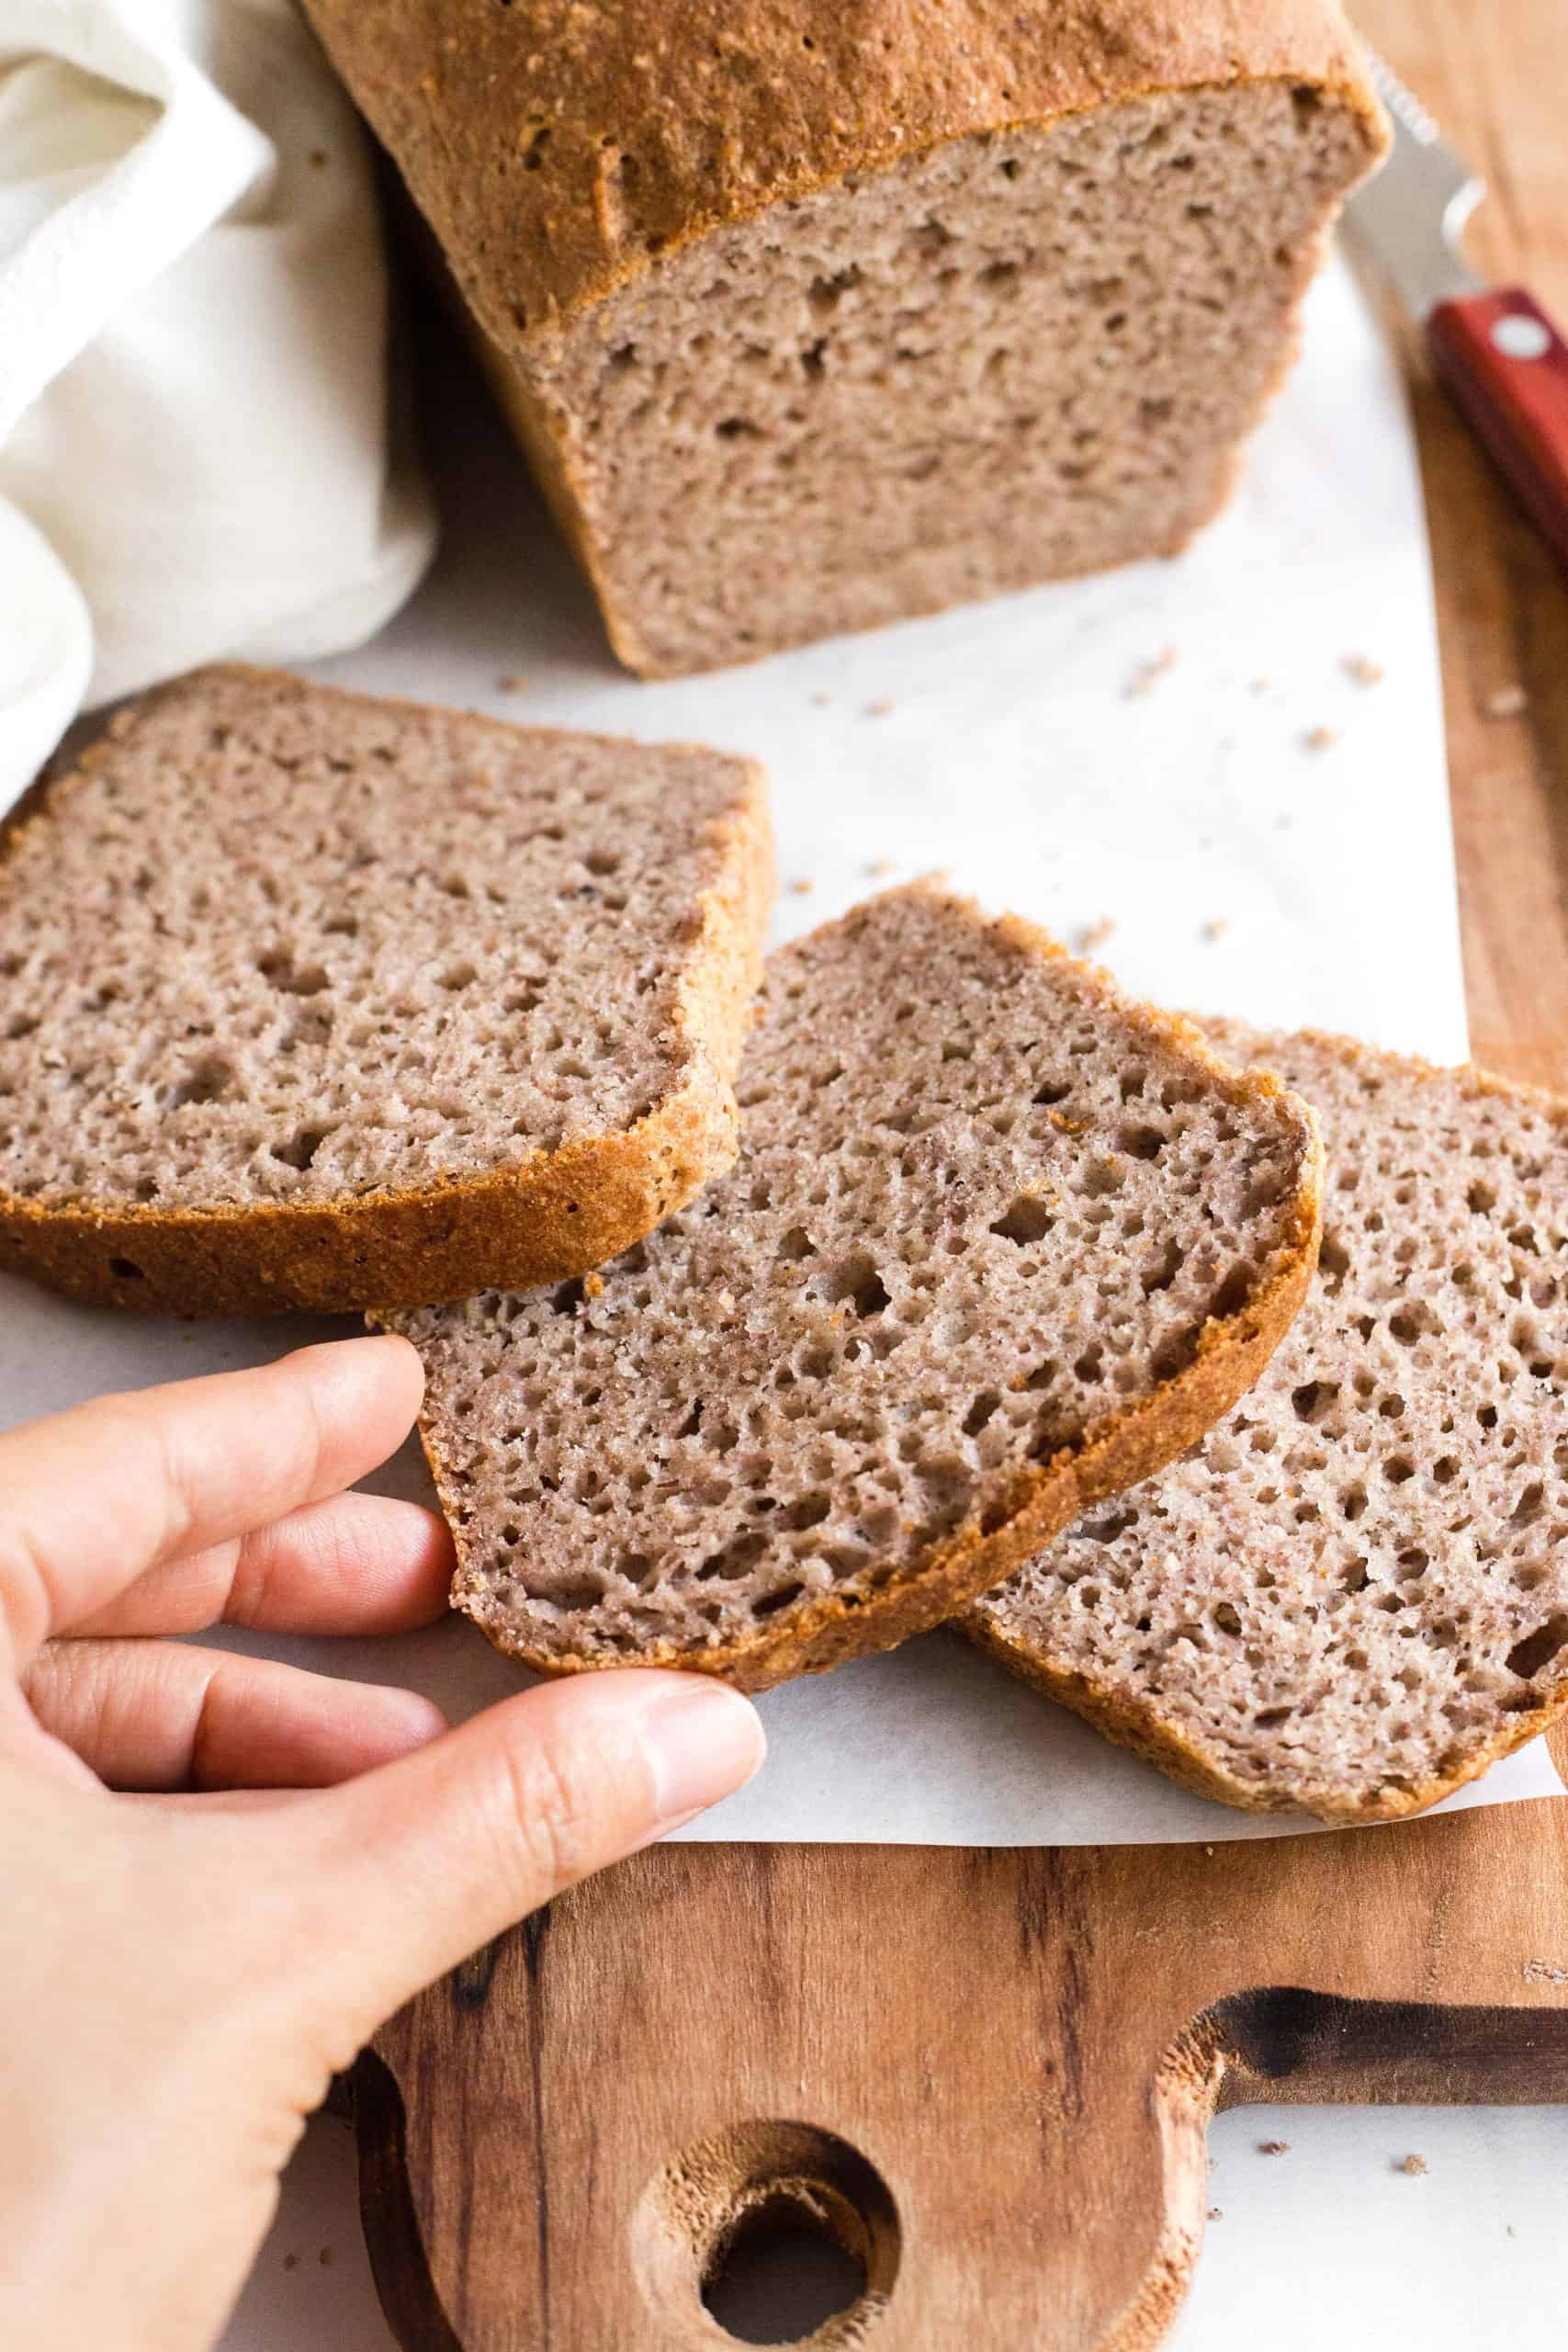
This super easy buckwheat bread is incredibly soft, fluffy and tender, and tastes delicious with a texture and look that’s uncannily similar to whole wheat bread! Totally gluten-free and dairy-free too, but you wouldn’t even know! We love making avocado toast with it, or spreading plenty of jam or honey all over. No matter how you eat this gluten-free brown bread, it’s sure to be a favorite!
Want to save this recipe?
Enter your email & I’ll send it to your inbox. Plus, get great new recipes from me every week!
My Love for Homemade Bread
Of all the baked goods that one could possibly make, my heart belongs firmly to homemade bread. Whether quick breads or yeasted breads, it doesn’t really matter. Whether made in a loaf pan or freeform artisan bread doesn’t really matter either.
And it seems that you guys share my love of gluten-free bread recipes of all kind. From feedback on my quick breads leavened with baking powder such as my easy honey oat bread, this low carb almond flour bread, and my coconut flaxseed bread, to yeast-leavened breads such as our favorite soft and fluffy gluten-free bread, tender dinner rolls or rosemary focaccia bread, I know just how much you all love bread too.
Baking yeast breads in particular has become a form of therapy. I just love the thrill of mixing the dough together, watching it rise as it doubles in size, then sending it off to the oven to bake. When I pull open the oven door, and the warmth of the oven and aroma of freshly baked bread hits me in the face, I feel like I’ve got a glimpse of bread heaven.

Baking with Buckwheat Flour
If you’ve never cooked with buckwheat before, it’s basically a highly-nutritous grain-like seed that’s a psuedocereal and totally gluten-free, despite the word “wheat” in its name.
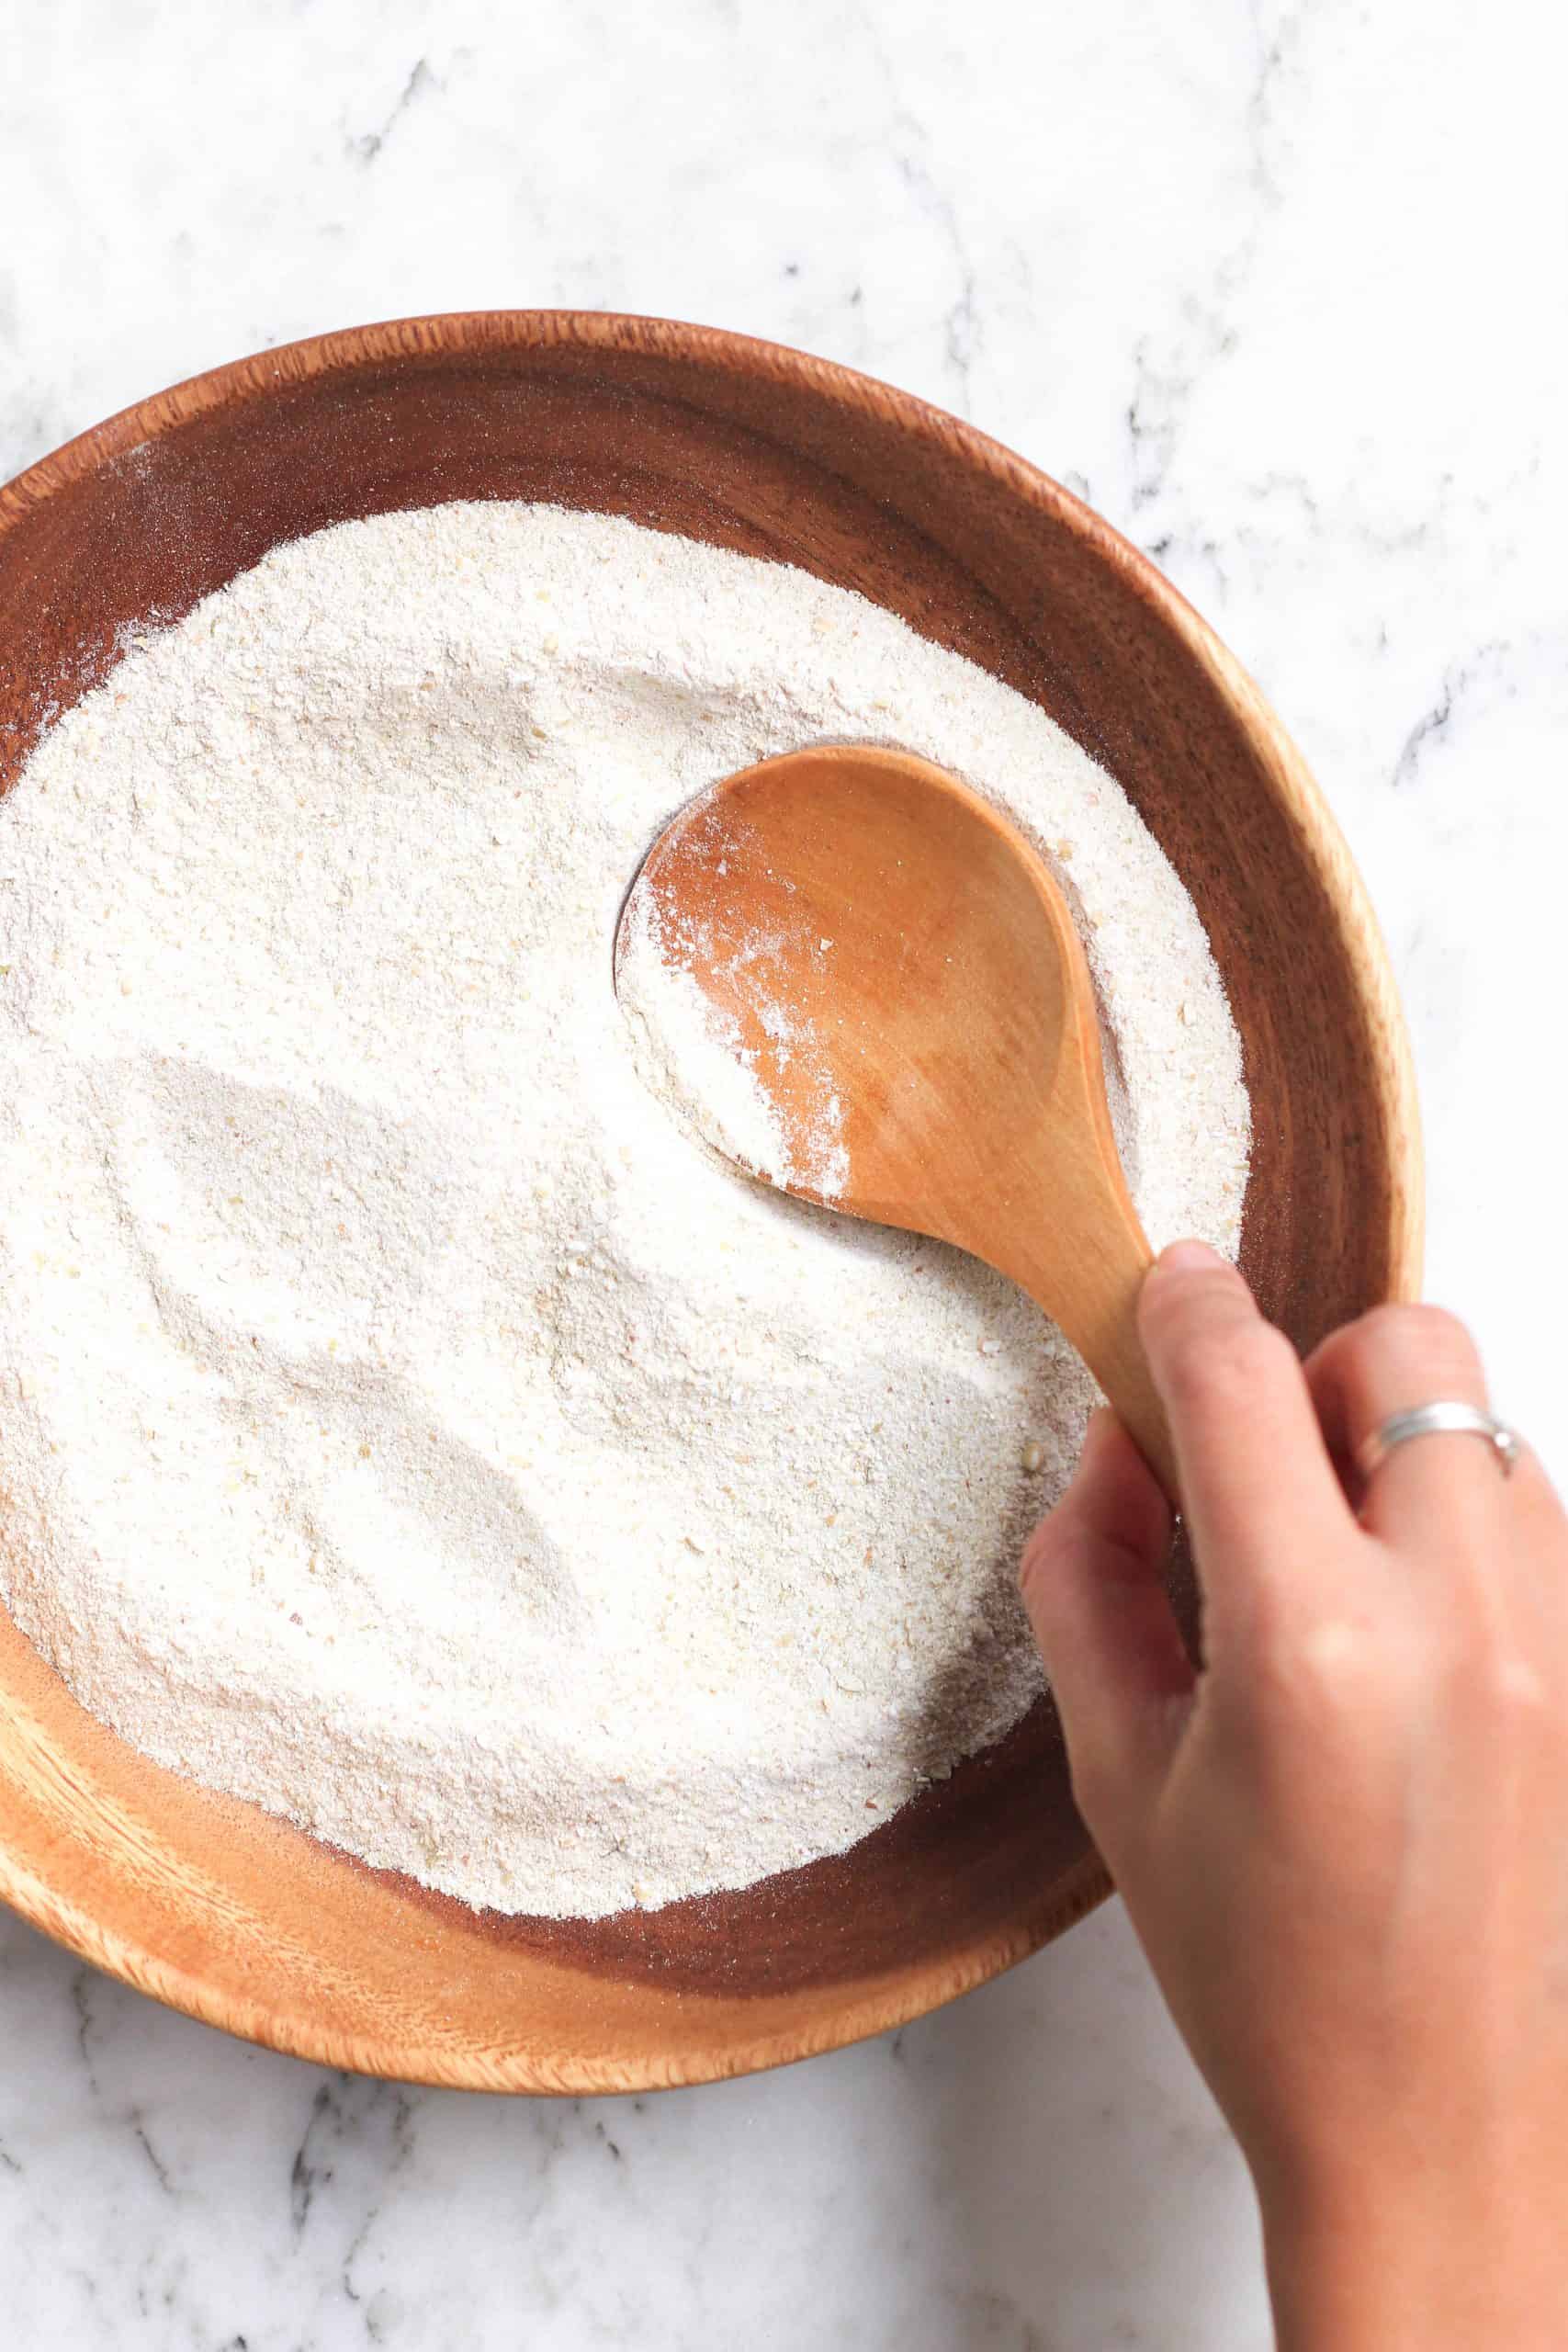
Recently, I’ve been playing around with buckwheat flour, and making it at home is actually way simpler than it sounds and much cheaper than if you buy it pre-made. If you’re up to it, have 5 minutes to spare and a high-speed blender on hand, I’ve got a quick tutorial for homemade buckwheat flour to get your started!
Our easy buckwheat cookies have been hugely popular on the blog, and I thought that it was high time to make a loaf of buckwheat bread.
The Fluffiest Buckwheat Bread
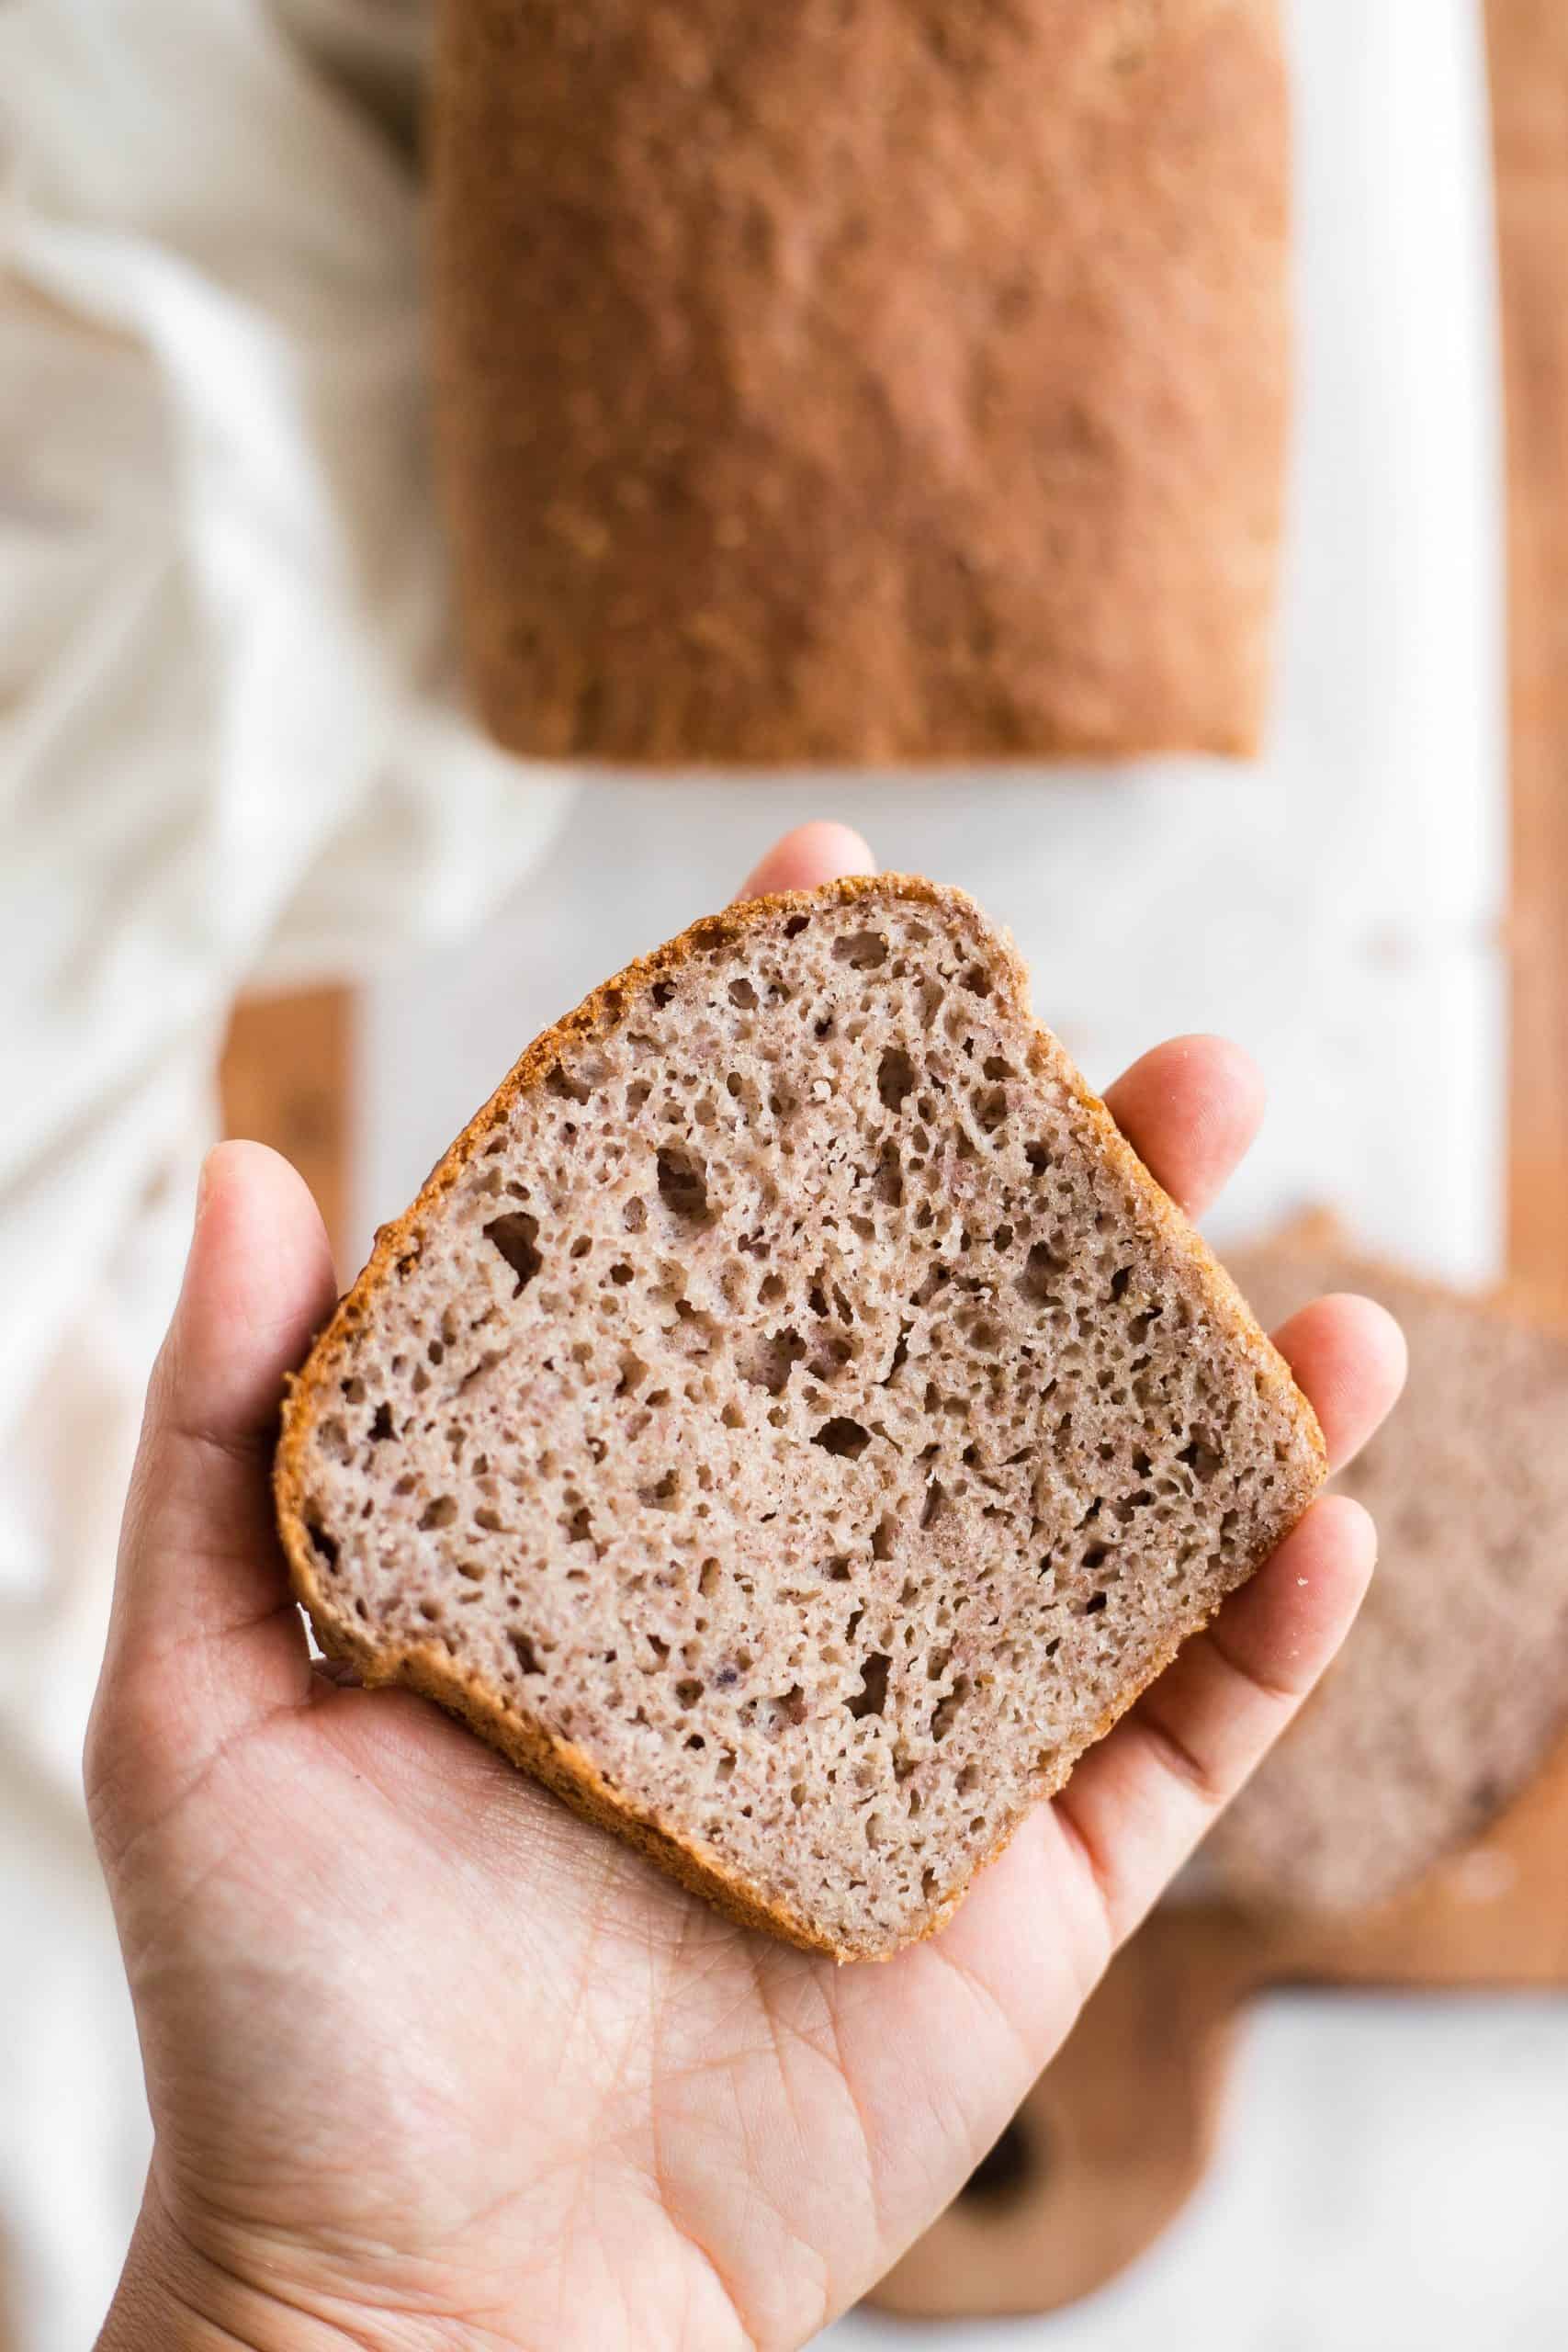
Many buckwheat flour bread recipes tend to turn out dry and dense, and I was set on developing a gluten-free brown bread recipe that resembled whole wheat bread in appearance and taste. I also wanted to make sure that it was also soft and fluffy – everything a good loaf of gluten-free bread should be.
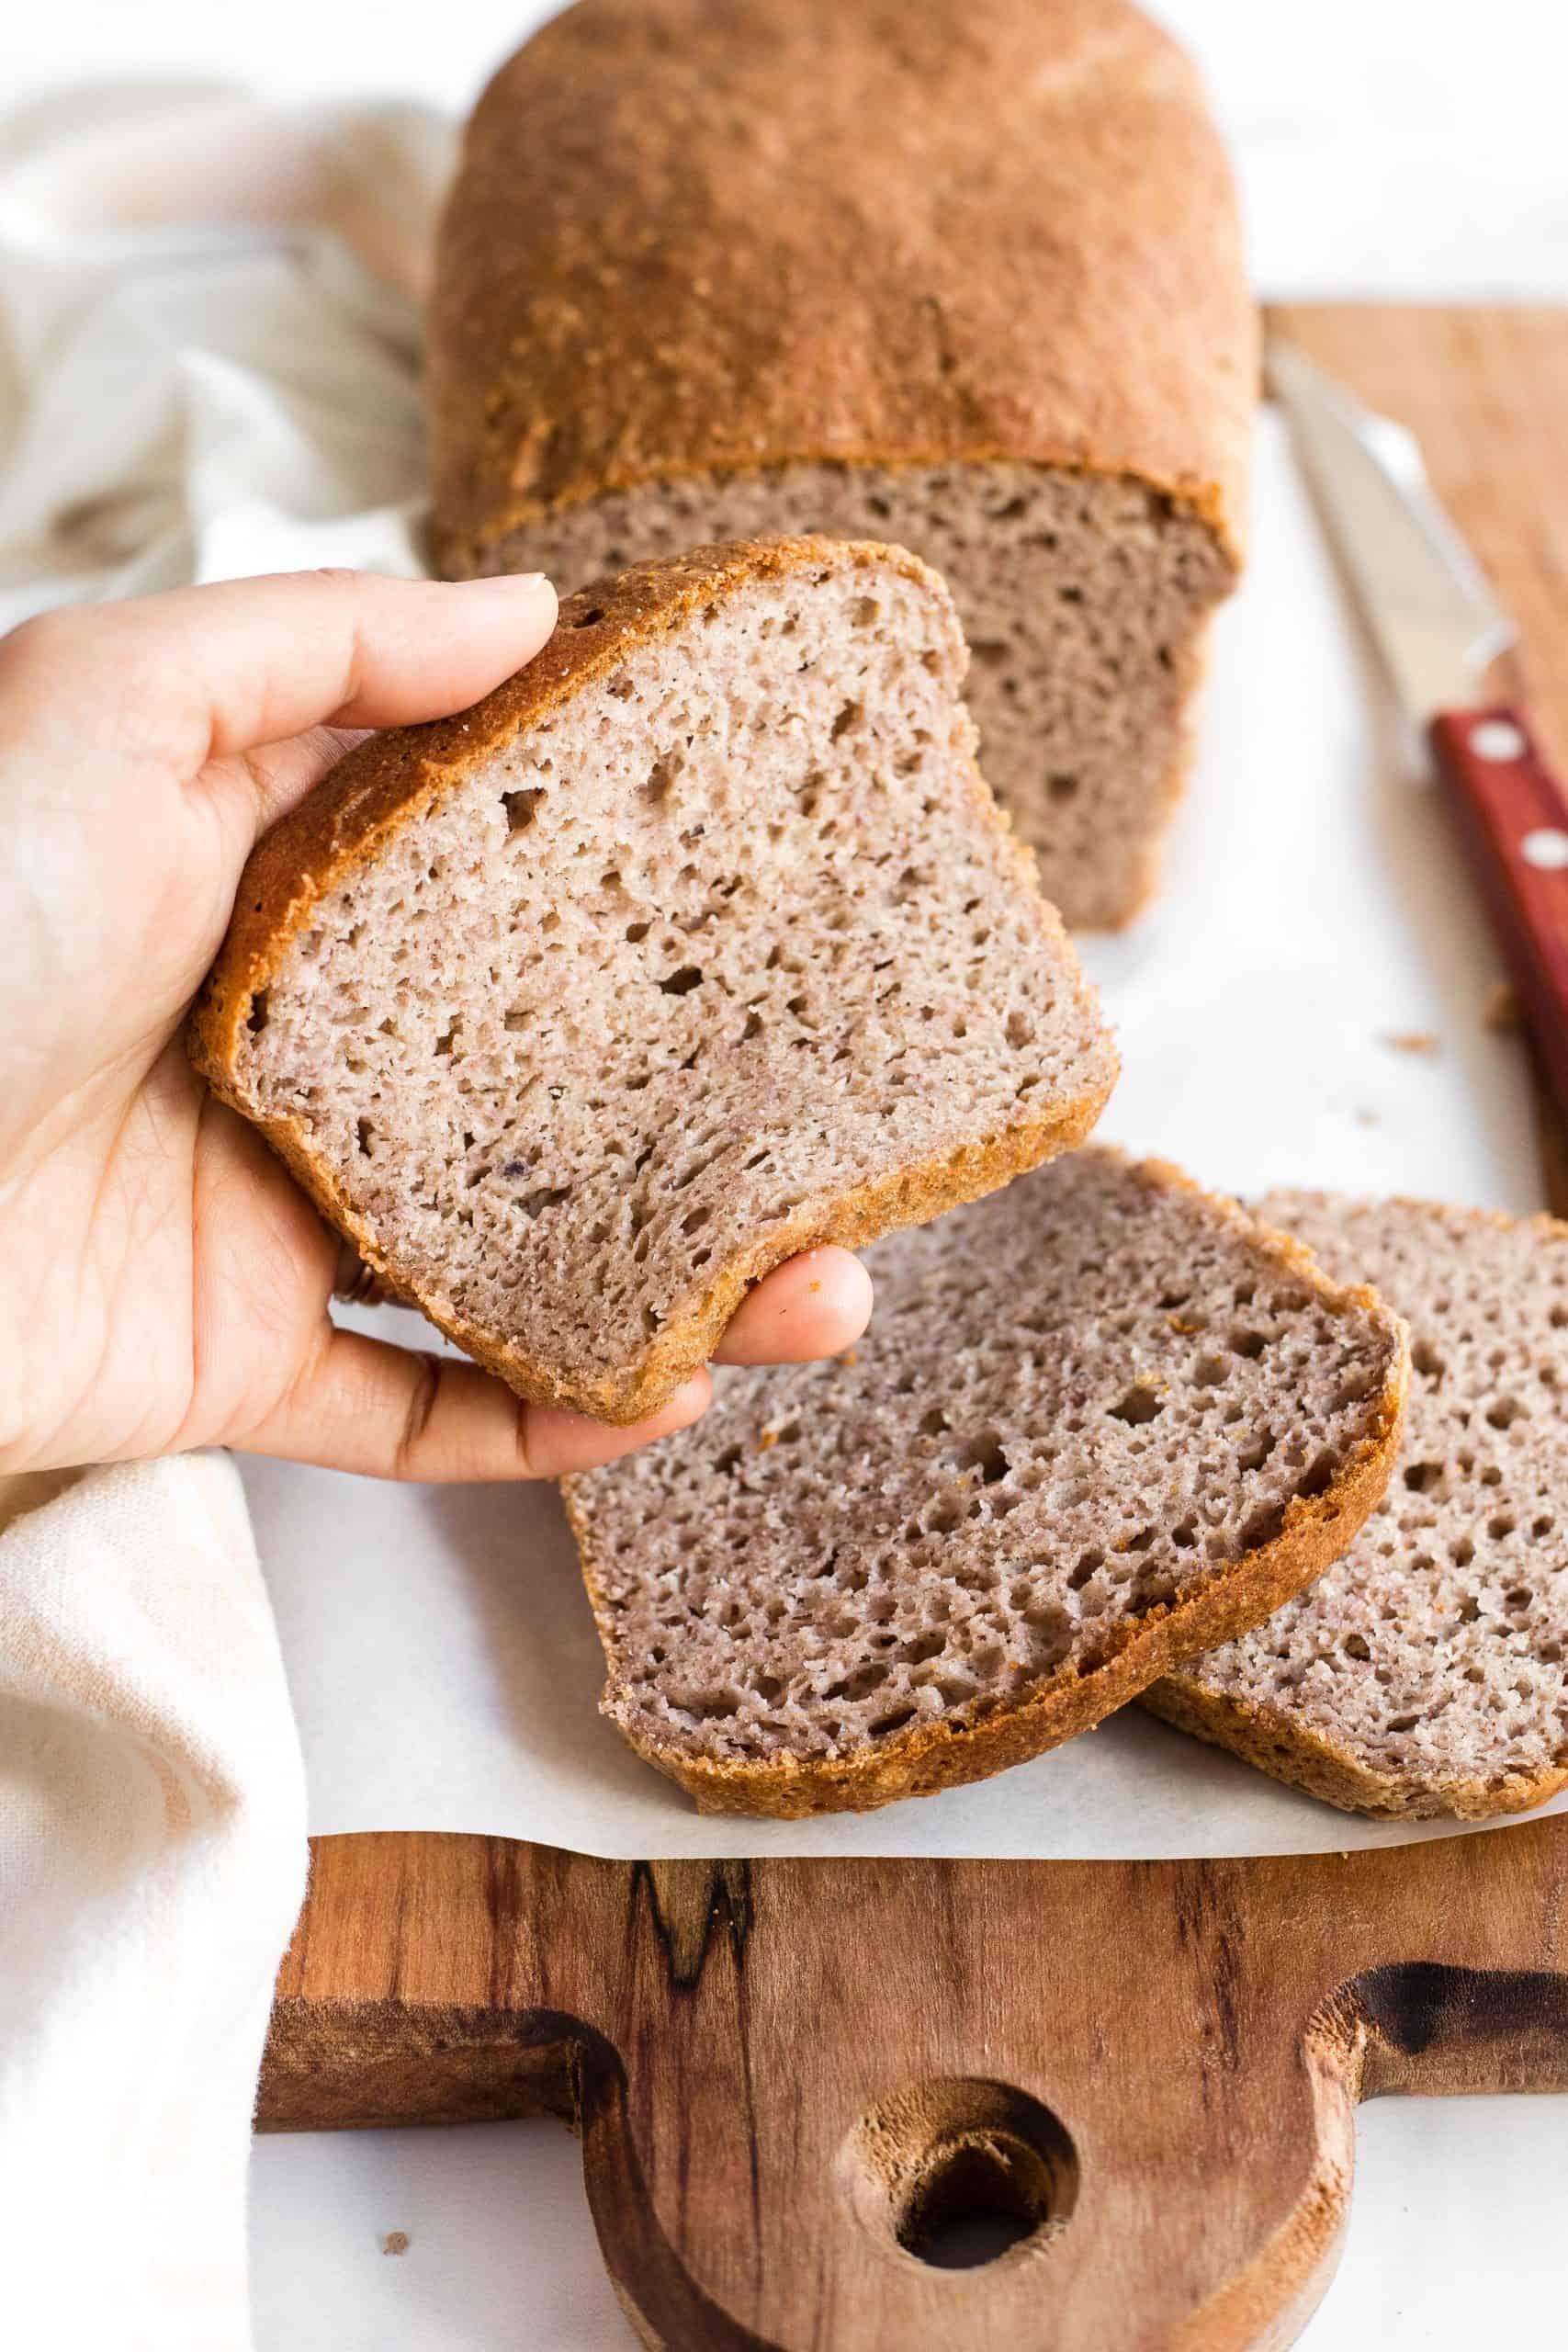
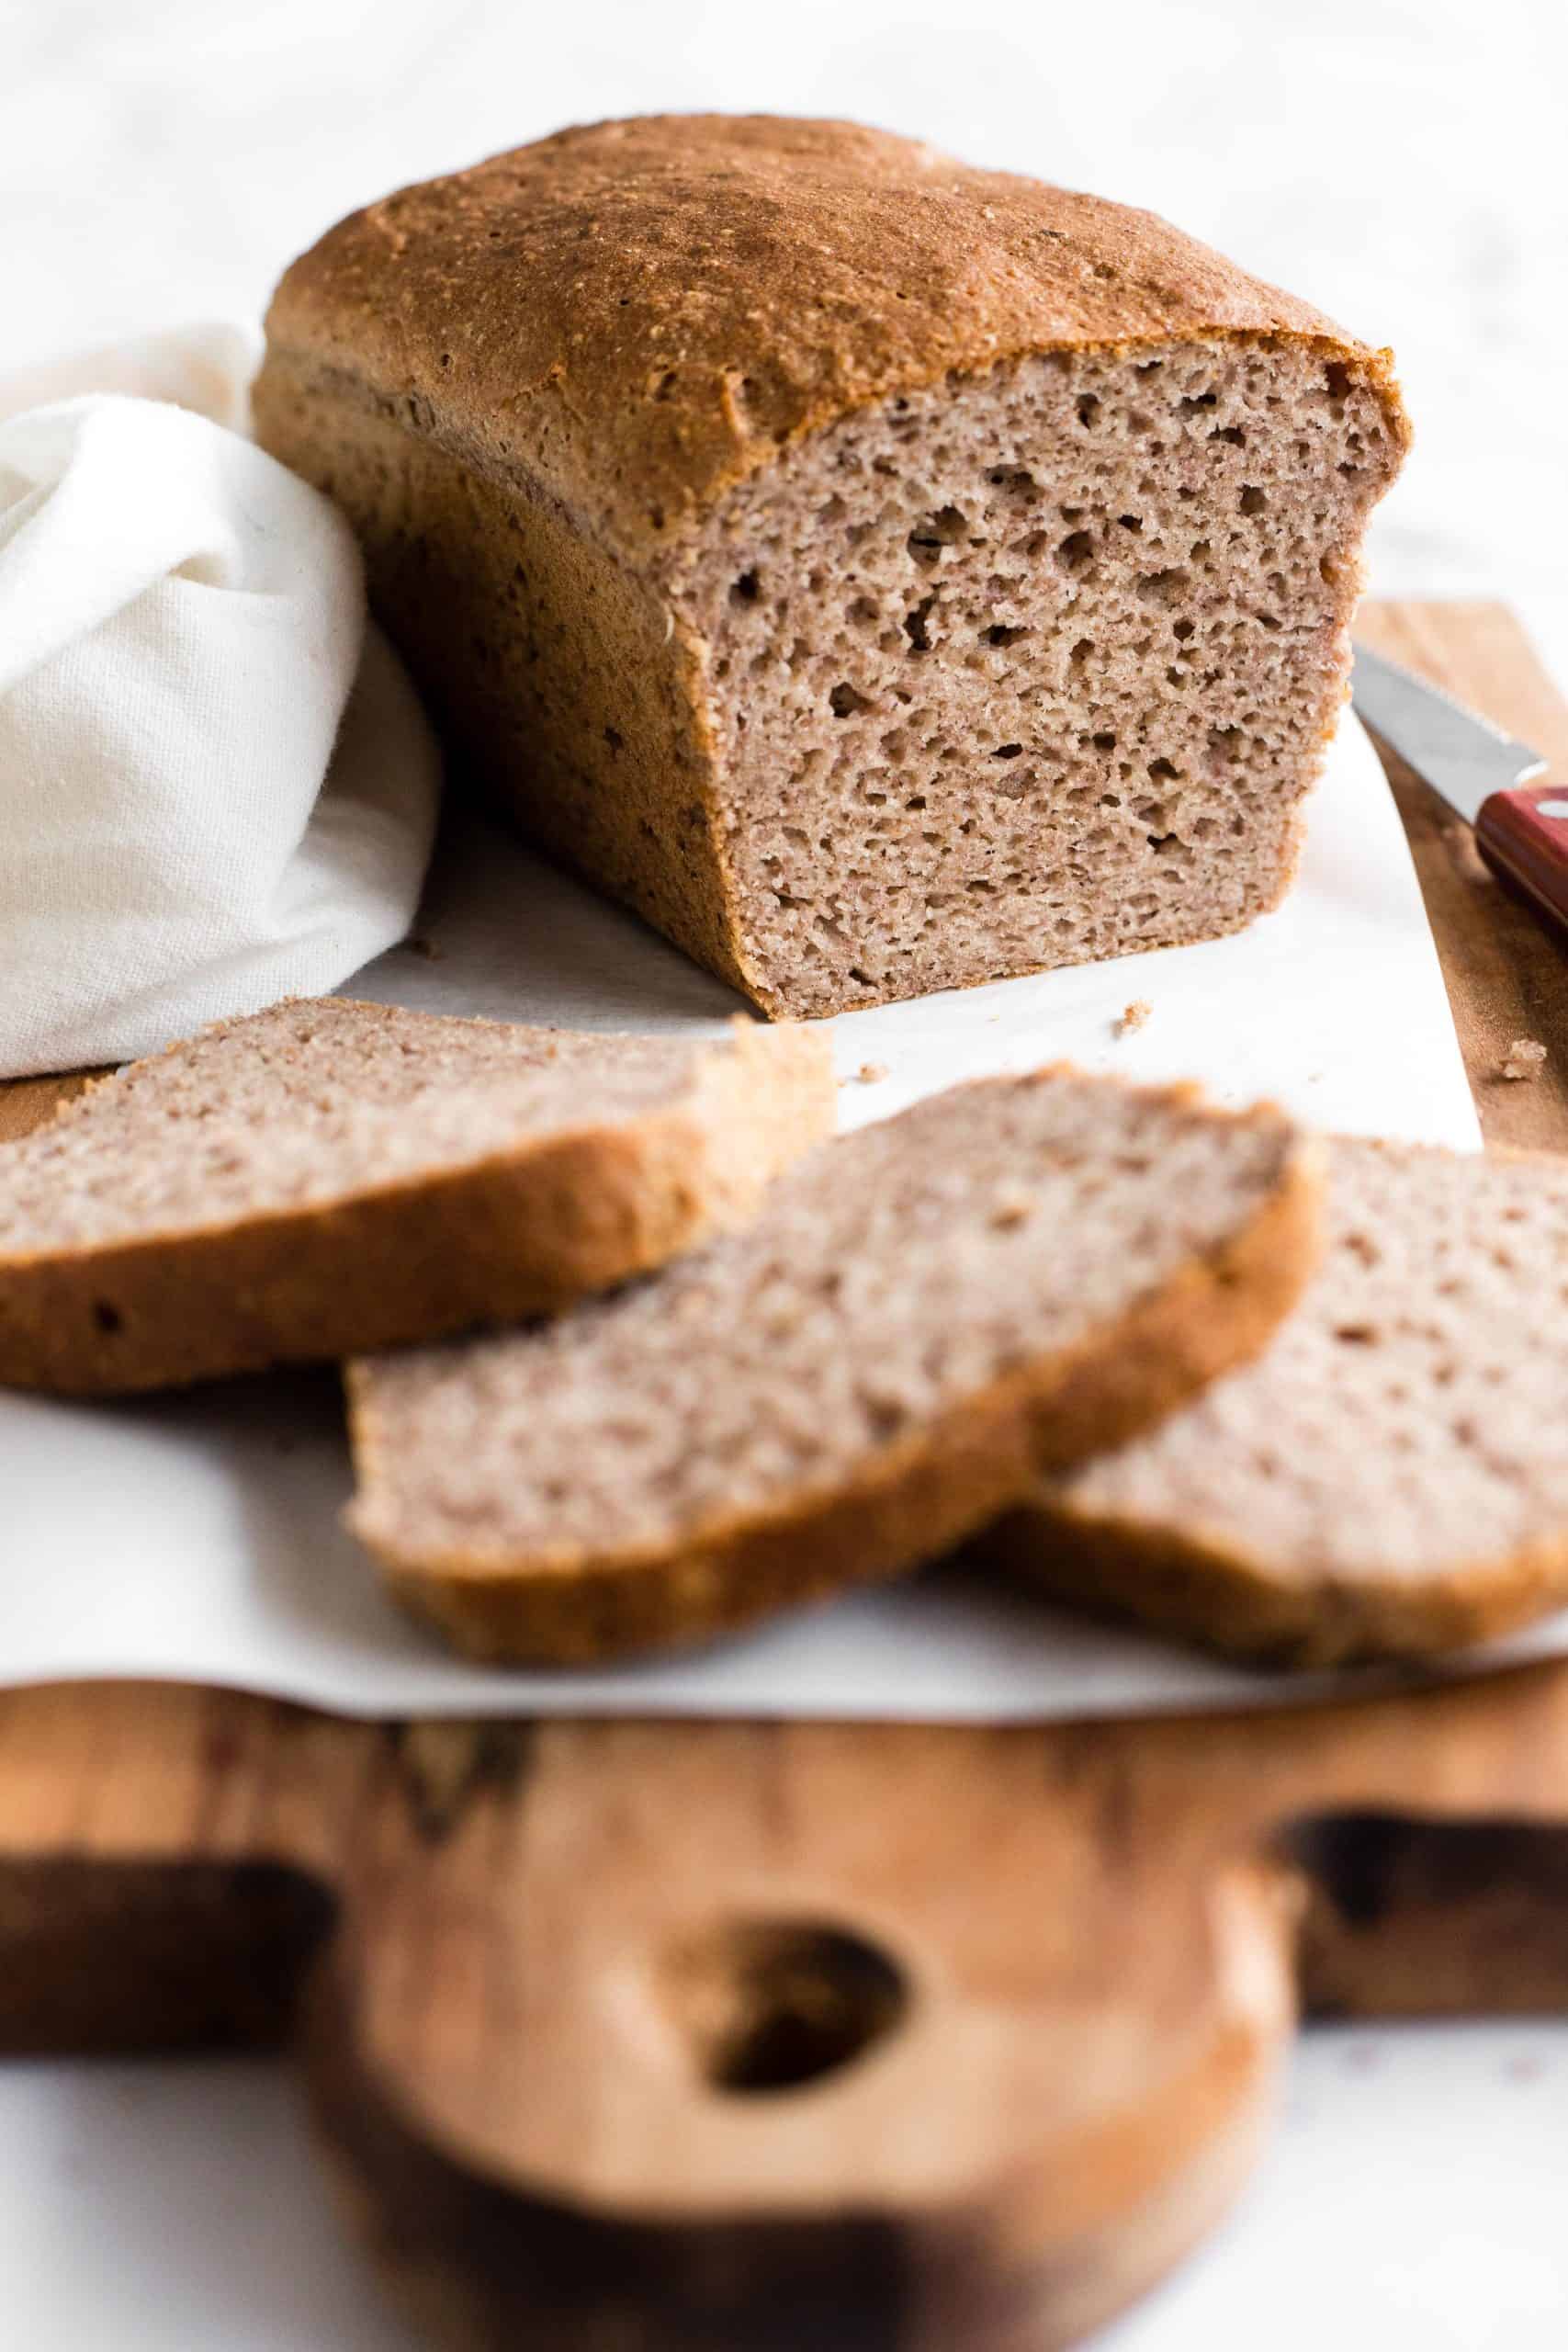
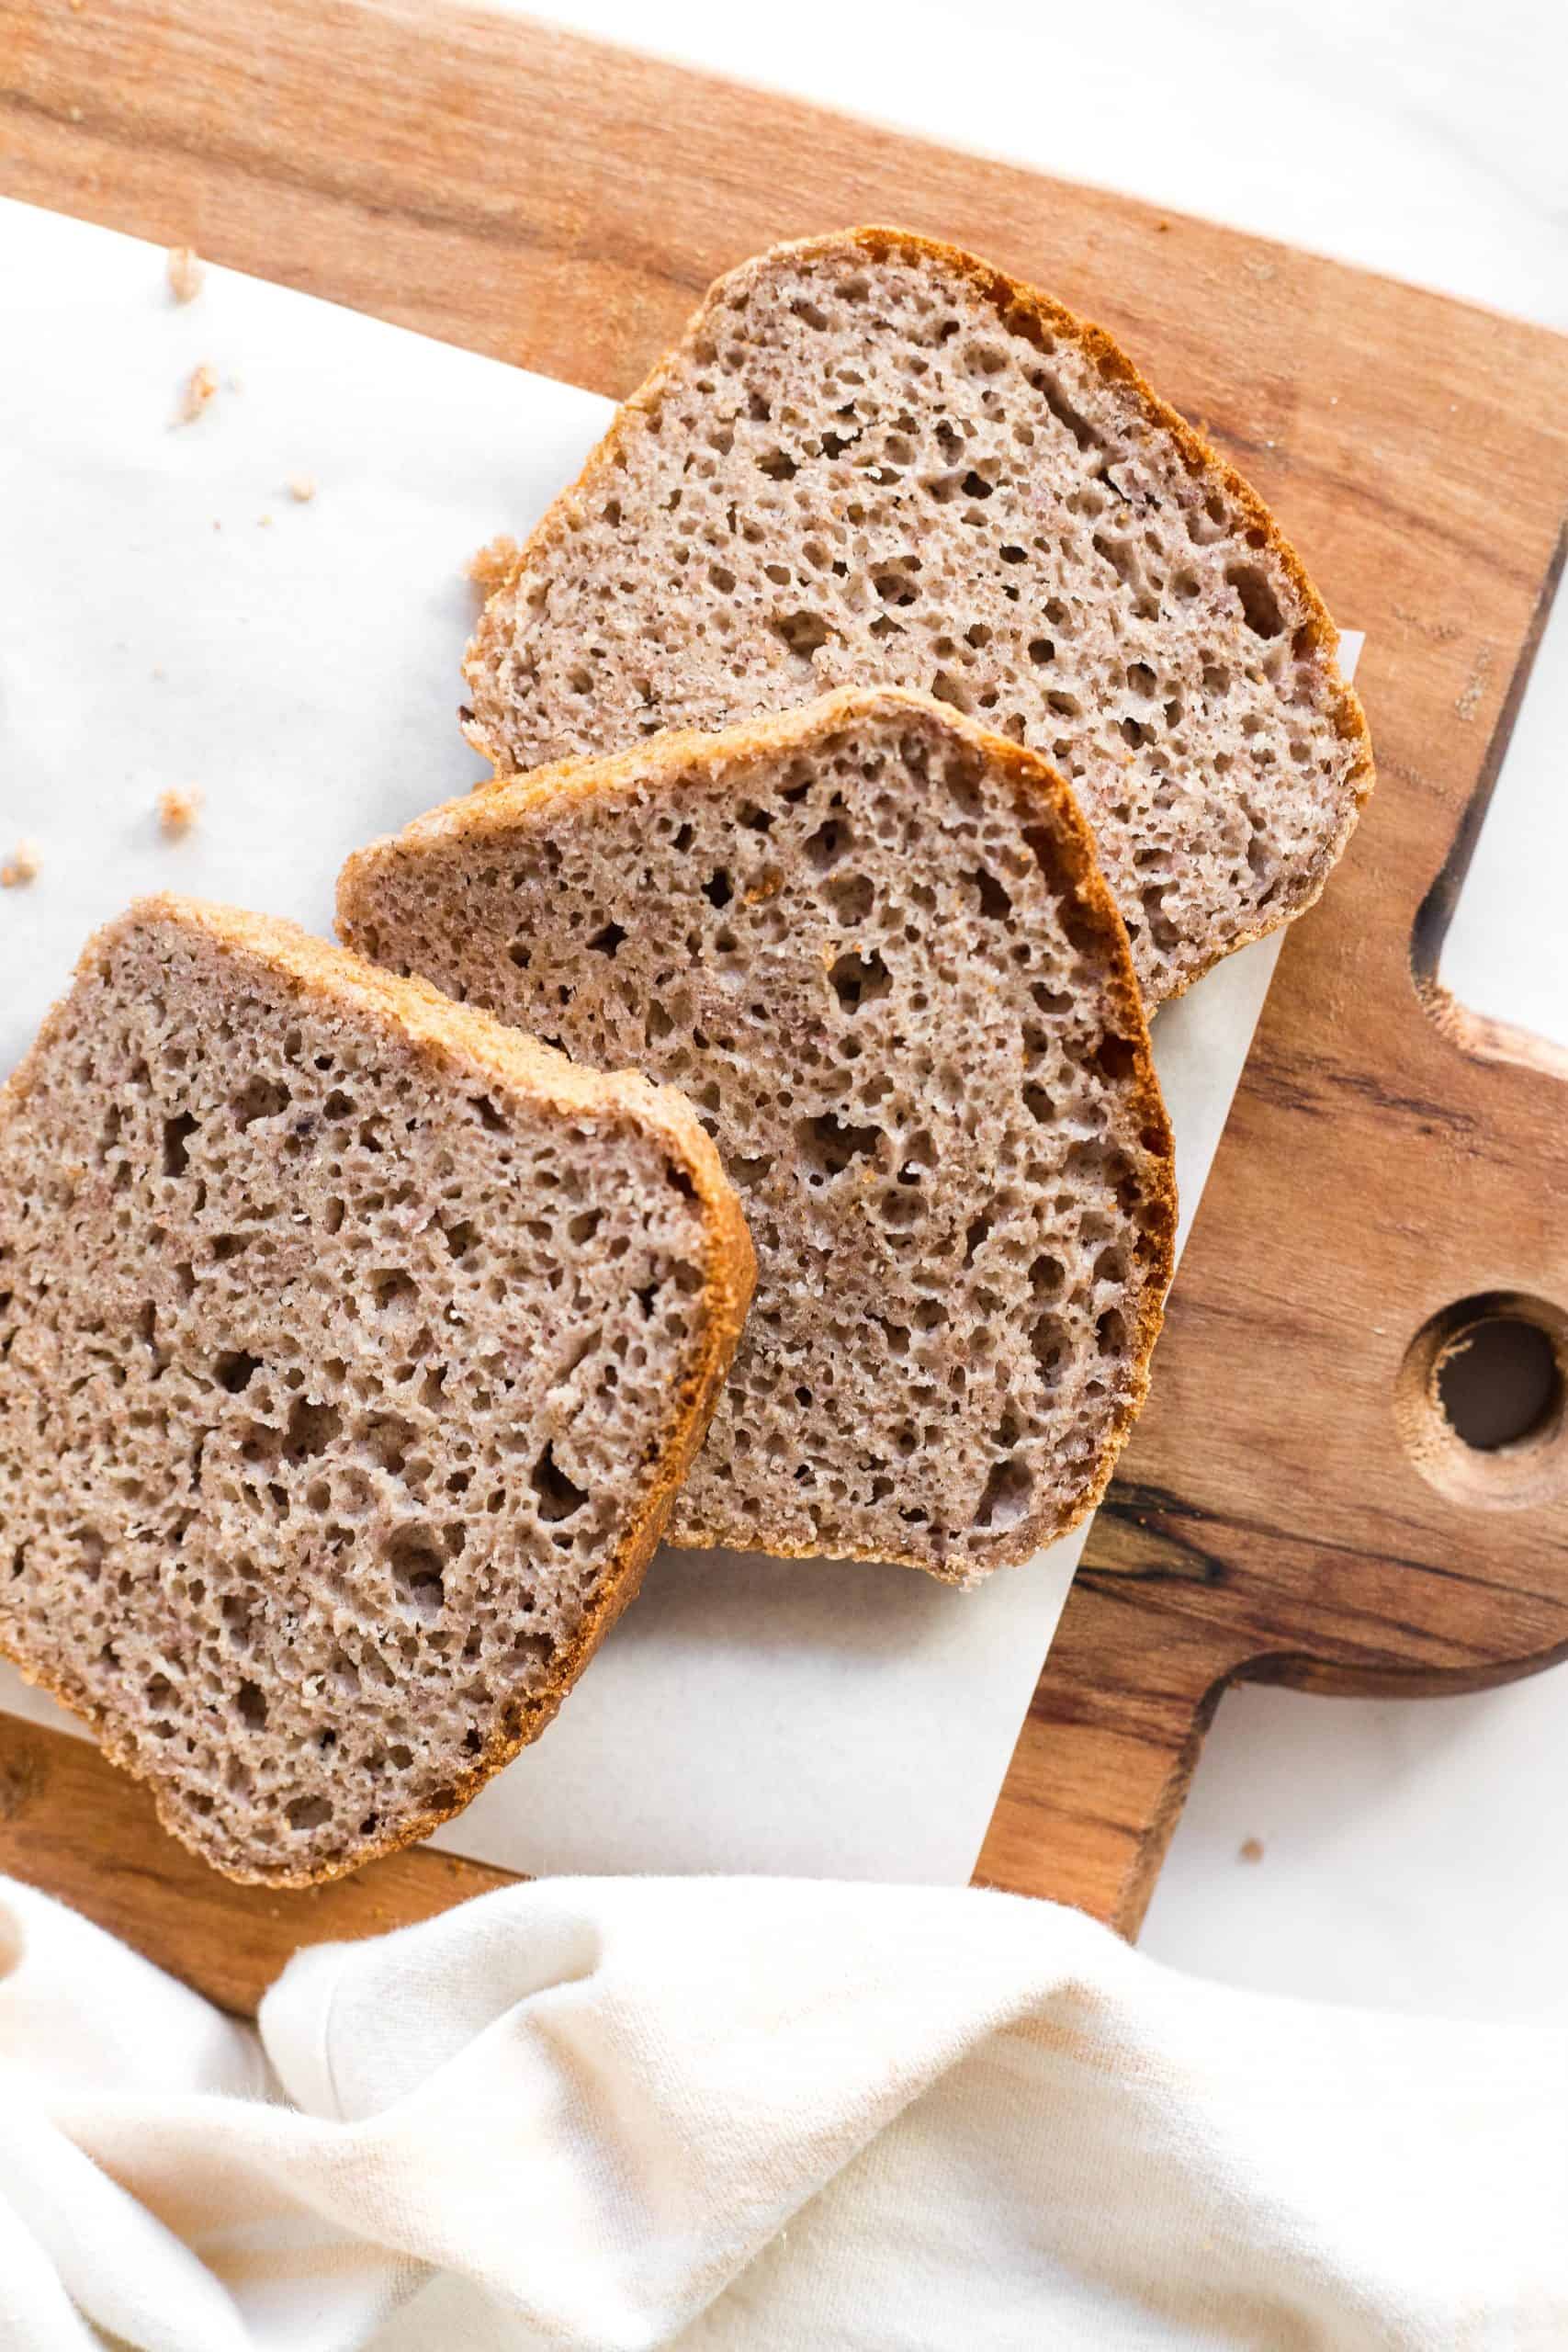
After a few tries, I am insanely happy that I’ve got this gorgeous buckwheat bread to share with you. With a beautifully brown crust, a perfect rise, and the coveted holes in the bread, this loaf is tender and moist, you would never guess that it’s both gluten-free and dairy-free!
Gone are the days of gluten-free bread that’s dense and heavy and so hard you could use it as a “doorstop”.

Why This Recipe Works
I’ve never been a fan of complicated recipes, and this buckwheat bread recipe is no different from the other simple bread recipes on the blog. Inspired by my soft fluffy gluten-free bread that everyone seems to love, I’m beyond ecstatic to share this with you.
Just 5 minutes of hands-on time is all you need, and then let it rise for 30 minutes before baking. A foolproof recipe that will always give you a soft, fluffy beautiful dome-shaped loaf that even those who aren’t Celiac or gluten-intolerant will happily eat!

Ingredients You’ll Need:
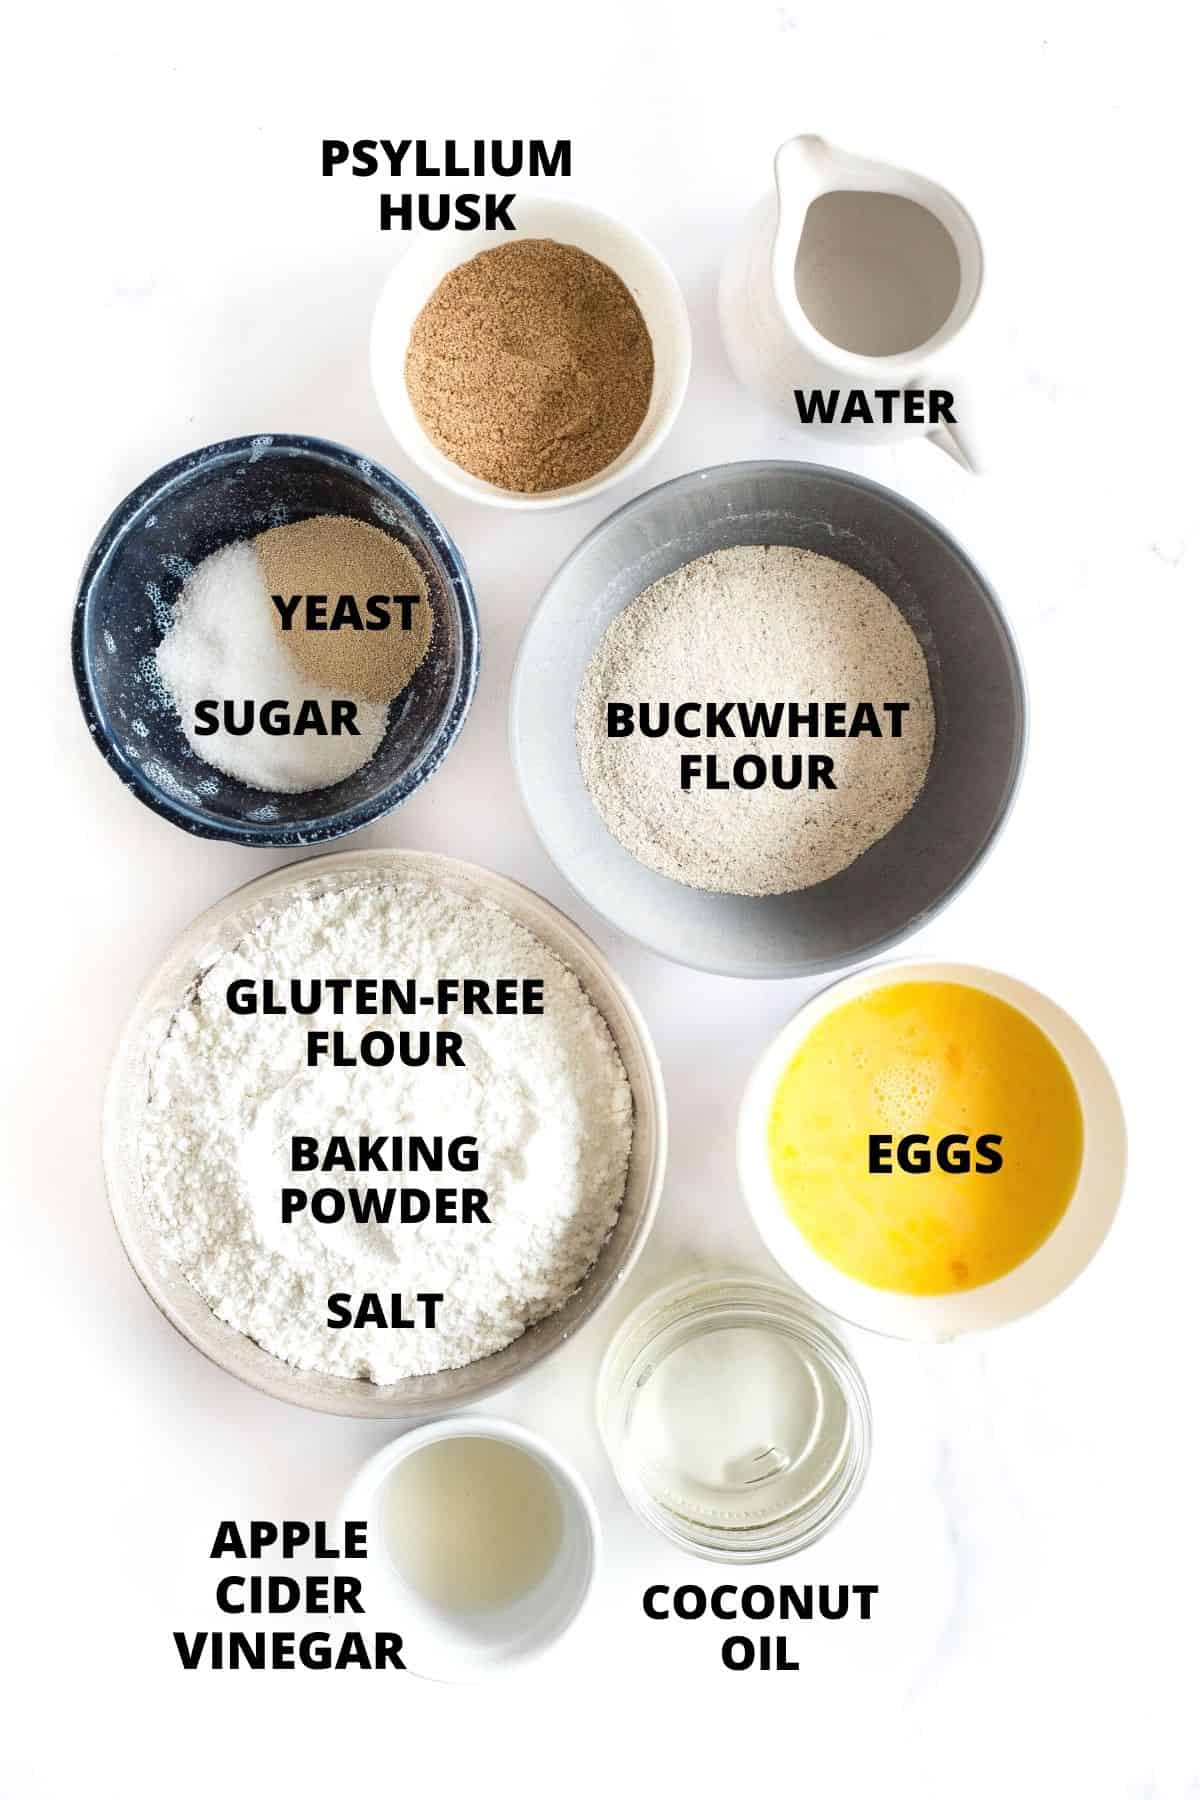

Ingredient Notes/Substitutions:
- Gluten-Free All-Purpose Flour: I highly recommend that you use a good quality gluten-free flour blend that is made of lighter flours and starches such as rice flour, corn starch, or tapioca starch and that includes xanthan gum. I do NOT recommend using flour blends that include heavier flours such as garbanzo bean flour which tend to result in a denser final texture.
- Xanthan Gum: Xanthan gum acts as a replacement for gluten in many gluten-free recipes, and is necessary for binding the ingredients together. If your gluten-free flour blend does not include it, make sure you add this in.
- Buckwheat Flour: Since this is a buckwheat bread recipe, buckwheat flour is essential. You can either make your own 5-minute homemade buckwheat flour, or buy it online. If you would like to make this bread with another type of whole grain flour such as millet flour, amaranth flour, or quinoa flour, feel free to replace the buckwheat flour in a 1:1 ratio of the flour you wish to replace it with.
- Psyllium Husk Powder: In this gluten-free brown bread recipe, the psyllium husk powder helps to better bind the ingredients as well as give the bread a whole wheat flavor. I do NOT recommend that you swap out the psyllium husk powder with any other ingredient.
- Apple Cider Vinegar: The apple cider vinegar reacts with the baking powder in this buckwheat bread recipe to help the bread rise even more. If you don’t have ACV on hand, you can also use white vinegar or wine vinegar in equal quantities.
- Warm Water: I use water in this case because I find it easiest. But you can also use warm non-dairy milk such as almond milk or cashew milk if you want to add more flavor. If you are not lactose-intolerant, go ahead and use warm dairy milk instead. Make sure that the temperature is between 105F to 110F (the yeast requires the warmth to be activated, but if the water or milk is too hot, it will kill the yeast).
- Eggs: Eggs give the bread more rise and taste. I personally haven’t tried making this bread with an egg-replacer, so I don’t know how that will go. However, if you do try it, I’d love to hear your thoughts!

How to Make Gluten-Free Buckwheat Bread
1. Grease and Preheat
Grease a 9″x4″ nonstick metal loaf pan with oil and preheat the oven to 350F. Arrange the oven rack to the middle position.


2. Combine Dry Ingredients
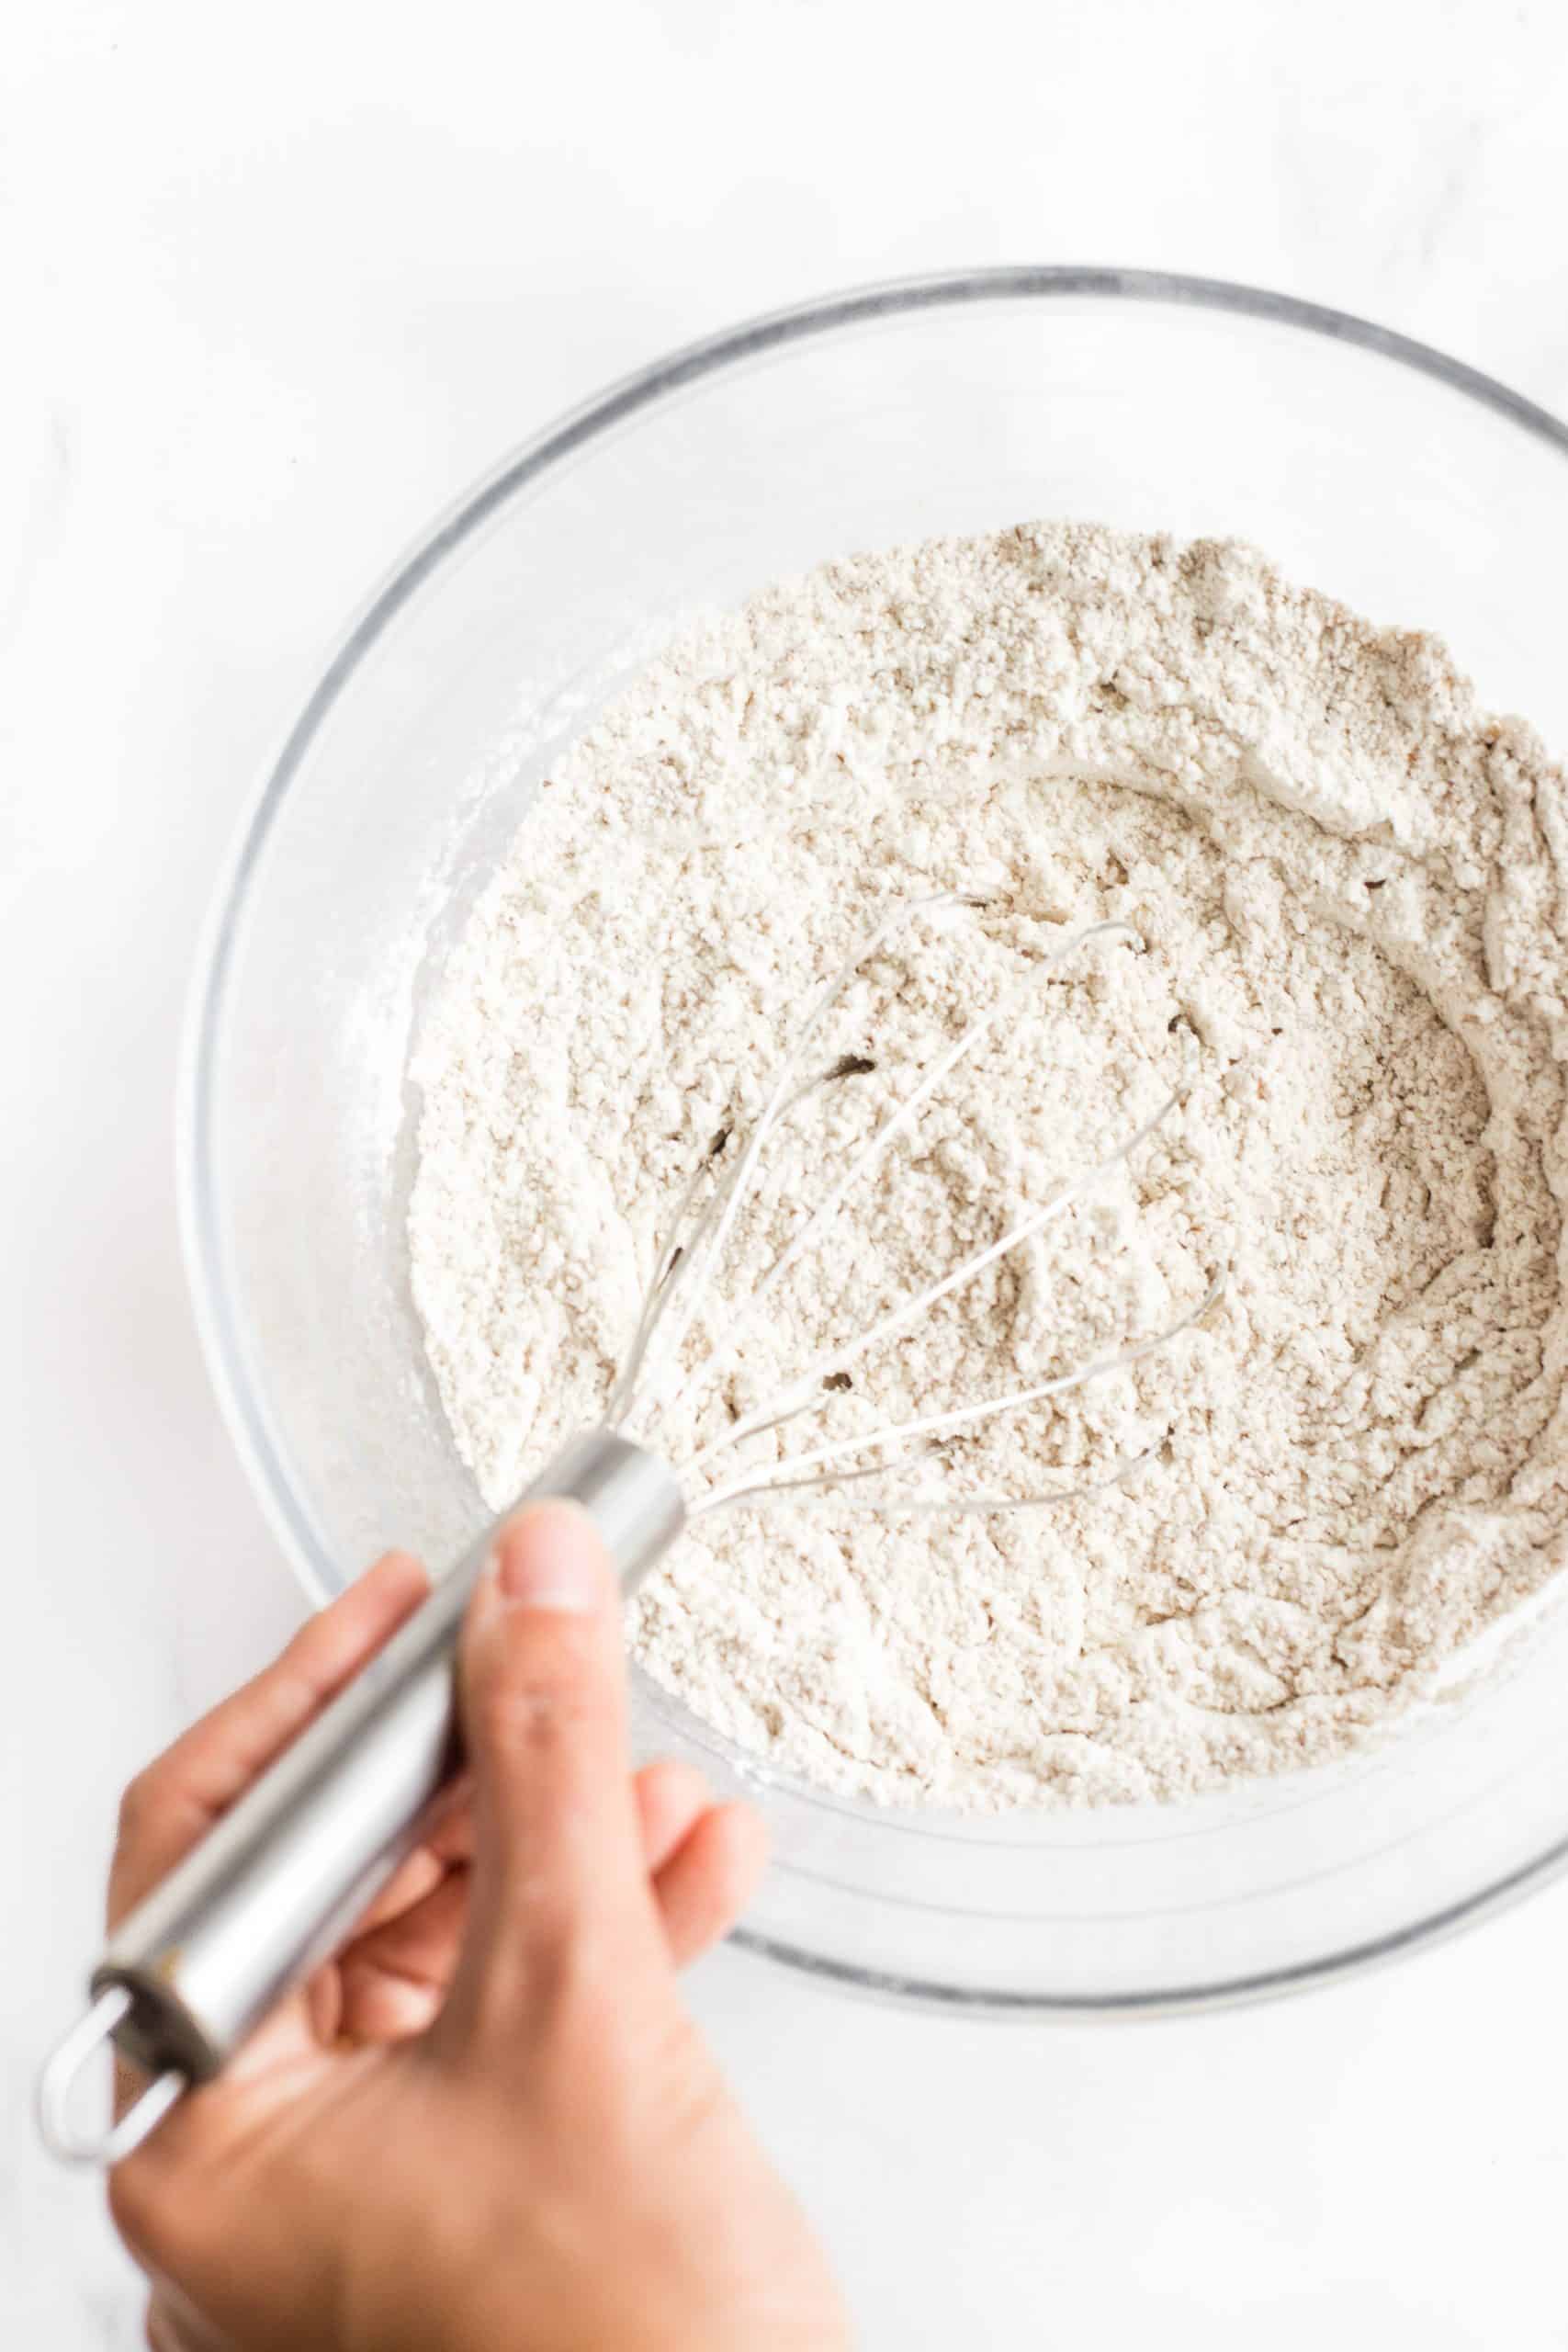
In a large mixing bowl, whisk the gluten-free all-purpose flour, xanthan gum (if using), buckwheat flour, psyllium husk, baking powder, salt, instant yeast, and sugar together.

3. Add Wet Ingredients
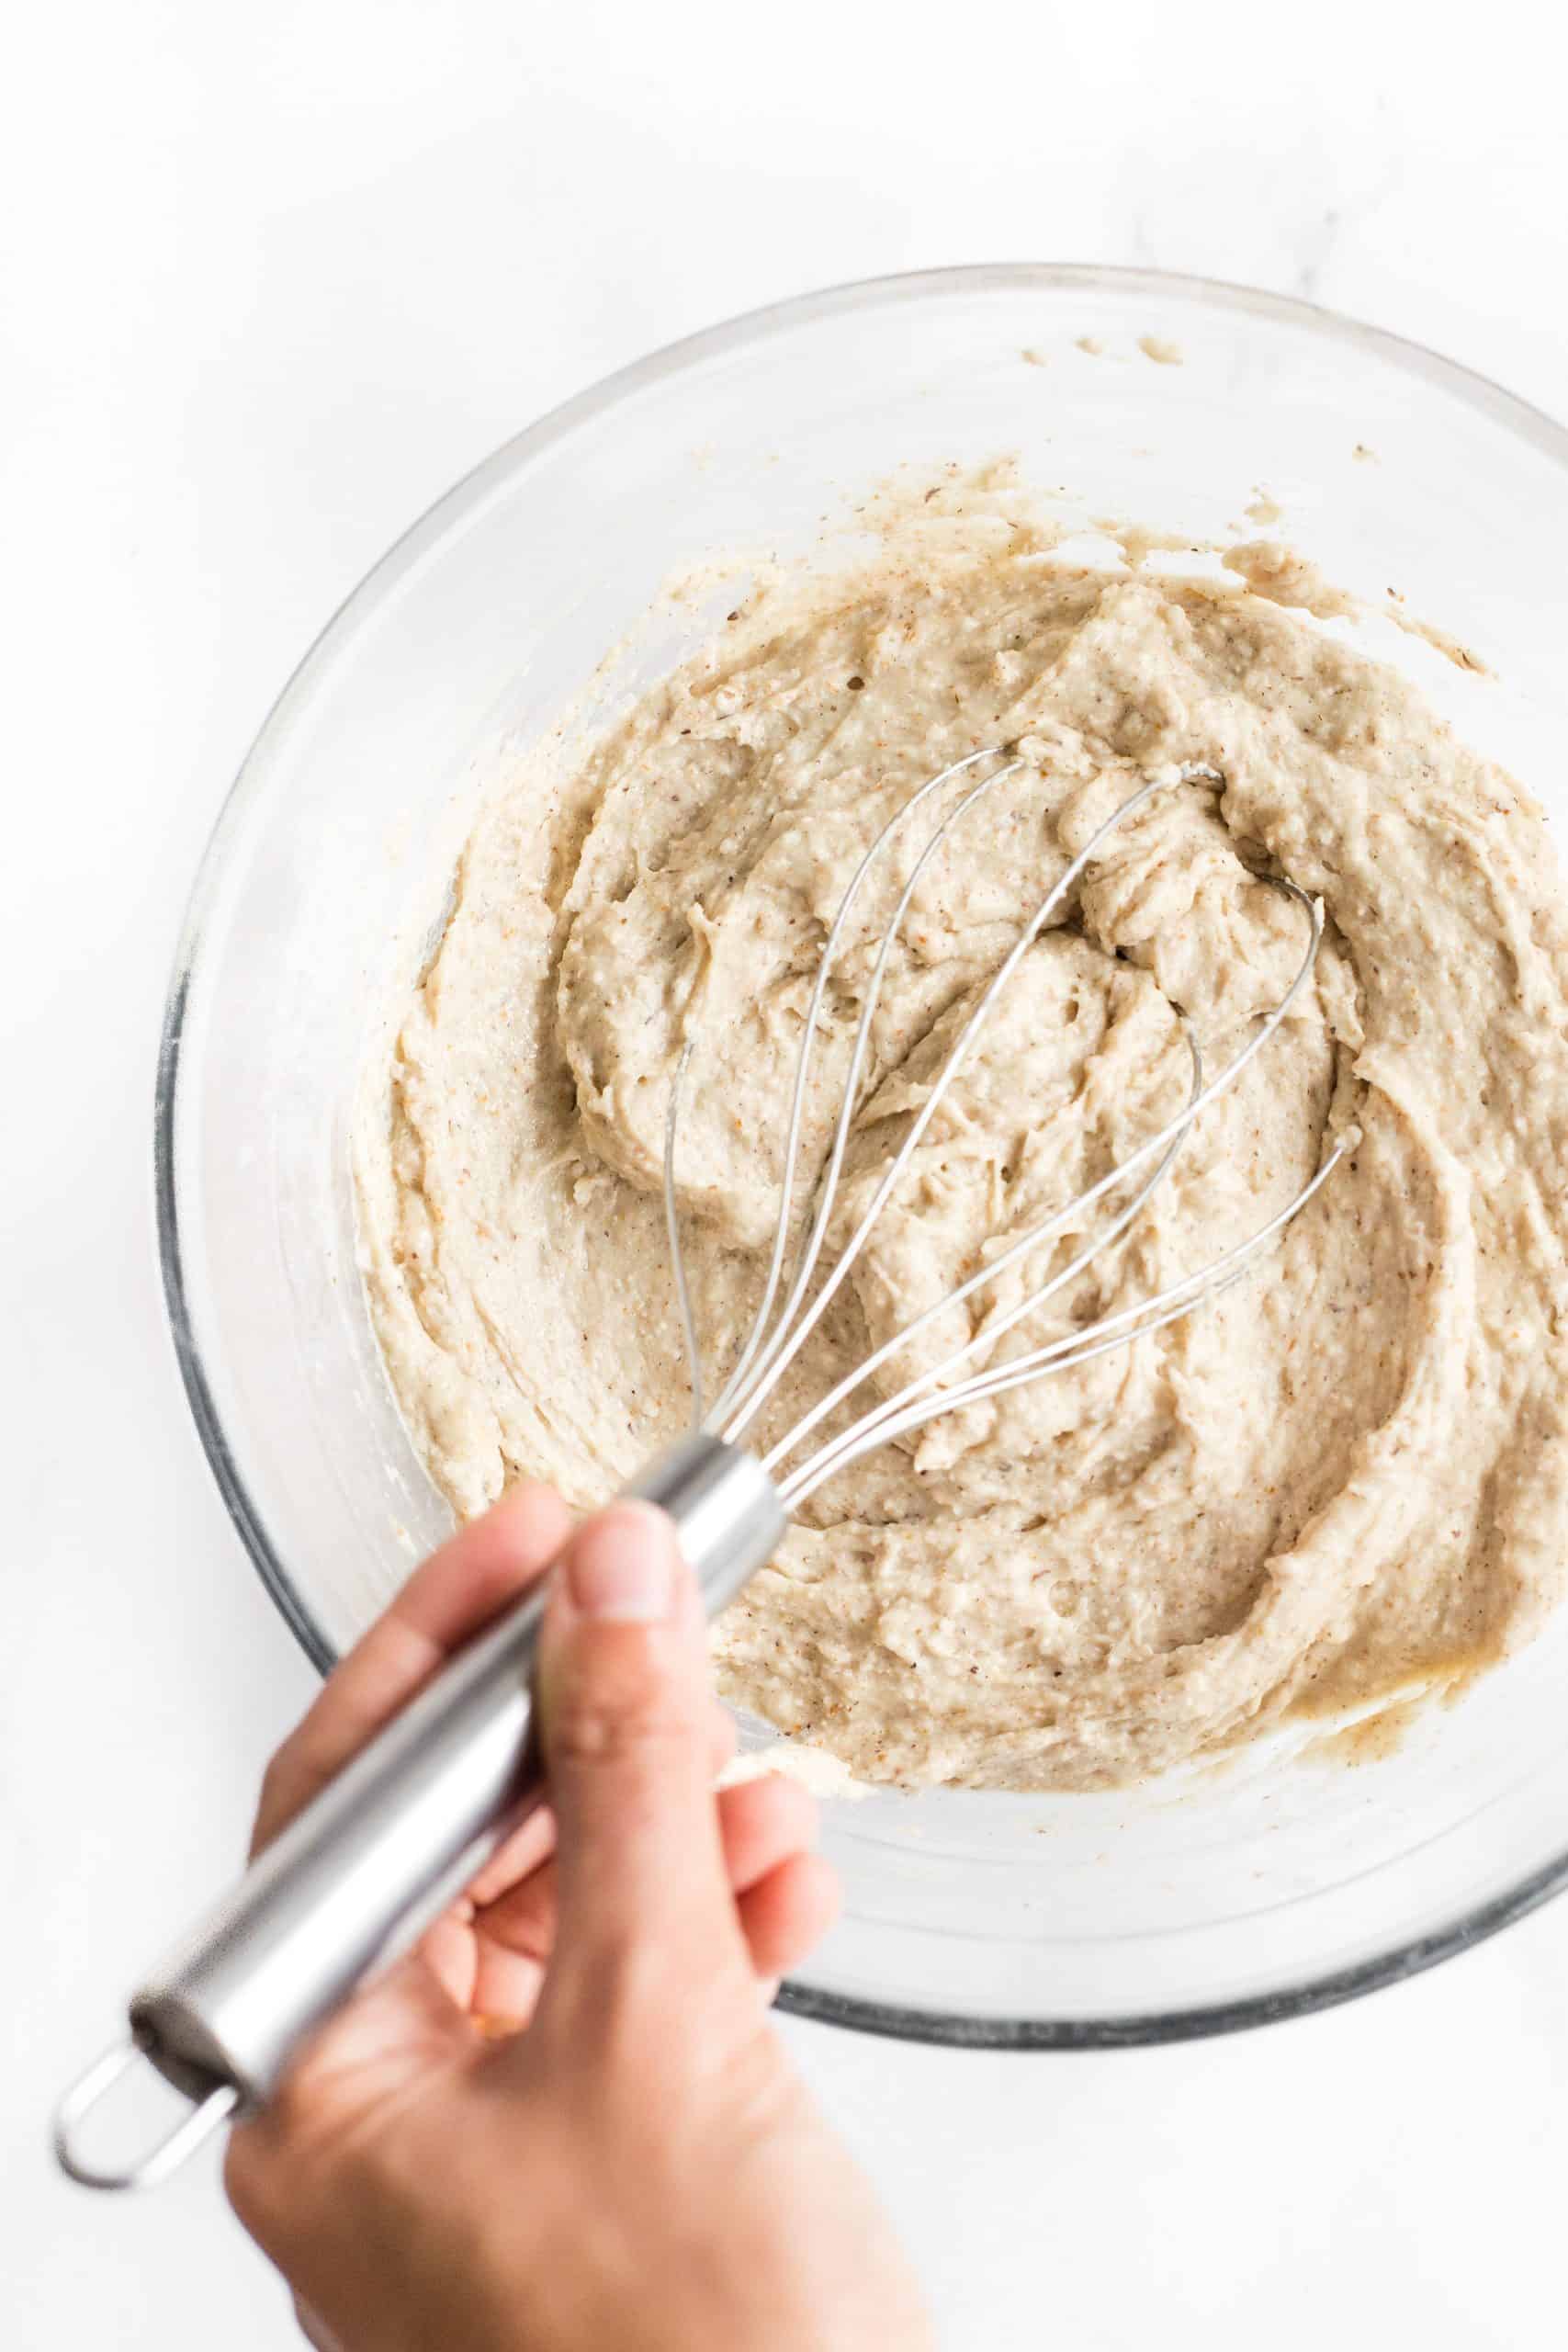
Add the vegetable oil, apple cider vinegar, warm water, and mix well until combined. Next, add the beaten eggs and mix for another minute until you get a dough that resembles thick cake batter (the dough will be sticky and wet, but that’s perfectly fine).

4. Transfer Dough to Pan
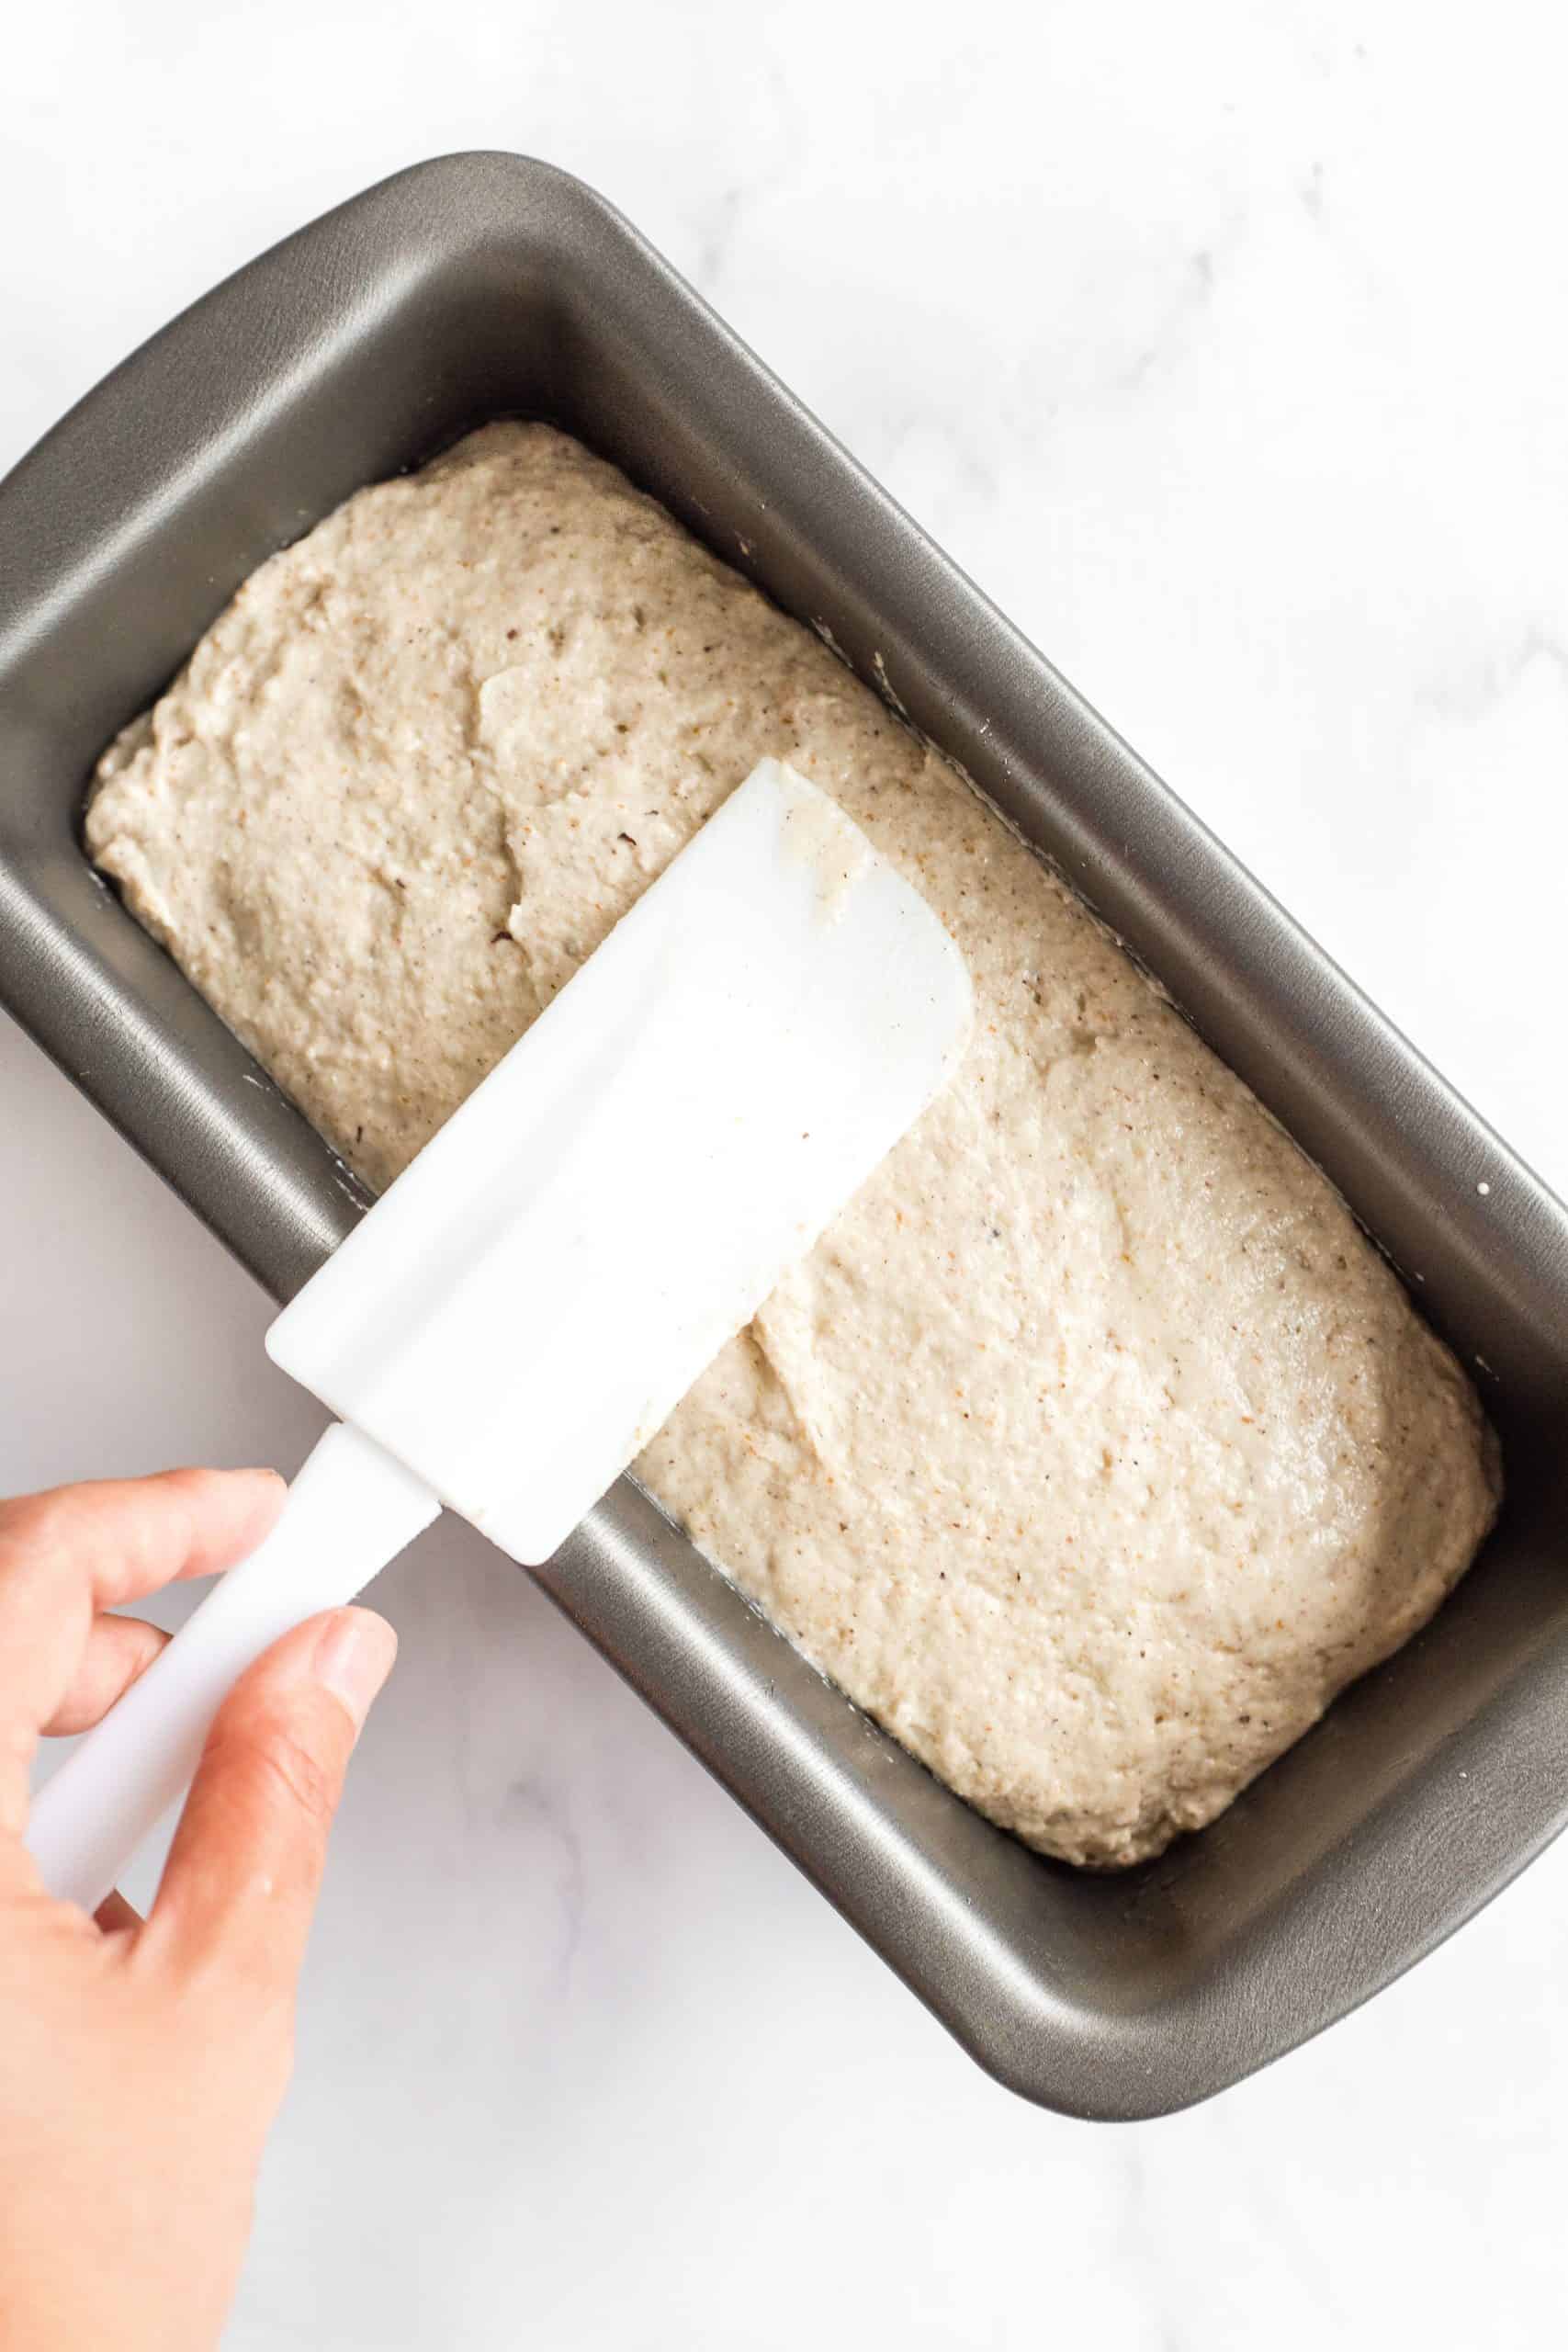
Transfer the buckwheat bread dough to the prepared loaf pan and smooth out the top with a wet spatula.

5. Let Dough Rise
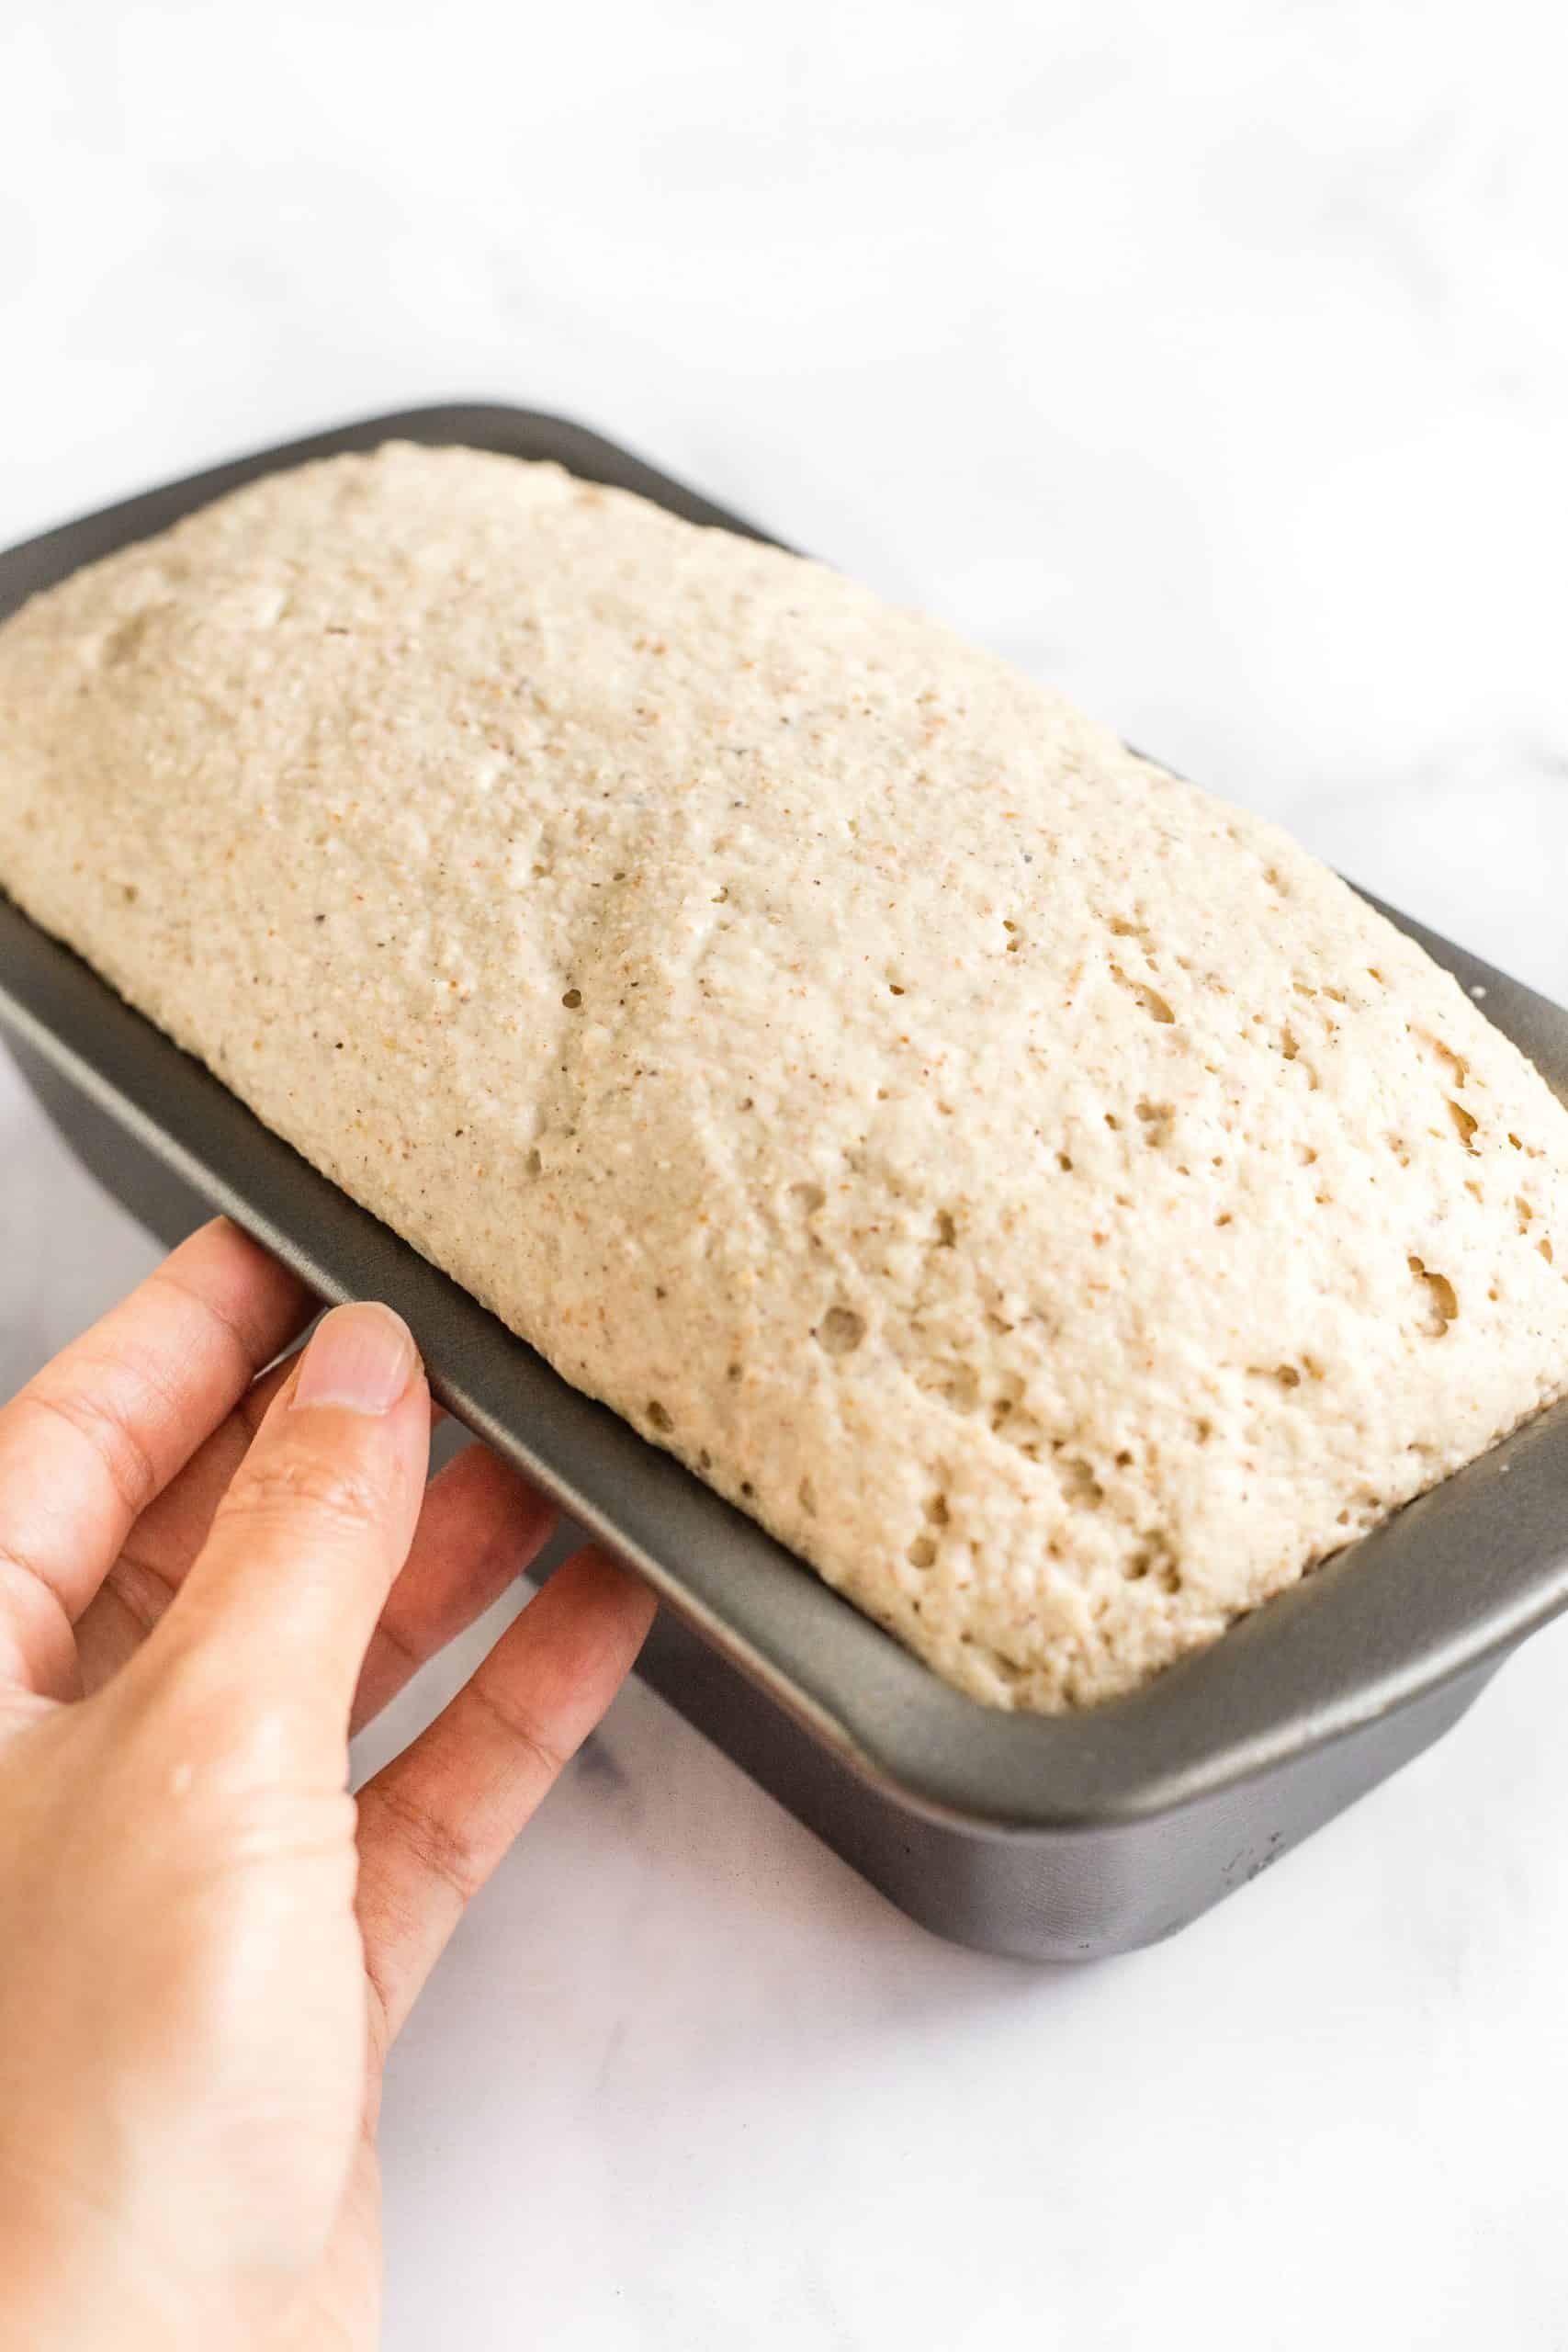
Cover the pan with a kitchen towel and let it rise for the next 30 minutes in a warm, draft-free place until it has roughly doubled in size.

6. Bake
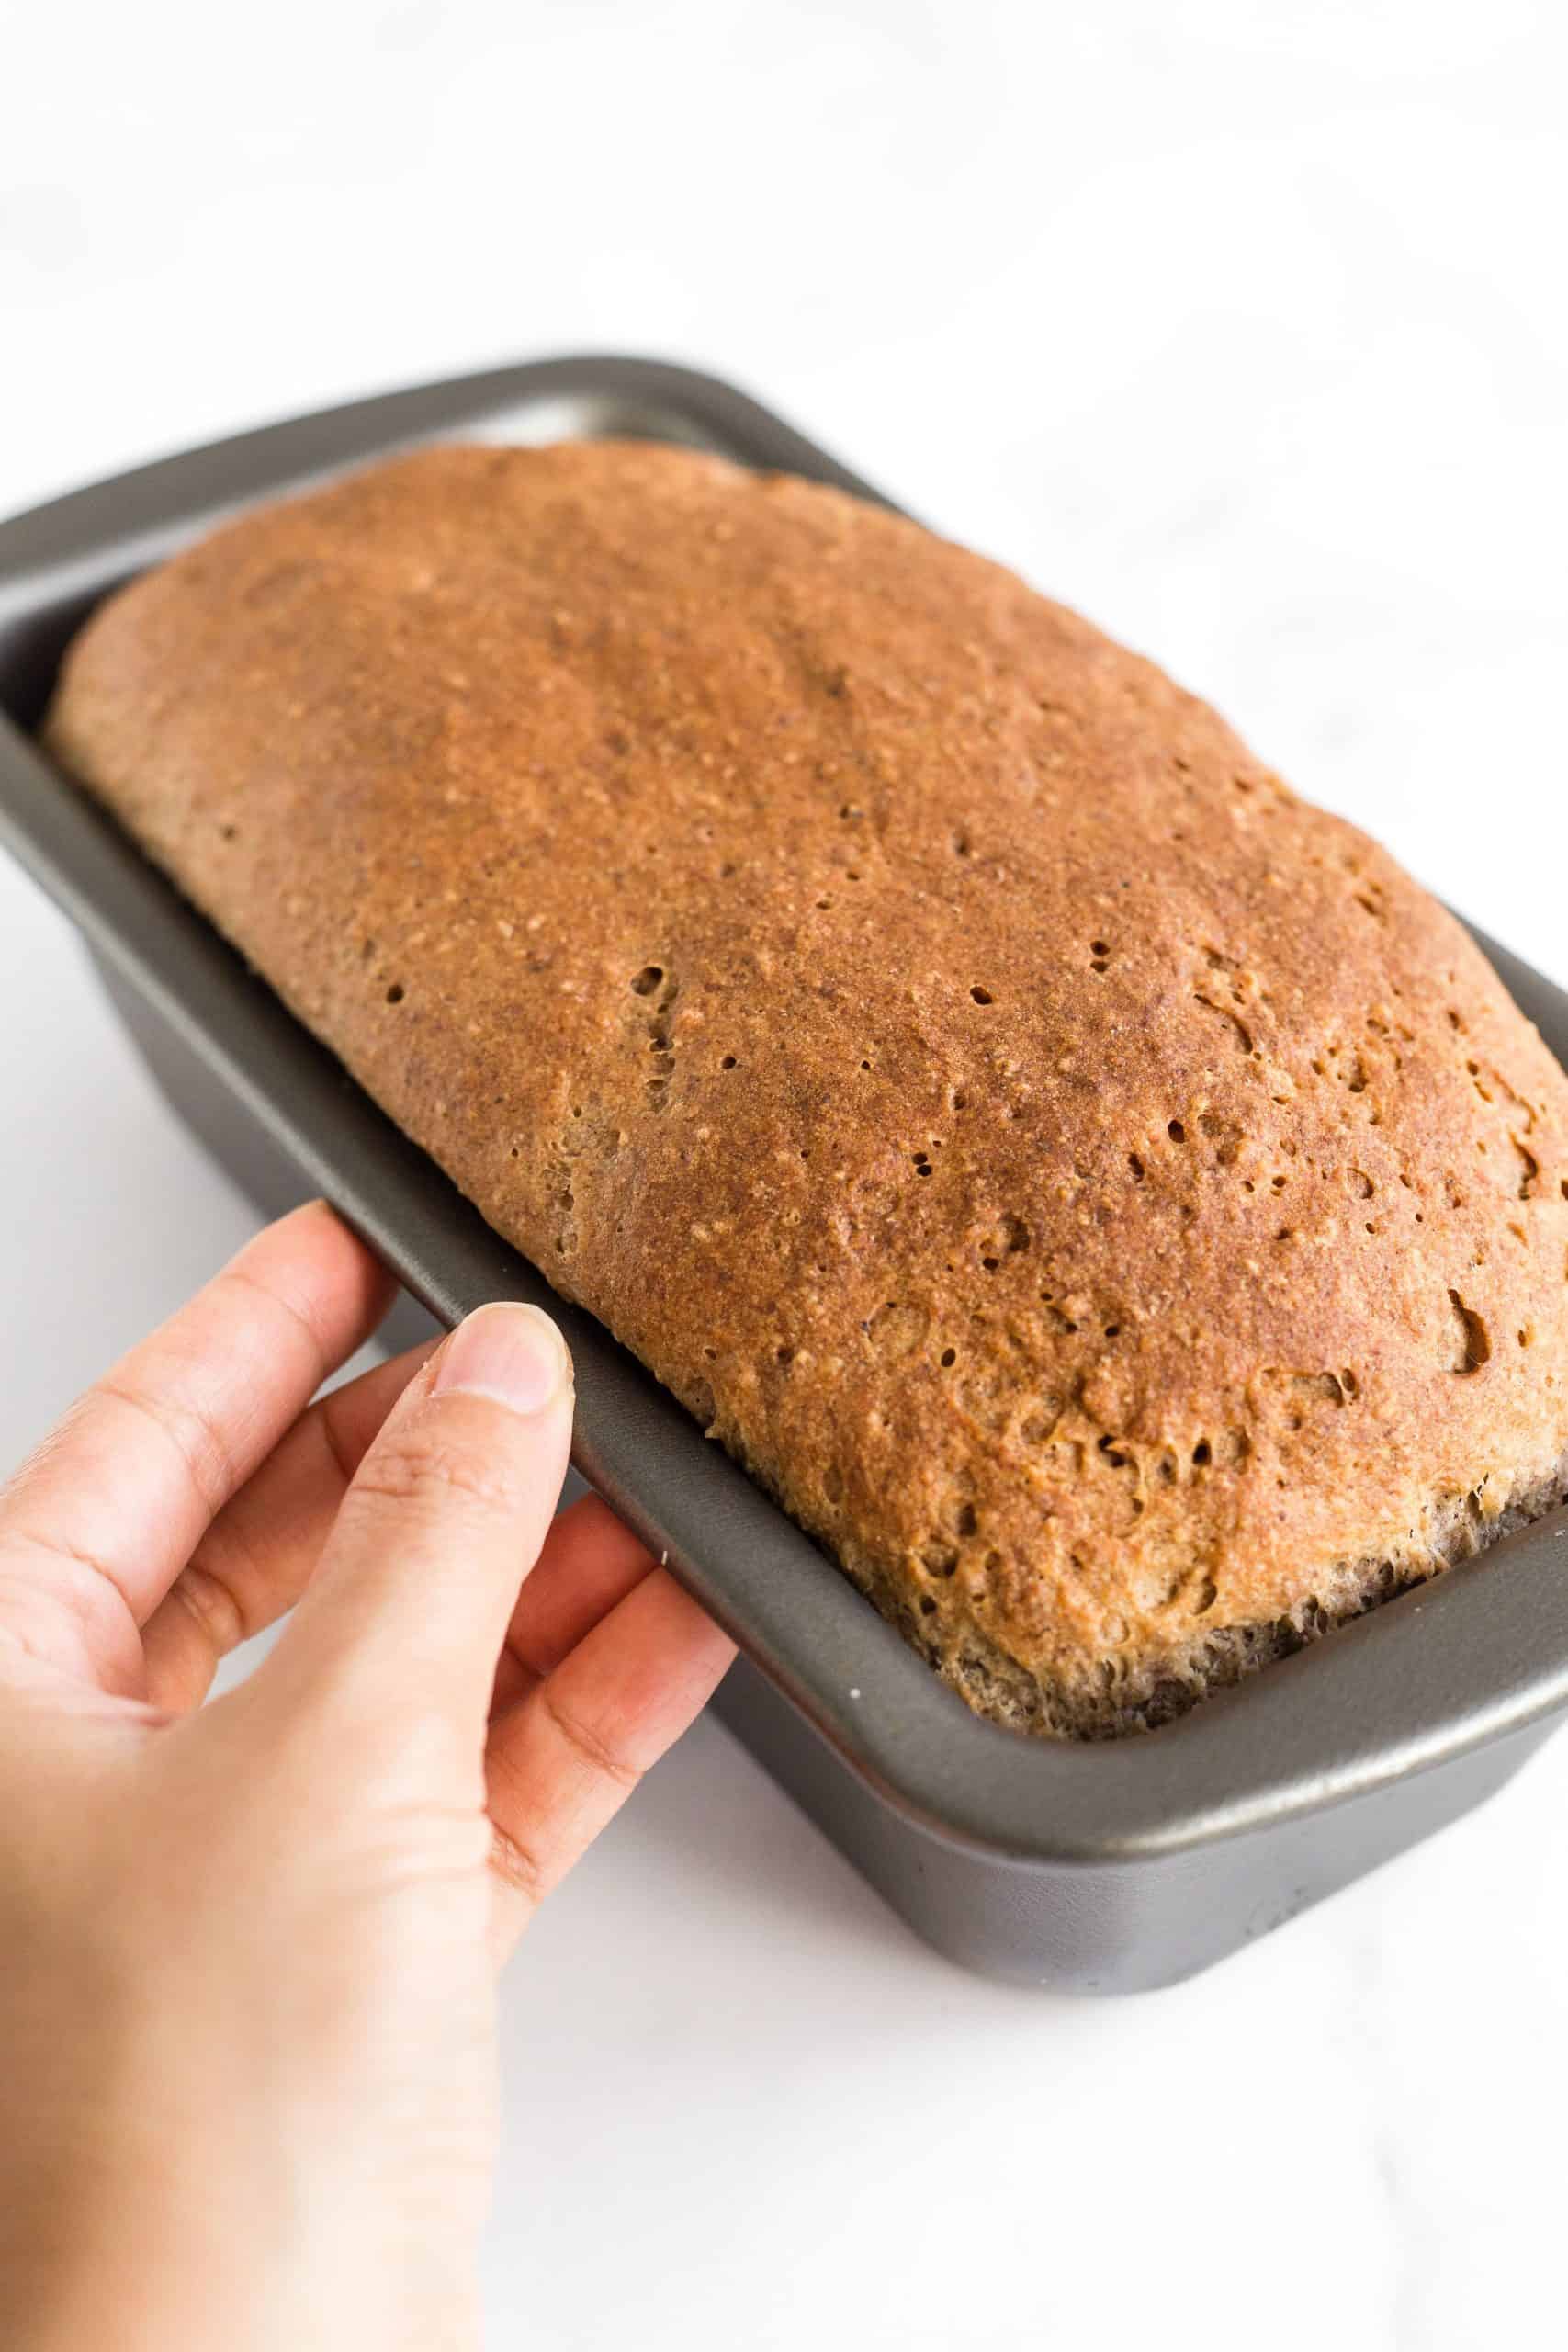
Bake for 40 to 50 minutes until the bread is dark brown on top and sounds hollow when tapped.

7. Cool Completely
Let the buckwheat bread cool for at least 10 minutes in the pan, before removing and cooling fully on a wire rack.
8. Slice and Enjoy!
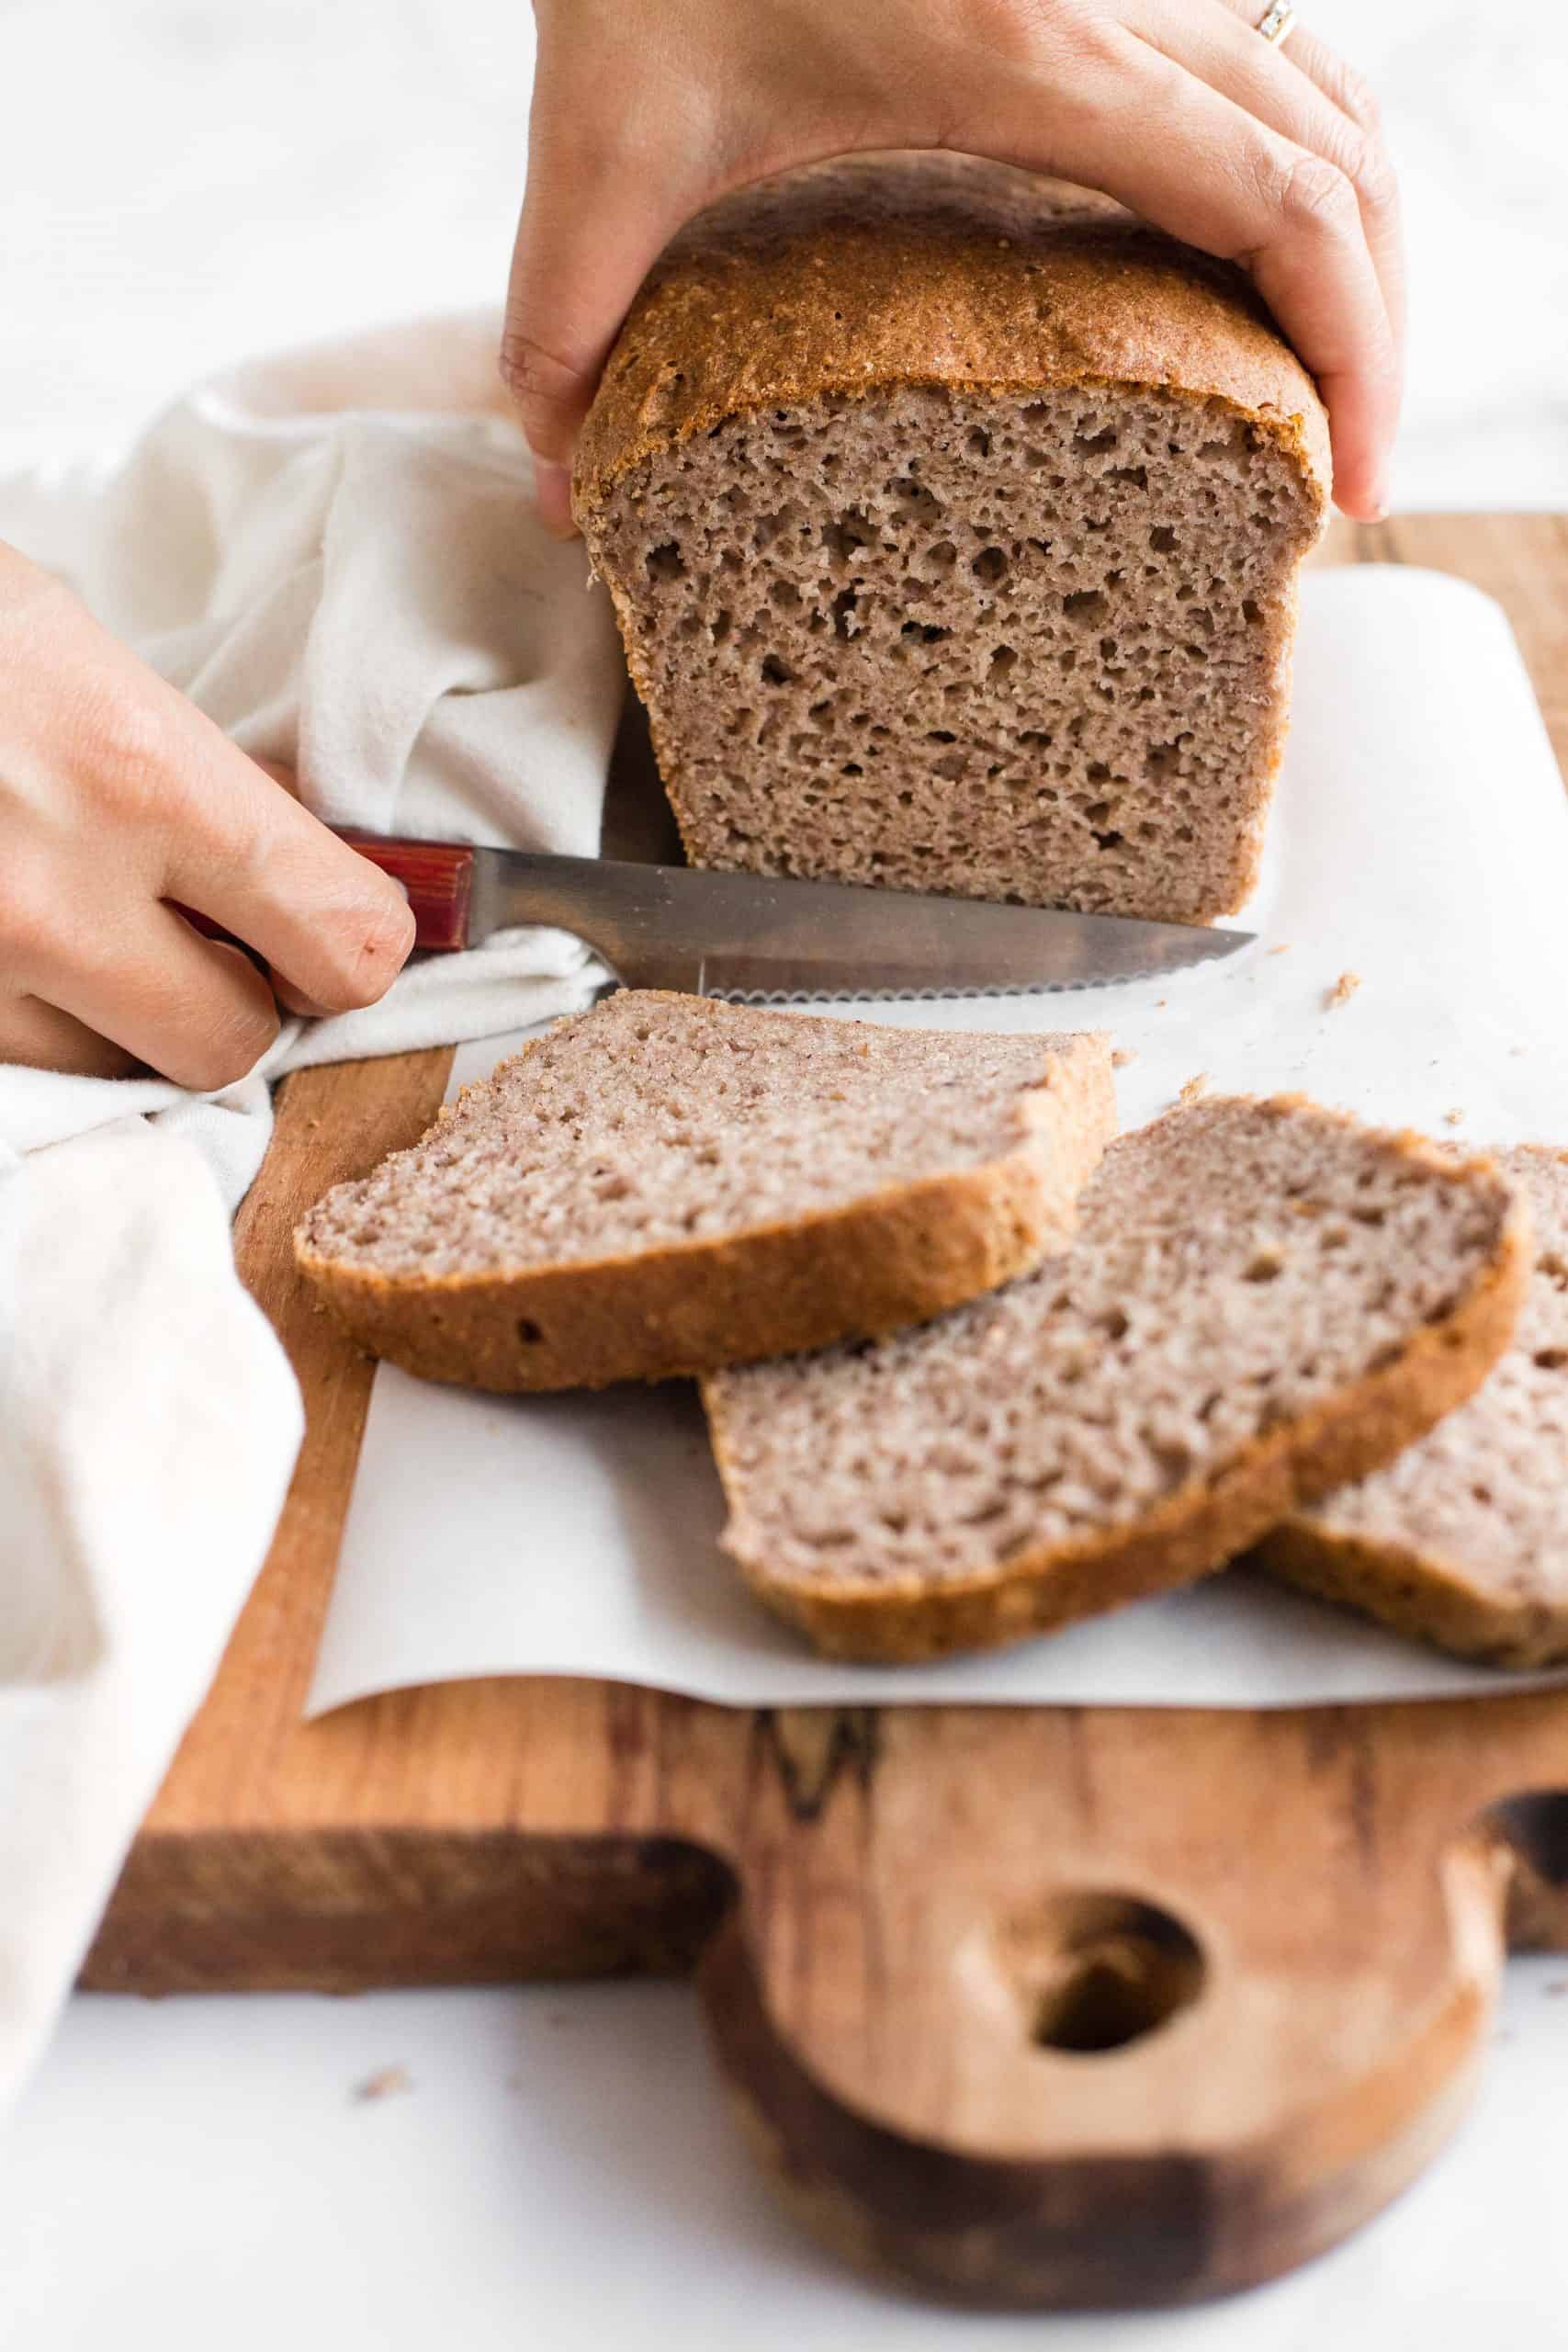
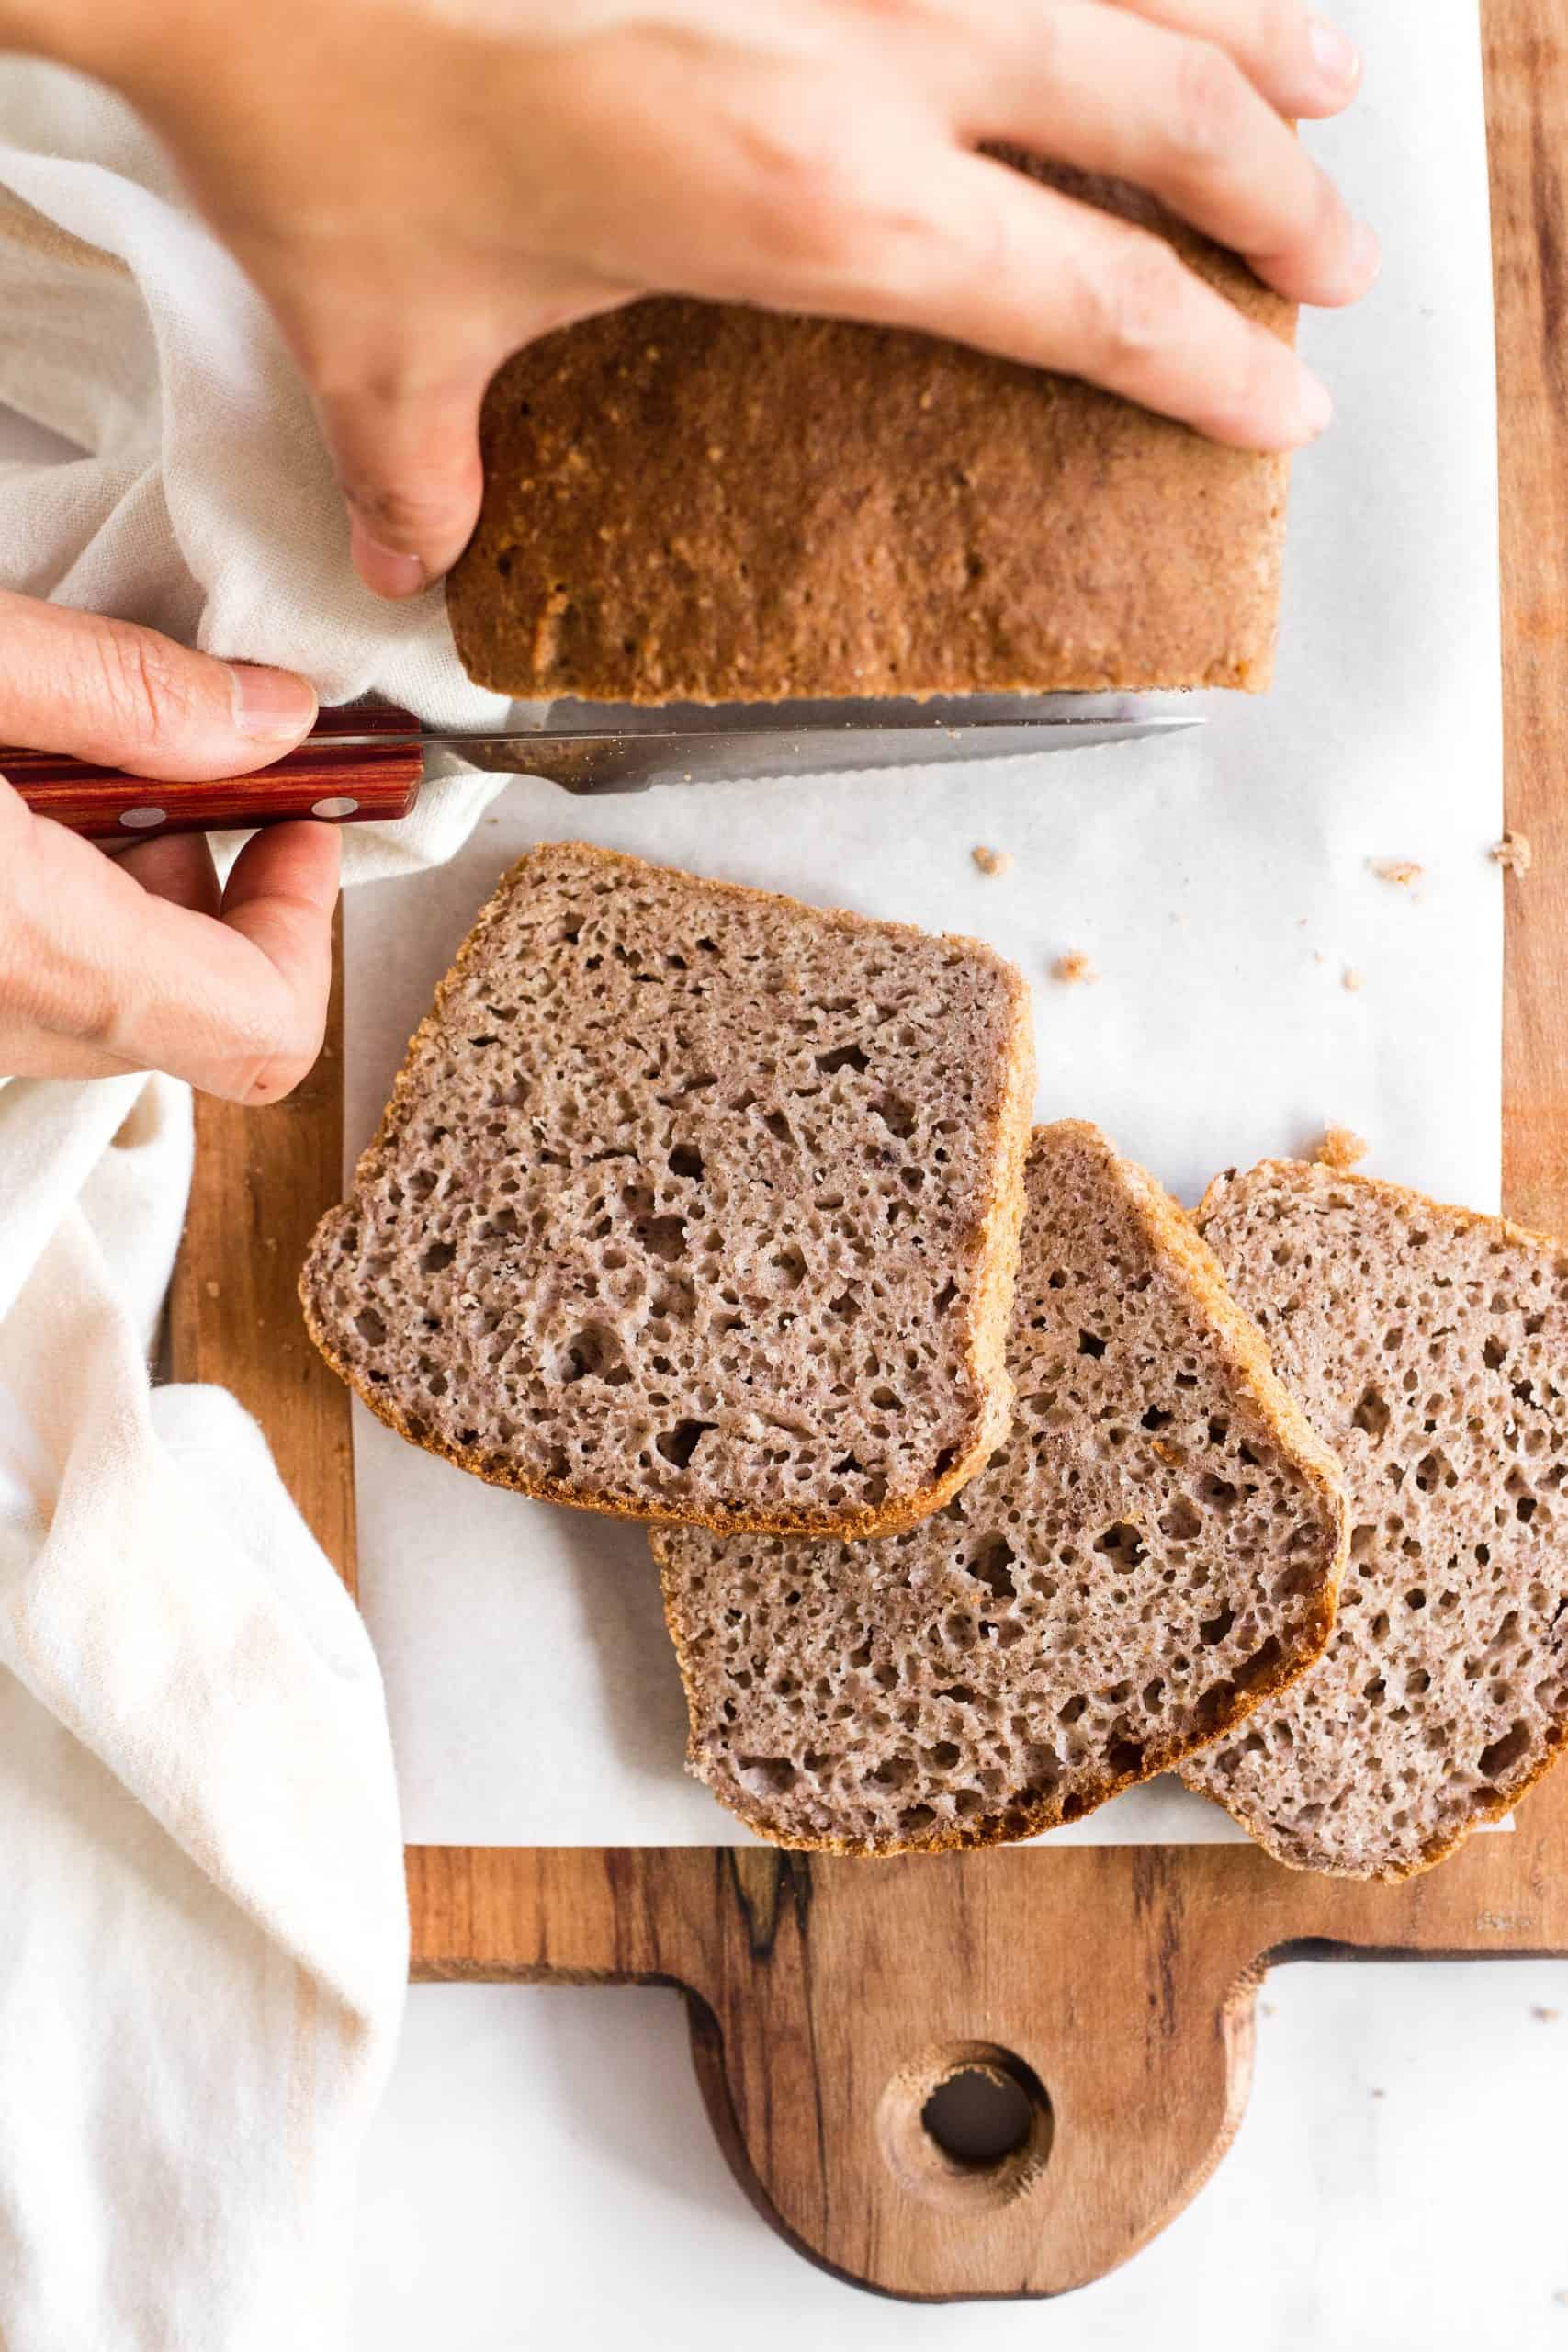
Use a serrated knife to slice into the buckwheat bread once it is totally cool and enjoy!

Dish by Dish Tips/Tricks:
- Cool Completely: Allow the gluten-free buckwheat bread to cool completely before slicing into it as the bread will continue cooking with the residual heat in the loaf even after you remove it from the oven. When the bread is just baked, the crust will be hard, but after cooling down, it will be soft and easy to slice into.
- Use a Serrated Knife: Make sure you use a serrated bread knife with ridged edges to slice the bread as a smooth-edged knife will cause the bread to be flattened.

Recipe FAQs:
To store the bread, place the cooled loaf in an airtight container and store in the refrigerator for up to a week.
To freeze, let the gluten-free buckwheat flour bread cool completely and then wrap in plastic wrap and freeze for up to 3 months. Before using, let the loaf thaw completely overnight in the refrigerator before slicing and toasting.

Other Yeast Bread Recipes You’ll Love:
- Soft Fluffy Gluten-Free Bread (Dairy-Free)
- Soft Fluffy Dinner Rolls (Gluten-Free, Dairy-Free)
- Rosemary Focaccia Bread (Gluten-Free, Dairy-Free)
- Easy Gluten-Free Pizza Crust (Dairy-Free)
- Gluten-Free No Knead Bread (Dairy-Free)
More Bread Recipes to Bake:
P.S. If you try this recipe, I’d love for you to leave a star rating below, and/or a review in the comment section further down the page. I always appreciate your feedback. Be sure to check out my entire Recipe Index for all the recipes on the blog. You can also follow me on Pinterest, Facebook or Instagram! Sign up for my Email List to get fresh recipes in your inbox each week!
Print
- Total Time: 1 hour 20 minutes
- Yield: 1 loaf 1x
- Diet: Gluten Free
This super easy buckwheat bread is incredibly soft, fluffy and tender, and tastes delicious with a texture and look that’s uncannily similar to whole wheat bread! Totally gluten-free and dairy-free too, but you wouldn’t even know! We love making avocado toast with it, or spreading plenty of jam or honey all over. No matter how you eat it, it’s sure to be a favorite!
- 1 3/4 cup gluten-free all-purpose flour
- 1 teaspoon xanthan gum (leave this out if your flour blend already includes it)
- 1/2 cup buckwheat flour
- 1/4 cup psyllium husk powder
- 1 teaspoon baking powder
- 2 1/4 teaspoons instant yeast
- 2 tablespoons sugar
- 1 teaspoon salt
- 1/3 cup vegetable oil
- 1 teaspoon apple cider vinegar
- 1 1/2 cups warm water (approx. 105 to 110F)
- 2 large eggs, beaten (room temperature)
- Grease and Preheat: Grease a 9″x4″ nonstick metal loaf pan with oil and preheat the oven to 350F. Arrange the oven rack to the middle position.
- Combine Dry Ingredients: In a large mixing bowl, whisk the gluten-free all-purpose flour, xanthan gum (if using), buckwheat flour, psyllium husk, baking powder, salt, instant yeast, and sugar together.
- Add Wet Ingredients: Add the vegetable oil, apple cider vinegar, warm water, and mix well until combined. Add the beaten eggs and mix for another minute until you get a dough that resembles thick cake batter (the dough will be sticky and wet, but that’s perfectly fine).
- Transfer Dough to Pan: Transfer the dough to the prepared loaf pan and smooth out the top with a wet spatula.
- Let Dough Rise: Cover the pan with a kitchen towel and let it rise for the next 30 minutes in a warm, draft-free place until it has roughly doubled in size.
- Bake: Bake for 40 to 50 minutes until the bread is dark brown on top and sounds hollow when tapped.
- Cool Completely: Let the loaf cool for at least 10 minutes in the pan, before removing and cooling fully on a wire rack.
- Slice and Enjoy: Use a serrated knife to slice once the bread is totally cool and enjoy!
Gluten-Free All-Purpose Flour: I highly recommend that you use a good quality gluten-free all-purpose flour blend that is made of lighter flours and starches such as rice flour, corn starch, or tapioca starch and that includes xanthan gum. I do NOT recommend using flour blends that include heavier flours such as garbanzo bean flour which tend to result in a denser final texture.
Xanthan Gum: Xanthan gum acts as a replacement for gluten in many gluten-free recipes, and is necessary for binding the ingredients together. If your gluten-free flour blend does not include it, make sure you add this in.
Buckwheat Flour: Since this is a buckwheat bread recipe, buckwheat flour is essential. You can either make your own 5-minute homemade buckwheat flour, or buy it online. If you would like to make this bread with another type of whole grain flour such as millet flour, amaranth flour, or quinoa flour, feel free to replace the buckwheat flour in a 1:1 ratio of the flour you wish to replace it with.
Psyllium Husk Powder: In this recipe, the psyllium husk powder helps to better bind the ingredients as well as give the bread a whole wheat flavor. I do NOT recommend that you swap out the psyllium husk powder with any other ingredient.
Apple Cider Vinegar: The apple cider vinegar reacts with the baking powder in this recipe to help the bread rise even more. If you don’t have ACV on hand, you can also use white vinegar or wine vinegar in equal quantities.
Warm Water: I use water in this case because I find it easiest. But you can also use warm non-dairy milk such as almond milk or cashew milk if you want to add more flavor. If you are not lactose-intolerant, go ahead and use warm dairy milk instead. Make sure that the temperature is between 105 – 110F (the yeast requires the warmth to be activated, but if the liquid is too hot it may kill the yeast).
Eggs: Eggs give the bread more rise and taste. I personally haven’t tried making this bread with an egg-replacer, so I don’t know how that will go. However, if you do try it, I’d love to hear your thoughts!
Cool Completely: Allow the bread to cool completely before slicing into it as the bread will continue cooking with the residual heat in the loaf even after you remove it from the oven. When the bread is just baked, the crust will be hard, but after cooling down, it will be soft and easy to slice into.
Use a Serrated Knife: Make sure you use a serrated bread knife with ridged edges to slice the bread as a smooth-edged knife will cause the bread to be flattened.
Storing/Freezing: To store the bread, place the cooled loaf in an airtight container and store in the refrigerator for up to a week. To freeze, let the loaf cool completely and then wrap in plastic wrap and freeze for up to 3 months. Before using, let the loaf thaw completely overnight in the refrigerator before slicing and toasting.
- Prep Time: 35 mins
- Cook Time: 45 mins
- Category: Bread
- Method: Baking
- Cuisine: American





Delicious!
YAY! So happy to hear that Teresa!
Hi Felicia-
I’m getting ready to try this recipe, but am wondering if the psyllium husk amount is a typo. Is it really 1/4 cup psyllium husk powder? Most of your other breads (except millet) with similar ingredients have 2 tablespoons psyllium husk powder. I guess I’ve usually seen 2 tablespoons in most other bread recipes. Anyway, if you get a chance to respond, I’d appreciate it. Thanks!
Hi Teresa, sorry for the late response! I’ve been traveling. 2 tablespoons will work, but if you want more fibre, you can go up to 1/4 cup too.
I’ve made and enjoyed your buckwheat bread recipe several times. Delicious taste and texture.
I just made a loaf substituting teff flour for buckwheat. The flavor is different, but the texture is much the same.
Many Thanks,
Eric
Hi Eric! So happy you enjoyed the buckwheat bread (and also the teff version!). You can easily substitute the buckwheat flour for other types of flour too (like amaranth flour, sorghum flour etc). Happy baking!