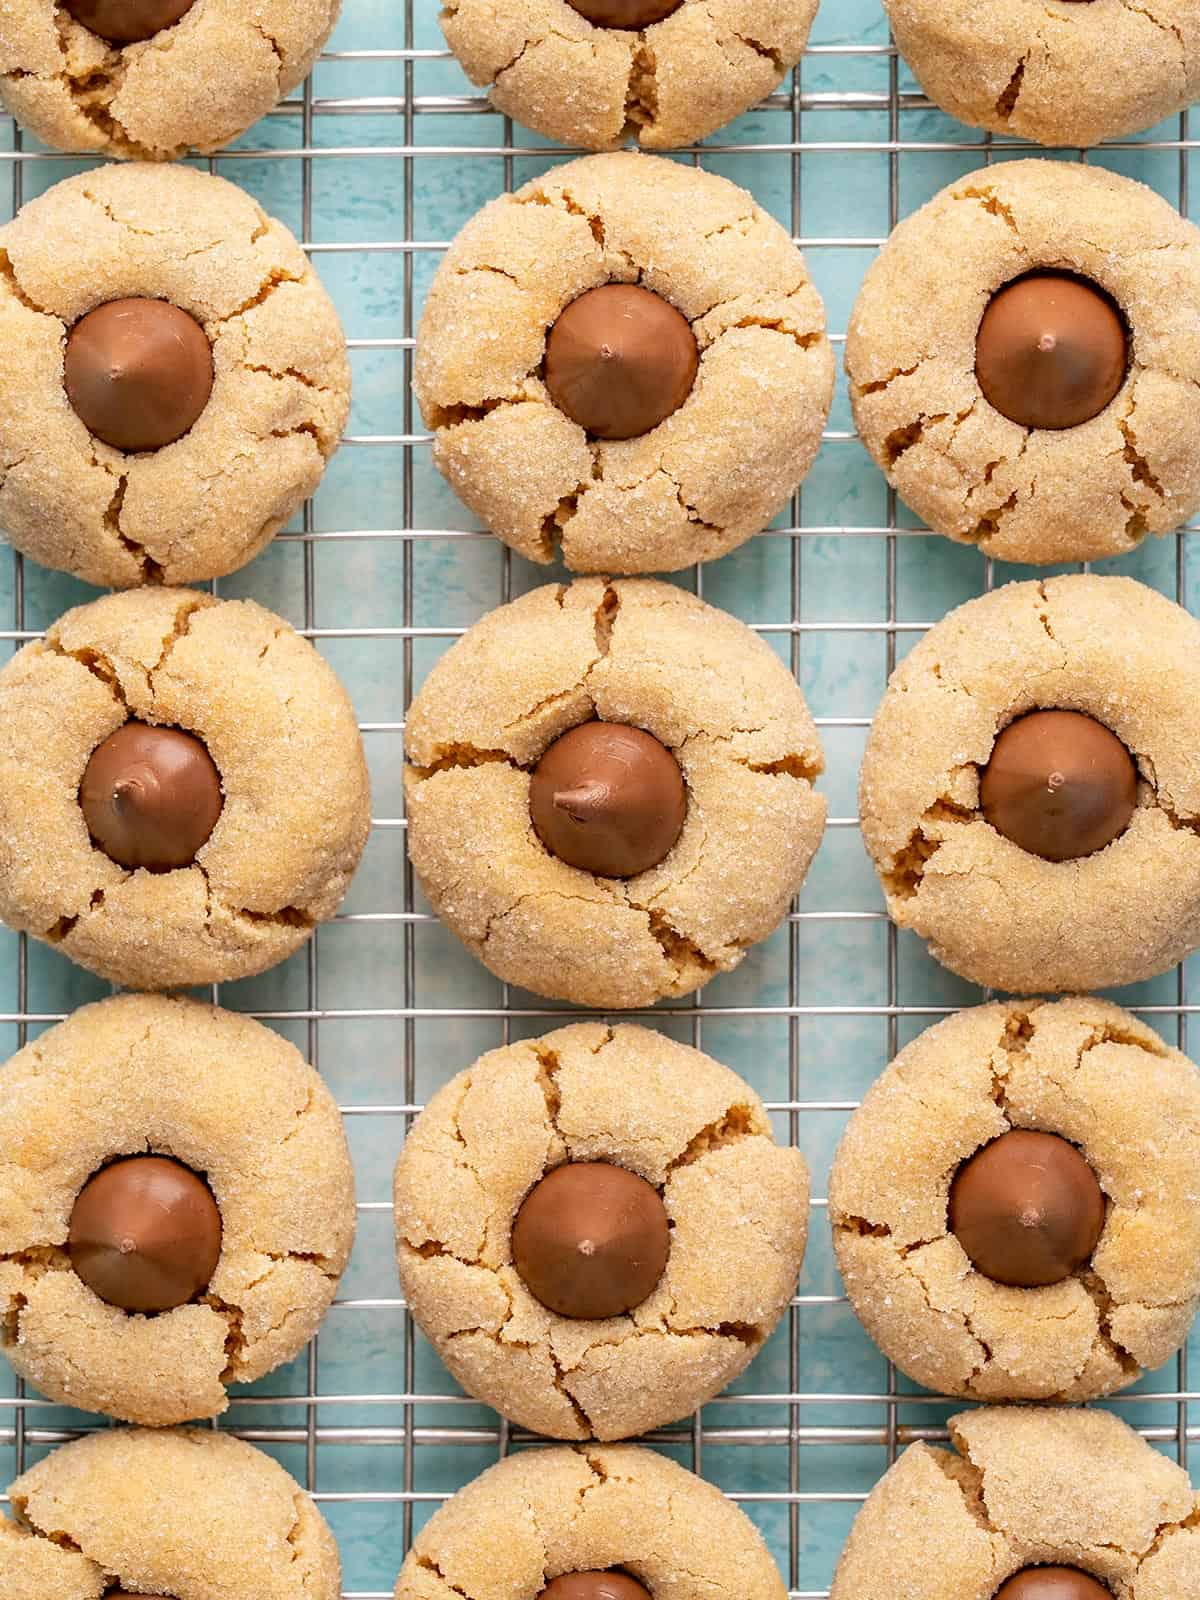
Peanut butter blossoms, also known as “kiss cookies”, are a Christmas cookie favorite, but if you ask me, that classic peanut butter chocolate flavor combo is great any time of year! Plus, because these cookies so are so incredibly easy, they’re great for new cooks or baking with your kids. So pull out that mixing bowl and butter, and let’s go make some cookies!
This post contains some affiliate links, which means that we make a small commission off items you purchase at no additional cost to you.
What Are Peanut Butter Blossoms?
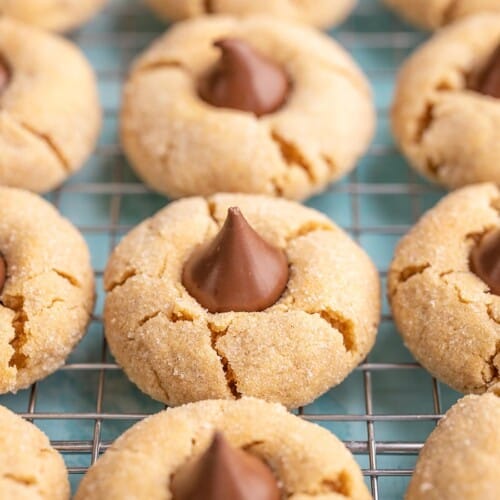
Peanut butter blossoms start with a chewy peanut butter cookie that has been rolled in a little sugar to make a nice sweet and crispy exterior layer, then each cookie is topped with a creamy chocolate kiss pressed down into the center. They’re super easy to make (no need to chill the dough), and they have a super cute shape that just makes them fun to eat! Plus, they look really good as part of a Christmas cookie platter alongside snickerdoodles or gingerbread cookies.
What Kind of Peanut Butter to Use
One thing I love about these cookies is that you can use either natural-style peanut butter, which can tend to be a bit runnier, or a commercial style like JIF or Peter Pan. Despite the texture differences between the two styles of peanut butter, the cookie still comes together well either way.
While you can technically substitute other types of nut butter, keep in mind that a lot of other nuts and seeds have a much more mild flavor than peanut butter, so the cookies might not have quite as big of a flavor punch.
Make them Festive!
If you want to go all in on the holiday theme, there are a couple of ways to make these cookies look a little more festive. You can roll the cookies in red or green granulated sugar, or use a special holiday-themed Hershey’s kiss that has different colored chocolate so they stand out even more on that cookie platter.
How to Store Peanut Butter Blossoms
It’s incredibly important to make sure your peanut butter blossoms cool completely to room temperature before storage. Because the chocolate kisses are pressed into a hot cookie, the kiss will remain soft until the cookie cools, and you don’t want to mess up the shape of that cute kiss! Once the cookies are cooled and the chocolate is firm again, store the cookies in an air-tight container for about 5-7 days. These cookies also freeze very well!
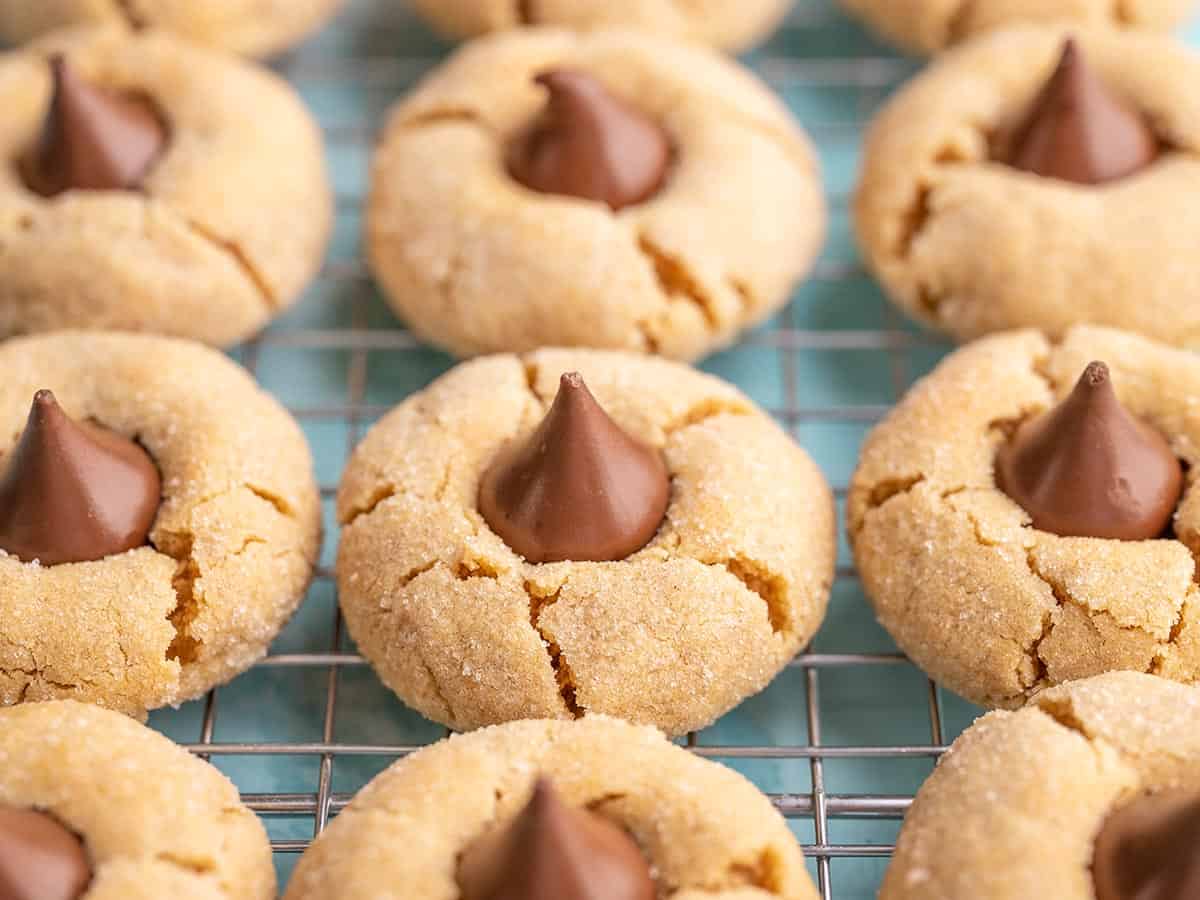

Peanut Butter Blossoms

- 18 chocolate kisses ($1.23)
- 1/2 cup salted butter, room temperature ($1.00)
- 1/2 cup peanut butter, room temperature ($0.61)
- 1/2 cup granulated sugar ($0.16)
- 1/2 cup light brown sugar, packed ($0.22)
- 1 large egg ($0.21)
- 1/2 tsp vanilla extract ($0.29)
- 1.5 cups all-purpose flour ($0.18)
- 1 tsp baking powder ($0.16)
- 2 Tbsp granulated sugar (for coating) ($0.04)
- Preheat the oven to 375ºF. Unwrap the chocolate kisses and place them in the freezer.
- Add the butter, peanut butter, granulated sugar, and brown sugar to a bowl. Use a stand mixer or hand mixer to beat them together on high speed until the mixture looks like, creamy, and fluffy.
- Add the egg and vanilla and beat until incorporated.
- In a separate bowl, stir together the flour and baking powder. Add half of the flour mixture to the mixing bowl and beat over low speed until it is incorporated. Add the remaining flour and beat until a soft dough forms with no loose flour on the bottom of the bowl.
- Divide and shape the dough into 18 balls of dough. Place the remaining 2 Tbsp of sugar in a small bowl and roll each ball of dough in the sugar to coat. Place the cookies on a parchment-lined baking sheet.
- Bake the cookies for 8-10 minutes, or until they are slightly puffed, a few small cracks appear around the bottom edge, and they're just barely golden brown on top.
- Remove the cookies from the oven and immediately press a frozen chocolate kiss into the center of each cookie.
- Allow the cookies to cool on the baking sheet for 5-10 minutes, then transfer to a wire cooling rack using a spatula. Enjoy warm or allow to fully cool before packing and storing.
See how we calculate recipe costs here.
- Enamelware Sheet Pan
- Parchment Paper

How to Make Peanut Butter Blossoms – Step by Step Photos
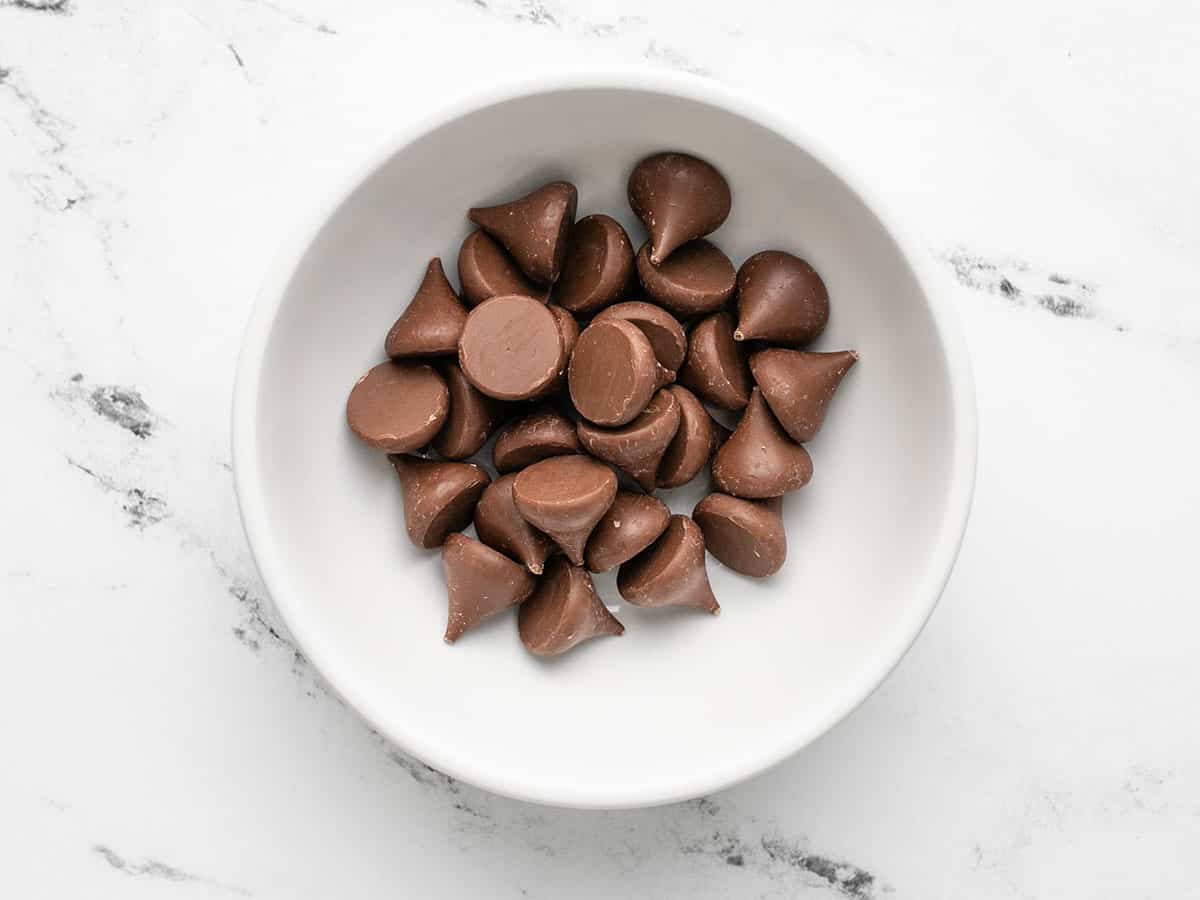

Start by preheating the oven to 375ºF. Unwrap 18 chocolate kisses, place them in a bowl, and pop them in the freezer. You’ll want the kisses to be frozen by the time you press them into the cookies.
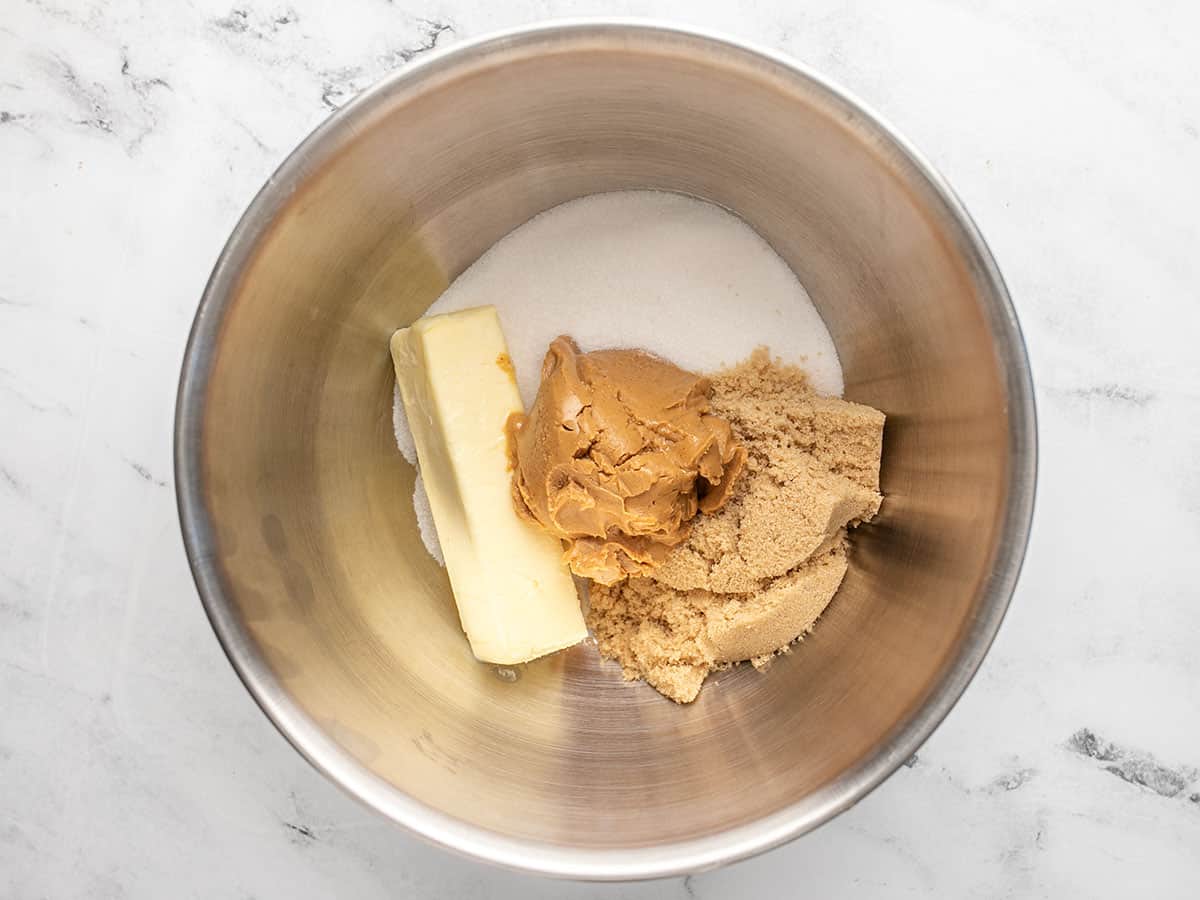

Add ½ cup room temperature butter, ½ cup peanut butter, ½ cup white sugar, and half cup light brown sugar to a bowl.
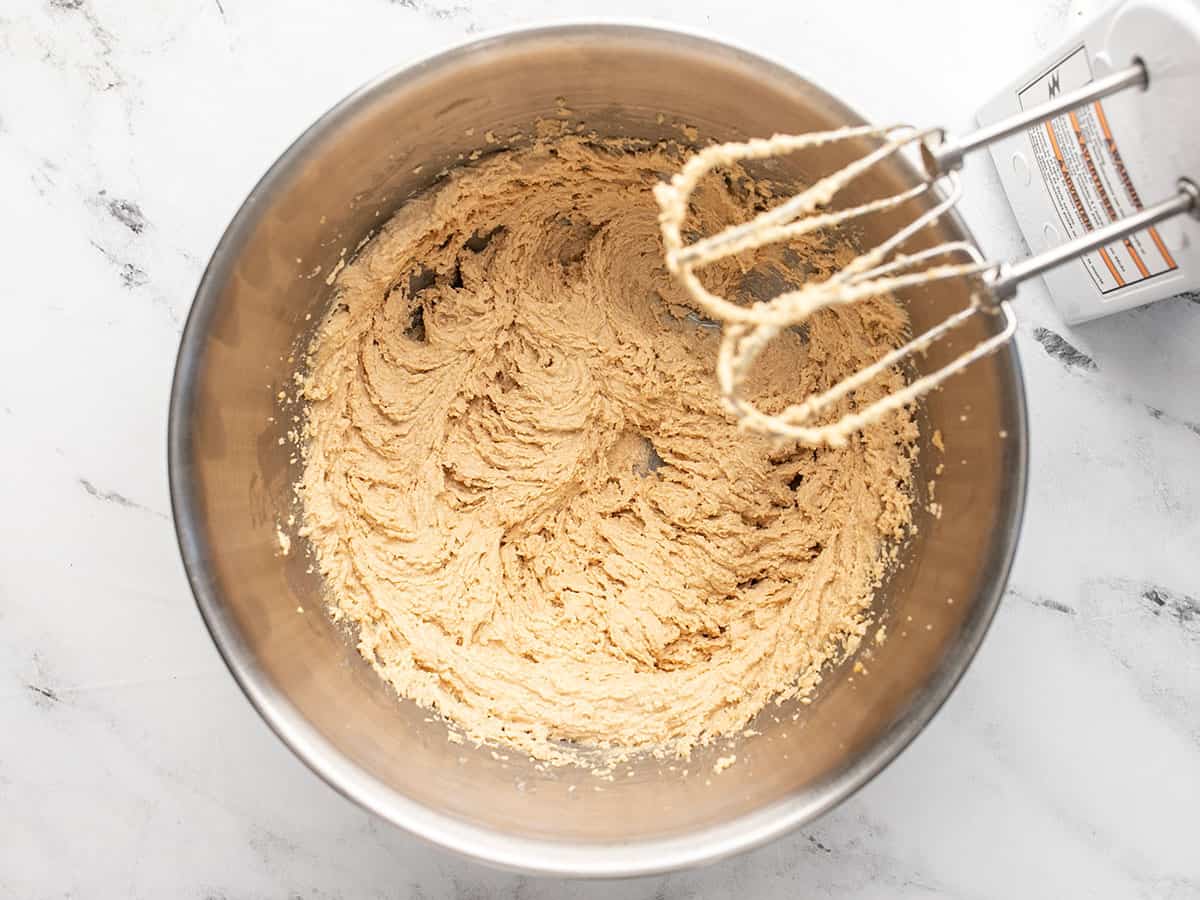

Beat the butters and sugars together on high speed until they appear light, creamy, and fluffy (about 3 minutes).
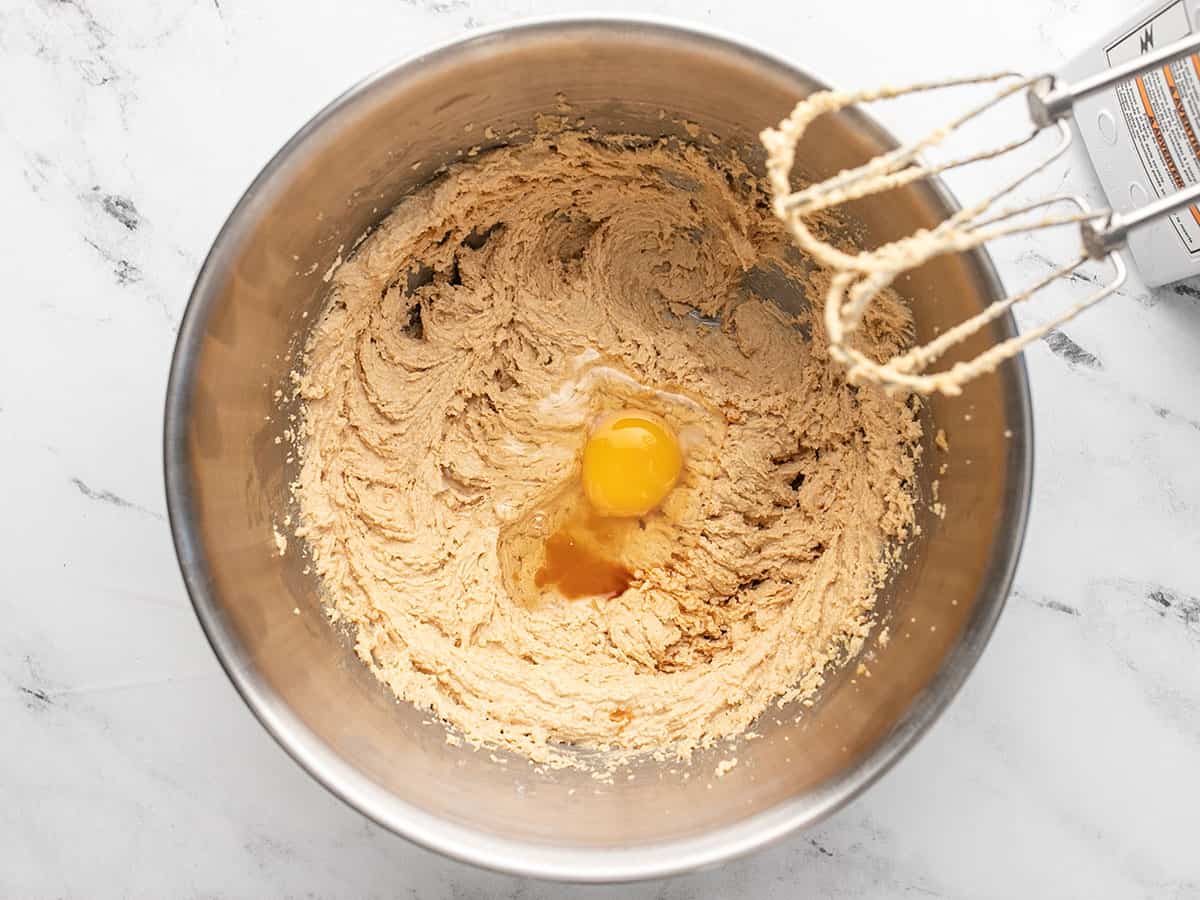

Add one large egg and ½ tsp vanilla extract and beat on high speed again until well combined (1-2 minutes).
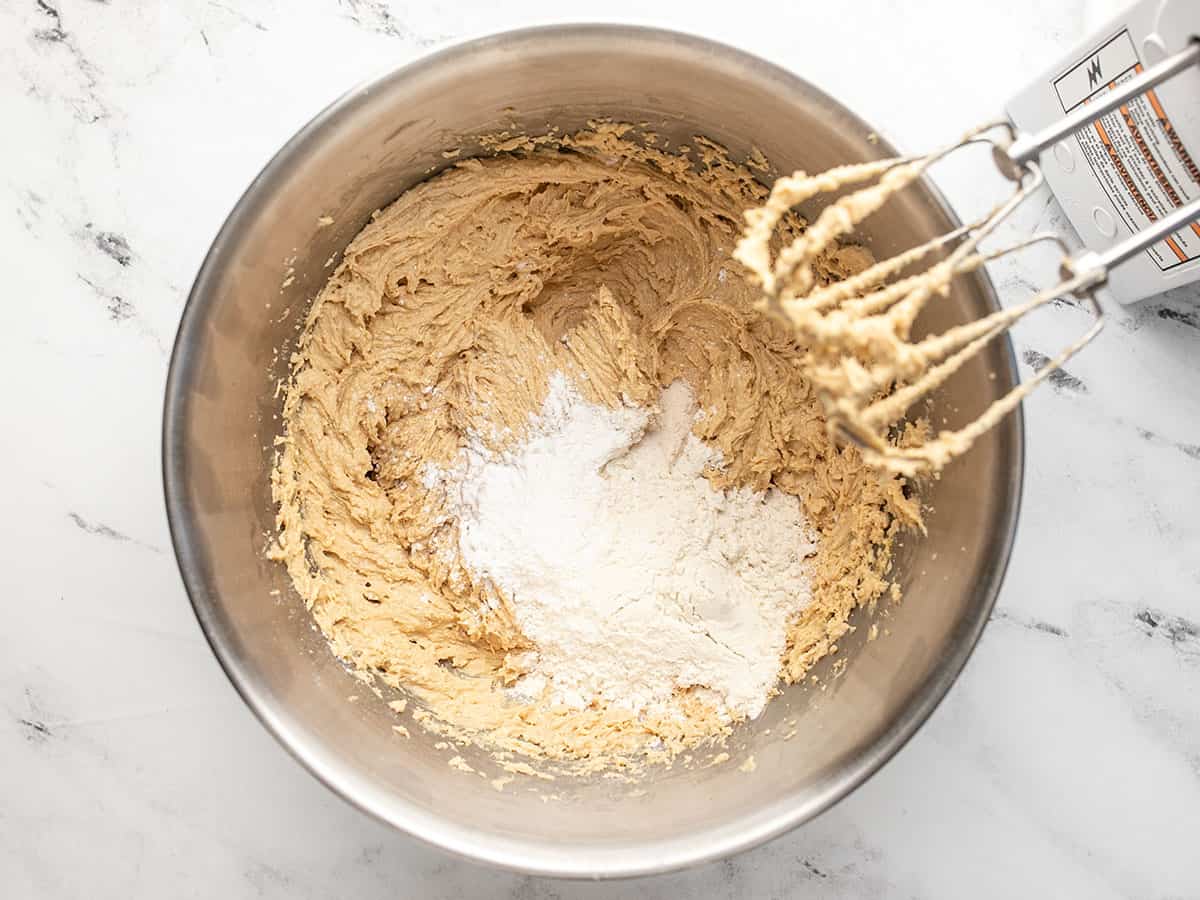

In a separate bowl, stir together 1.5 cups all-purpose flour with 1 tsp baking powder. Add about half of the flour mixture to the bowl and beat on low speed until incorporated. Add the remaining flour and beat again until combined.
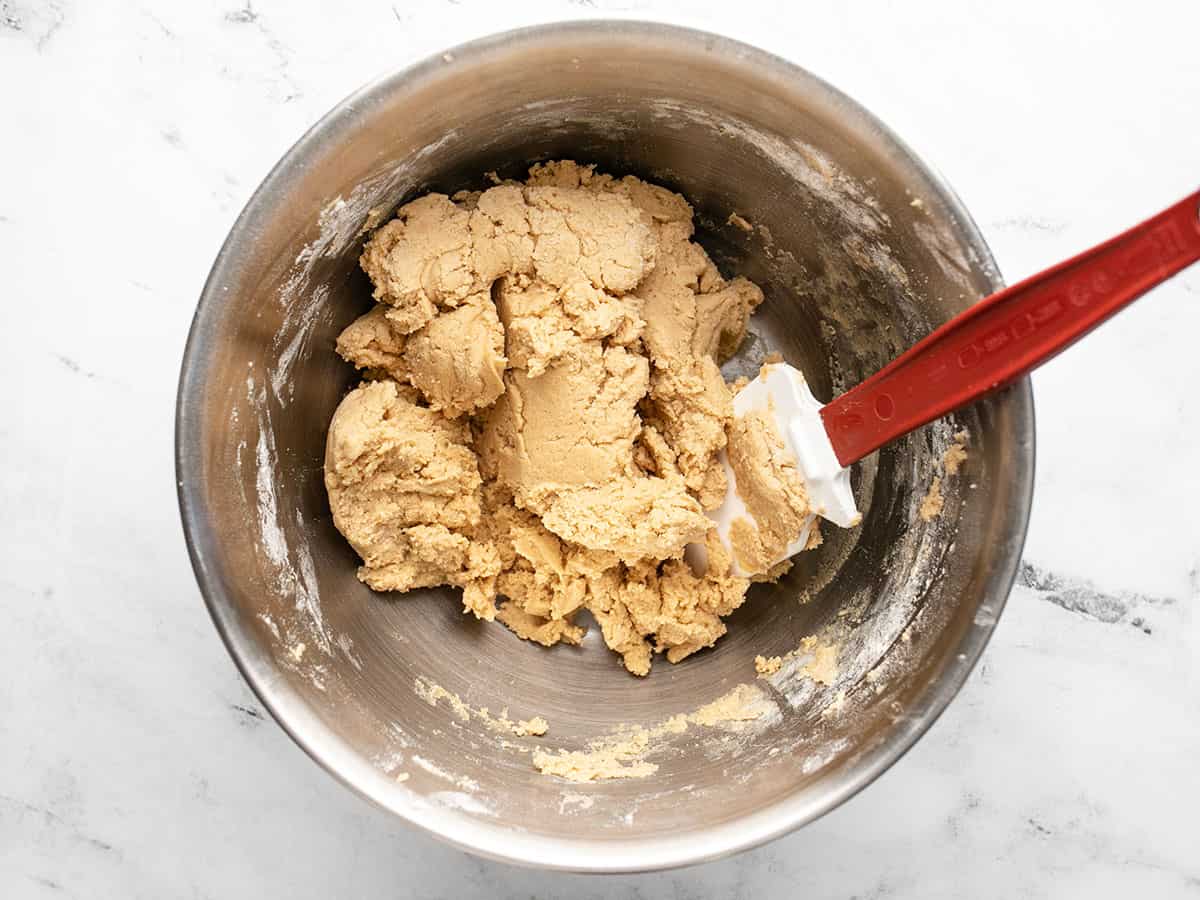

When all of the flour is incorporated, the dough should form a soft dough, similar in texture to play dough, with no dry flour on the bottom of the bowl.
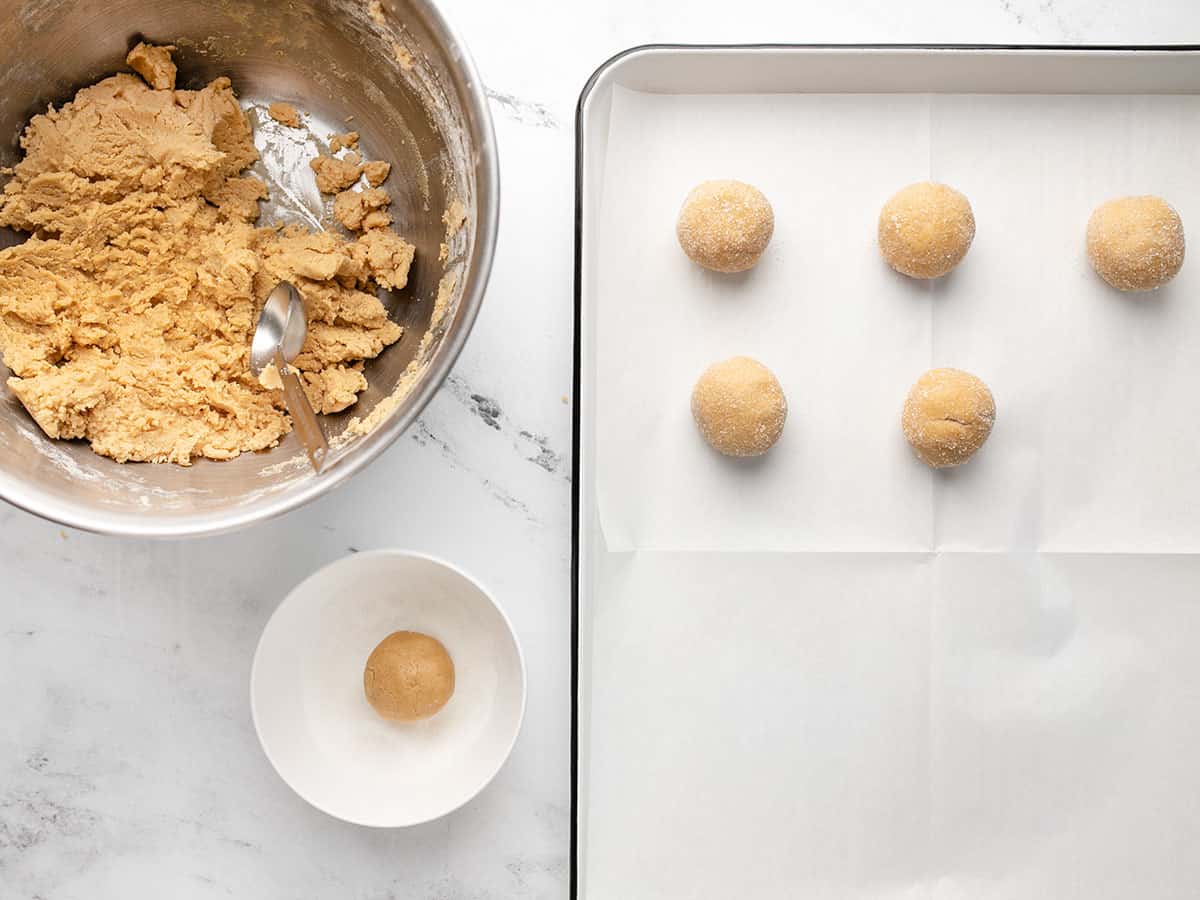

Place 2 Tbsp granulated sugar in a small bowl. Divide the dough into 18 portions, about 1.5 Tbsp each. Roll them into a ball, then roll the ball in the small dish of granulated sugar to coat. Place the rolled and coated cookies on a parchment-lined baking dish.
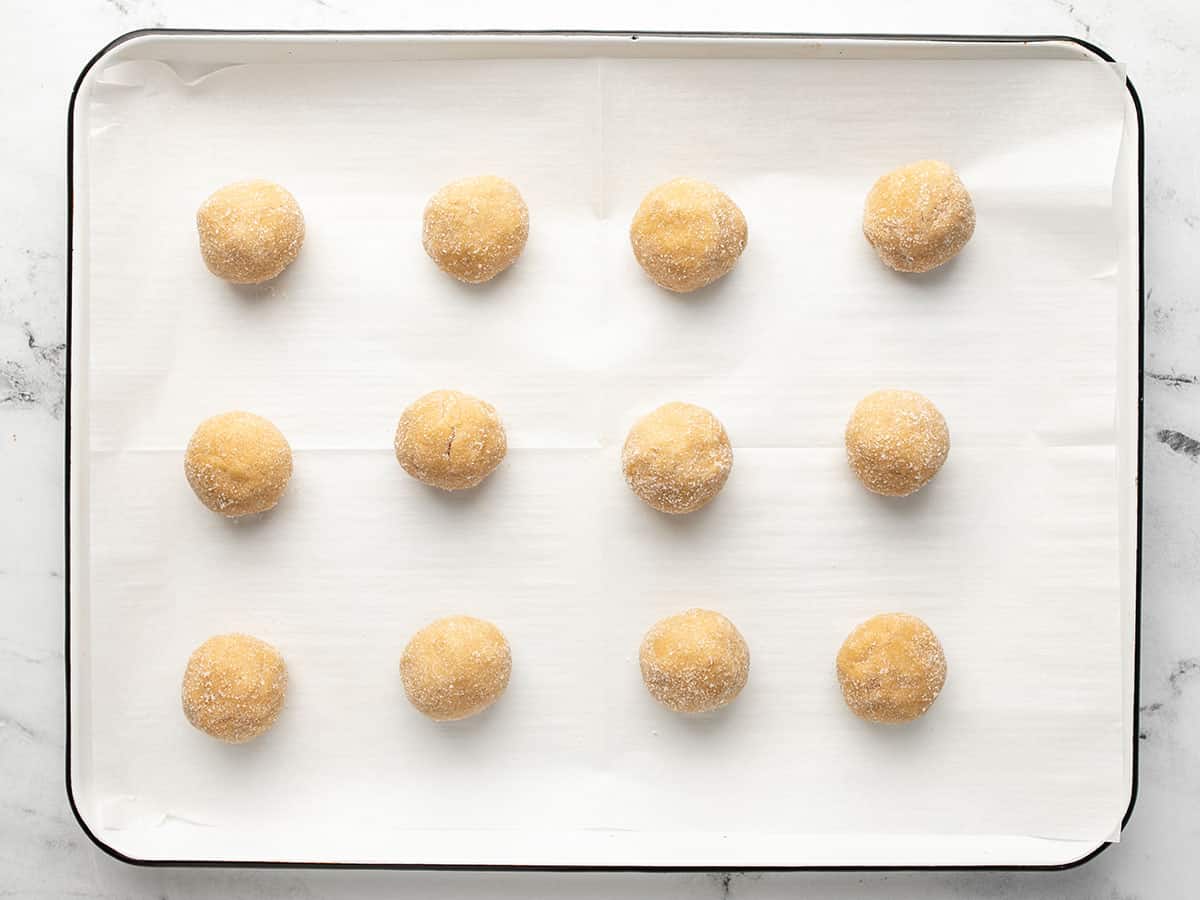

Space the cookies out about 2-inches from each other (I did 12 on the first sheet, six on the second). Bake the cookies in the preheated 375ºF oven for 8-10 minutes, or just until you see a little cracking around the bottom edge and only a slight golden browning on the top, but no more.
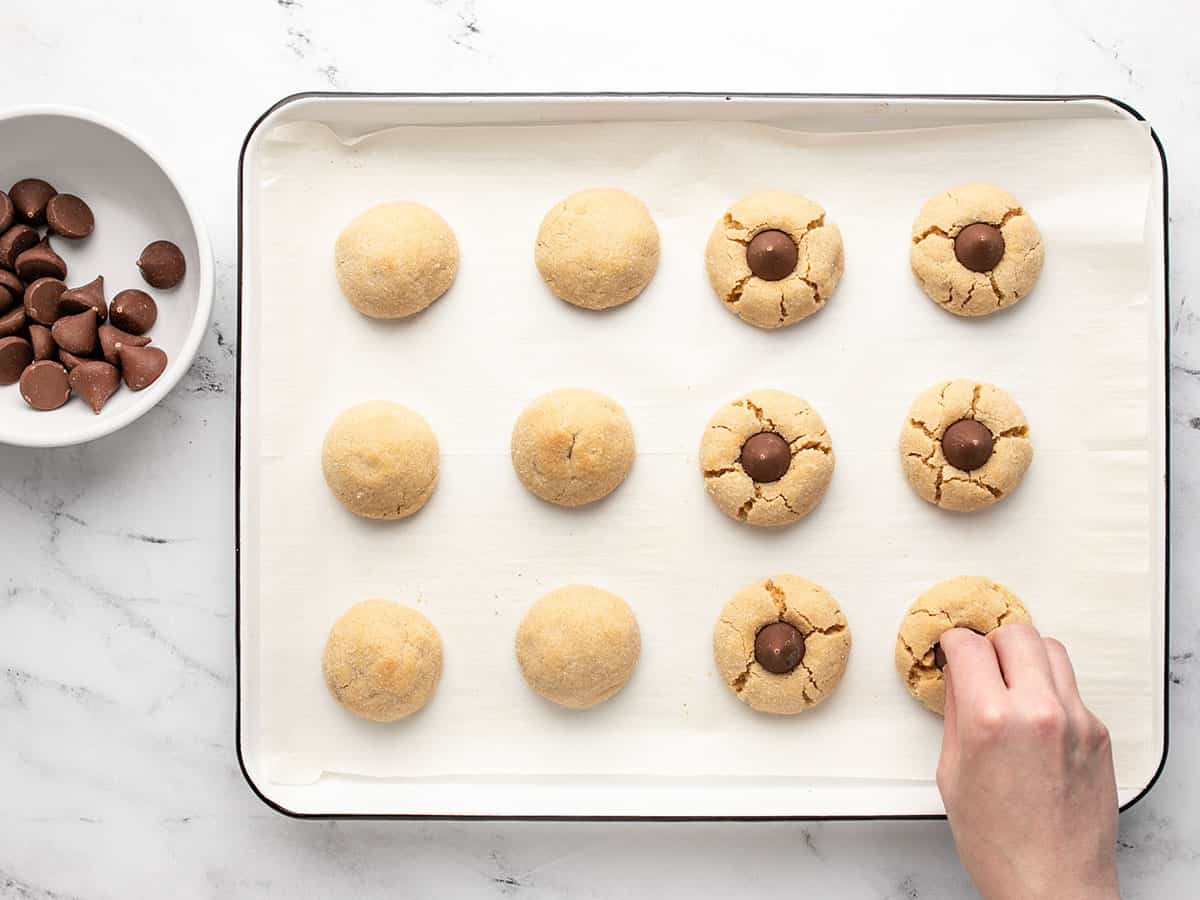

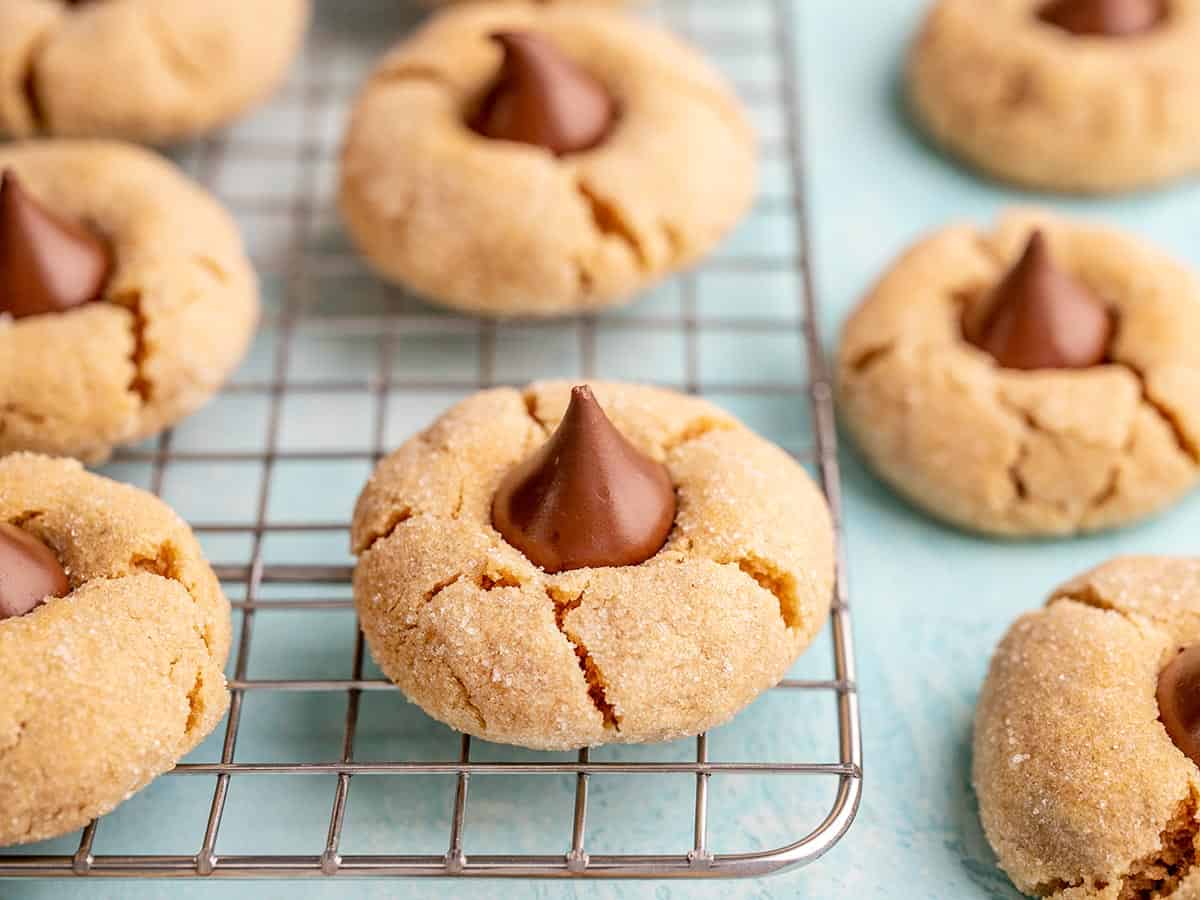
The cookies won’t spread very much, they mostly puff up into nice little dome shapes. As soon as they come out of the oven, press a frozen chocolate kiss into the center of each cookie. It’s important to do this while the cookies are still hot and very soft.
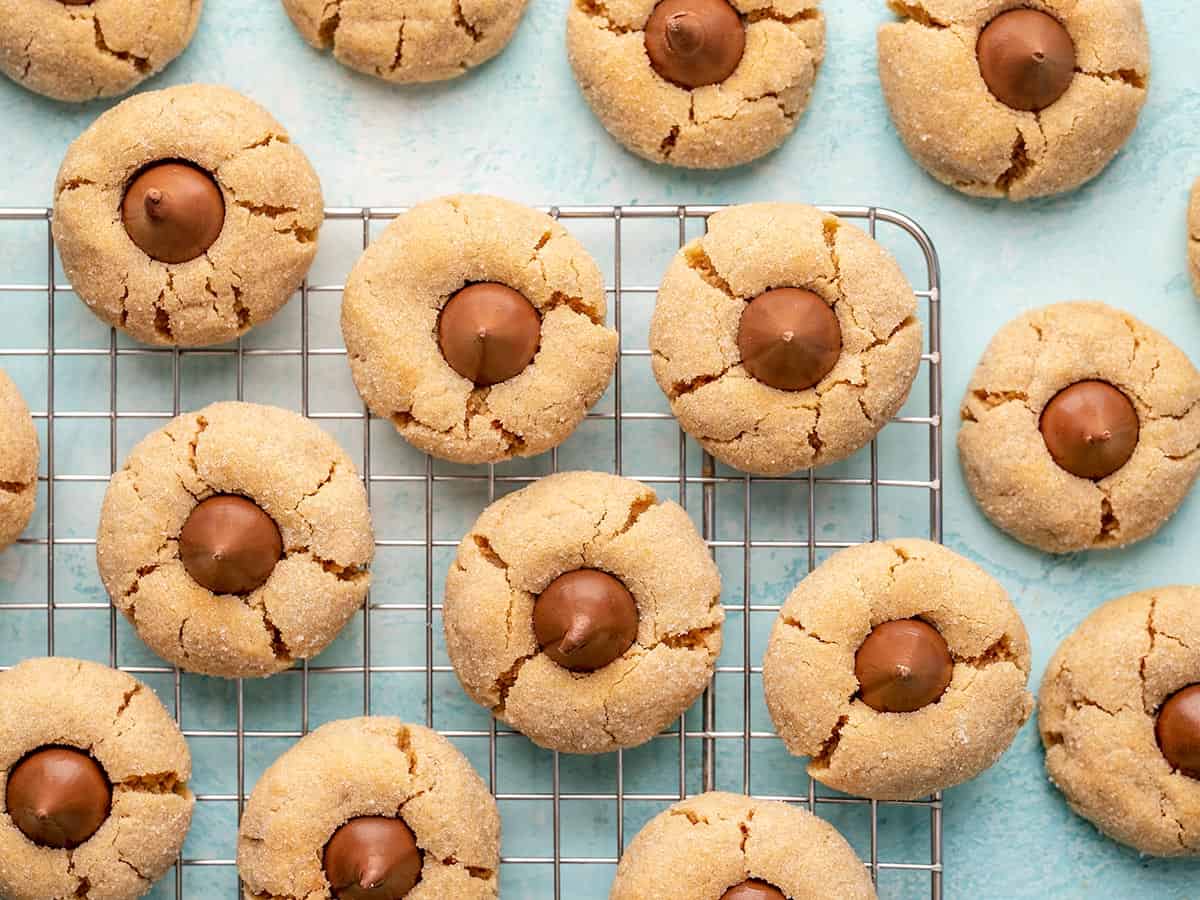

Allow the cookies to cool for 5-10 minutes on the cookie sheet so they firm up enough to be able to pick them up with a spatula without bending. Once slightly firmed, transfer them to a cooling rack to finish cooling.
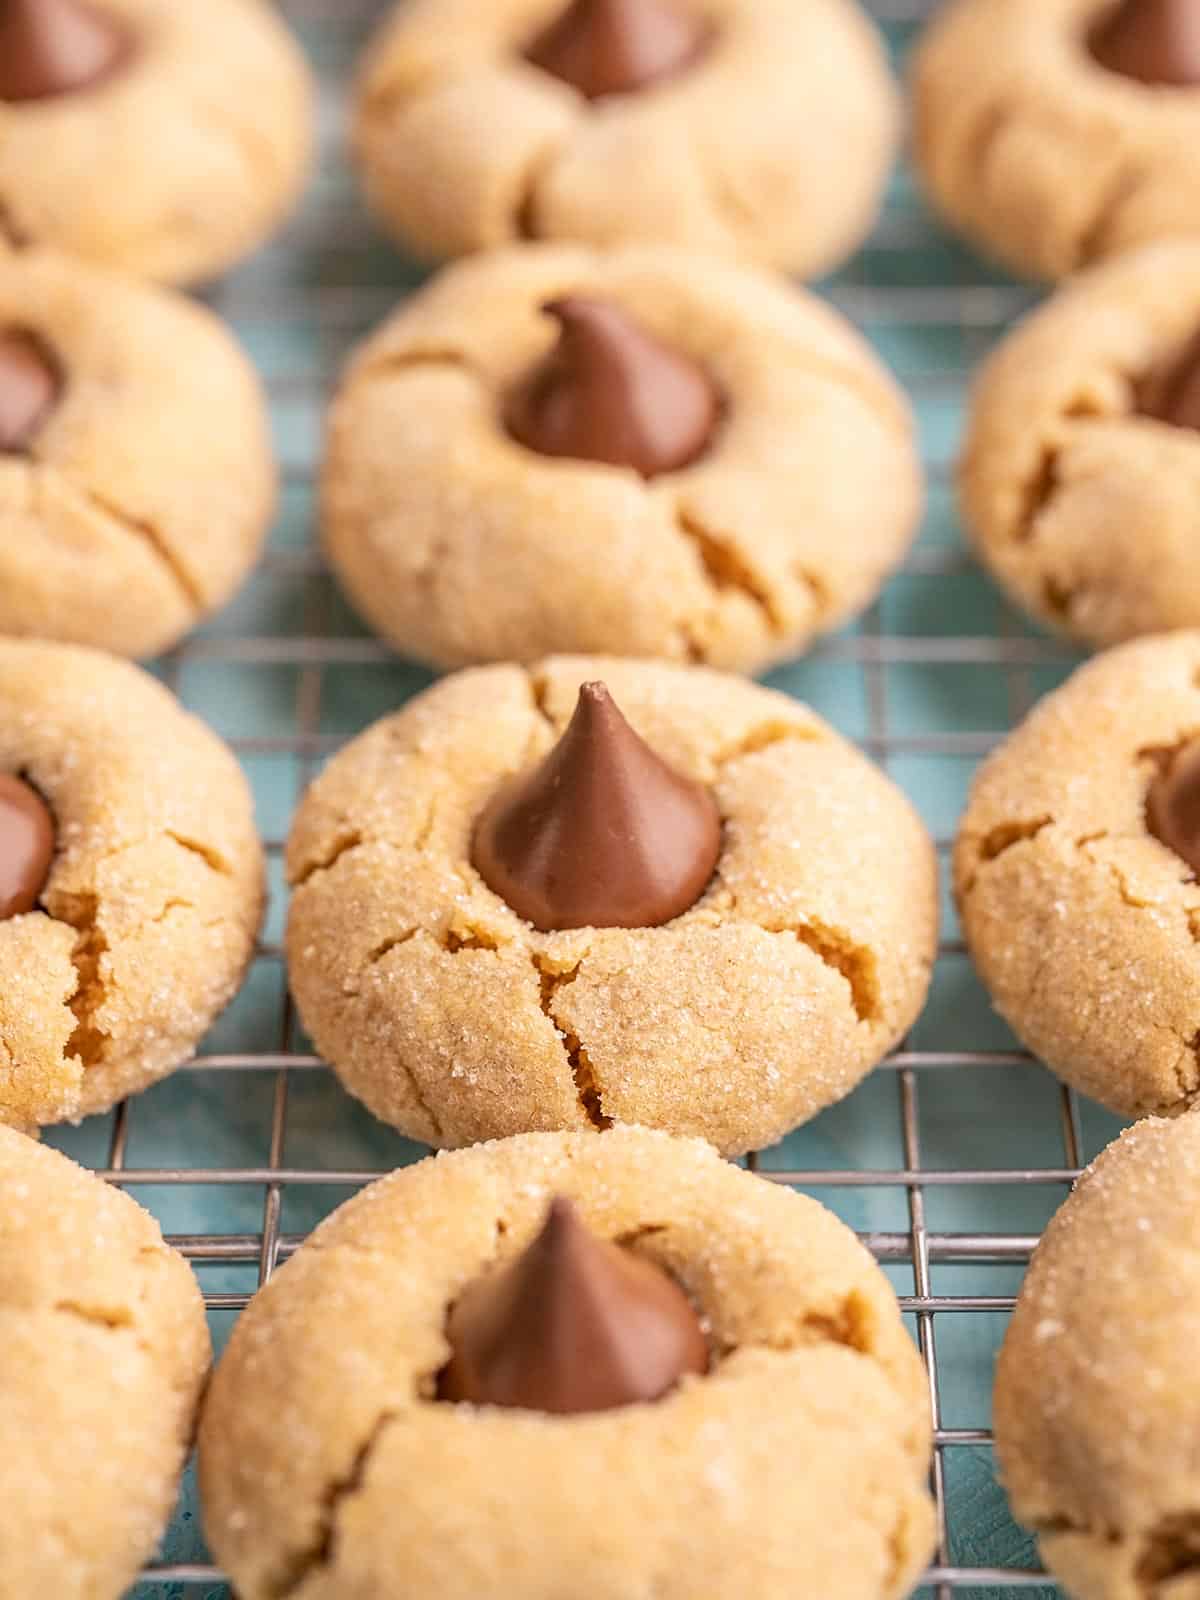

Enjoy the cookies when still slightly warm and soft, or wait until they cool completely! YUM!





Second Christmas we have made these. Instructions are perfect. Cookies are amazing. Everyone compliments how fantastic these are. We ran out so quick this year we had to make a second batch.
I made these and they were a crowd favorite. As with all cookies, it’s best when warm, right after placing the kiss on the cookie. I didn’t see the browning on the top or cracking on the edge, but mine were fully done after 9 minutes.
These turned out great! The recipe was pretty easy as well. Will make again for sure!
These are always a hit! Without even trying to stretch the batter, this recipe can easily make more than 18 cookies. I made 30 cookies with one batch of dough.
I subbed Reese’s for kisses and while the taste was excellent, they cracked too much bc the Reese’s was too big for the cookie. I think they’ll be perfect if I remake them with kisses! I might’ve also used a bit too much flour.
Super easy and delicious as always!