Want to make bunk beds for your cat or dog? Check out our full step by step tutorial and PDF woodworking plans!
Our pets absolutely love each other. They have been snuggling for as long as they’ve been together.
Our cat can often be found snuggled up in our dog’s bed when she’s not around too. But our cat also loves to be up high.
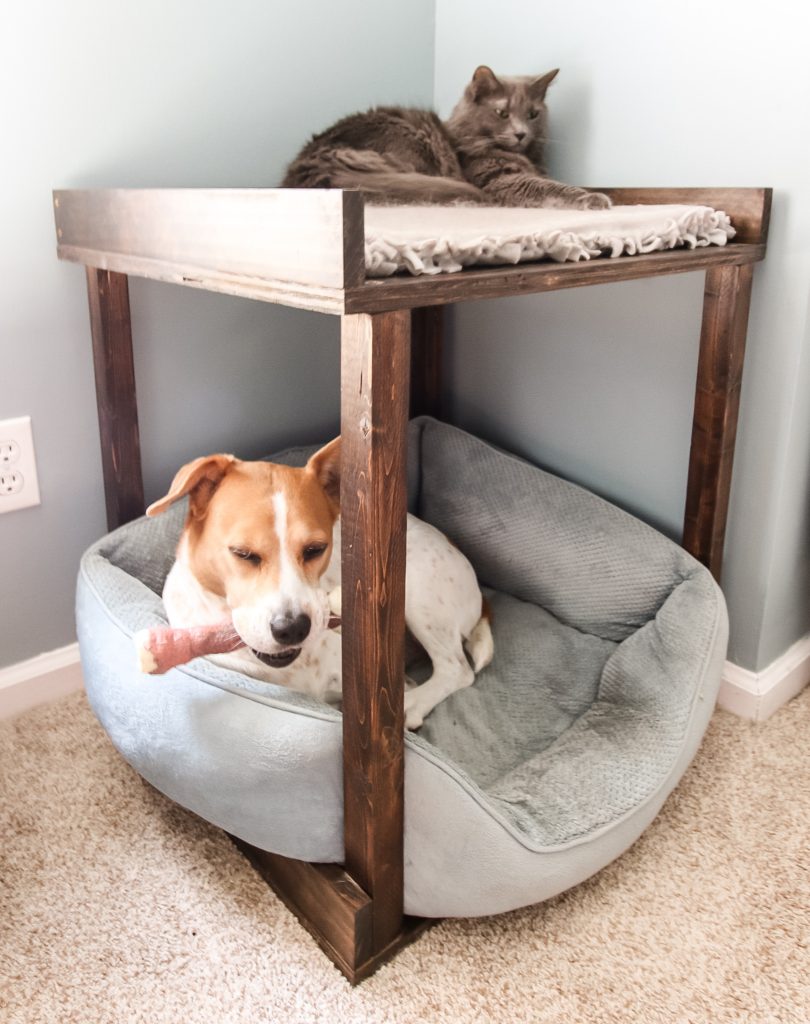
So, in an effort to keep our pets close together and provide the cat with a perch for when she wants to be up high, we designed a DIY pet bunk bed that is perfect for your pets to share.
Whether you want cat bunk beds, or a dog bunk bed (though the top bunk on this pet bed is best for cats since we have no stairs), this should be the project for you!
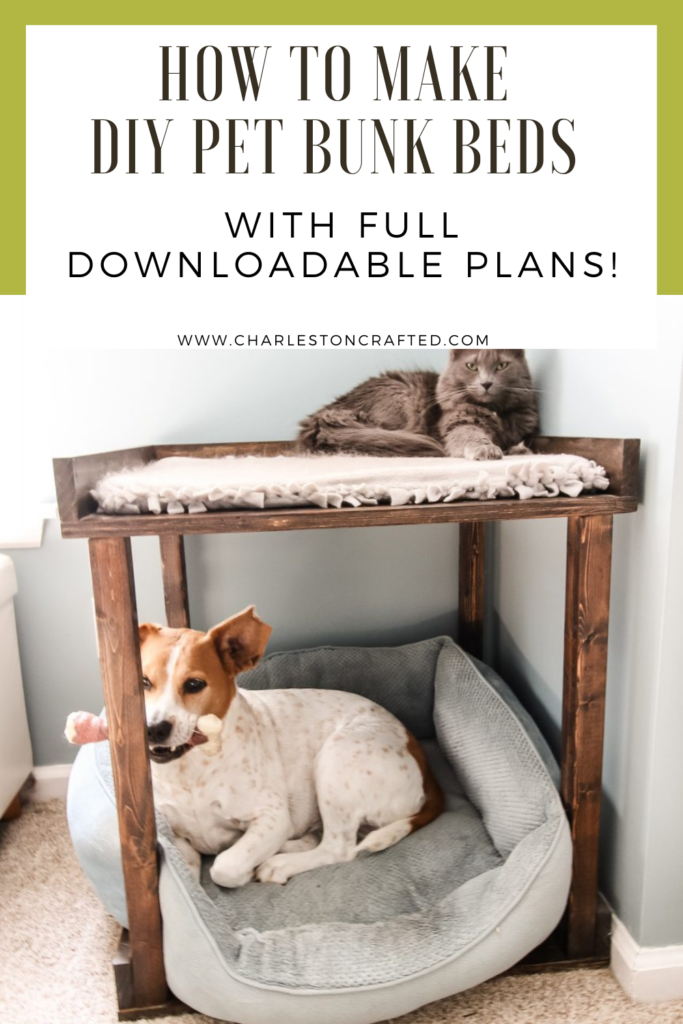

A bunk bed for your pets
This is actually a really simple project. It involves just building two platforms and attaching them with four posts.
There’s also not much wood involved. Just a few pieces of dimensional lumber and plywood and you’ll have a bunk bed in an afternoon. You also don’t need a lot of tools for this project. A table saw or circular saw and a drill are really all you need.
I’d recommend putting this together with a Kreg jig to increase stability, but you can also just use nails to nail the borders together and drill a deck screw into the posts to keep them in place instead of using pocket holes.
We’ve got the full plans on how to build this DIY cat bunk bed available to you. Simply download the PDF and be off to the races. We finished the bunk bed off with stain and two cushions.
Step one: create bunks
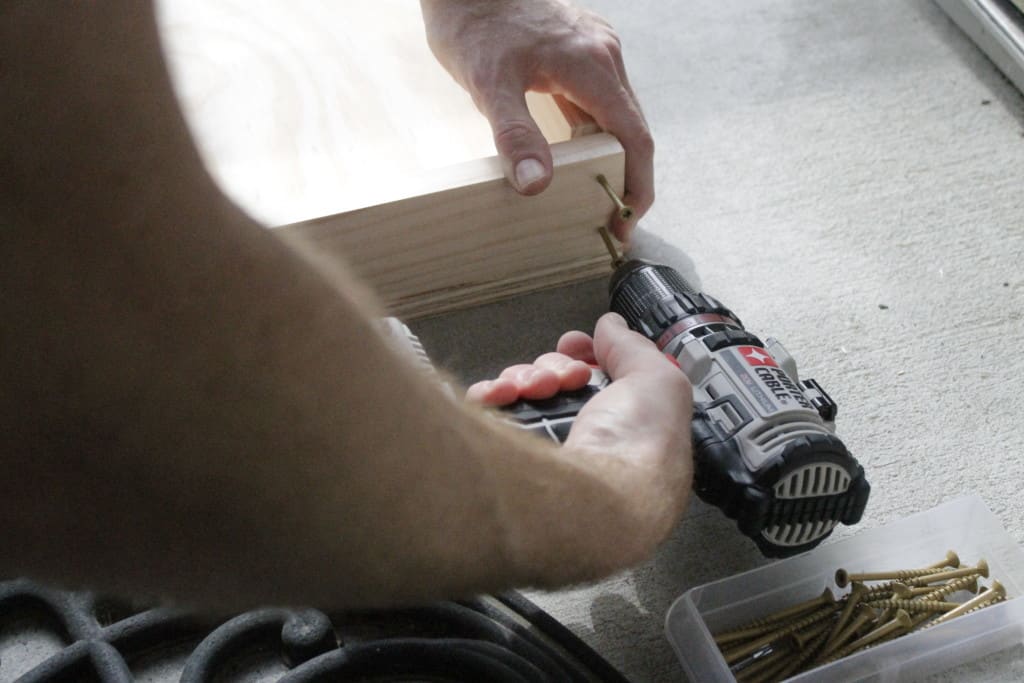
To build each of the two bunk areas, it’s very simple. In my original build, I just put deck screws directly through butt joints because I didn’t have a pocket hole jig.
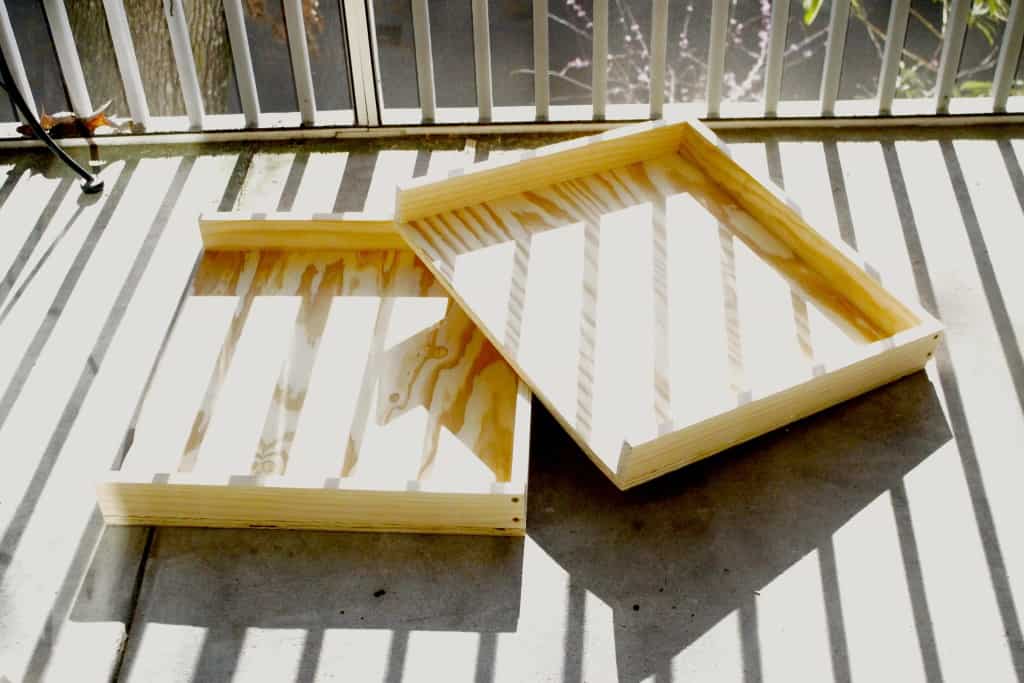
For each bunk, I laid down my plywood base piece, then attached a board on each of three sides using wood glue and screws.
Then I built a second one.
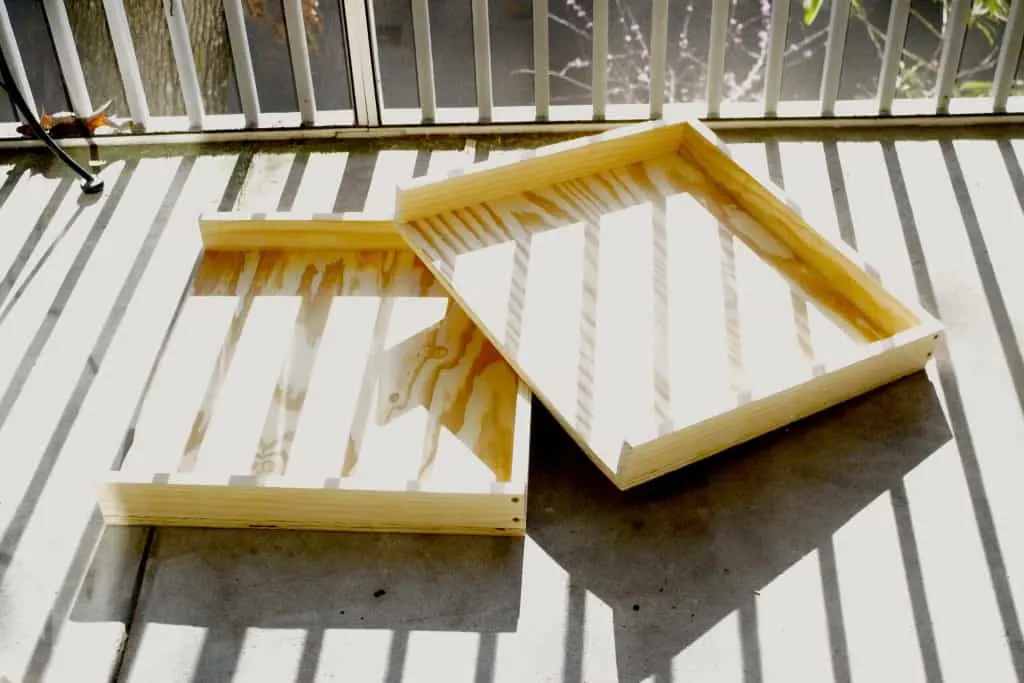
Step two: connect bunks
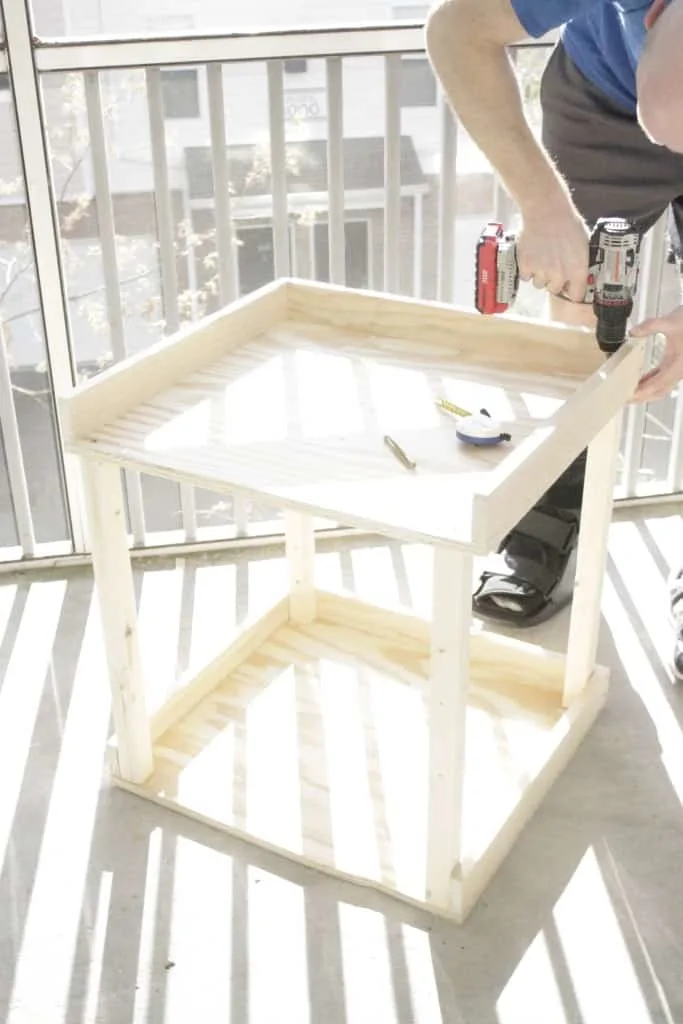
Next, I attached the two bunks together using a 2×2 board cut down into four pieces. Again, pocket holes would be best, but I just used wood glue and screws straight through the plywood bases into the ends of the posts.
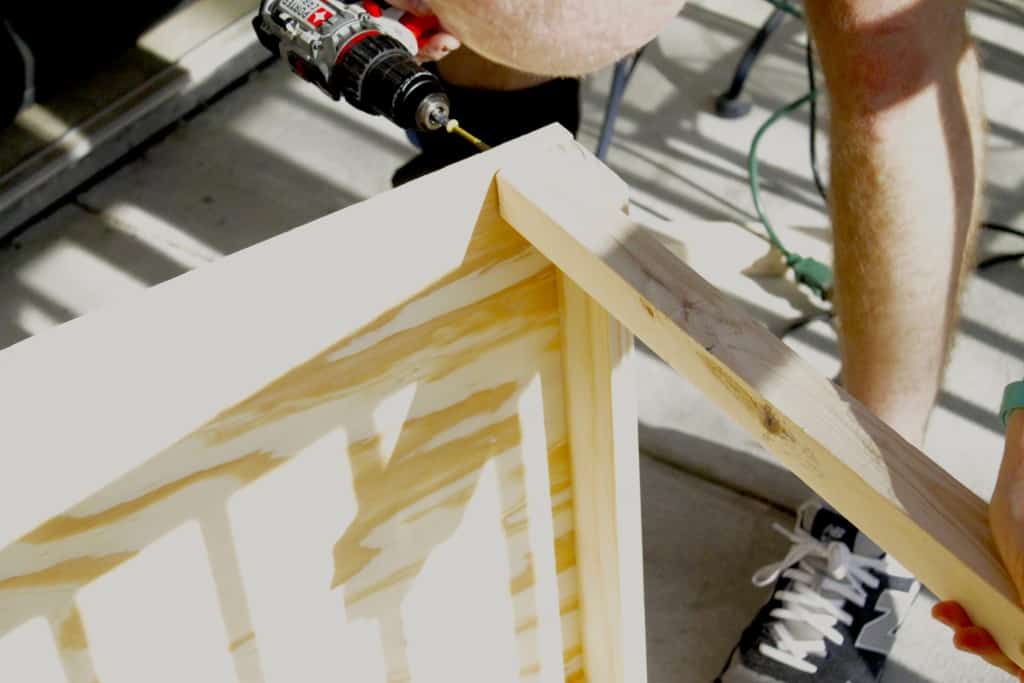
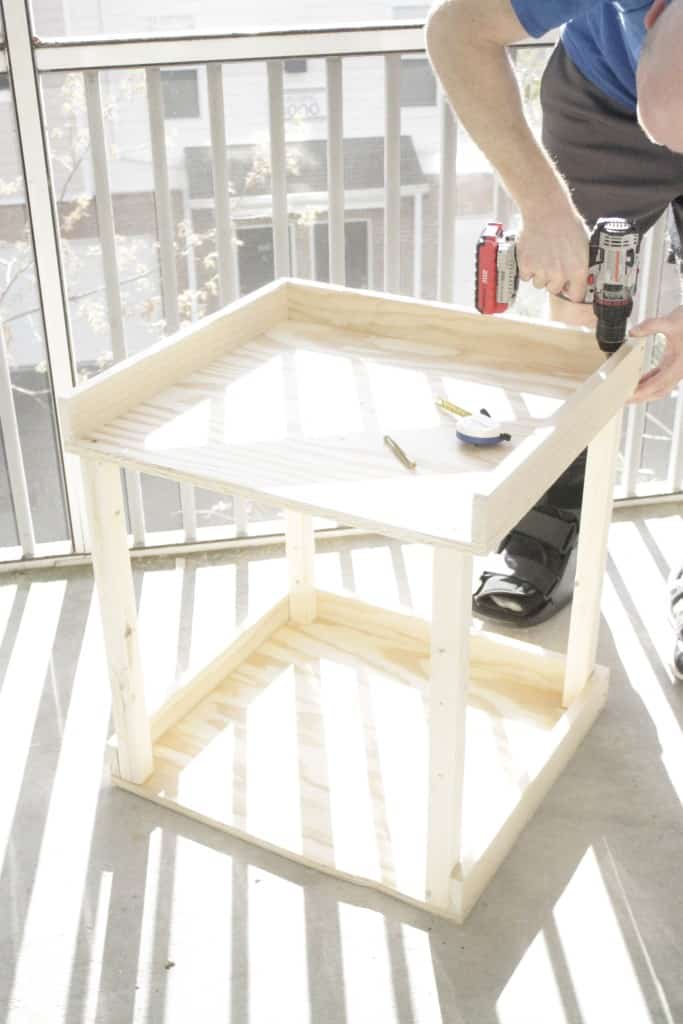
Step three: stain and seal
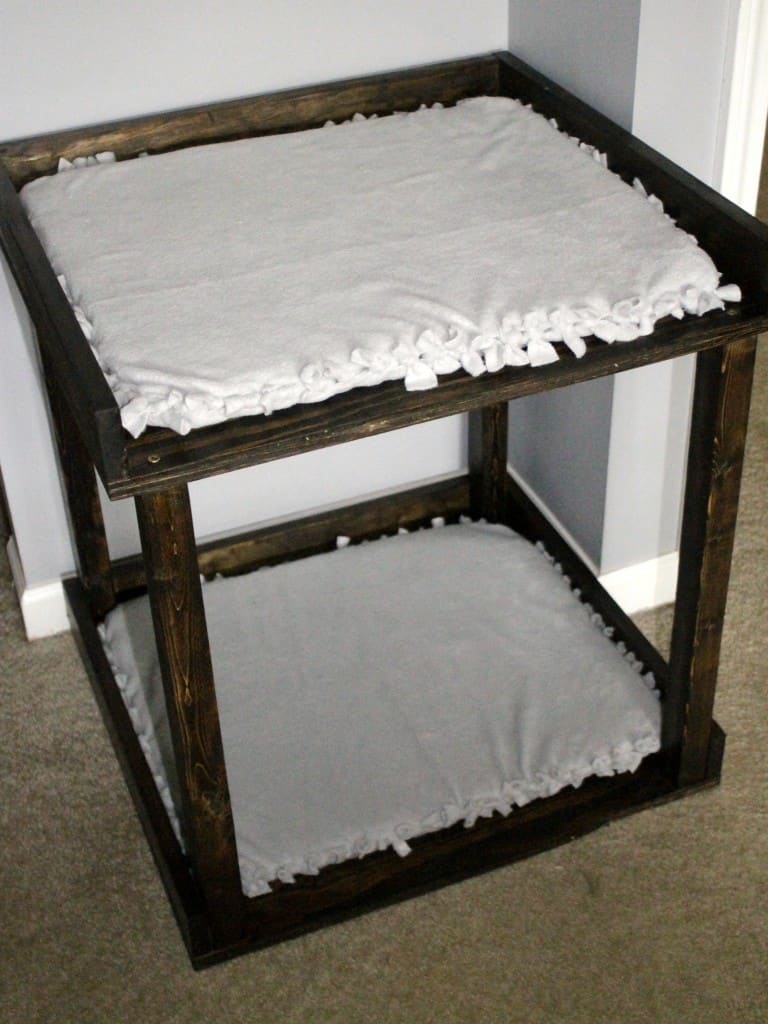
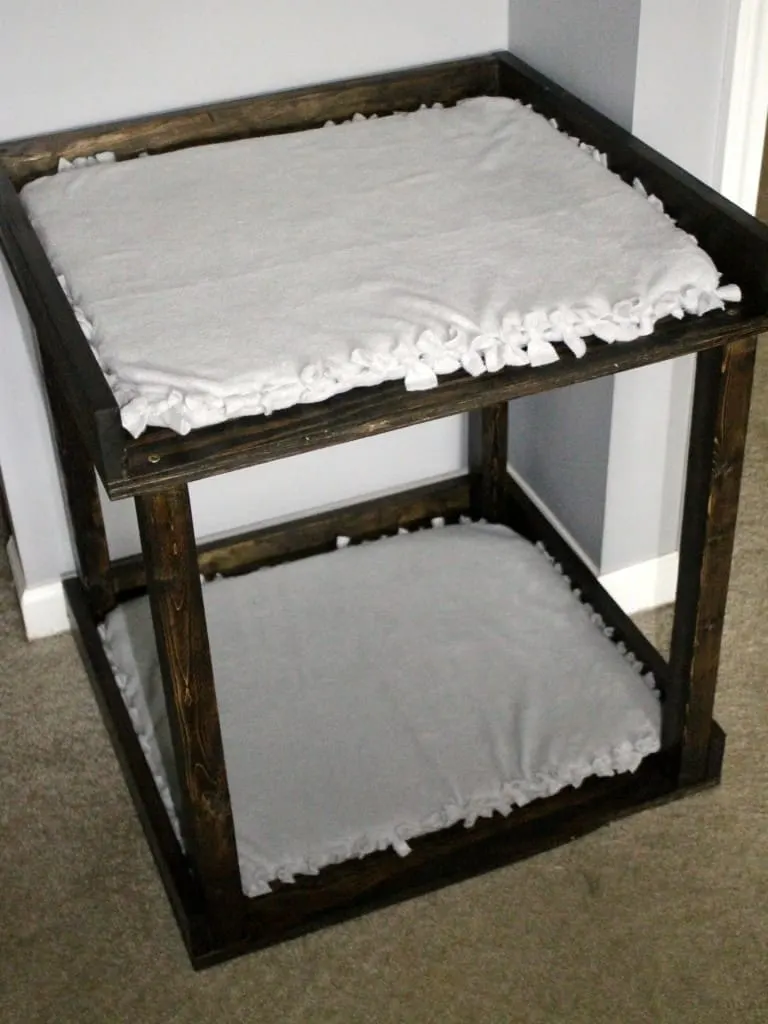
Next, we stained and sealed the whole thing.
We used the stain color Dark Walnut for this project, but be sure to check out our master guide where we tested ten different wood stains on five types of wood to help pick which stain you want to use for this project!
If you choose to seal this project with a sealant, check out our tips on how to seal stained wood.
Step four: Cushions for your DIY dog or cat bunk beds
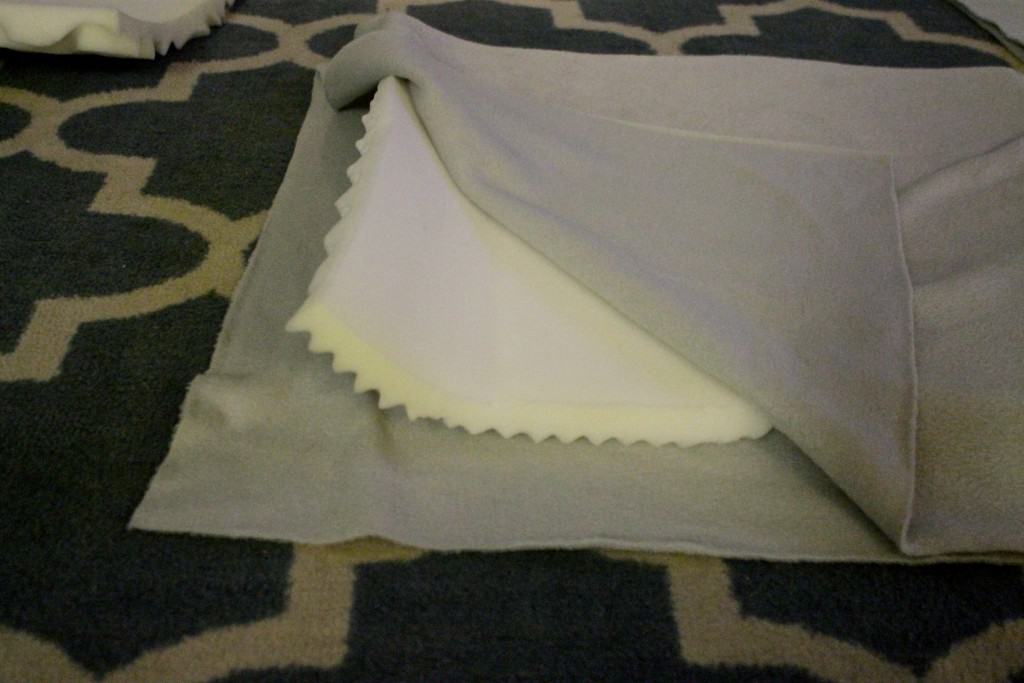
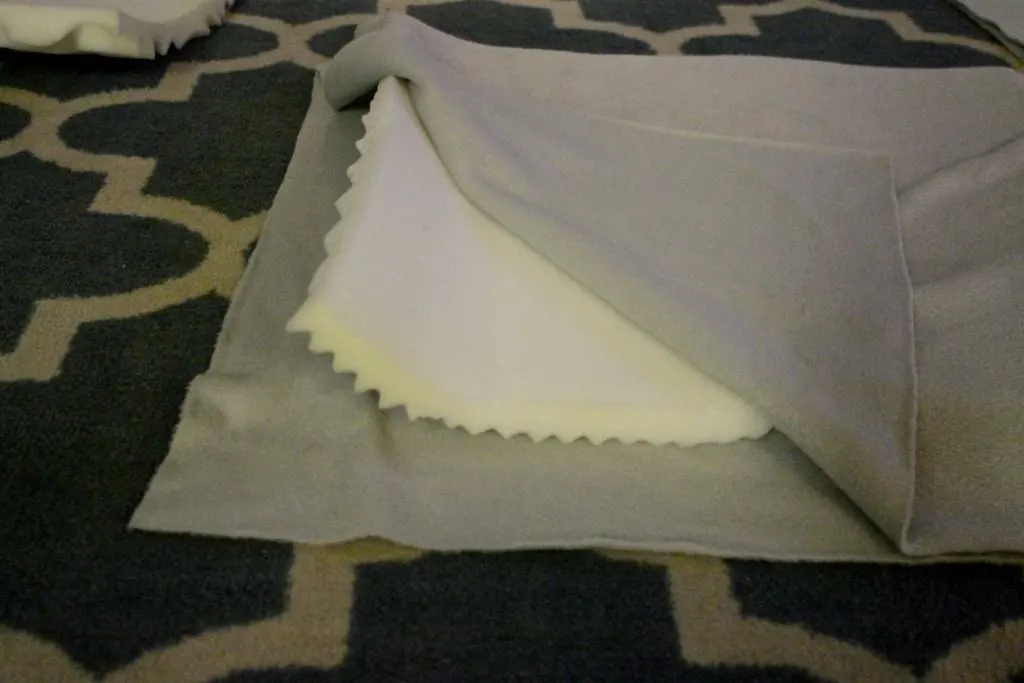
To make these cushions, cut foam to fit (I used an old twin egg crate mattress pad).
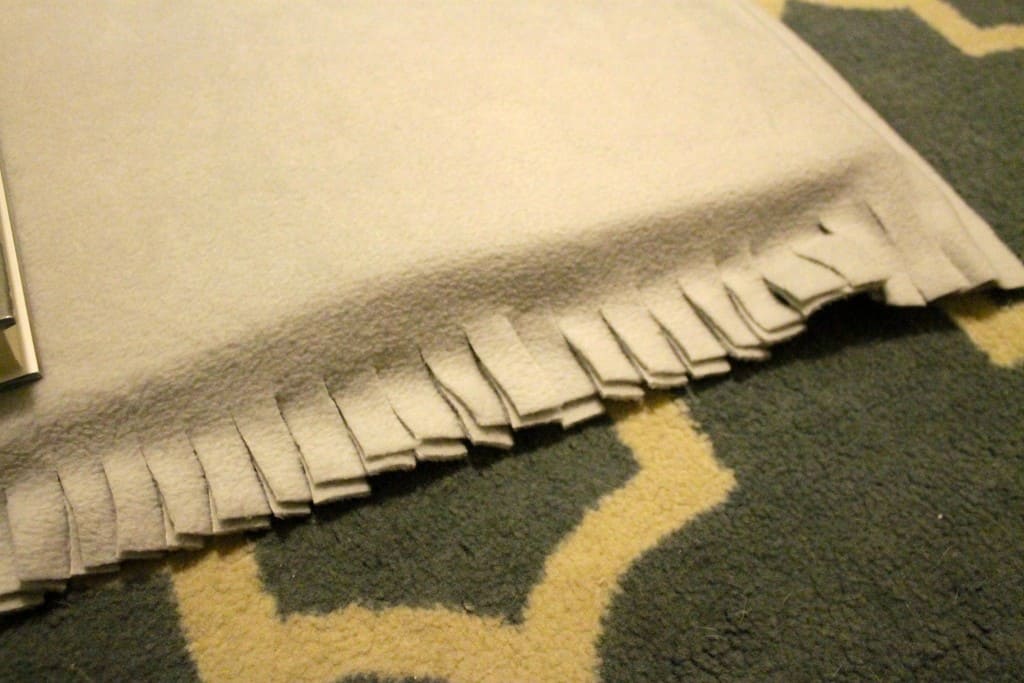
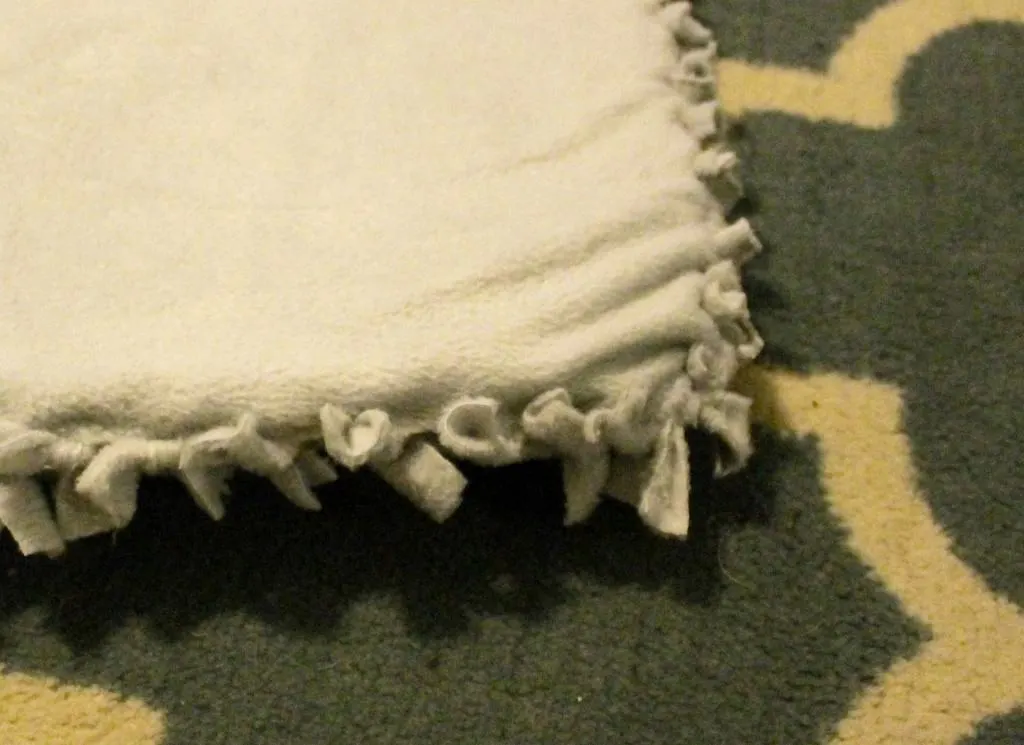
Then, cut 2 squares of fleece 4 inches longer and 4 inches wider than your foam.
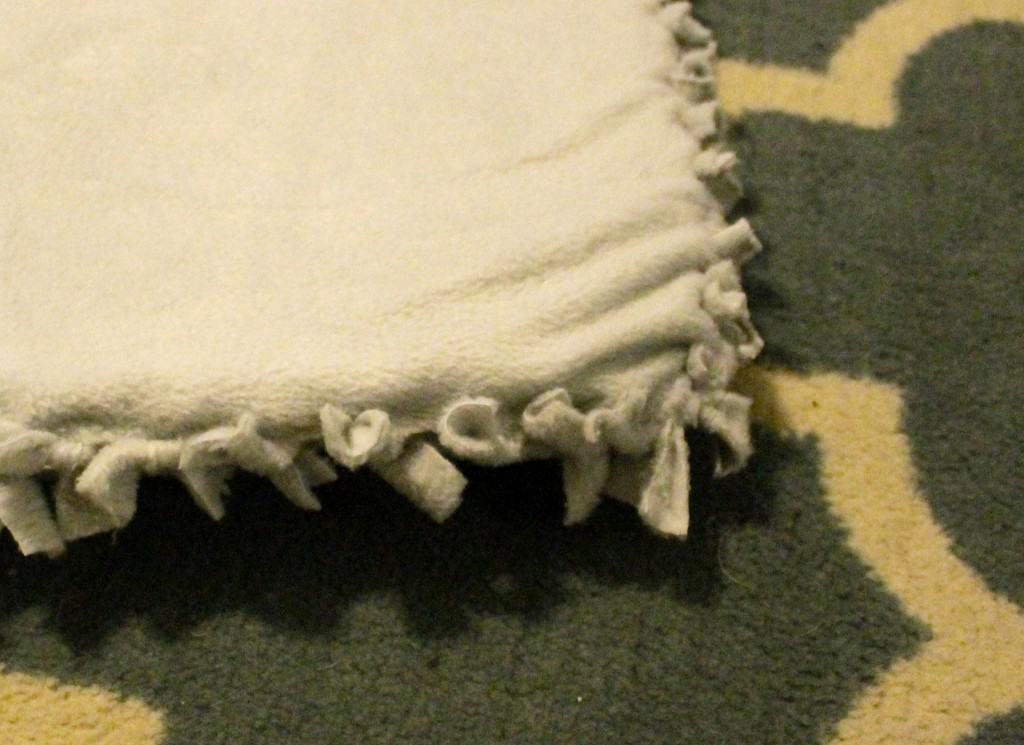
Center the foam between two pieces of fleece and cut slits 1 inch apart around the whole thing. Then, tie the slits from the front and back pieces together. Repeat around and around!
You can also obviously sew these, but tying it was easier for me! You can also buy cushions or just put a dog bed and cat bed from the store on the platforms.
Cat bunk bed/dog bunk bed woodworking build plans!
Building dog and cat bunk beds is really easy and a fun and rewarding project. It’s sure to put a smile on the face of anyone who sees it!
So make sure to download the PDF plans for the pet bunk beds today and give your furry friends an awesome place to snooze!
Our PDF plans come with the full material list you need to buy, the cut list and the step-by-step instructions with computer model imagery to help you through it!
Looking for something?
We’ve been doing this since 2012 so we have a LOT of blog posts!
Search stuff like: Ceiling Projects | DIY Plant Stands | Thrift Flips


Hey there, I’m Sean, the woodworking enthusiast and builder behind CharlestonCrafted.com! Since 2012, I’ve been sharing the magic of turning raw materials into beautiful creations. I love teaching others the art and satisfaction of woodworking and DIY. I try to inspire fellow crafters to make something extraordinary out of nothing at all.

