Extremely Easy Italian Sandwich Bread
Hello! How are you doing this week? I finally feel a bit caught up with life and work lately, and it has been a pleasure coming up with some recipes to share with you here on the blog. I feel like across the world of content creators, January is always such a slow month. Do you feel the same? It is difficult to come out of the winter fog and into the mood to create something new to share. I am always so much more inspired in the spring and summer!
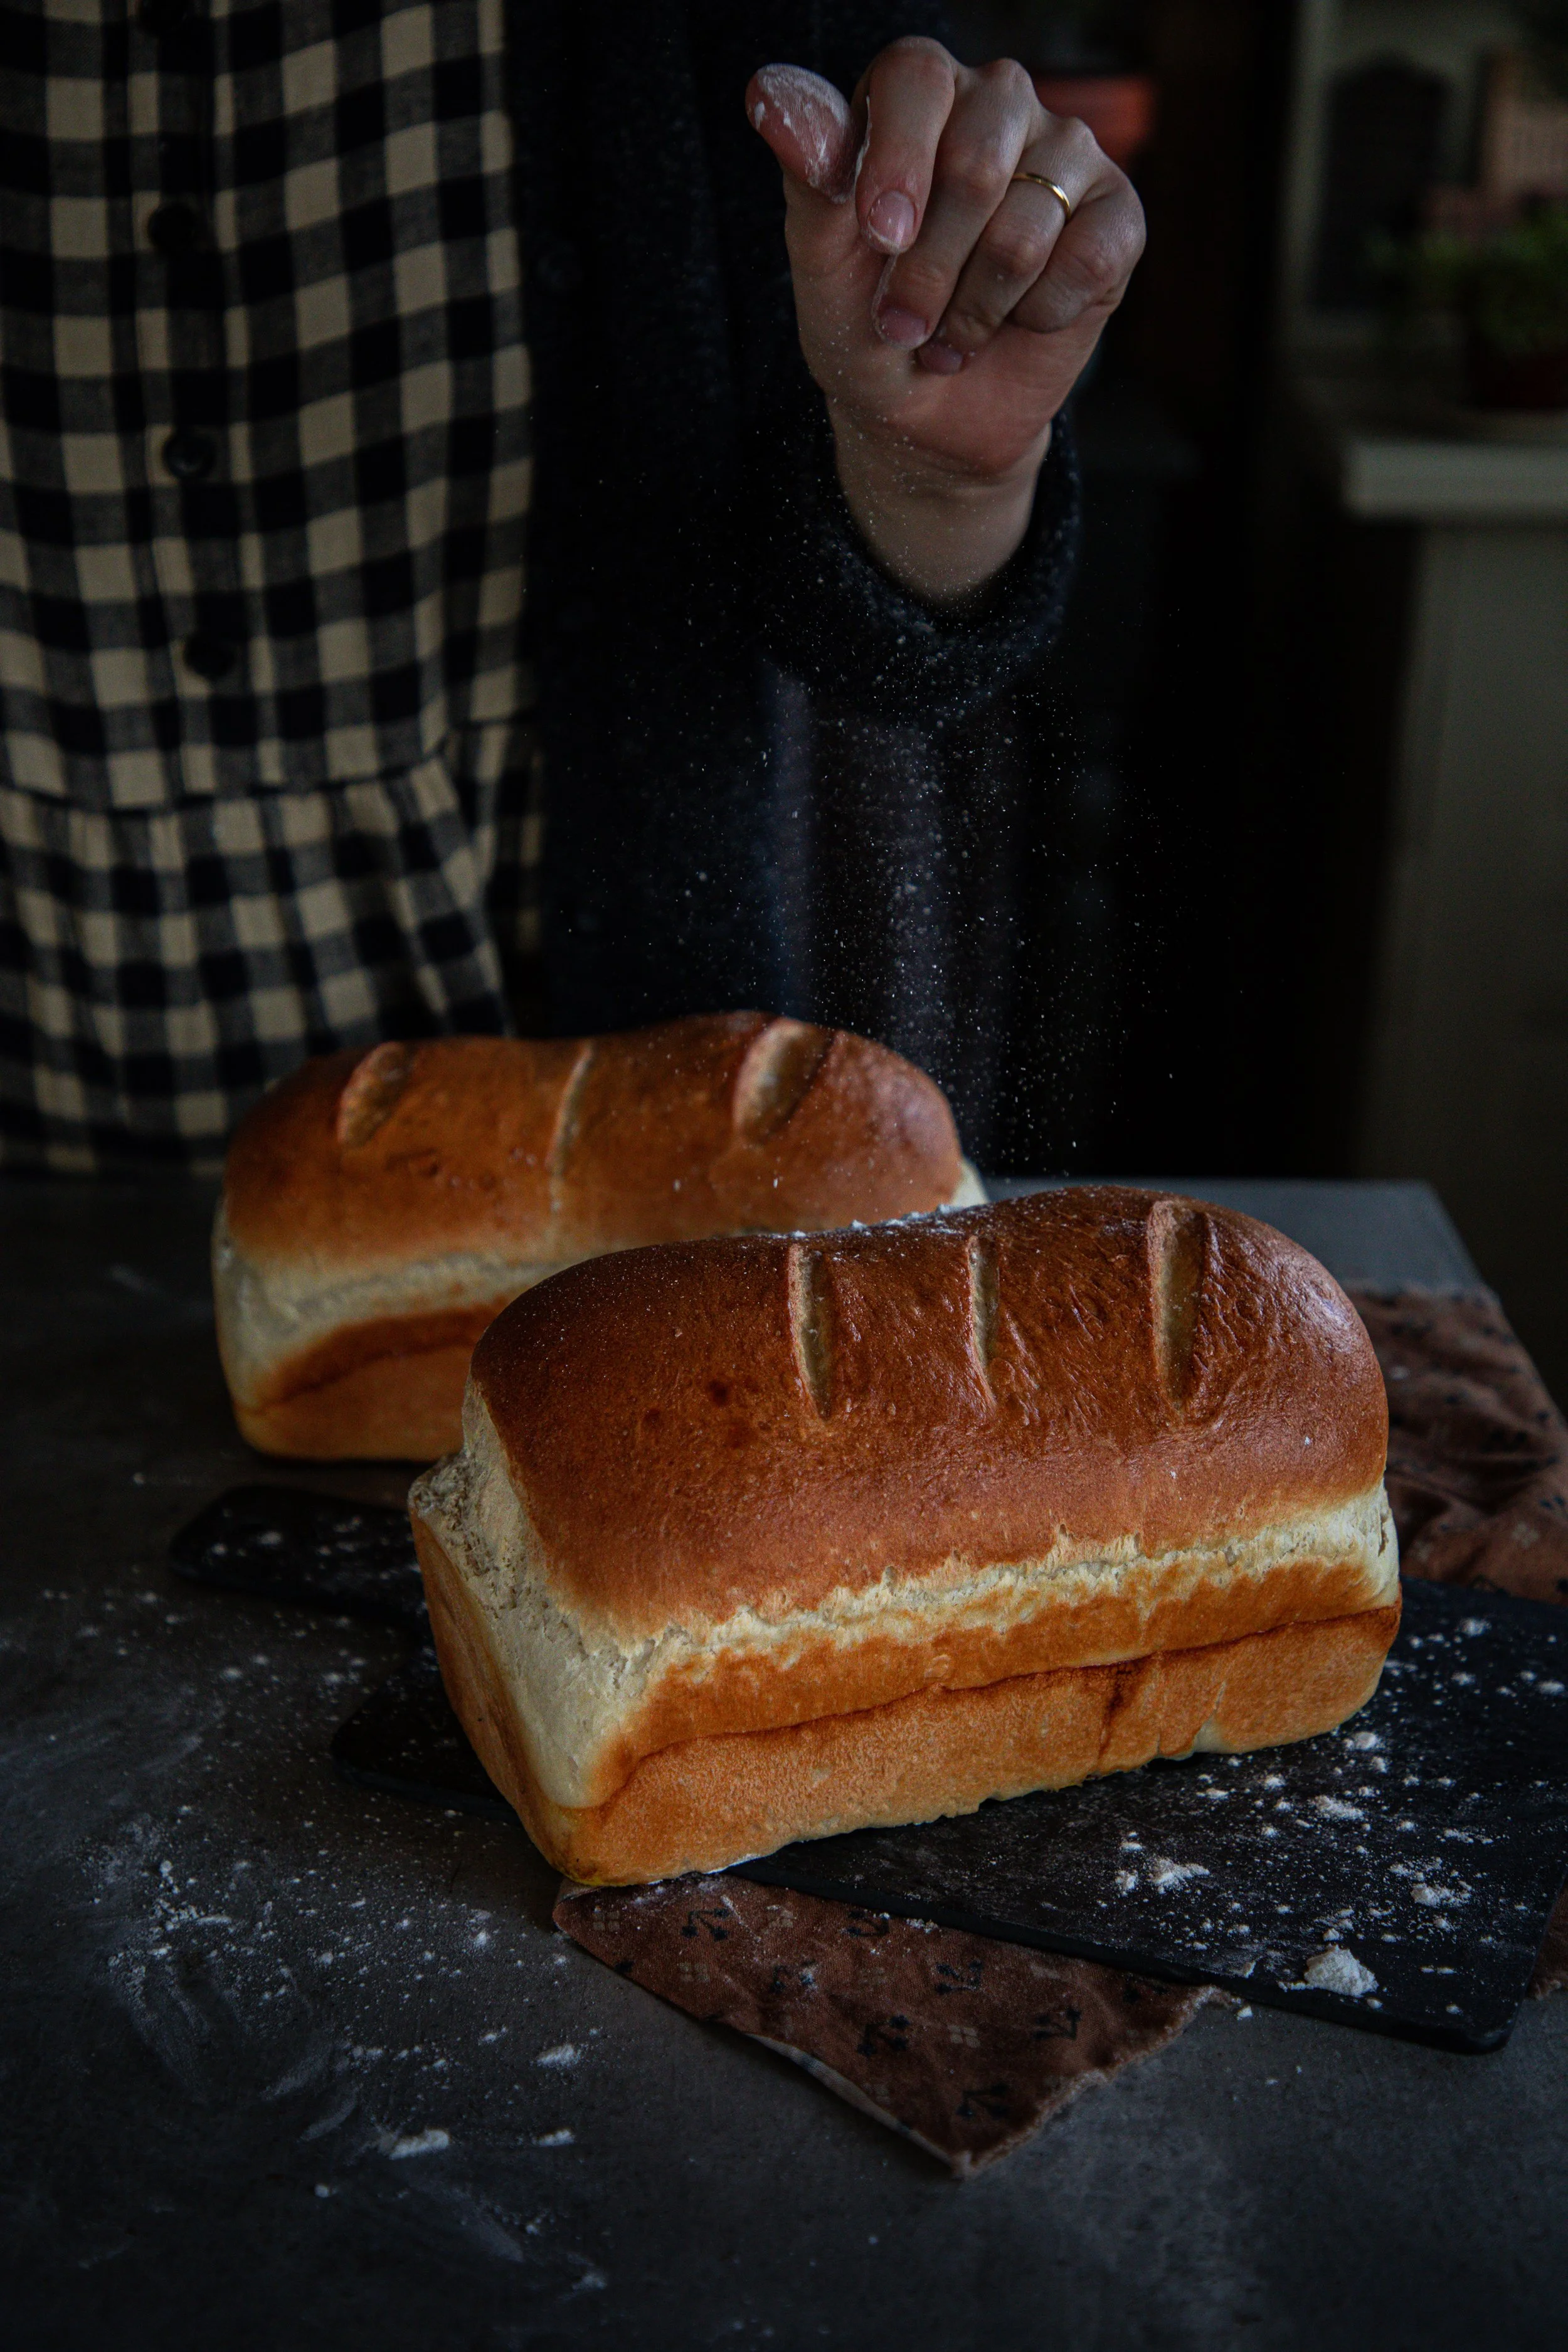
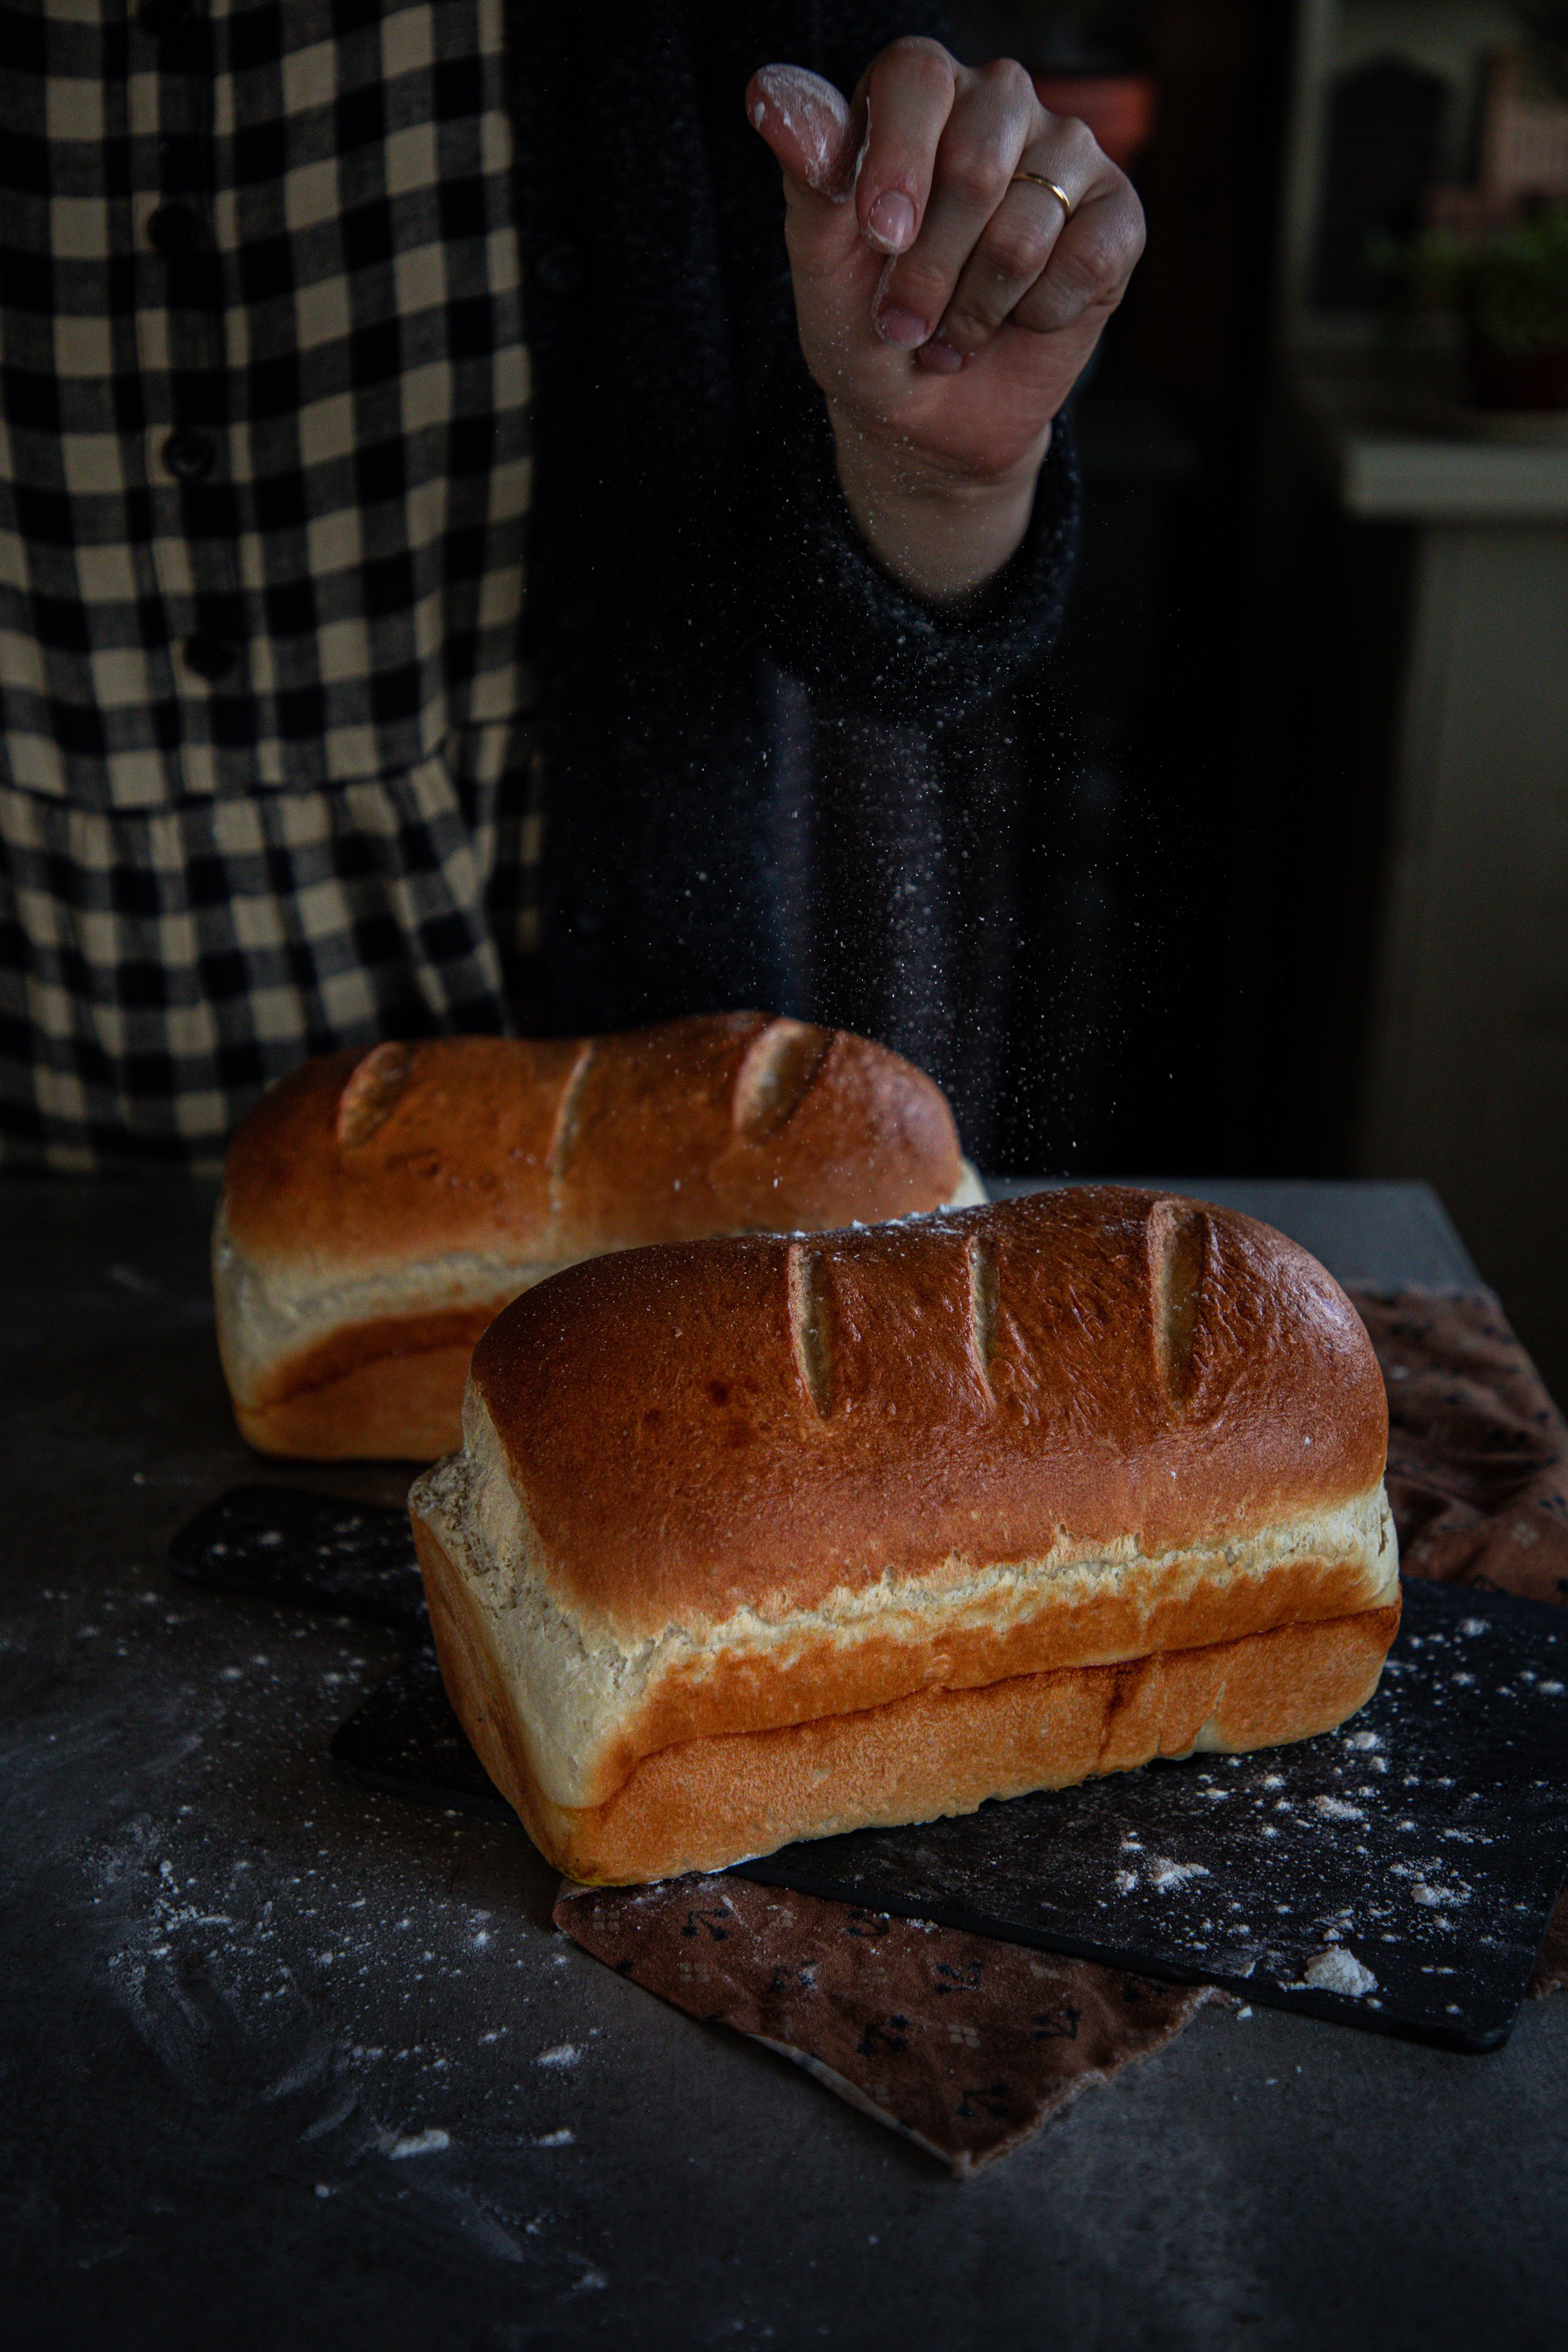
Today I am sharing an old recipe that needed a bit of a makeover! This Extremely Easy Italian Bread has been on our blog since the very first year that I started blogging. I made it in my early days of baking bread, and we make it at least once a week still… eight years later. Isn’t that a bit maddening? But it’s really that good. It’s easy, quick, and turns out perfectly every time.
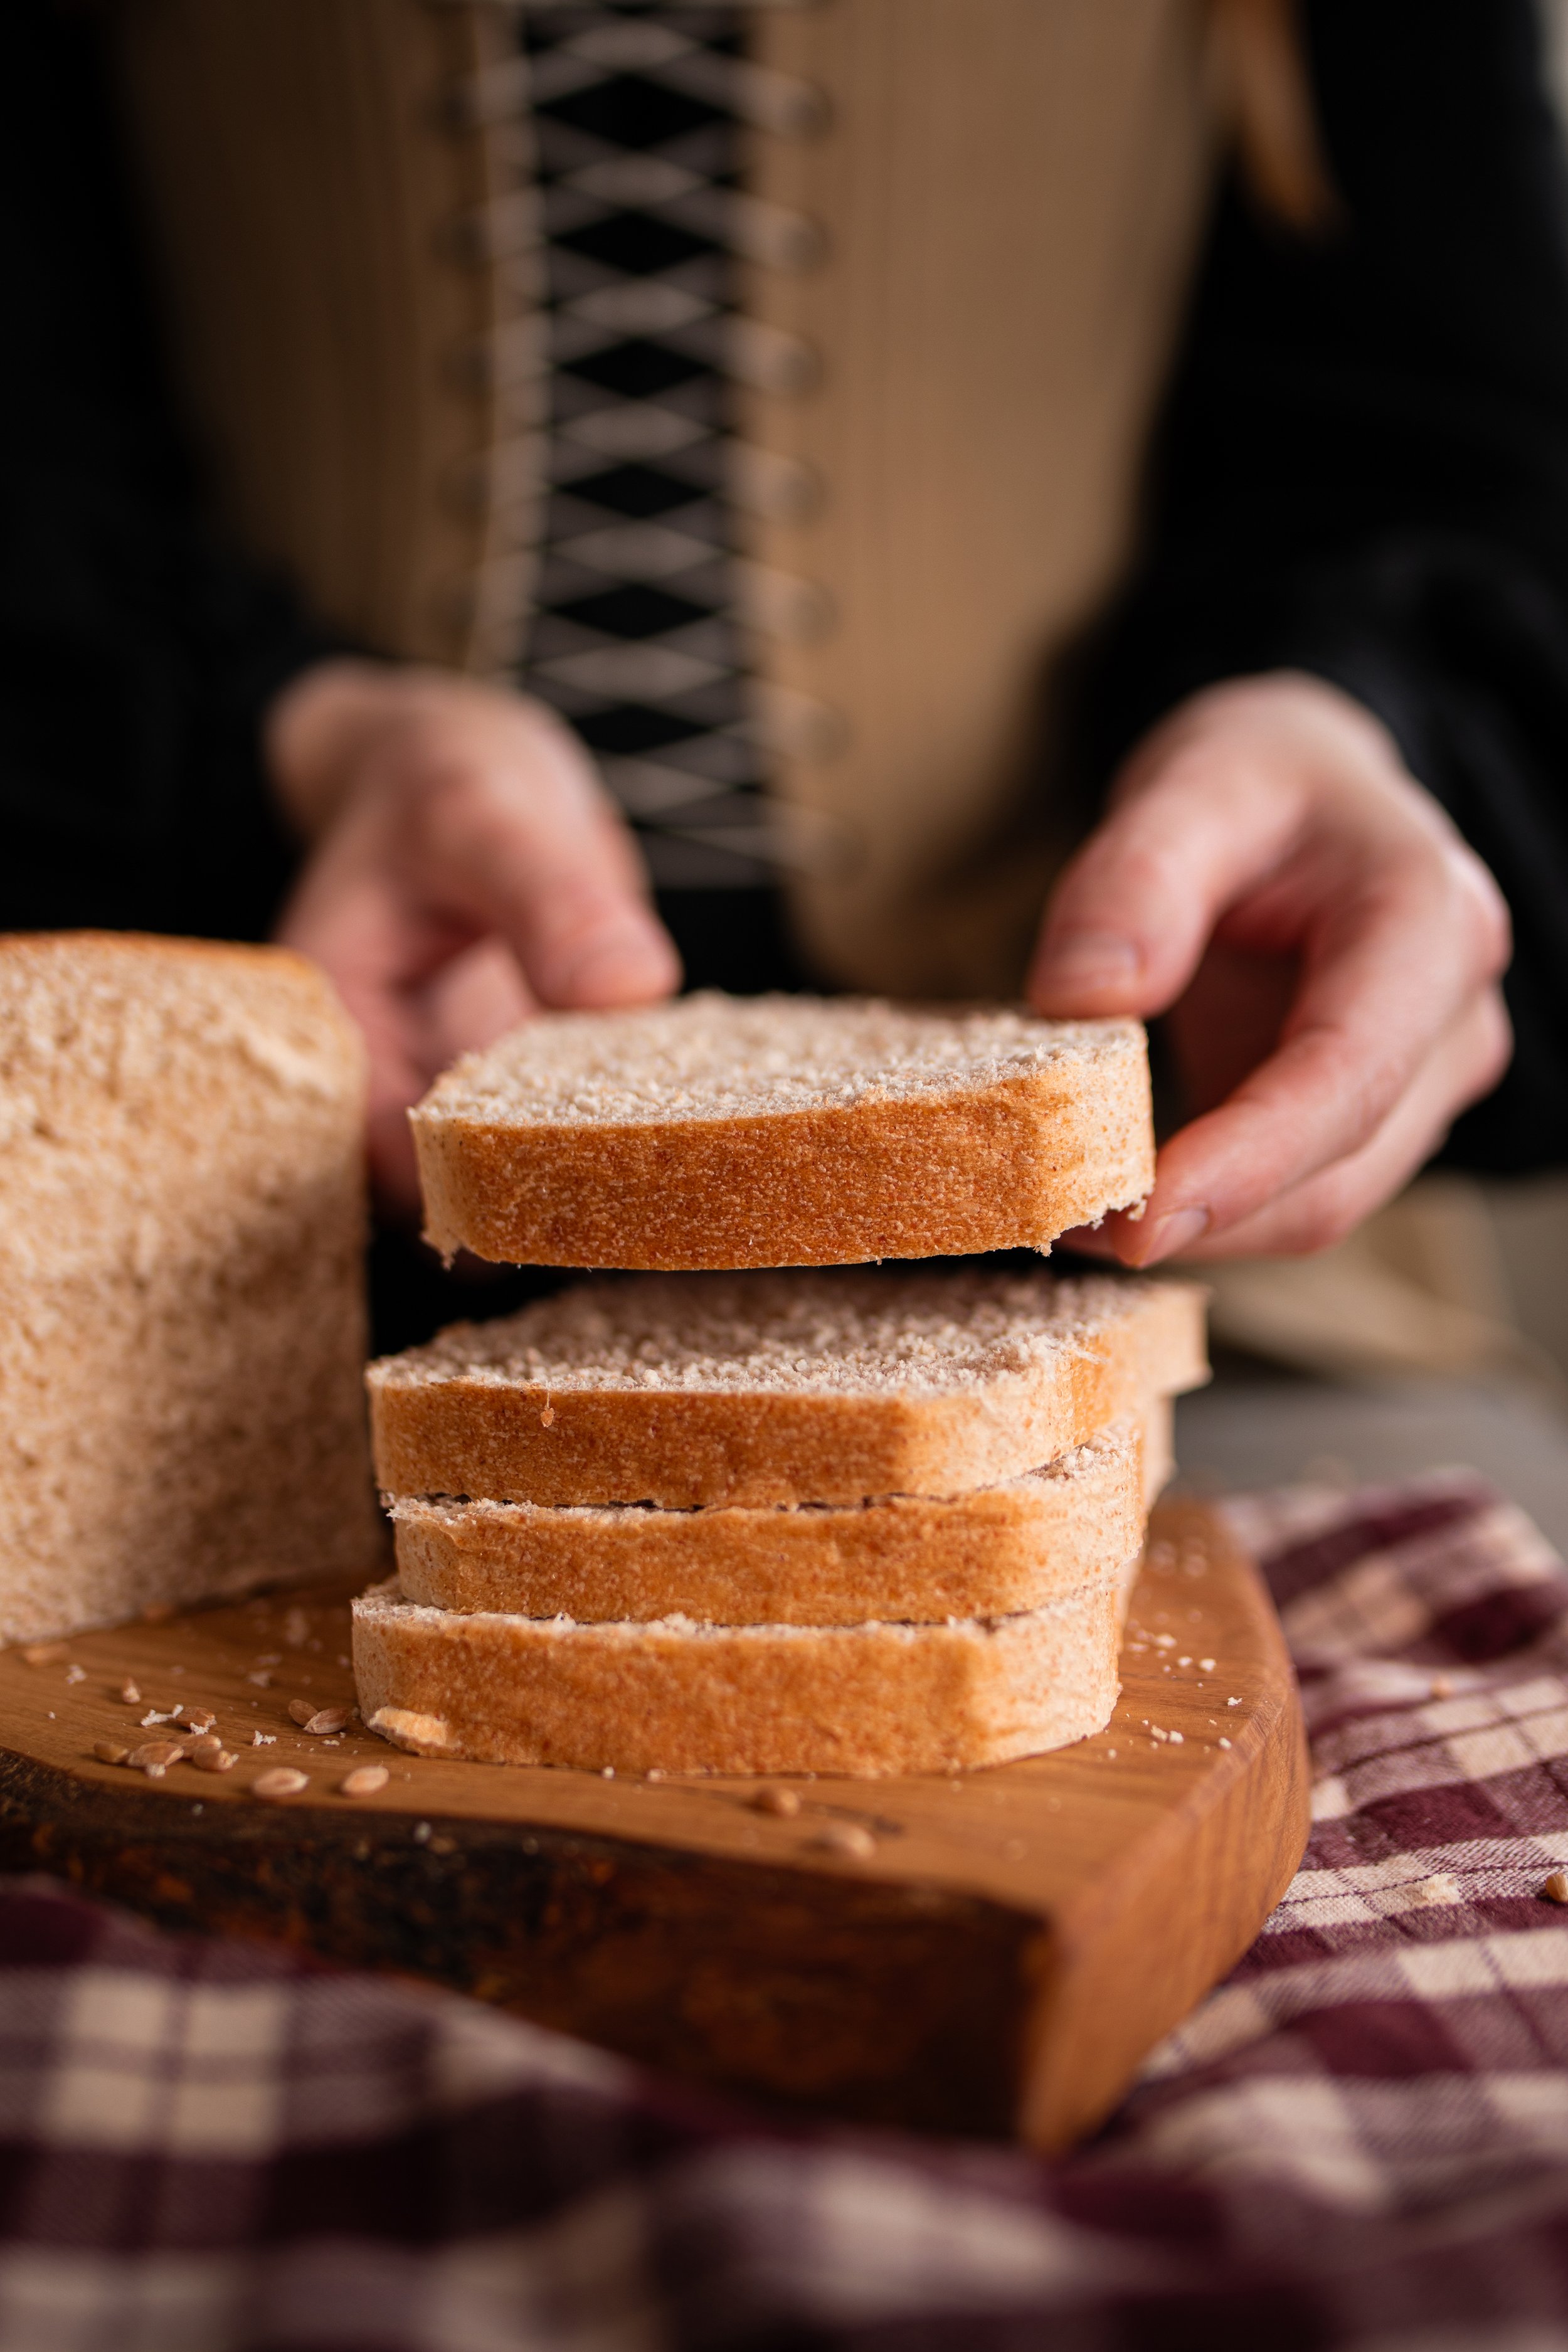
I love this bread because it takes about 2 hours exactly to make each time. It’s wonderful for a beginner bread baker as the rises only take 30 minutes as opposed to the more common 1 hour proofing time for other breads. It’s soft and chewy, similar in texture to a store bought sandwich bread, but a lot more flavorful and just all around wonderful! I have had so many amazing reviews for this bread, so I hope that you like it, too.
While I have some new recipes planned to make and share this month, I have decided to be kind to myself in the coming weeks and only share 10 recipes each month. At least, this is my goal. I tend to make a monthly list of everything I’d like to make, and it ends up resulting in around 50-60 ideas, and then I feel so defeated when I cannot get all of them done. I also find myself in a state of mental paralysis, where I feel so overwhelmed by my own ideas and ambitions that I will just sit there and not do any of them! This, I am learning, is a big part of my neurodivergent brain.
Below, I share some photos of the process of shaping the loaves. This can be a bit scary, if you are baking bread for the first time ever. But do not fear! Shaping is necessary to bake a delicious loaf with a beautiful crumb. The deflation of the dough is a must to help form the stands of gluten needed to make bread. Do not be afraid to stretch, press, and push your dough to shape the loaf. Of course, overworking the dough can lead to not-so-desirable results.
This bread is brushed with an egg wash and then baked in a steamy oven. The steam is produced from a shallow pan of water in the bottom of the oven. The end result is a crispy, golden crust! You do not have to do this step, but it does give the bread a great texture and appearance.
If you do not need two loaves of bread at one time, you can easily half this recipe and make only one loaf. That is how I originally shared the recipe years, ago, but now I always make two loaves at once. This is how I bake for my family, weekly. I actually probably make bread in various forms at least 3 to 4 times a week to feed all seven of us.
This bread can also be shaped in various types of delicious loaves! I love this recipe for making bread bowls, rolls, long loaves for making pizza bread or garlic bread, and more. To make longer loaves for garlic bread, this recipe should be divided into 4 equal sized pieces and shaped similarly to a baguette. For bread bowls, this recipe would make about 12 bowls, or it would make about 24 dinner buns/rolls.
I hope that you love this recipe as much as we do! You can watch a video of me making this bread on our Instagram or TikTok pages!
You will see in the recipe below that I share lots of helpful tips for baking bread, especially if this is your first time. Happy baking!
xoxo Kayla
Ingredients
- 3 cups warm water
- 2 tbsp active dry yeast
- 2 tbsp granulated sugar or honey
- 1 tbsp kosher salt
- 1 tbsp olive oil
- 7.5 to 8 cups all-purpose flour
- 1 large egg
Instructions
- In the bowl of a large standing electric mixer, stir together the water, yeast, and sugar. Let the mixture sit for about 5-7 minutes or until the yeast activates and blooms, or grows and becomes bubbly.
- Stir in the salt and olive oil to the yeast mixture. Slowly begin to incorporate the flour, by the half cup full, stirring the mixer on low speed initially and increasing the speed as it forms into a dough. The dough is ready when it no longer sticks or "clings" to the sides of the bowl. It should be soft, elastic, and easy kneadable. If it is dense, floury, and tough to knead then it has too much flour. The wetter the dough, the better it will rise. If it is too wet, it will be soupy and stick all over your hands. You want a smooth, pillowy dough that does not cling to your hands when kneading on the countertop! The amount of flour from my recipe may differ from yours, as standard US cup size is fairly different across the board.
- Bring the dough out onto a lightly floured surface and knead into a ball. This is done by pressing down onto the dough, wrapping it around in a circular motion, and pulling it towards you to tighten the underside of the loaf. Do not be afraid to handle the dough. It needs this deflation to develop the strands of gluten inside!
- Place the ball into a lightly greased large bowl and cover with plastic wrap or a clean, damp kitchen towel. Let it rise for 30 minutes or until doubled in size.
- Gently deflate the dough with your hands. Turn it out onto the countertop and divide the dough into 2 equal sized pieces with a sharp knife or bench scraper.
- Shape the dough into 2 loaves. With one half of the dough, press it flat to about the size of a standard sheet of printer paper, 8 x 11-inches. With the shorter end, roll the dough like a jelly roll. Press the little rolled dough log down with your fingertips and pinch together the seam, kind of hiding it inside of your seam. Fold in the ends and pinch them into the seam as well. Repeat with the other half.
- Place the loaves into 2 lightly greased standard loaf pans. Cover them with plastic wrap or a damp kitchen towel. Let them rise 30 minutes or until nearly doubled.
- Preheat the oven to 375° F. Place a shallow pan of water in the bottom of the oven to create steam - this make a golden, crispy crust.
- In a small bowl, whisk the egg with a splash of water. Slash the tops of the loaves with a sharp knife or bread lame. Brush the loaves all over the top with the egg wash. Bake the loaves for 30 minutes or until they are a deep golden brown and sound hollow when tapped upon with your fingertips. Let them sit in their pans for 10 minutes before moving to a wire cooling rack.
- Allow the loaves to sit for at least 30 minutes before slicing.
Notes
This recipe can easily be halved to make one loaf of bread! This is how I originally presented the recipe years ago, as a single loaf.
If you do not have an electric mixer with a dough hook, you can make this bread by hand. It will take a bit longer to initially mix the dough.


