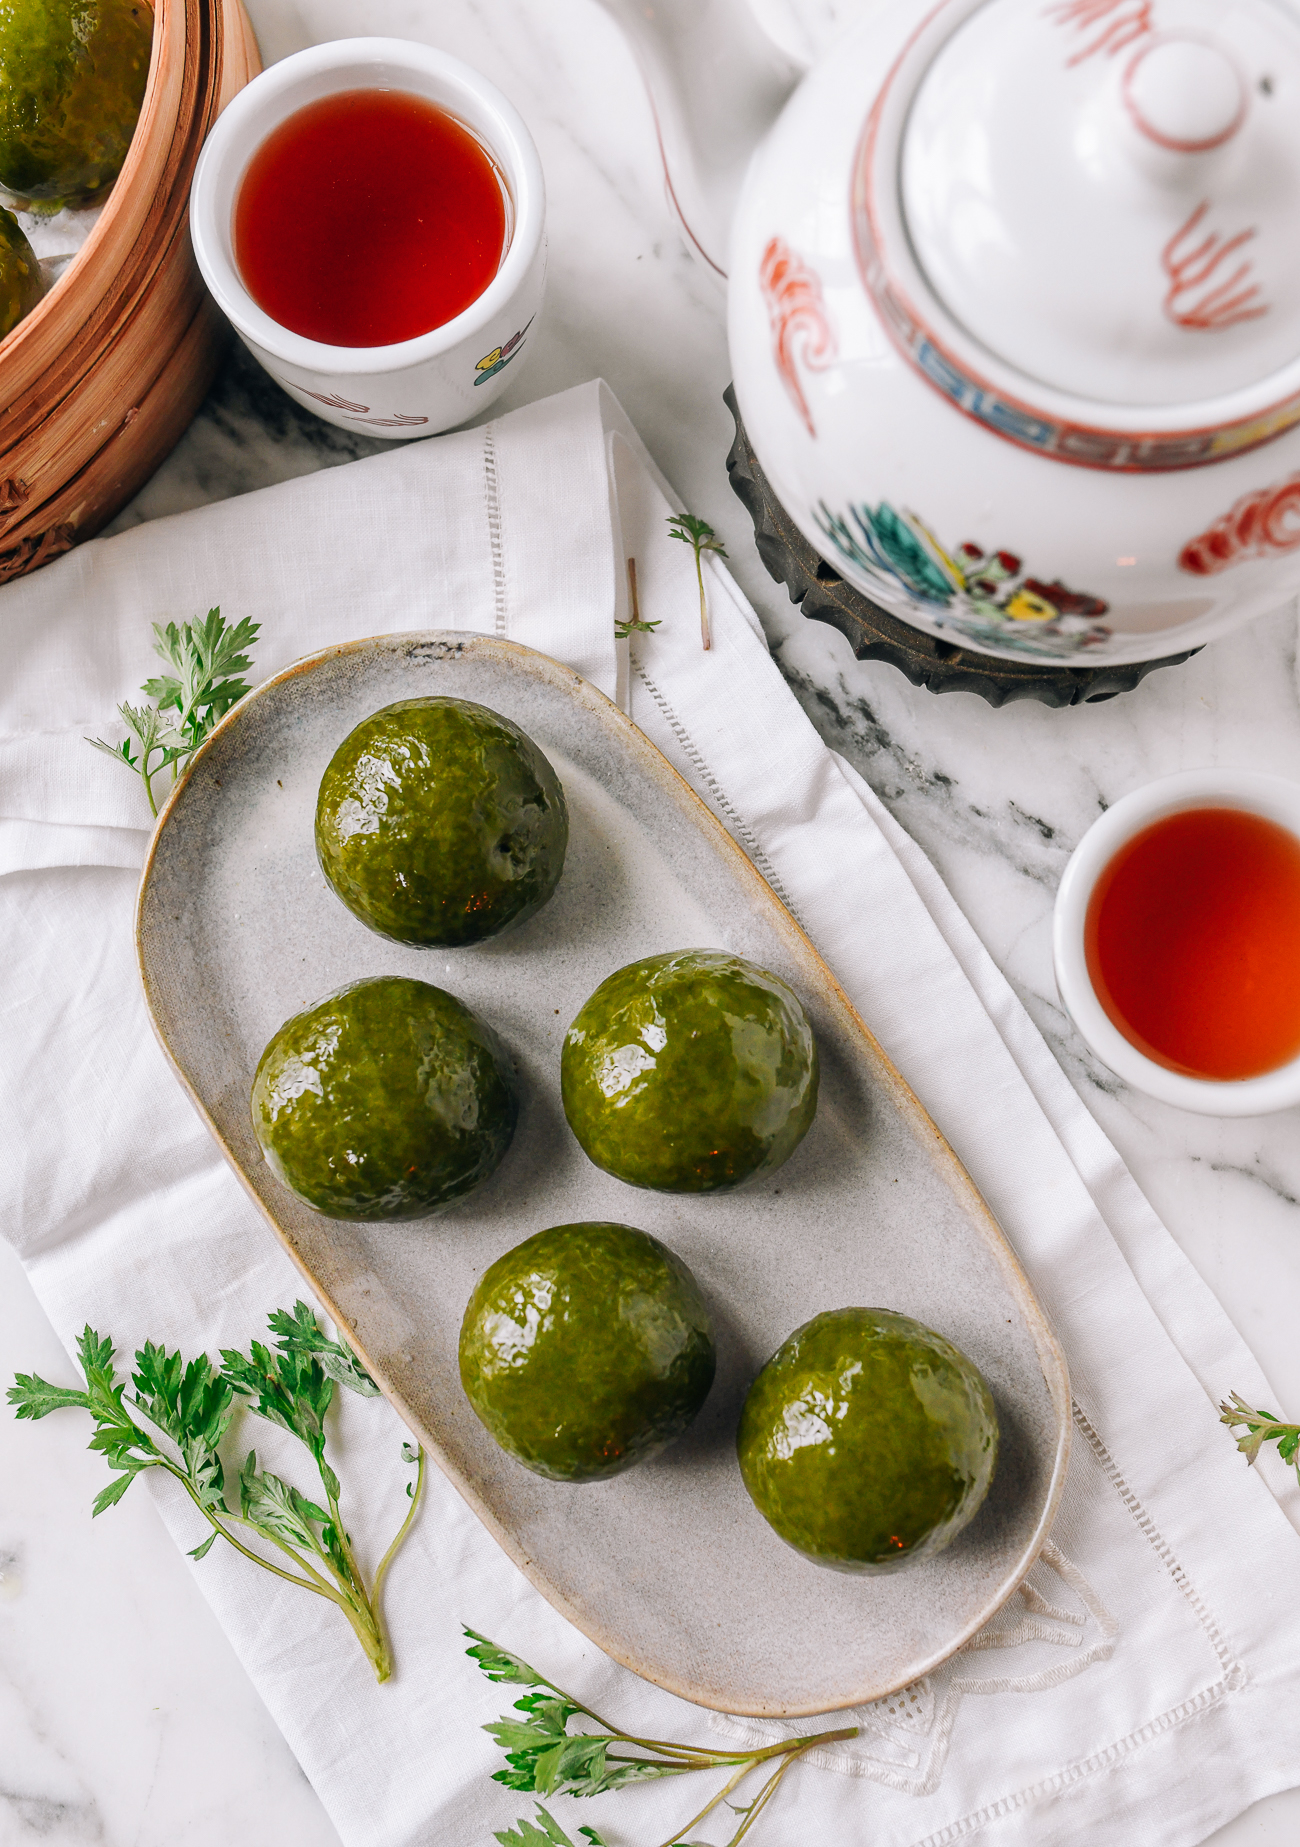
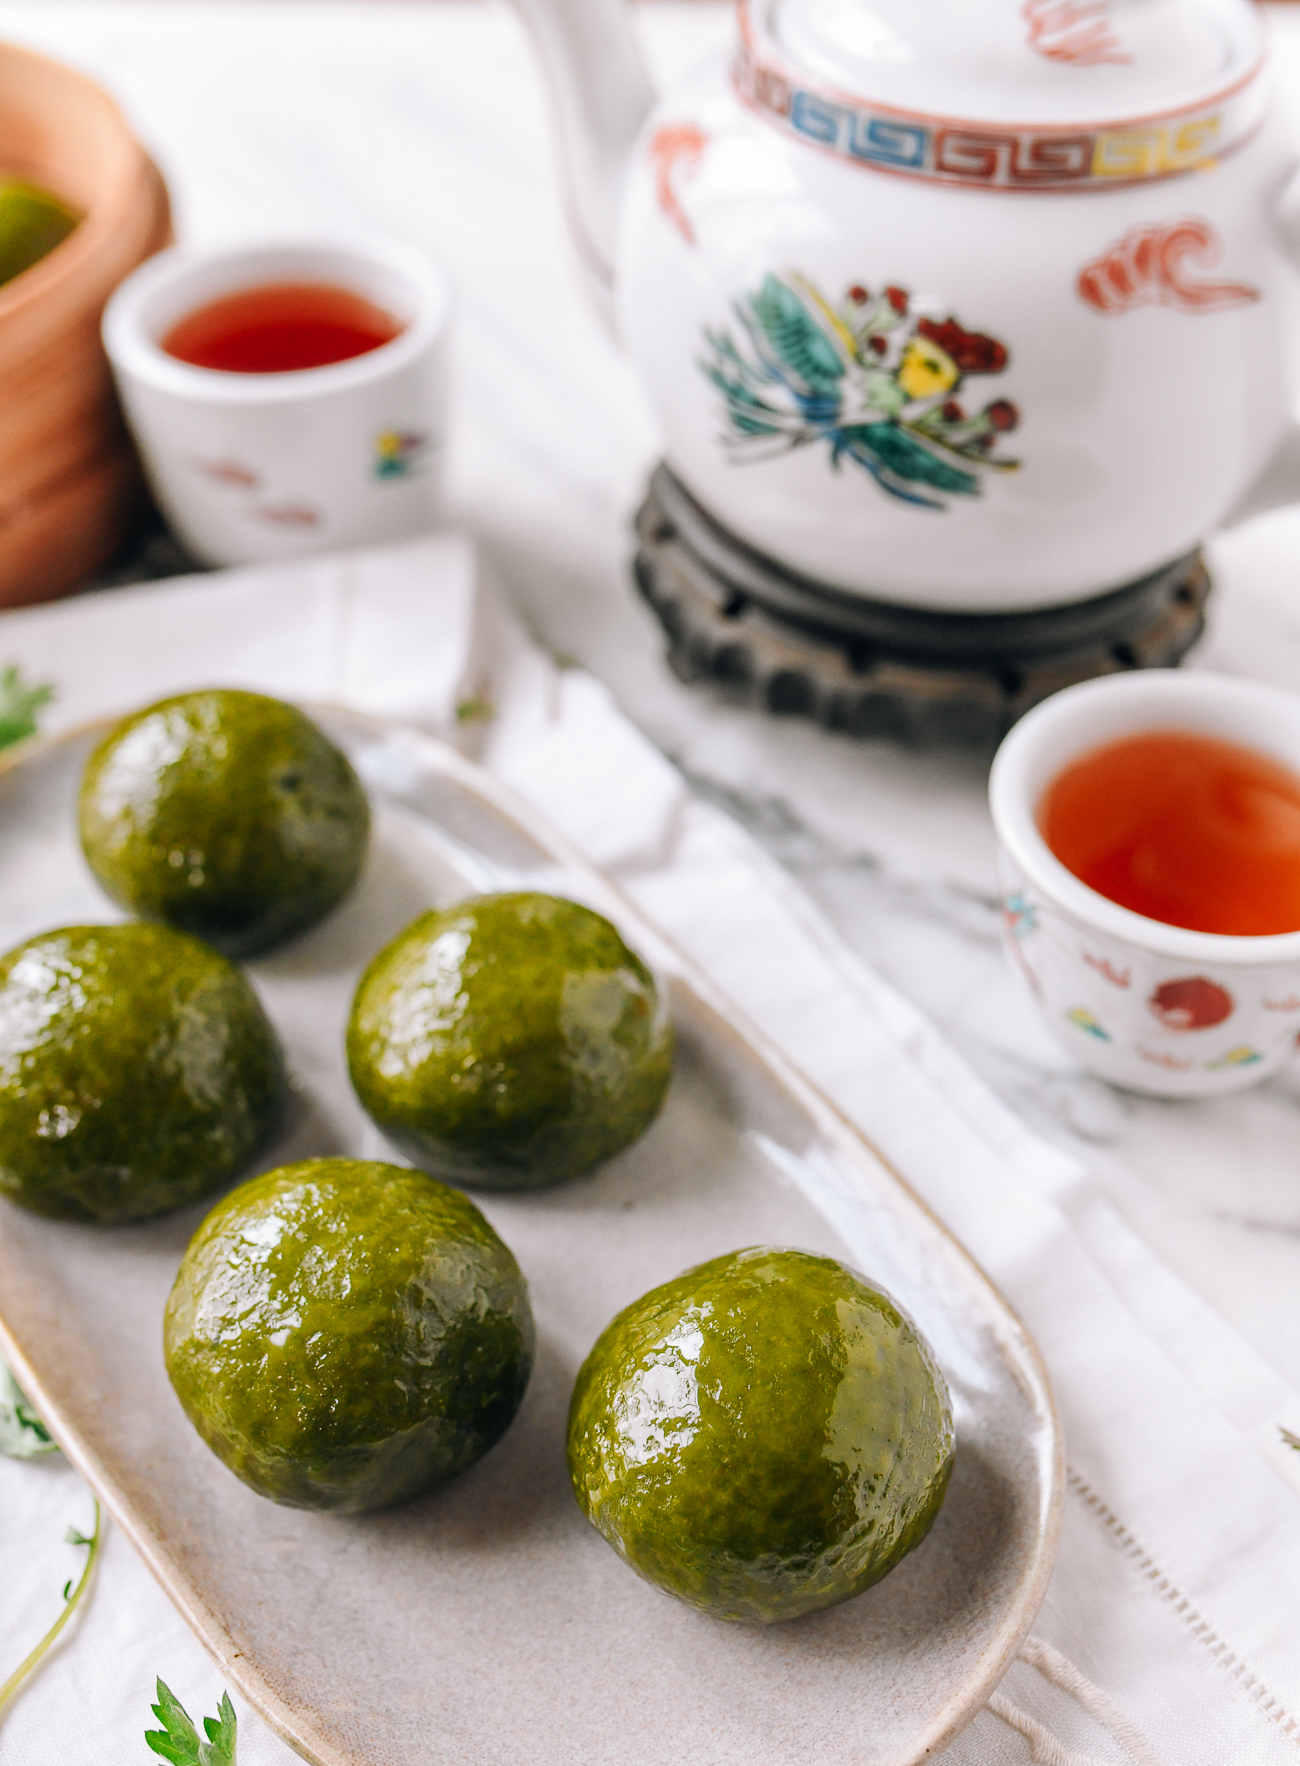
It’s a clear sign of spring when these little green glutinous rice dumplings, or Qingtuan (青团), appear in supermarkets and food stores in Shanghai. It’s as much a sign of spring as daffodils, robins, and the grass turning lush and green.
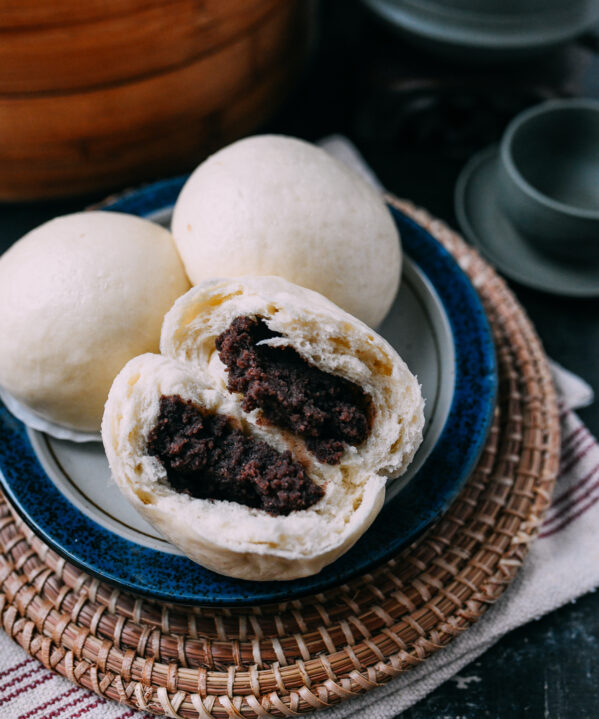
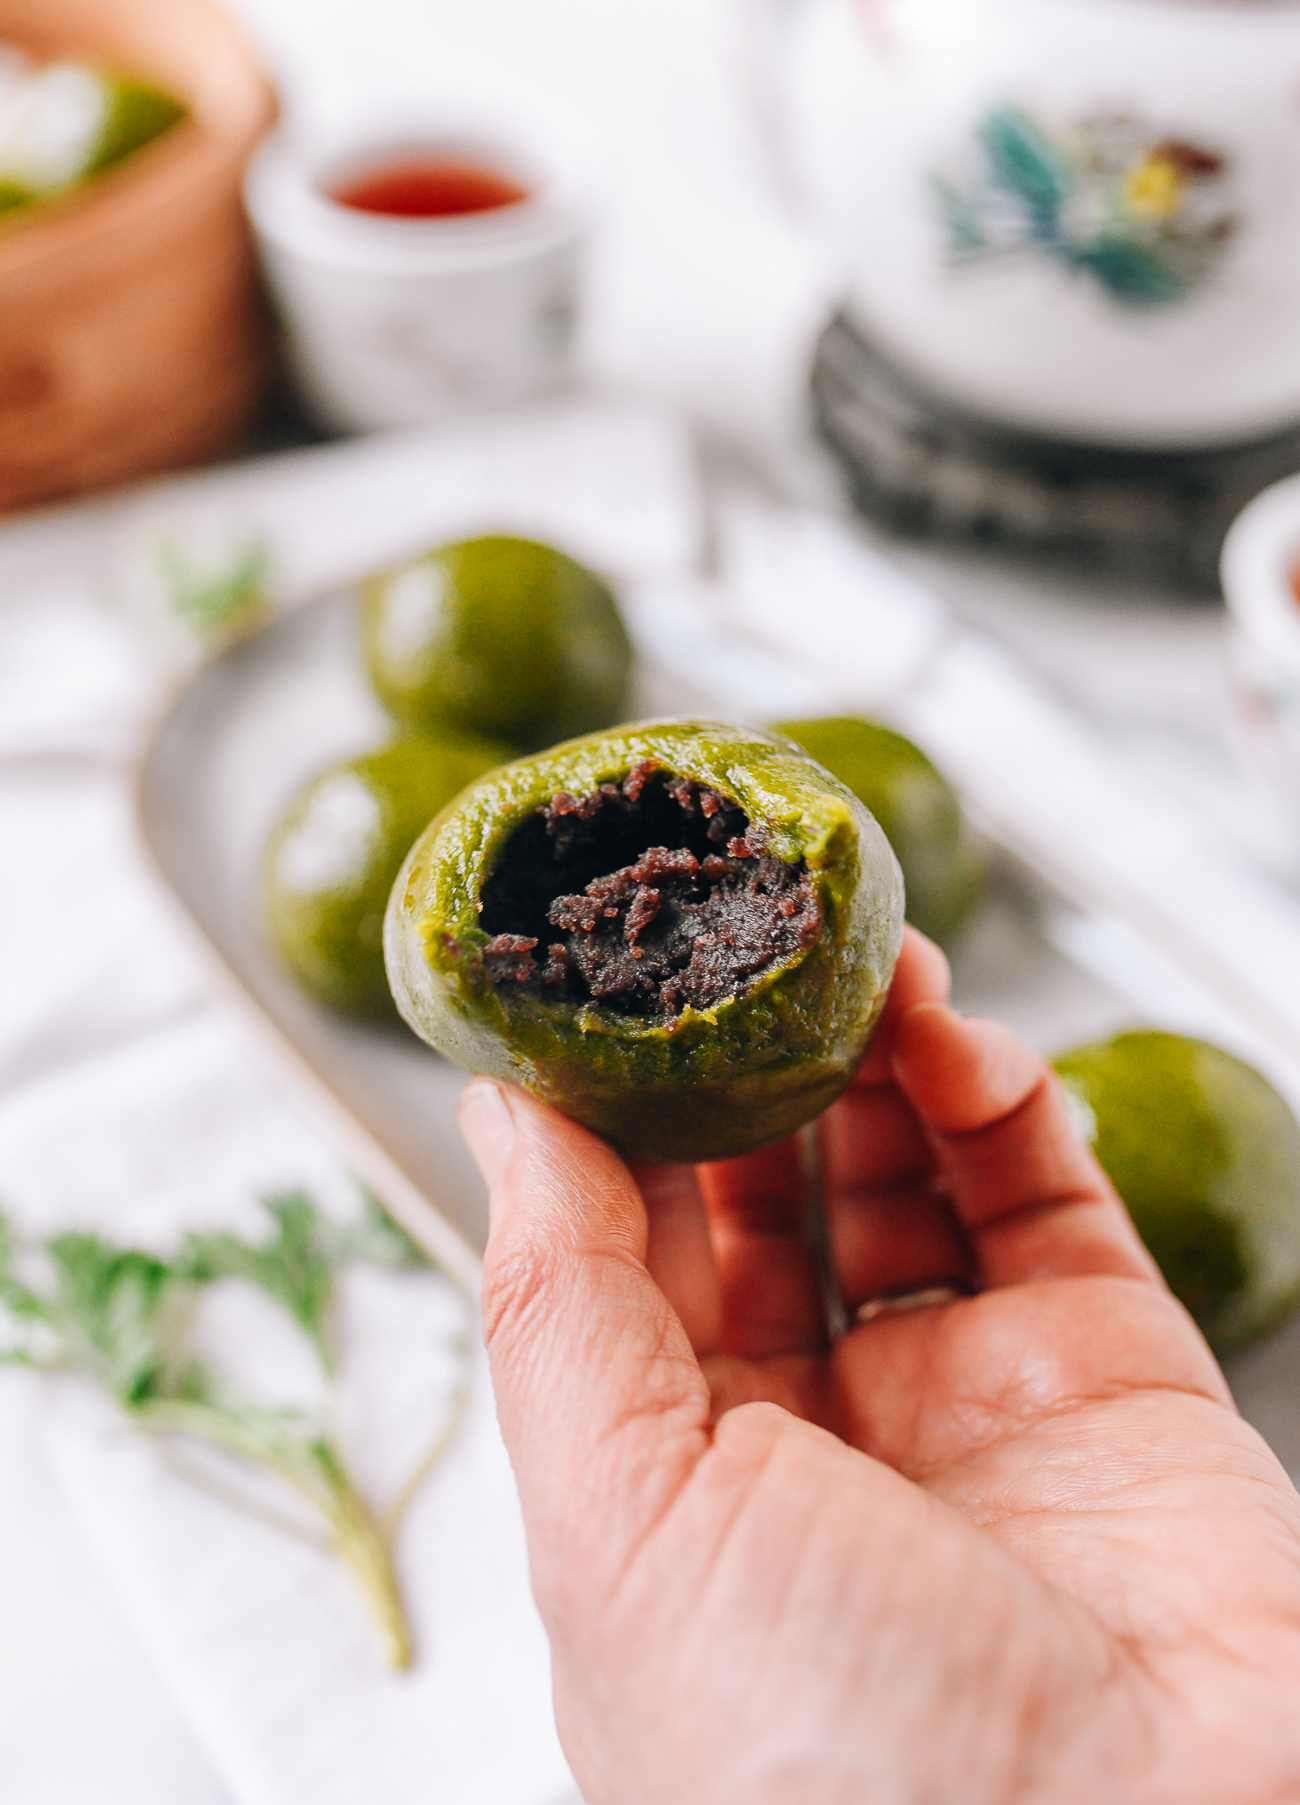
I grew up eating qingtuan and always loved the unique aroma of the green sticky rice dough (which is very similar to Japanese mochi). You already know my love for the filling, which is traditionally red bean paste.
These are precious, because the availability window is usually very short. It’s just a few weeks in April, usually around Qing Ming (Tomb Sweeping Day), a day for Chinese families to visit their ancestors who have passed.
Mugwort: A Versatile Ingredient Used Across Asia
Having spent the past thirty-something years (since I left Shanghai), missing this springtime treat, I recently found out that the ingredient I need to make it myself has been right under my nose this whole time!
It’s a weed called mugwort (artemisia vulgaris), or 艾草 (ài cǎo) in Chinese. And I have always seen it in my yard. I’ve always just pulled it up and discarded it as a weed! Oh can you imagine the irony? Now I truly understand when people say, so close, yet so far!
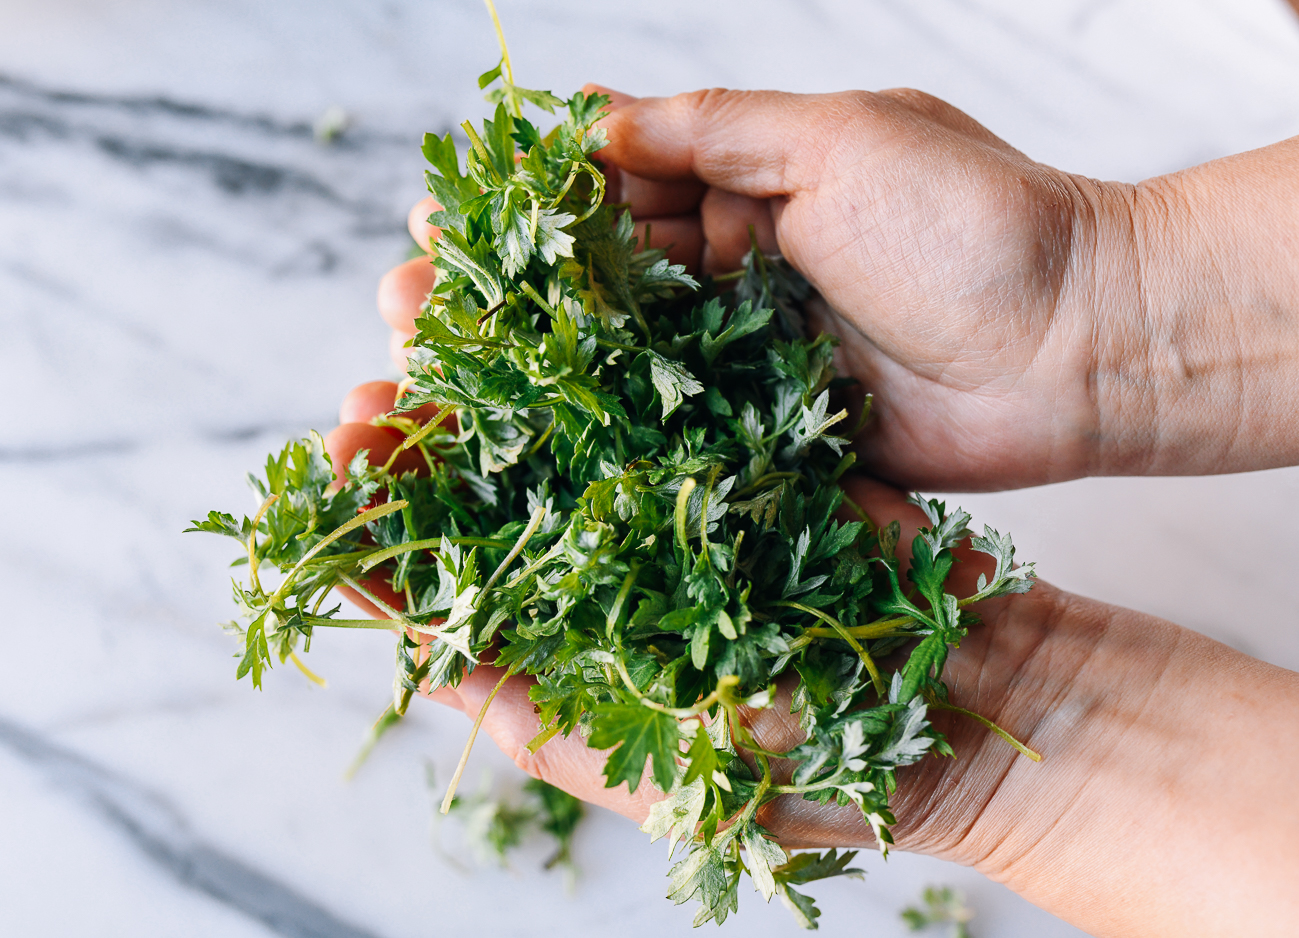

That’s why the window to make and enjoy qingtuan is so small. It’s when the mugwort plants shoot out of the ground, before they get tough and overwhelmingly large.
After some digging (no pun intended), I found out that mugwort is a culinary ingredient in Japan and Korea too. It’s used in cooking, as a tea, and in powdered forms in desserts like these qingtuan. Japanese people also have a version of this—mugwort mochi, called yomogi mochi.
And mugwort tea is very big on Amazon—who knew!

Traditional Chinese Medicine in Your Backyard
In Traditional Chinese Medicine (TCM), foods are categorized as either “warming” or “cooling” for your constitution. Most leafy greens are cooling, but mugwort is unique in that it is actually warming.
There are also other medicinal properties of mugwort that Asians have regarded highly for thousands of years.
For example, TCM uses mugwort in a treatment called moxibustion, which is intended to improve the flow of qi in the body. I won’t get too much into it, but if you’re curious, you can read up on it!
Other everyday uses of mugwort include adding it to a foot soak to promote yang qi and expel dampness from the body. Who would say no to a foot soak?
But a really great tip I know that anyone would enjoy: put a bunch in your fire pit while relaxing in your backyard or out camping. The smoke generated from burning fresh mugwort will keep the mosquitoes away!
Take it from the Experts!
Check out more on the usage, benefits, and precautions around mugwort at WebMD (for example, you should avoid it if you’re pregnant) and Very Well Health. There’s lots of information out there, so do your research before diving into the world of mugwort!

Where to Find Mugwort
You can either forage for your own mugwort or buy it from the store. If you are uncomfortable with identifying it, mugwort powder is also available online or at Asian markets.
Mugwort is a perennial weed that grows in the wild. You probably don’t have to go too far. You can find them just about anywhere and spot them along walking paths, roadsides, open fields, or maybe in your backyard.
Just make sure the area you’re foraging from is indeed wild/untouched and hasn’t been treated with herbicides/weed killers or pesticides.
Although mugwort is relatively easy to identify, be sure to look for these signs:
- Its leaves are somewhat jagged and symmetrical.
- They have a silvery felt-like texture on the back of each leaf.
- The tall stalk is purplish around the base and the top of the root.
- The smell is also a key sign—the scent is similar to pine and sage when you brush over them with your hands or tear a leaf off. This strong scent will become more mellow after cooking.
WARNING!
Monkshood, also known as wolf’s bane, is an extremely poisonous plant, and it can sometimes be mistaken for Mugwort. Even touching it can cause a reaction, let alone consuming it. If you’re foraging mugwort (or any other foraged food) yourself, be sure that you have identified it correctly. Mugwort leaves have a silvery, hairy underside that Monkshood leaves do not. Read more about identifying mugwort here.
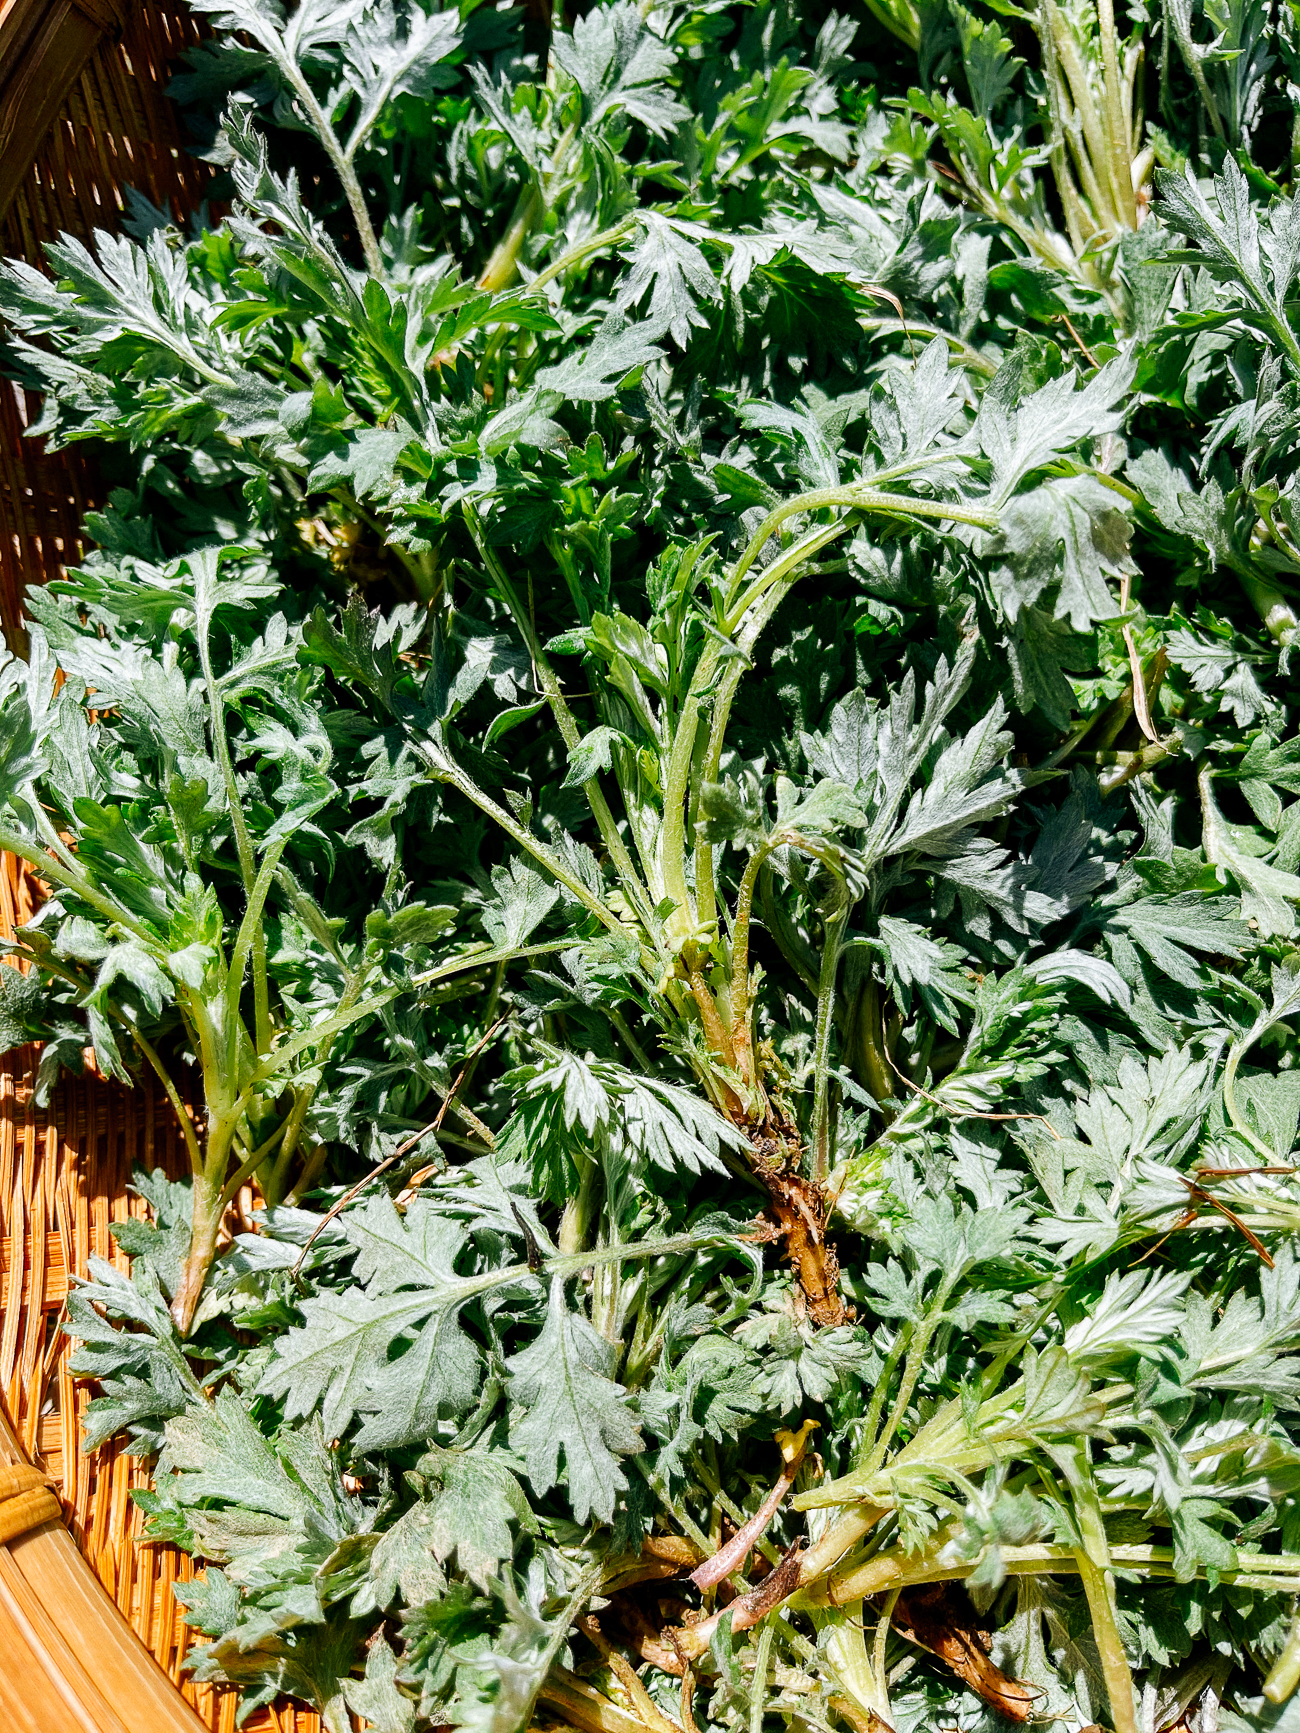

With young mugwort plants, you can harvest all the leaves. With older and stalky mugwort plants, only pinch the tender leaves around the tops. The best time to consume mugwort is in the spring, when they are still tender and the taste is more mild.
Our Foraging Expedition
After learning how to spot mugwort, we felt more comfortable foraging for it on our own. We grabbed Barley and a basket, and walked down the street to an open patch of meadow near our house to harvest some.
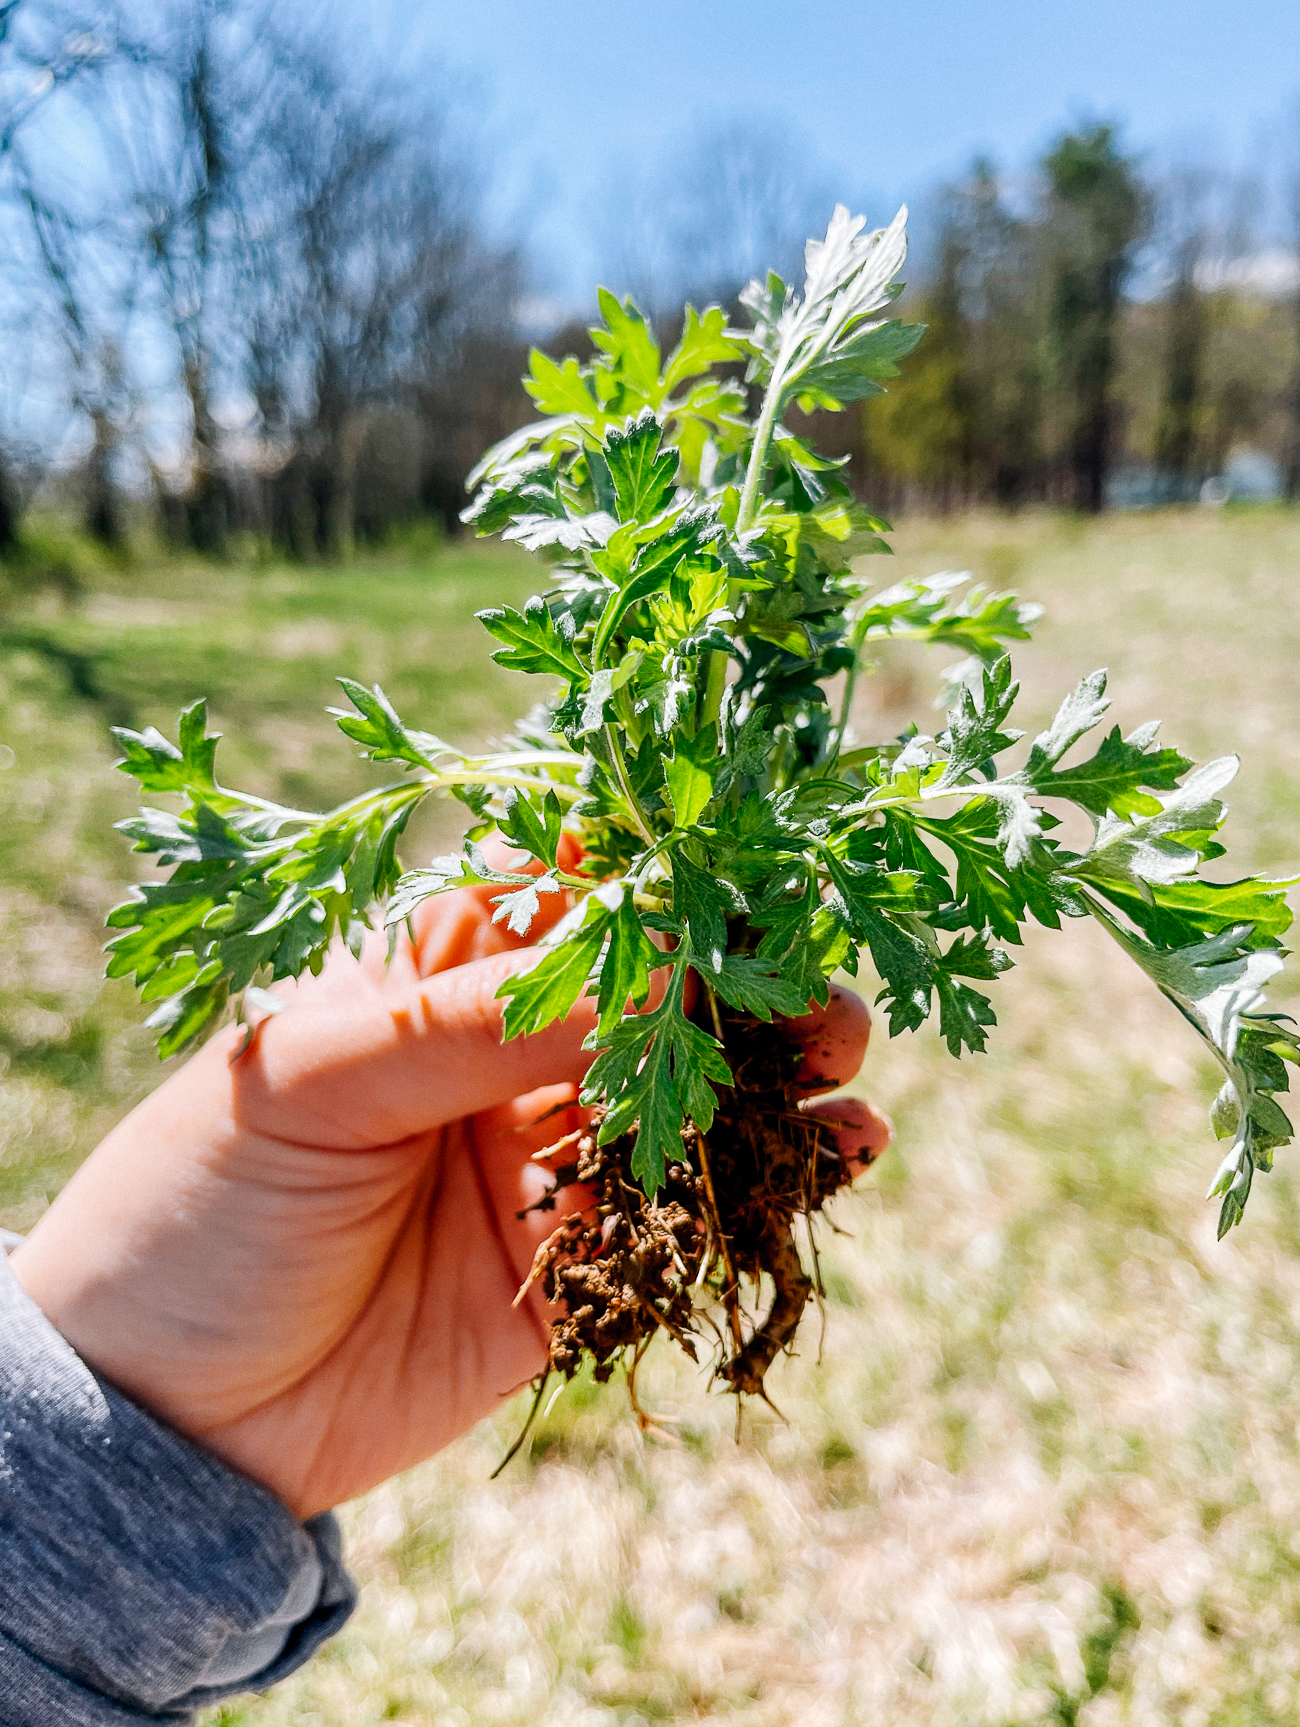
We hadn’t gone many steps into the meadow before we stumbled upon a patch of tender mugwort shoots. These ended up being a little small for our purposes, so we ended up going back a week later, but you can see the look and shape of the plants here!
Barley dutifully stood guard while we foraged. Before long, our basket was full!
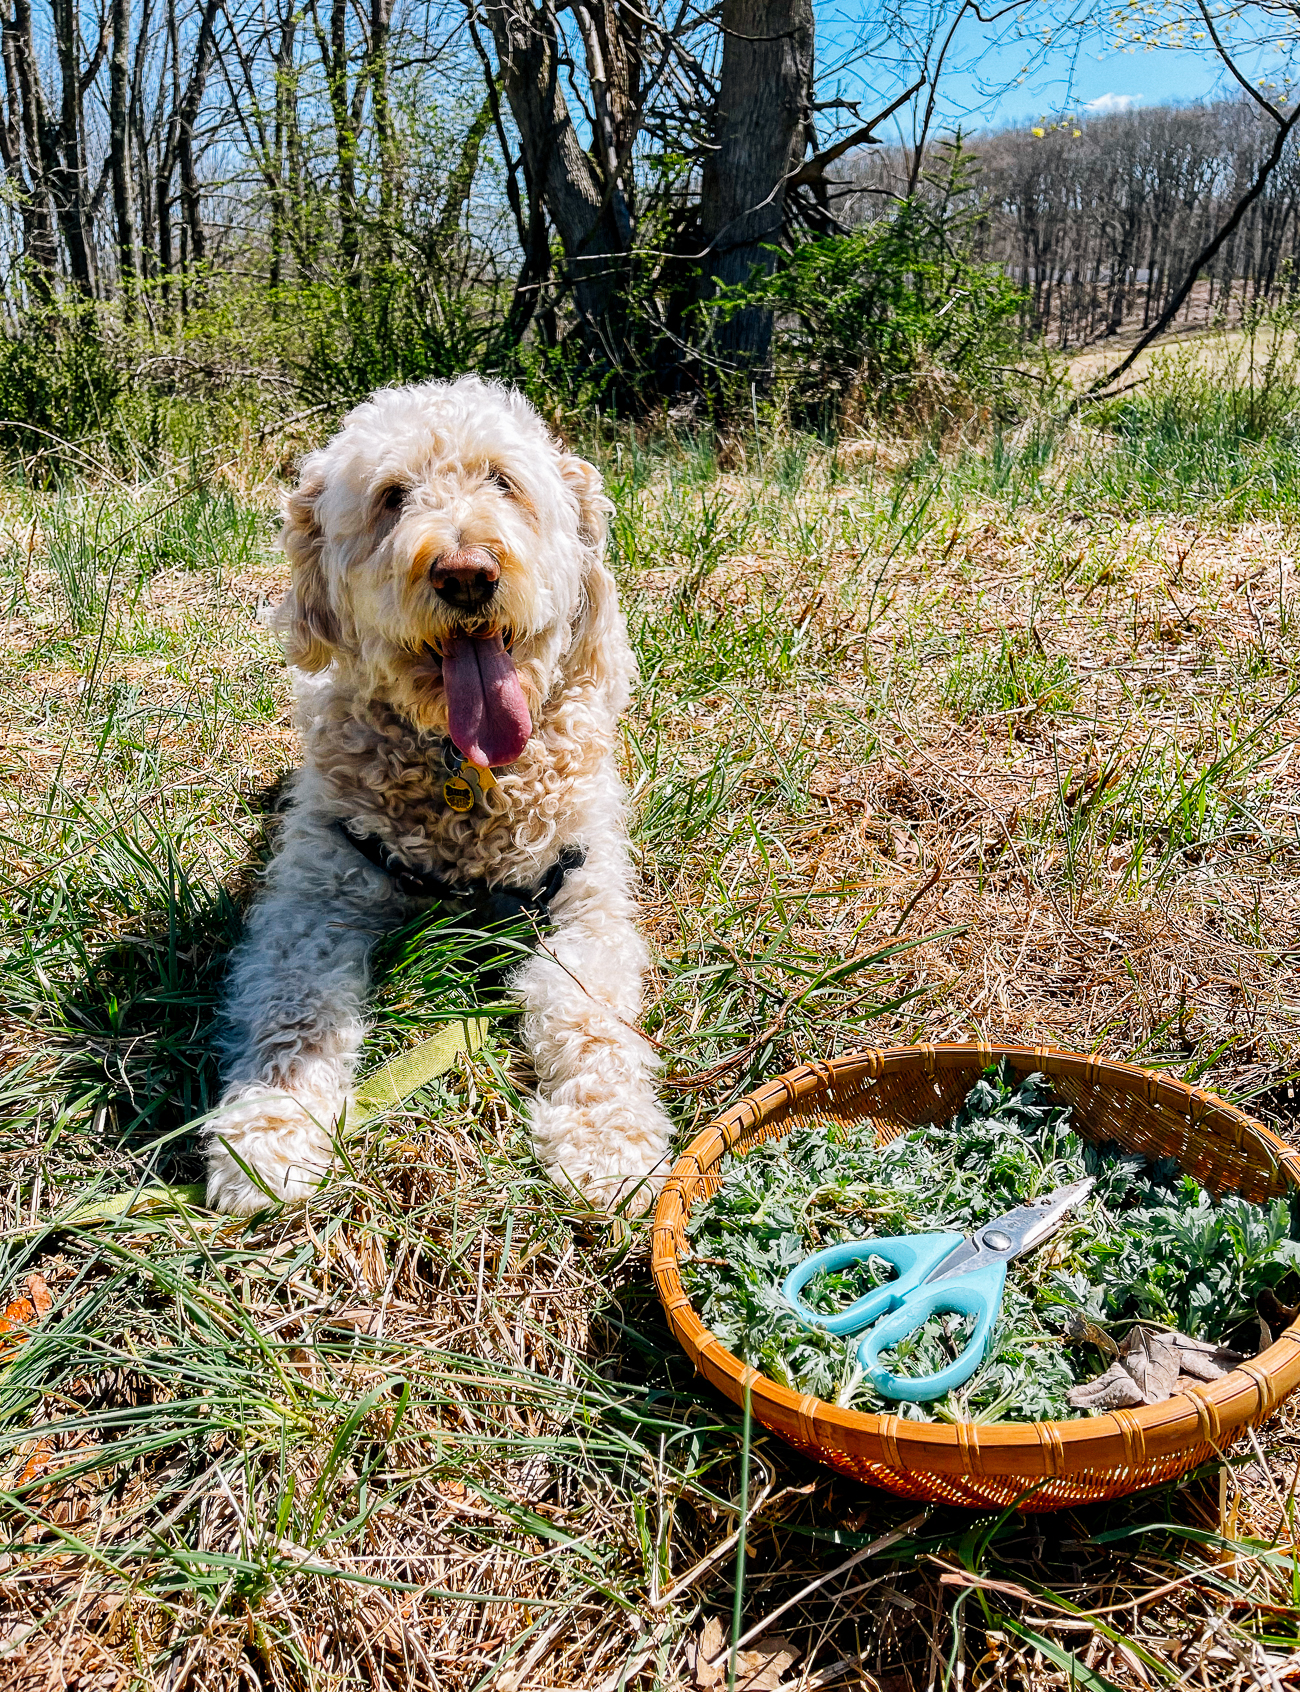

We also grabbed a few stalks with a root ball so we could plant them in our backyard garden and have our own supply. If you’re interested in doing this, just be sure to keep them under control, as they can spread easily! You may want to plant them in pots.

Disclaimer: Before you go foraging, watch plenty of reputable videos on Youtube and learn how to properly identify them. Just know that you are consuming at your own risk!
I hope this post gave you some insight into this Chinese springtime treat, and gives you a new way to enjoy this useful plant!
Recipe Instructions
STEP 1: Make the red bean paste (or grab a package of store bought paste)
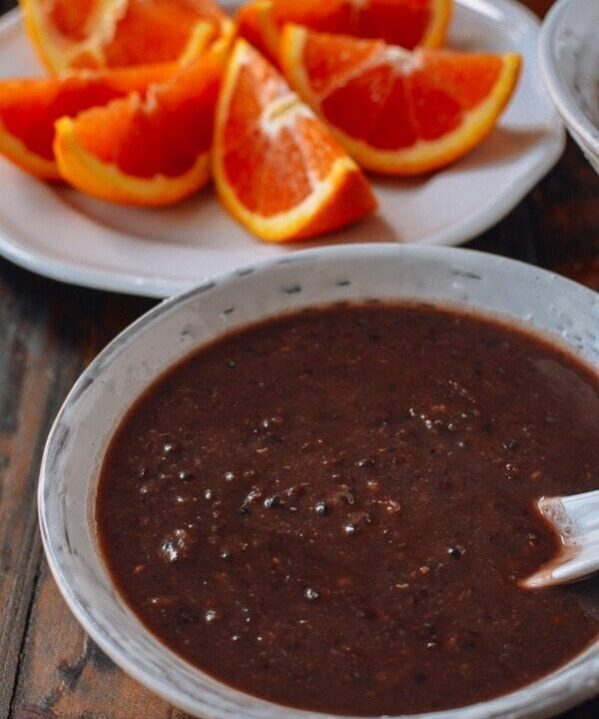
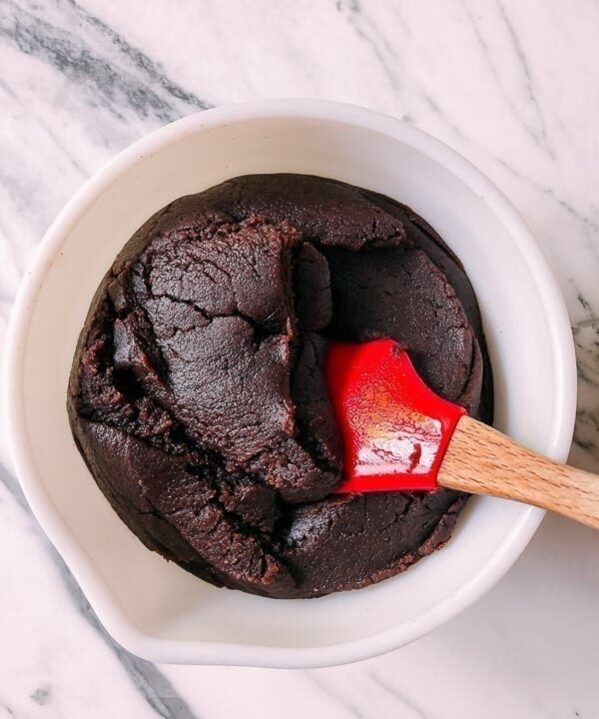
Use store bought, ready-made red bean paste filling, or make your own by using our recipes–either our Instant Pot Red Bean Paste or our red bean paste recipe made on the stove.
Just know the Instant Pot red bean paste recipe will make 3x the amount needed for this qingtuan recipe. The good news is you can freeze the extra for other red bean treats.
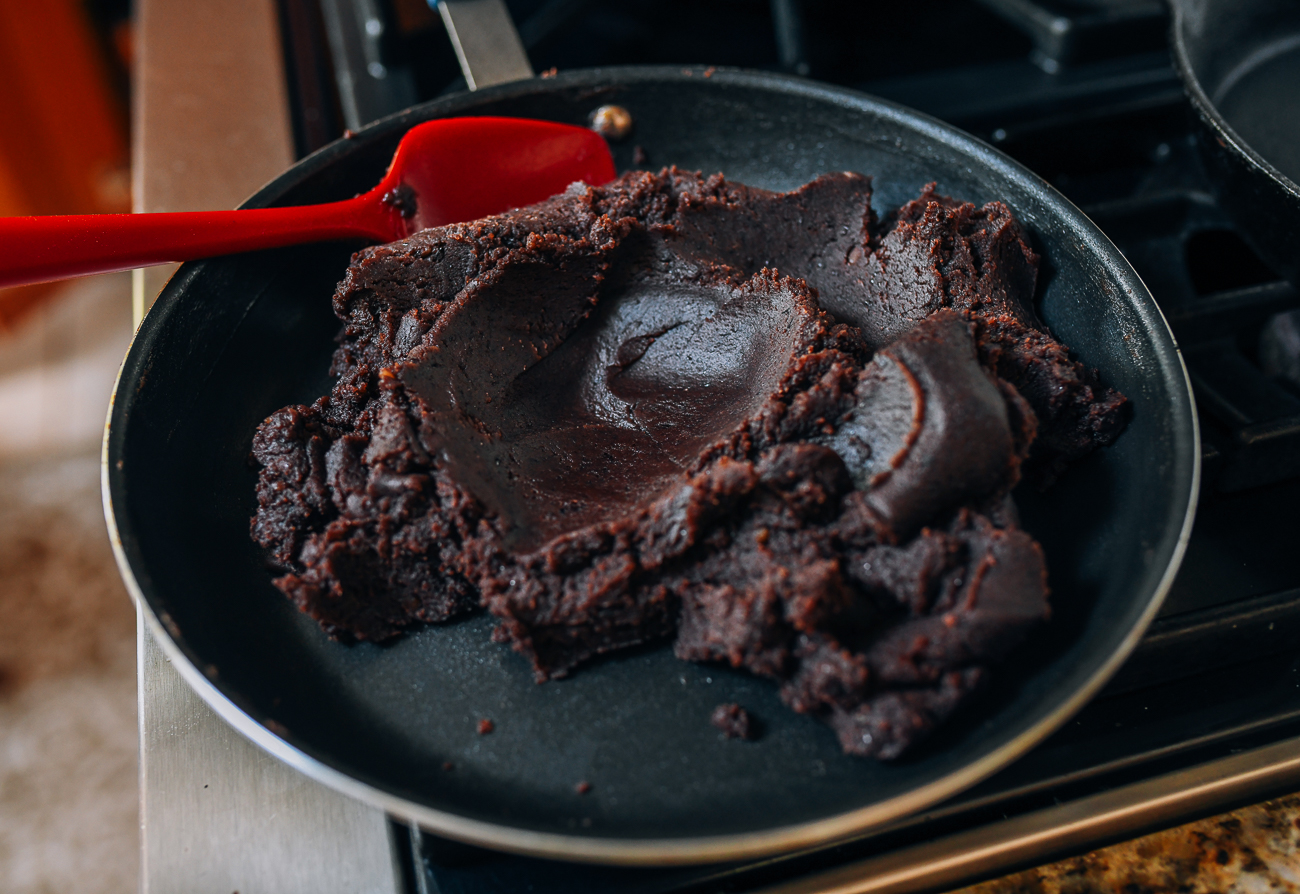

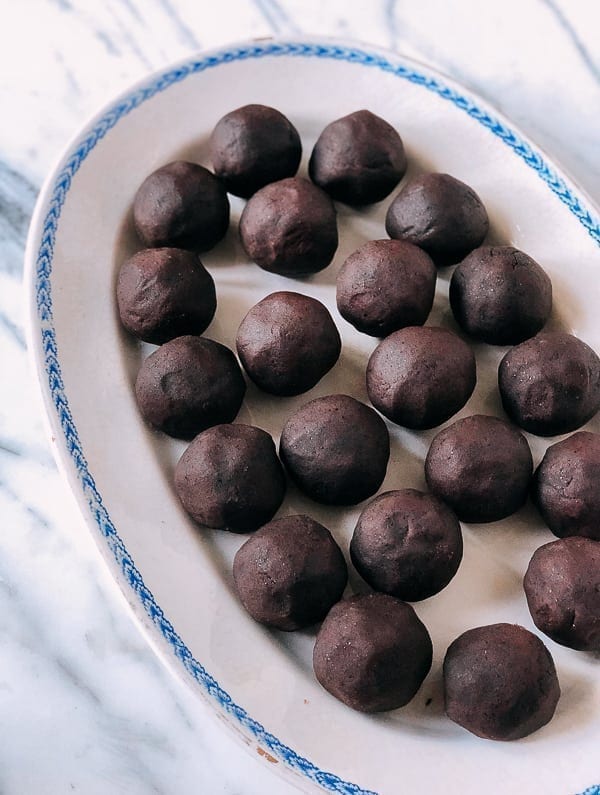
You need 15 balls of red bean paste, each weighing 25g (about 1½ tablespoons). To prepare them for the qingtuan, roll the cooled red bean paste into smooth balls. If desired, you can use less, as many people enjoy the texture of the mochi dough more than the filling.

STEP 2: Make the mugwort puree
Note: I made double the amount of mugwort puree actually needed for this recipe, since my blender can’t properly puree smaller amounts. Feel free to use half the recipe, or do what I did, which is freeze the other half of the puree to use later. You can use this puree to color dough, in soups, or to make a double batch of these qingtuan to share with friends.
Wash the mugwort leaves a few times until the water is clear. Drain and set aside.
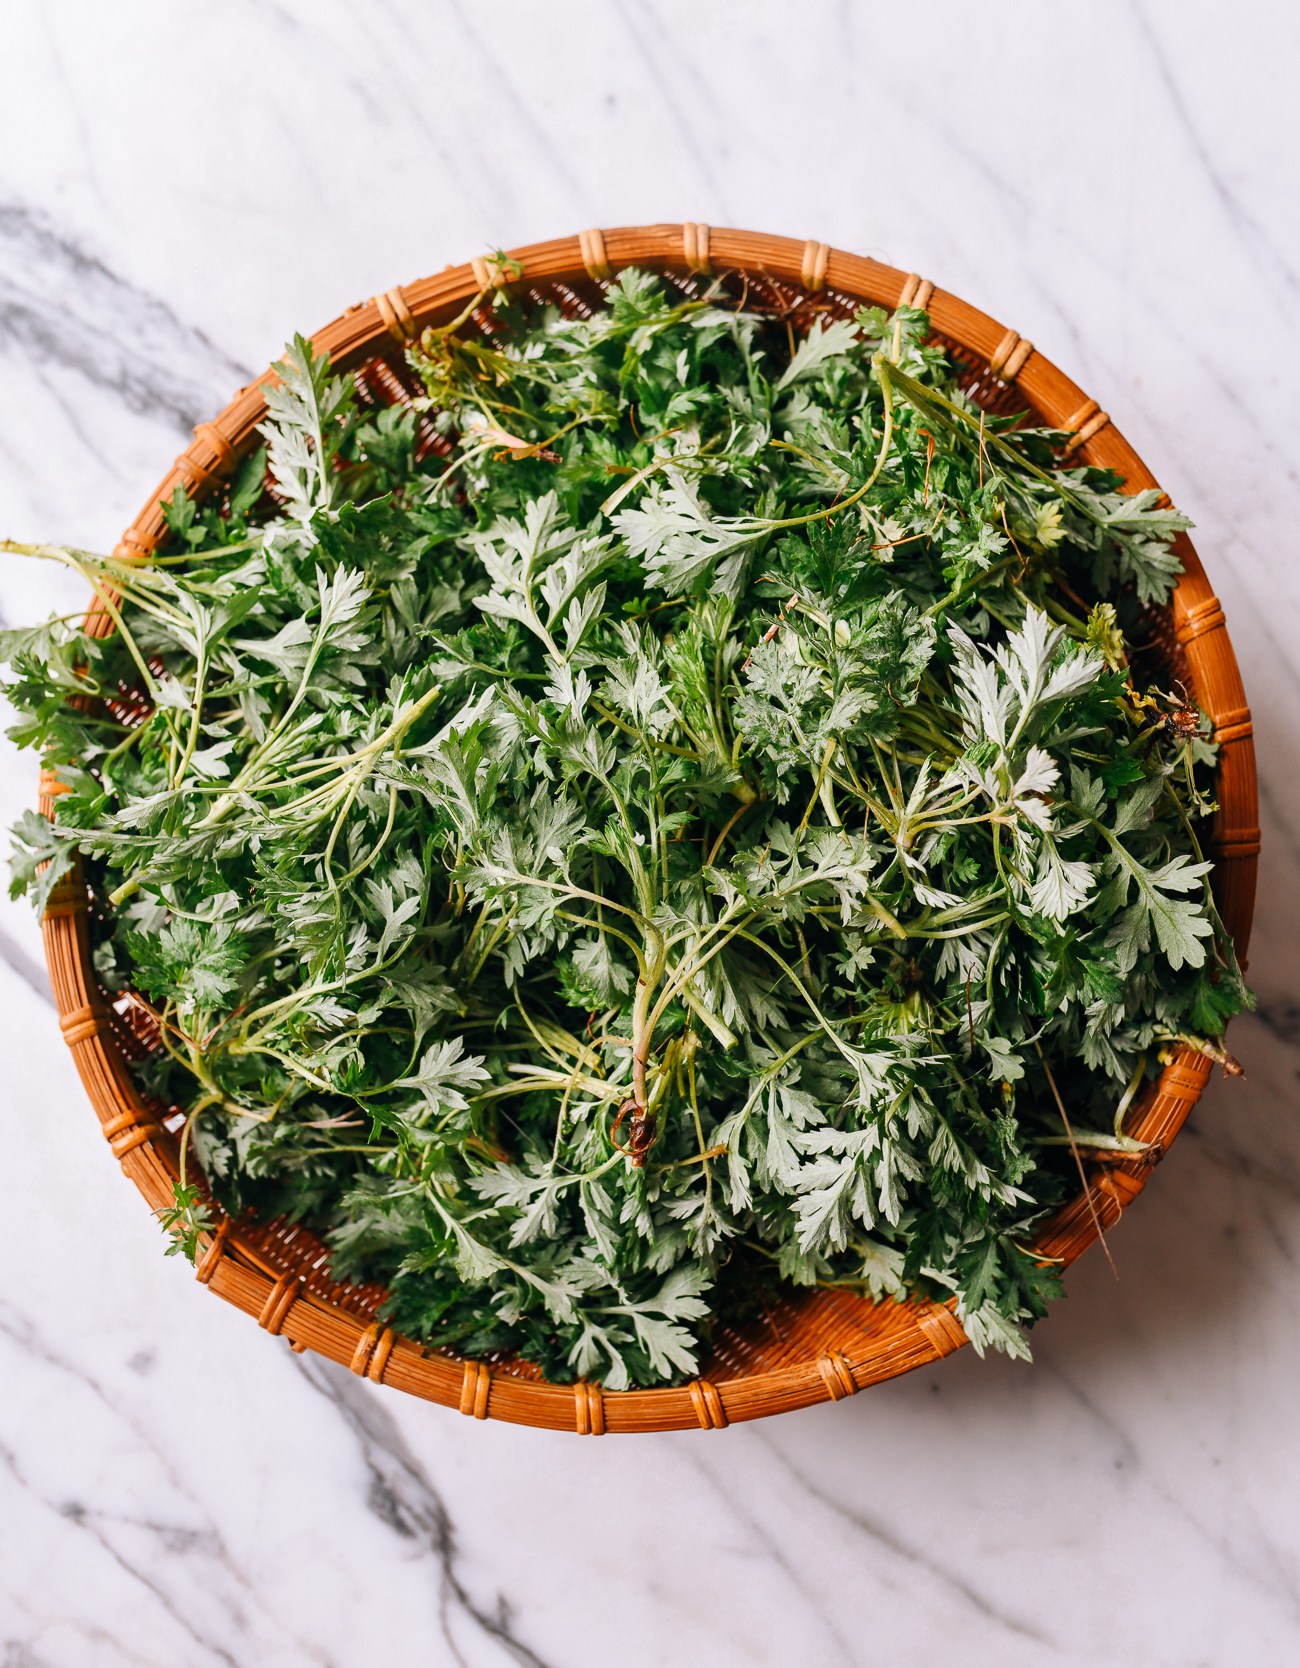

Bring 6 cups of water along with 1 teaspoon of salt to a boil in a medium pot, and blanch the mugwort leaves for 30 seconds.
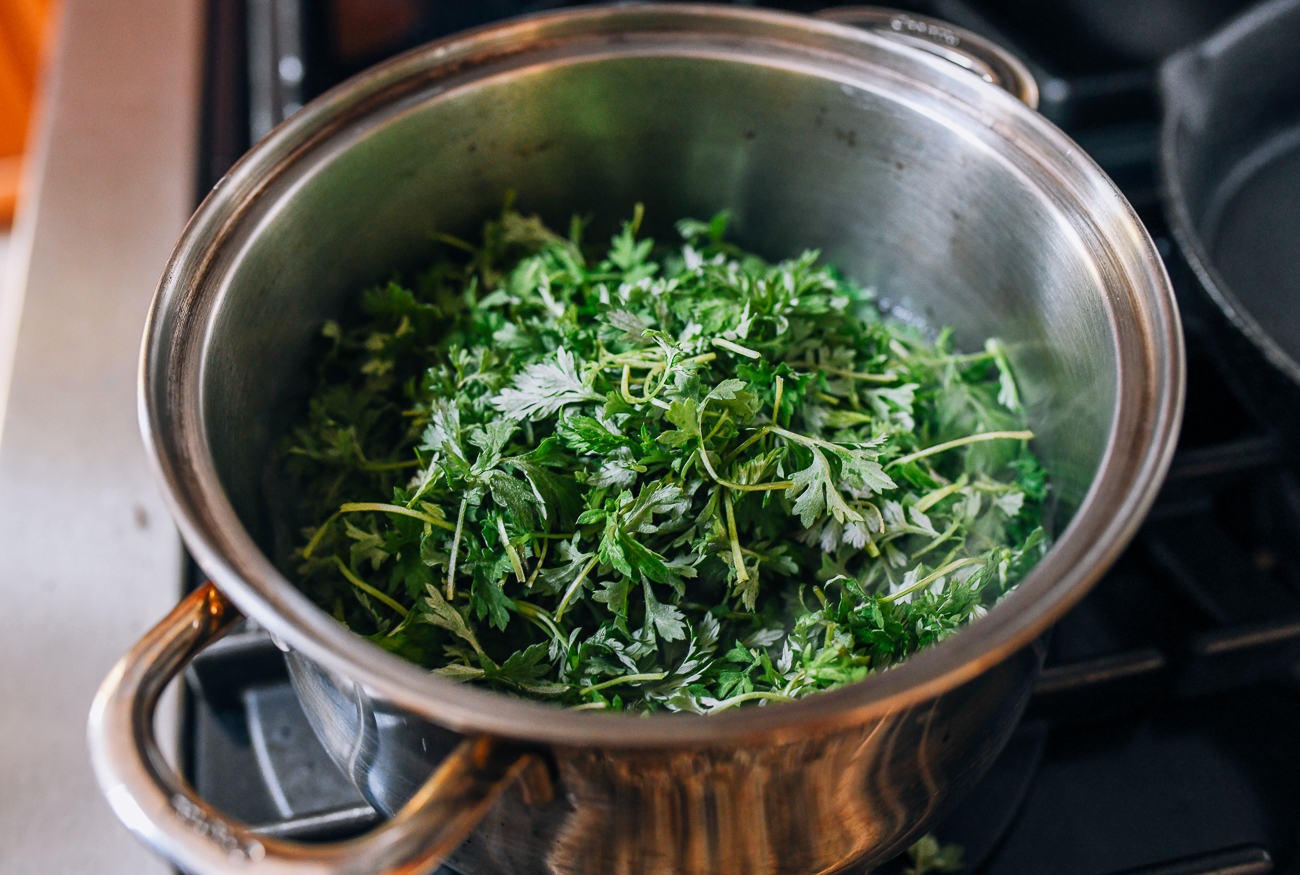

Quickly remove them…
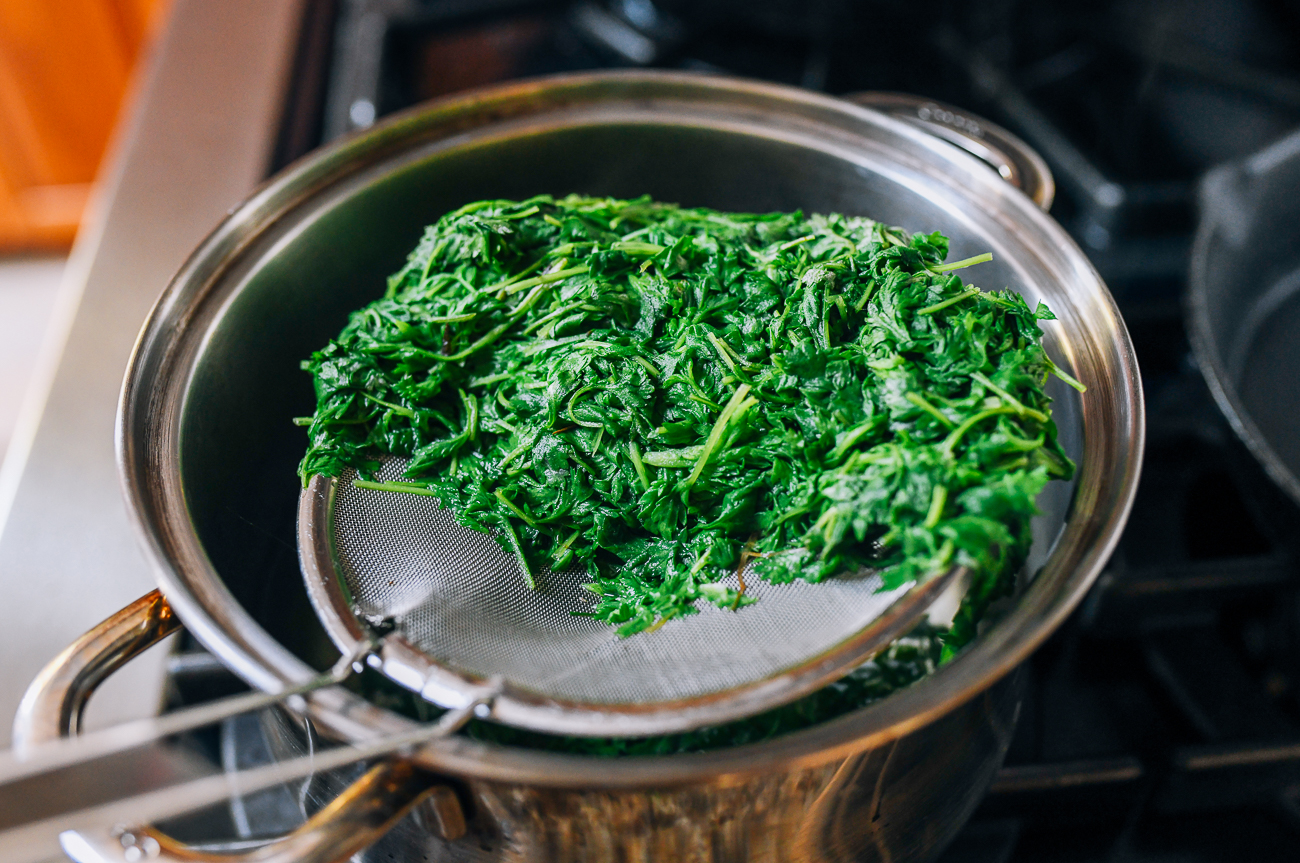

And transfer to an ice bath to cool them quickly and lock in the bright green color.
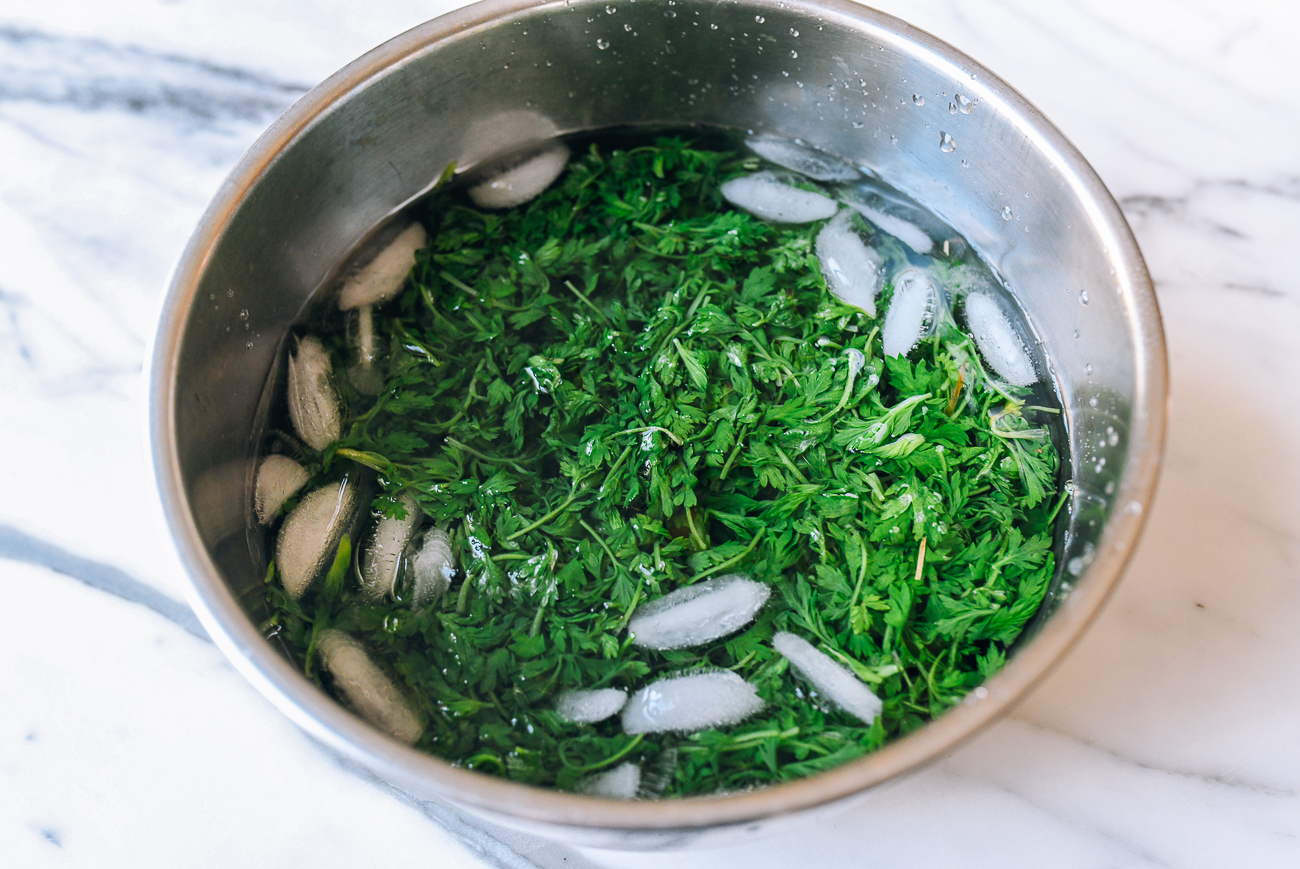

Once cooled, squeeze them gently to release excess water—there’s no need to squeeze them completely dry.
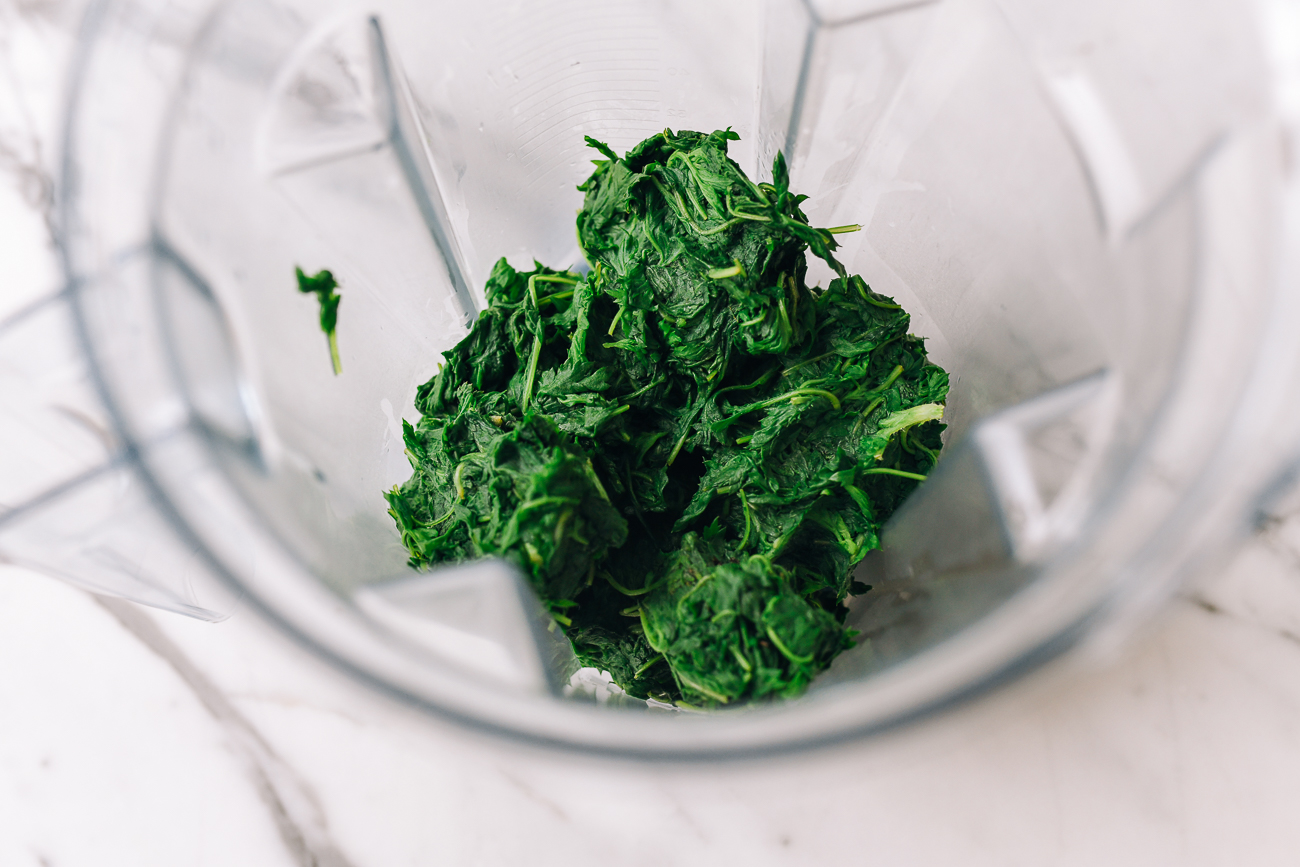

Puree them in your blender, along with ¼-½ cup of water (the water helps yield a smooth puree).
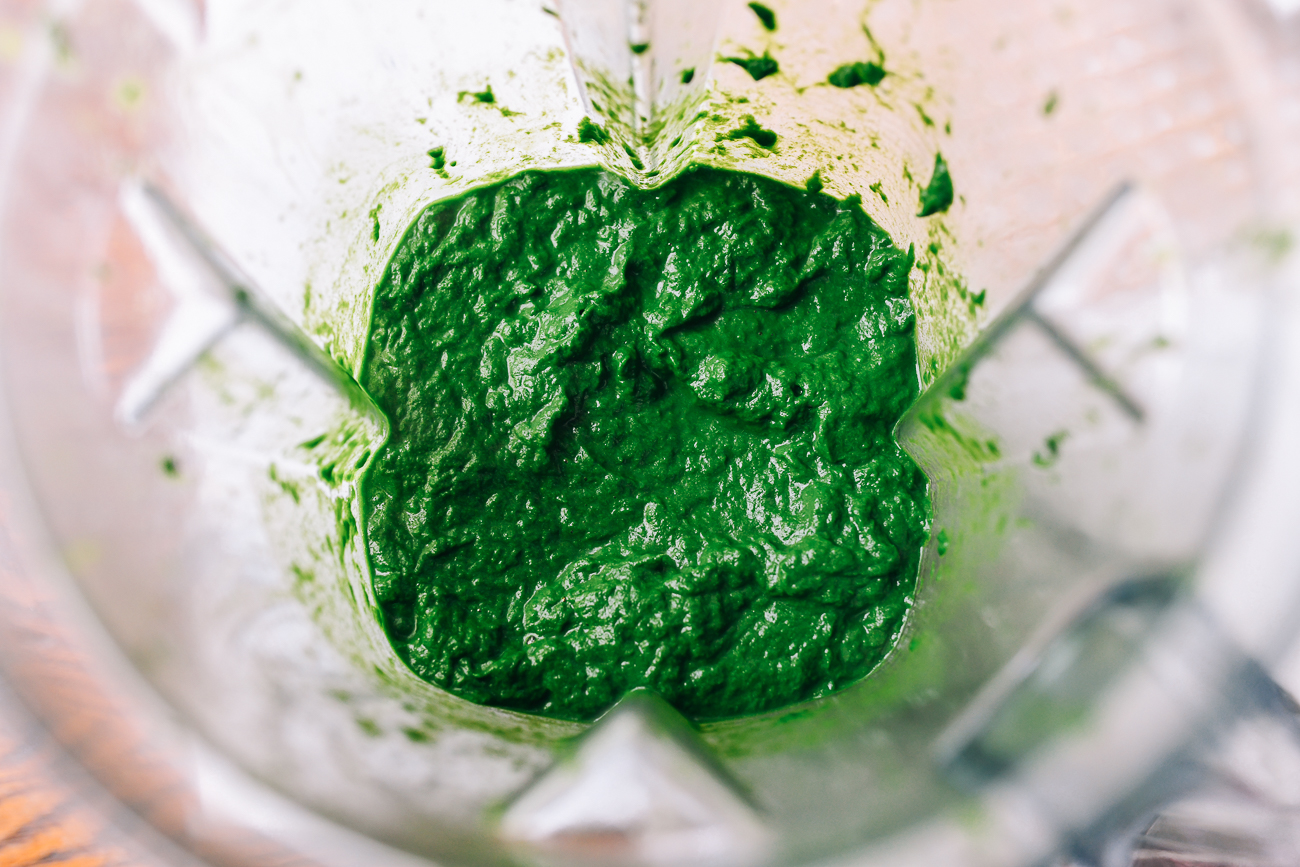

With these steps, I ended up with about 540g of mugwort puree. Don’t let the mugwort sit out too long before mixing the dough, or it will lose that beautiful green color.
STEP 3: Make the dough
In a medium mixing bowl, use a rubber spatula to stir the wheat starch with 1/2 cup (120ml) boiling water, stirring until a dough ball forms. (The water must be boiling.) Set aside.
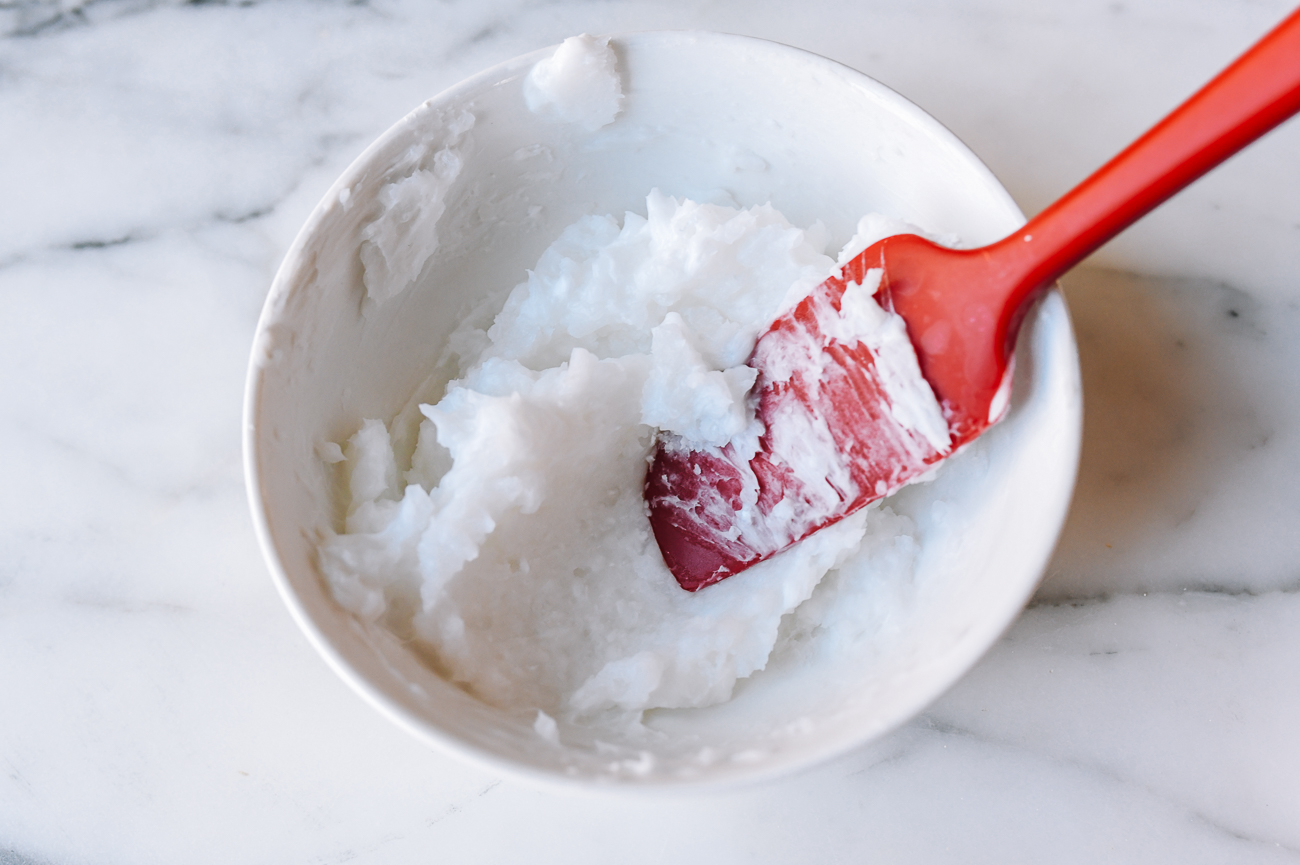

In a separate large mixing bowl, add the mugwort puree. If you made the full recipe, you’ll need to halve it (about 270g).
Add the sweet glutinous rice flour, lard (or butter), powdered sugar, and vanilla extract. Knead by hand until well combined, but slightly dry.
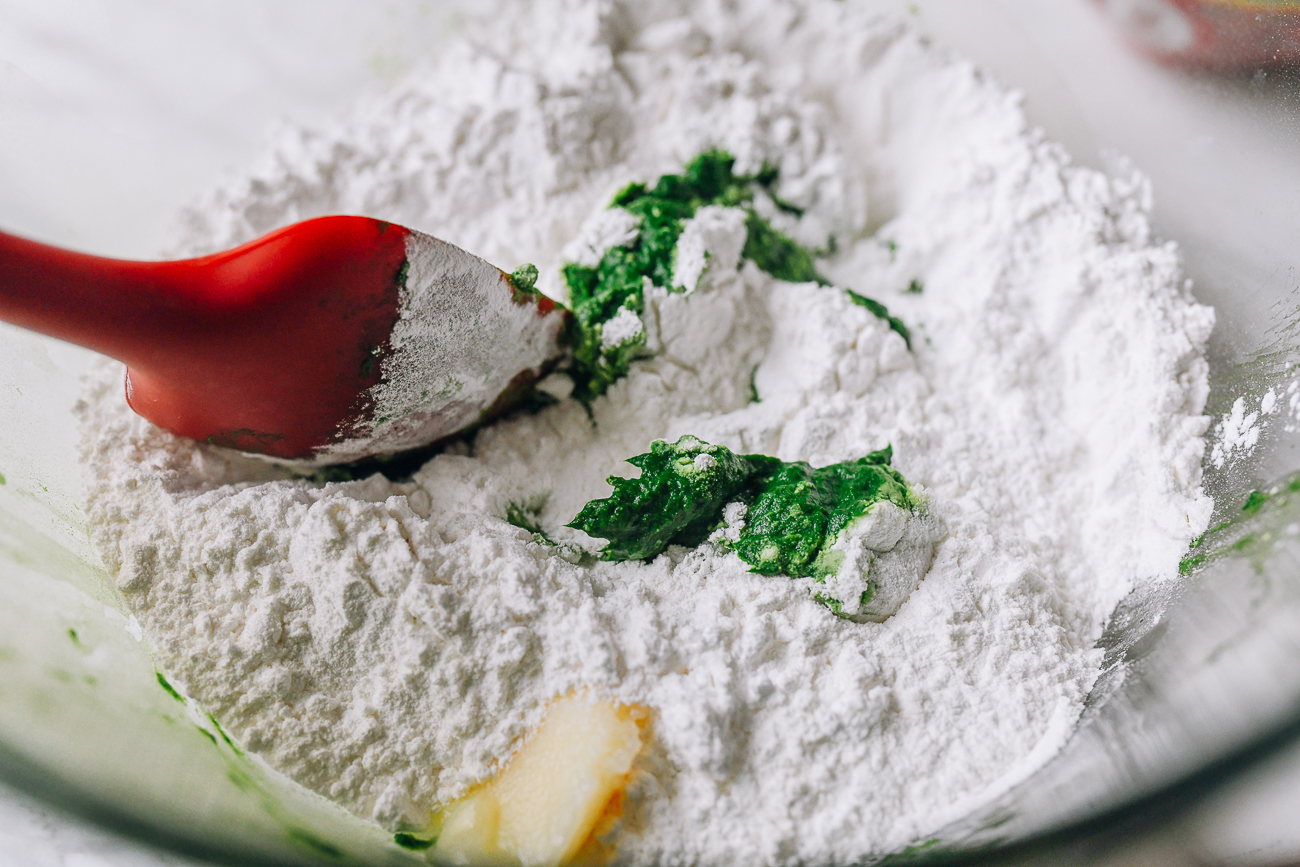

Add the wheat starch dough…
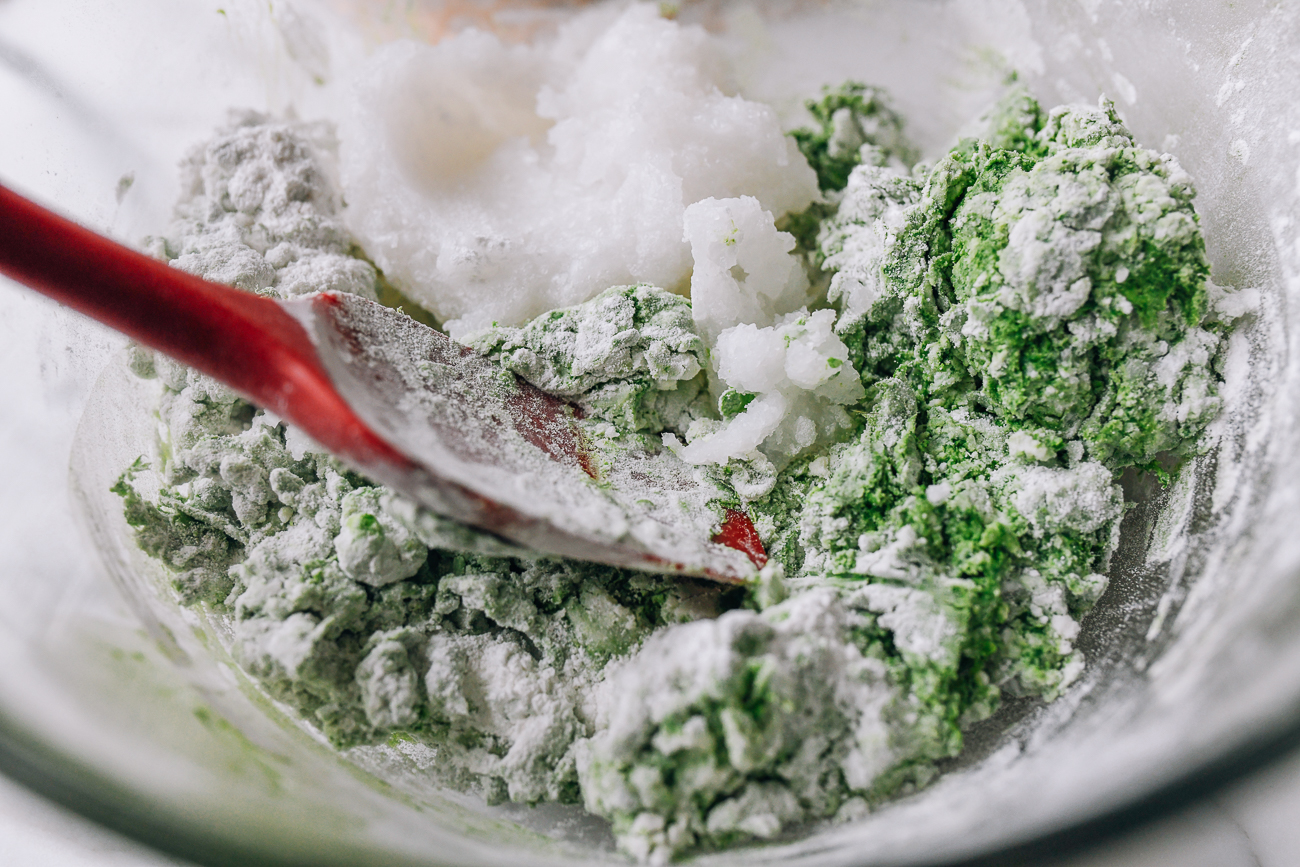

And knead until the dough is smooth and an even bright green color.
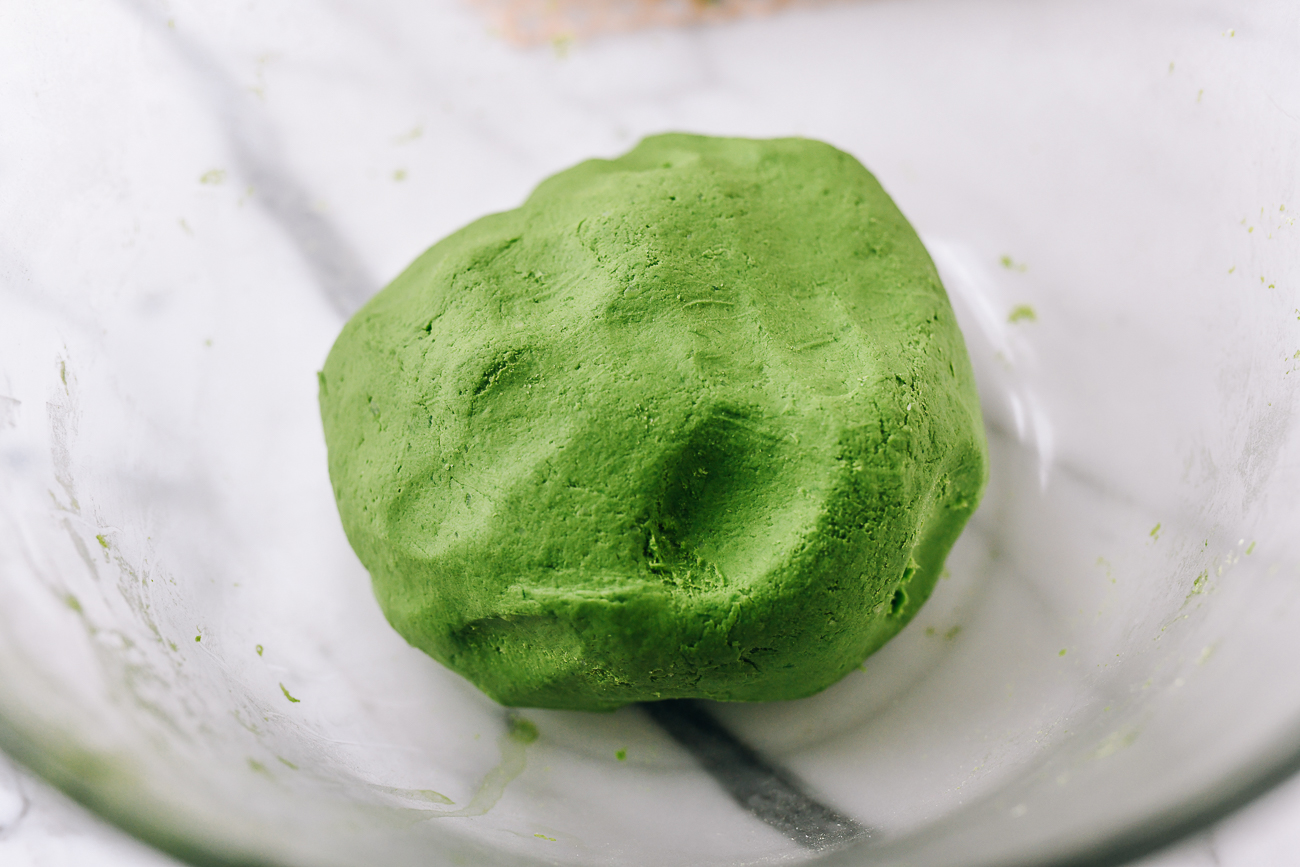

It should be wet enough such that when you pinch off a piece, it doesn’t crack, but dry enough to hold its shape. If it’s too dry, knead in 1 teaspoon of water at a time until soft. If it’s too wet, knead in 1 tablespoon of sweet rice flour at a time.
Ultimately, the dough is very forgiving! Your goal is to be able to seal them tightly around the filling. Once cooked, wetter dough will be gooey in texture, and drier dough will be chewier. I prefer chewy!
The dough should weigh around 735g. Divide the dough into 15 pieces with each weight about 50g. Roll them into round balls, and cover to prevent them from drying out during assembly.
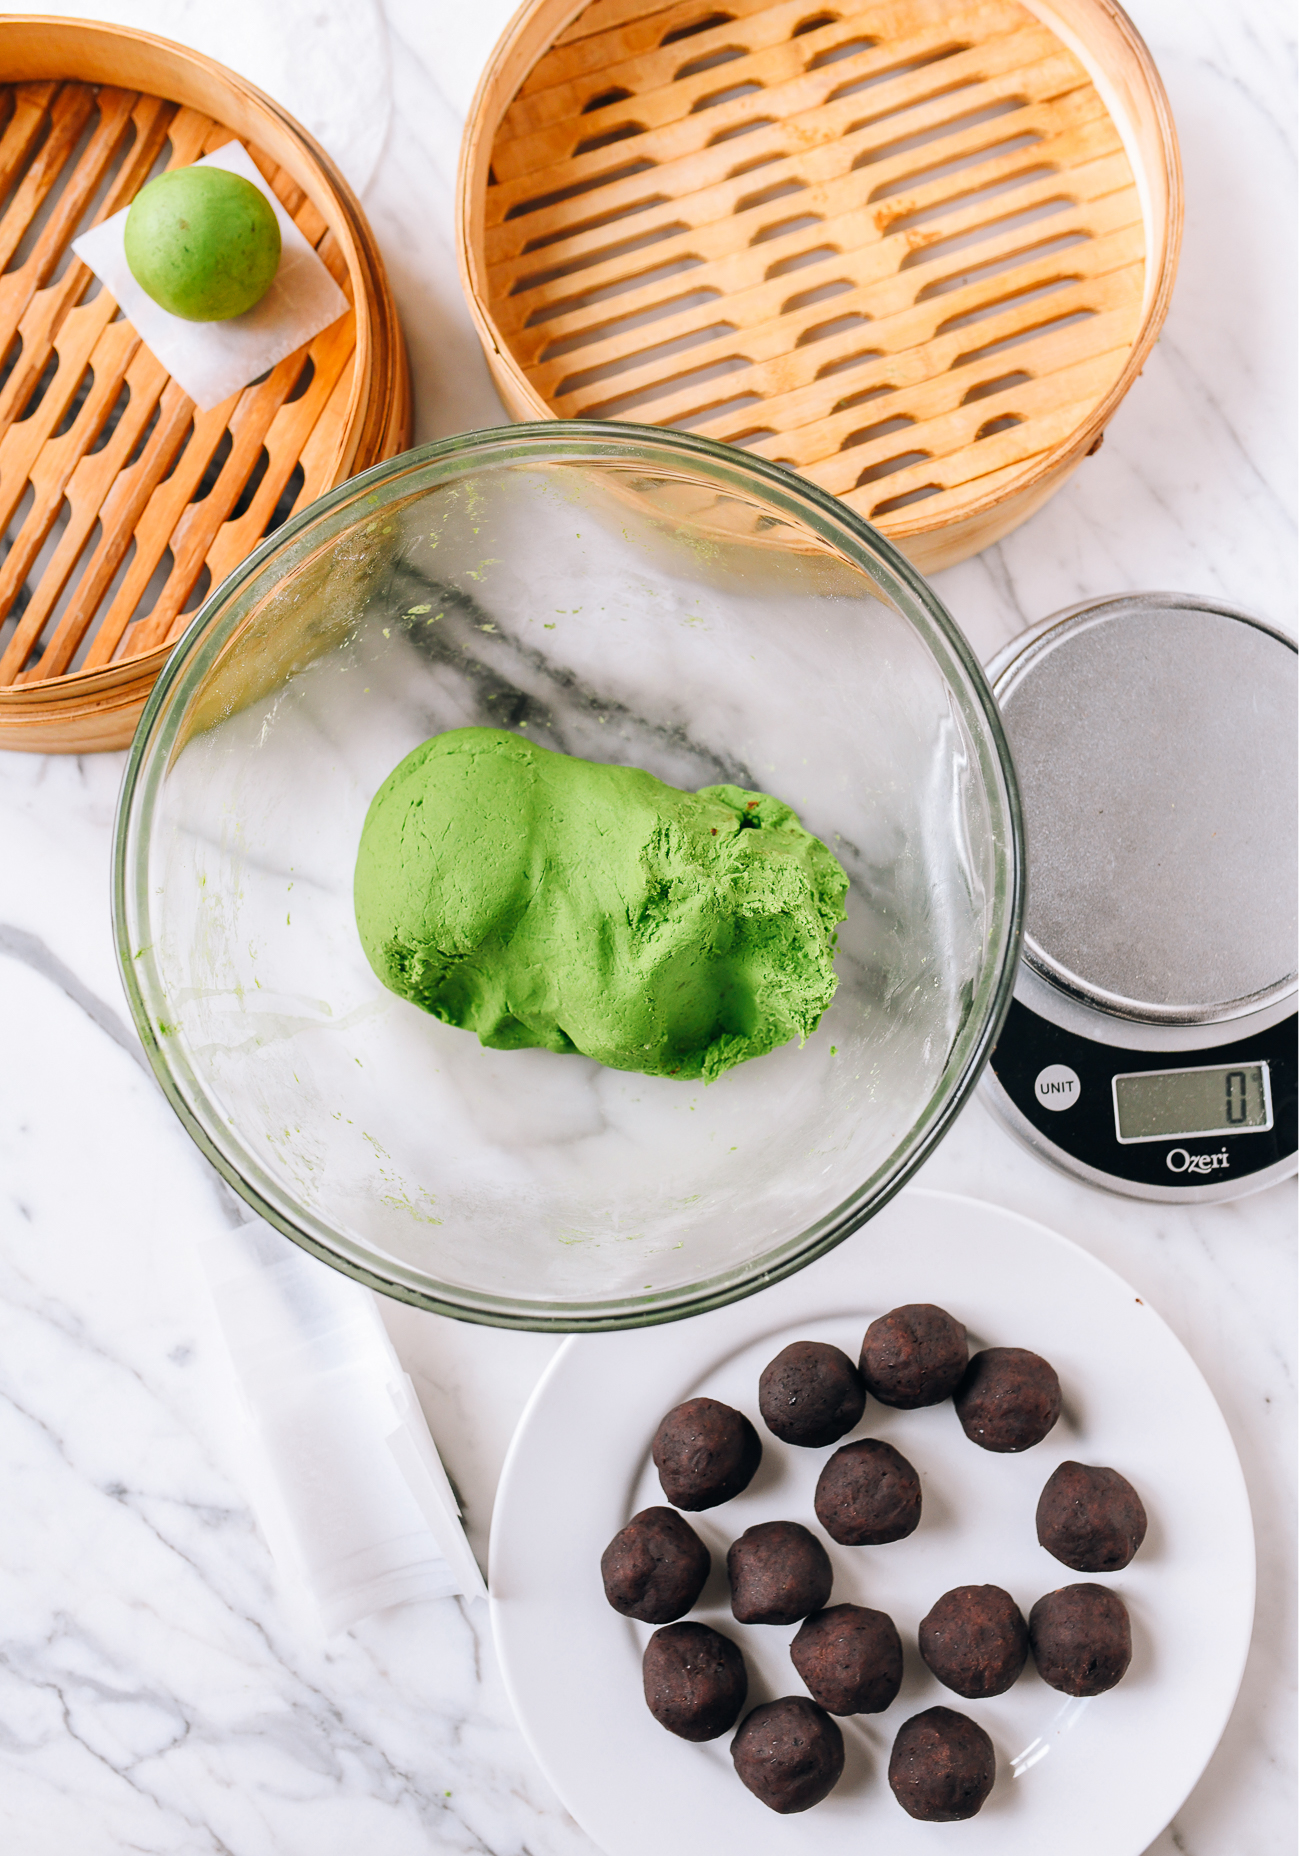

STEP 4: Assemble the qingtuan
Check out the video for our how-to instructions. Here’s what you do:
Prepare your steamer with enough water for 10 minutes of steaming on high heat (just ensure that if you are using a bamboo steamer the water level won’t touch the qingtuan). Prepare 15 3×3-inch squares of parchment paper to place each qingtuan on.
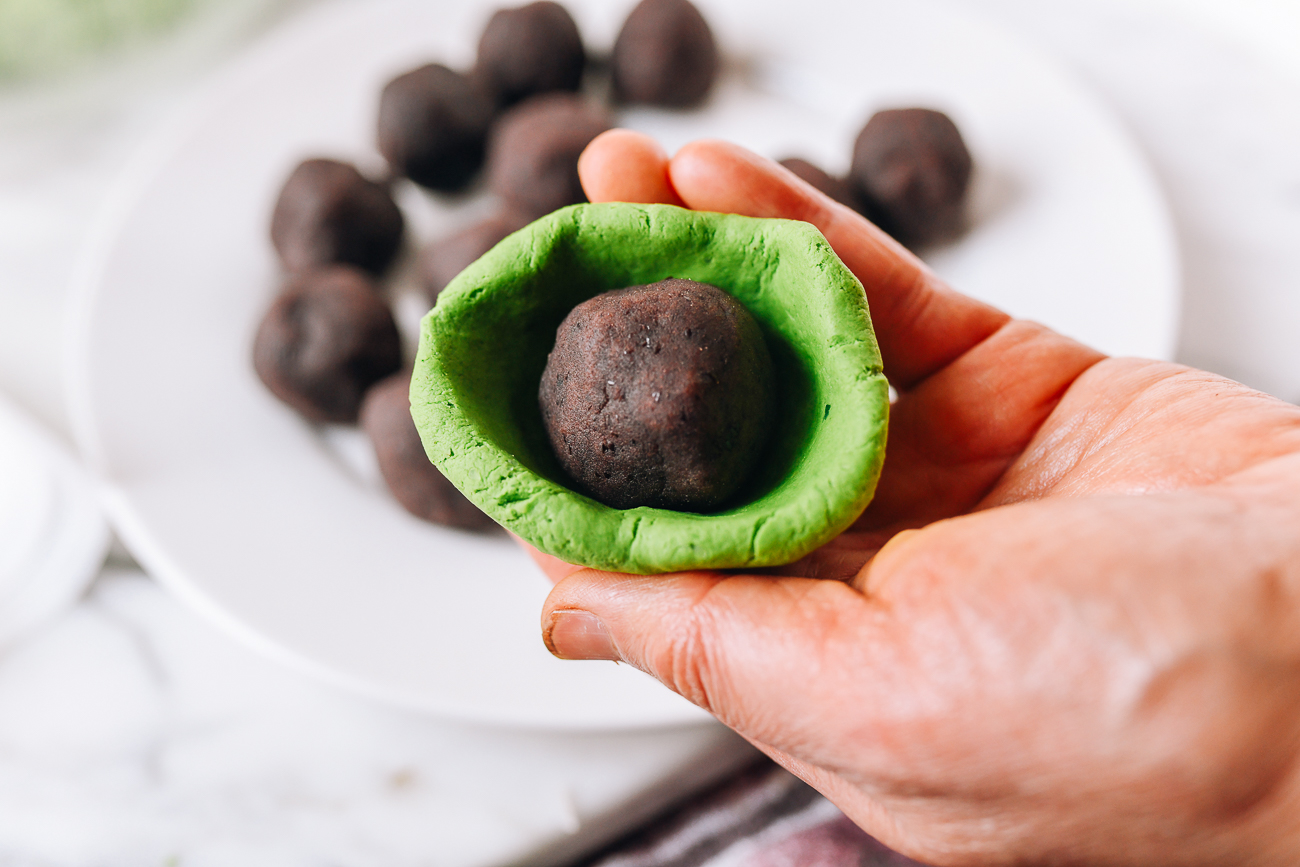
Take a dough ball, and make an indent in the center with your finger. Hollow out a deep well by pressing down and out, using your fingers to create a well.
The sides can’t be too thin—the well should be just wide and deep enough to fit the ball of red bean paste filling. Place the red bean filling inside.

Then gently squeeze the opening closed, pinching the seam together tightly.
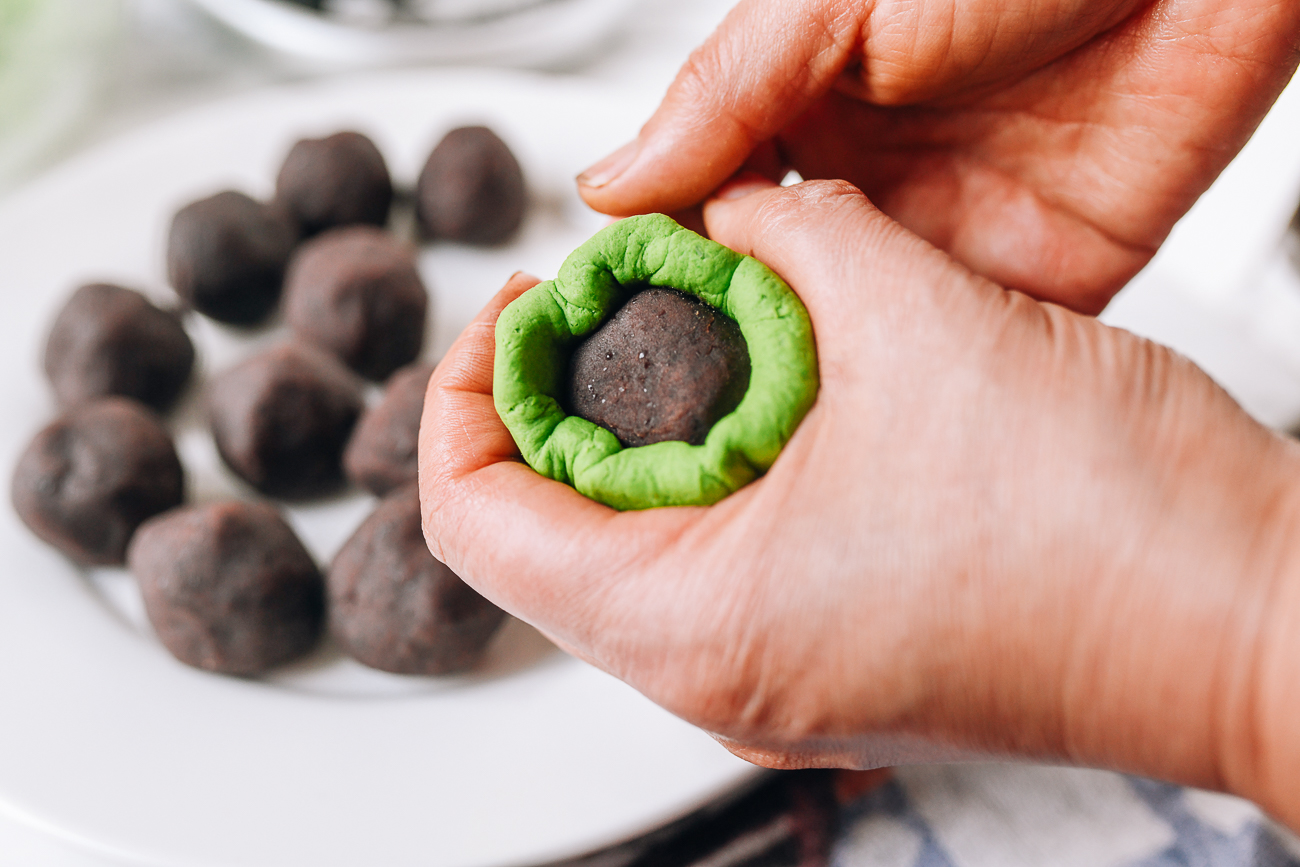

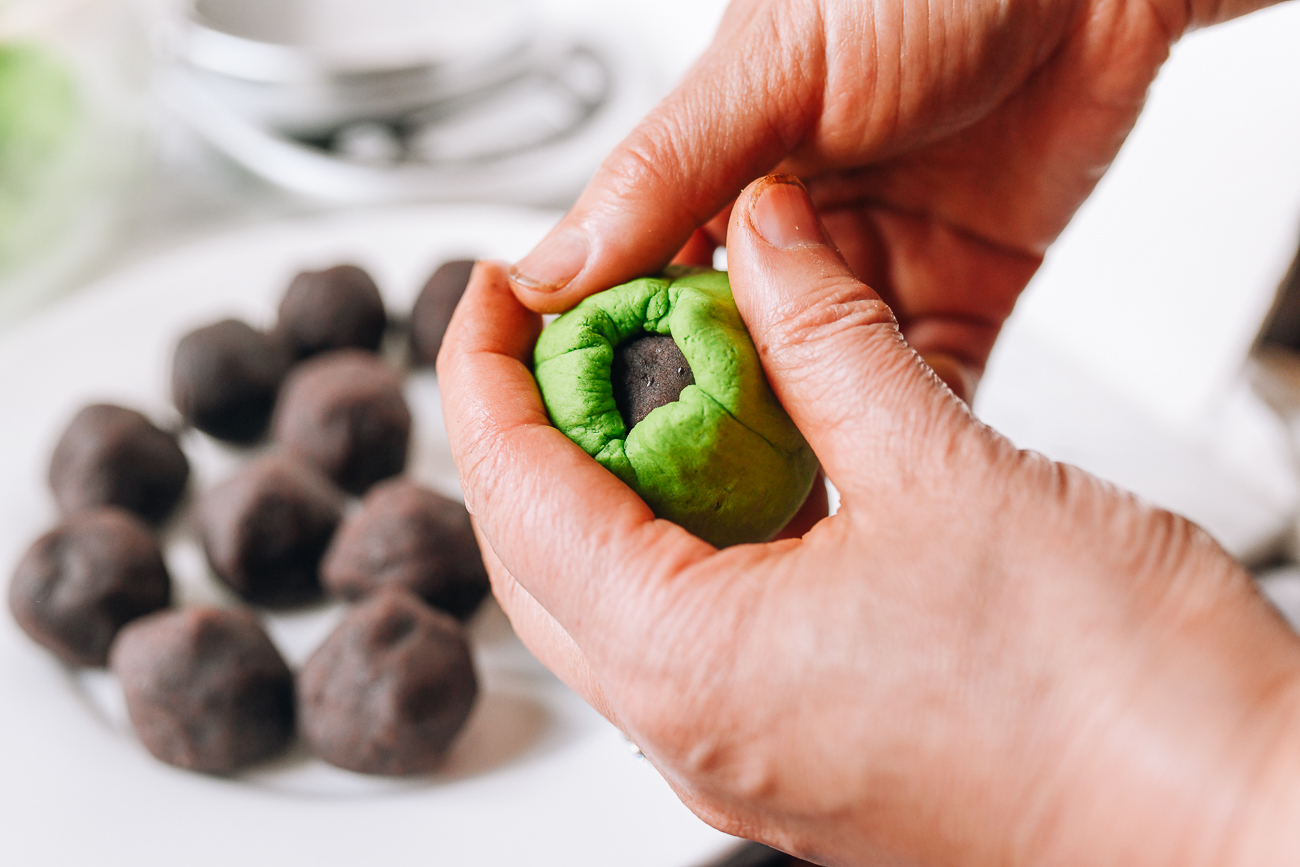

Make sure the open seam is closed.
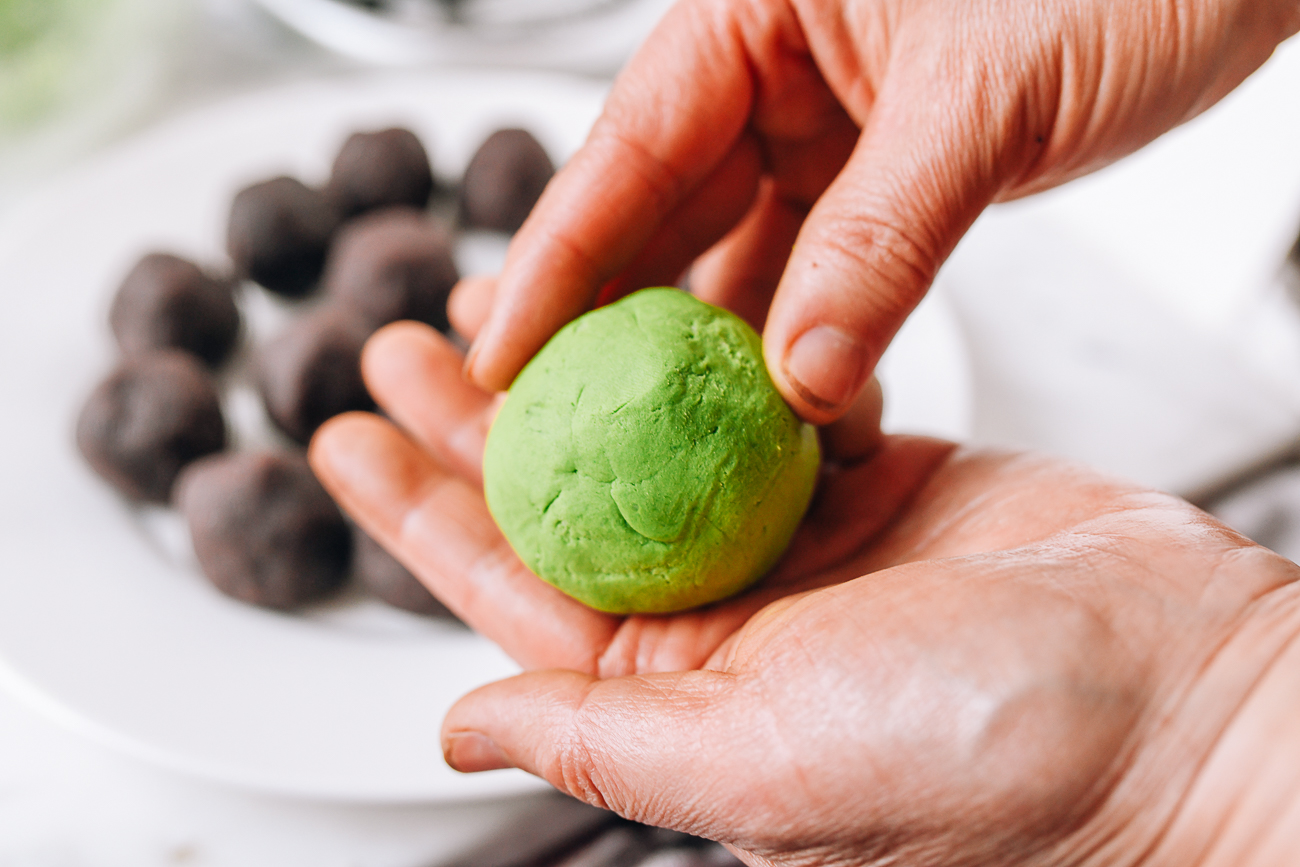

and roll it the qingtuan between your palms to smooth and round it out before putting it on a square of parchment paper.
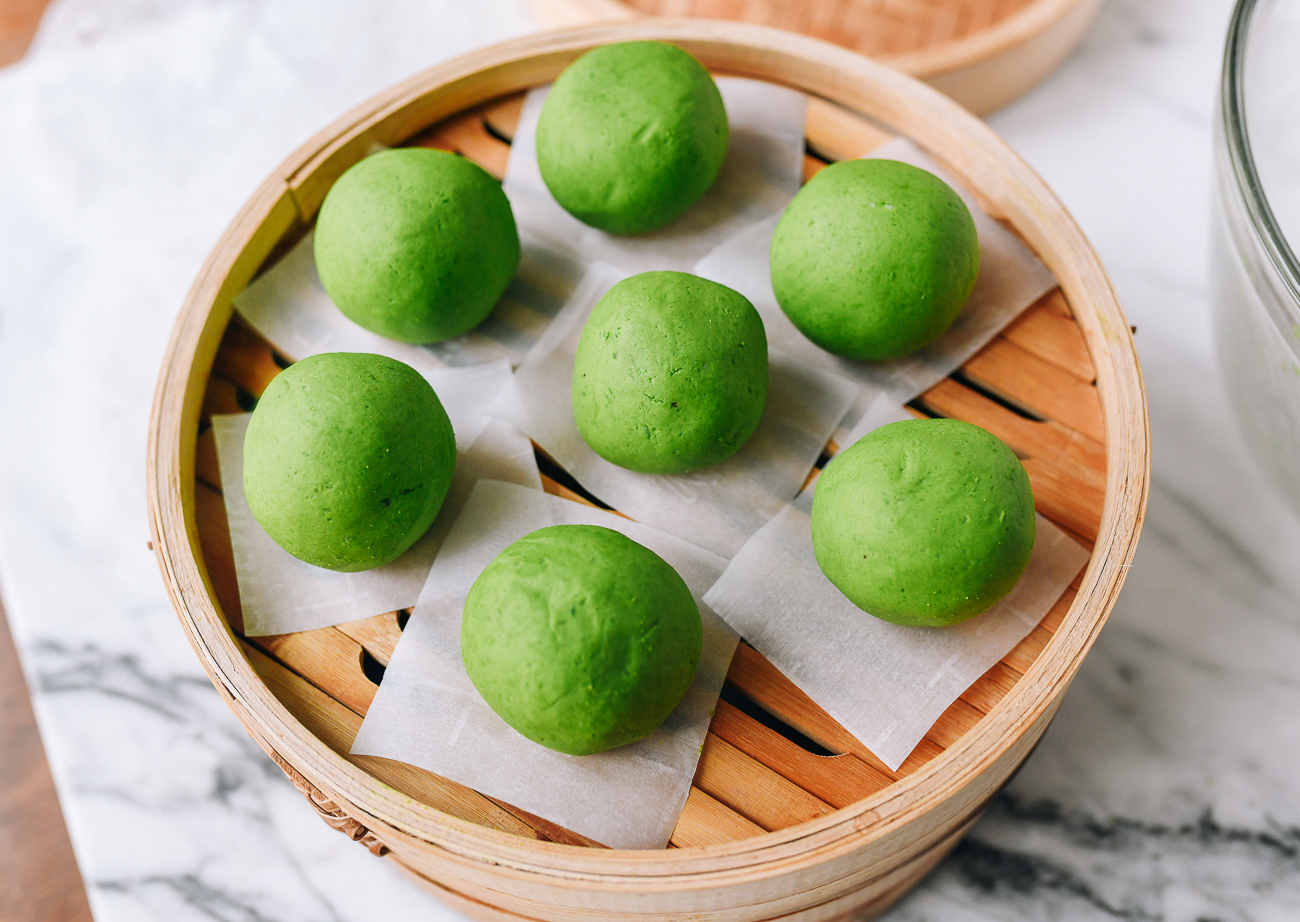

STEP 5: Steam the qingtuan
Pre-boil the water in the steamer. You’re ready to steam the qingtuan once the water boils and you have a steamer rack filled with qingtuan, spaced at least ½-inch apart.
Cover and steam them for 10 minutes using high heat. Remove from the heat immediately (don’t over steam them, as they will burst).
Brush each one with a very light coating of oil to lock in the moisture and prevent them from cracking and drying.
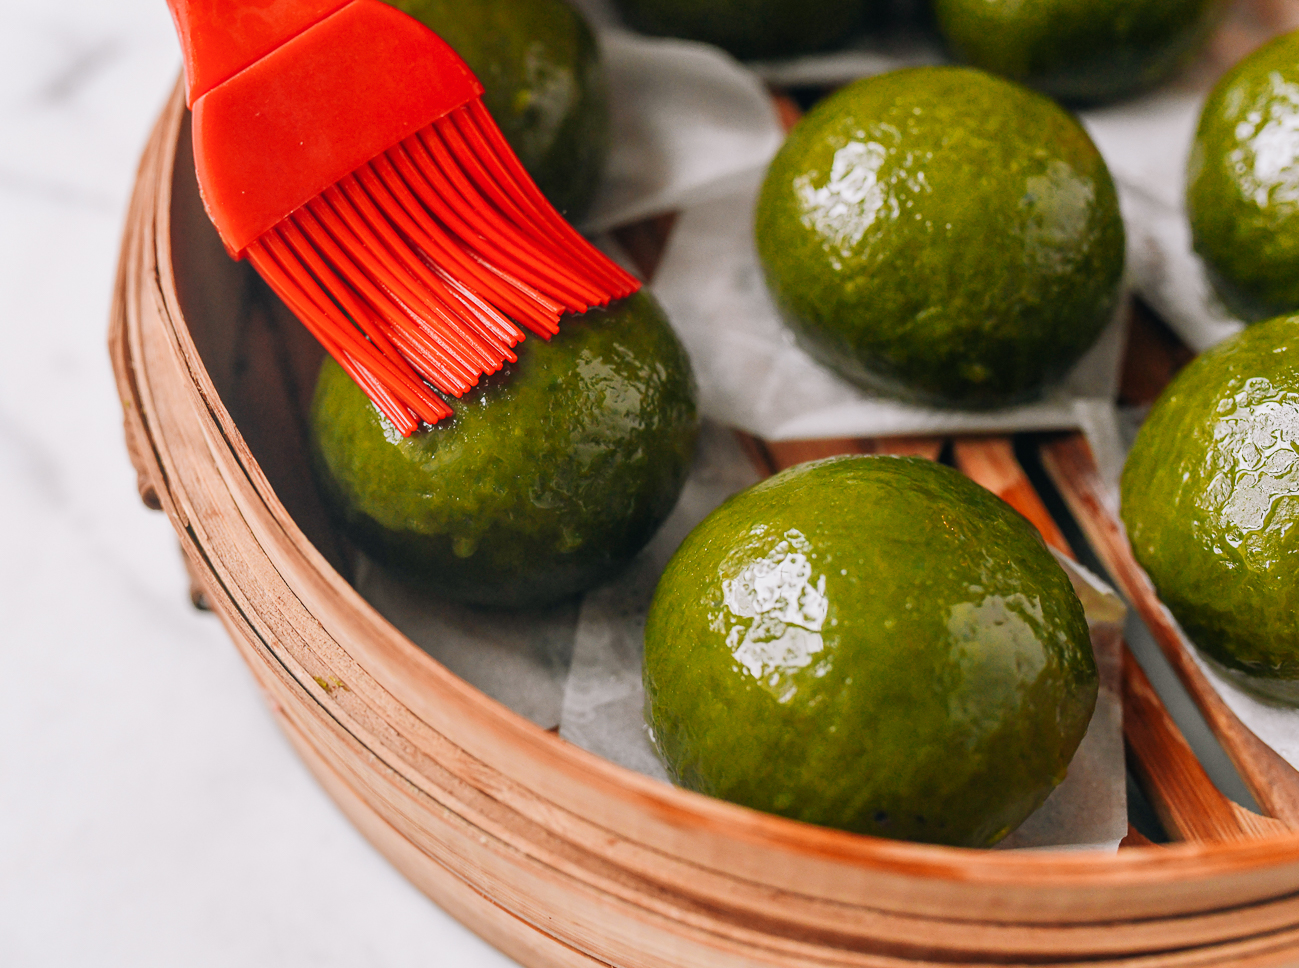

To store and reheat:
In Shanghai, most often you will see that each mochi is sold individually wrapped with clear plastic wrap for convenience, but there’s no need for this if you use an air-tight container.
They can sit on the counter for a day or two, but it’s better to keep them in the refrigerator for a longer shelf life.
They will turn chewy when cooled, and hard when chilled. Simply reheat for 30 seconds in the microwave. That’s all you need—they will burst if you let it go any longer than 30 seconds!
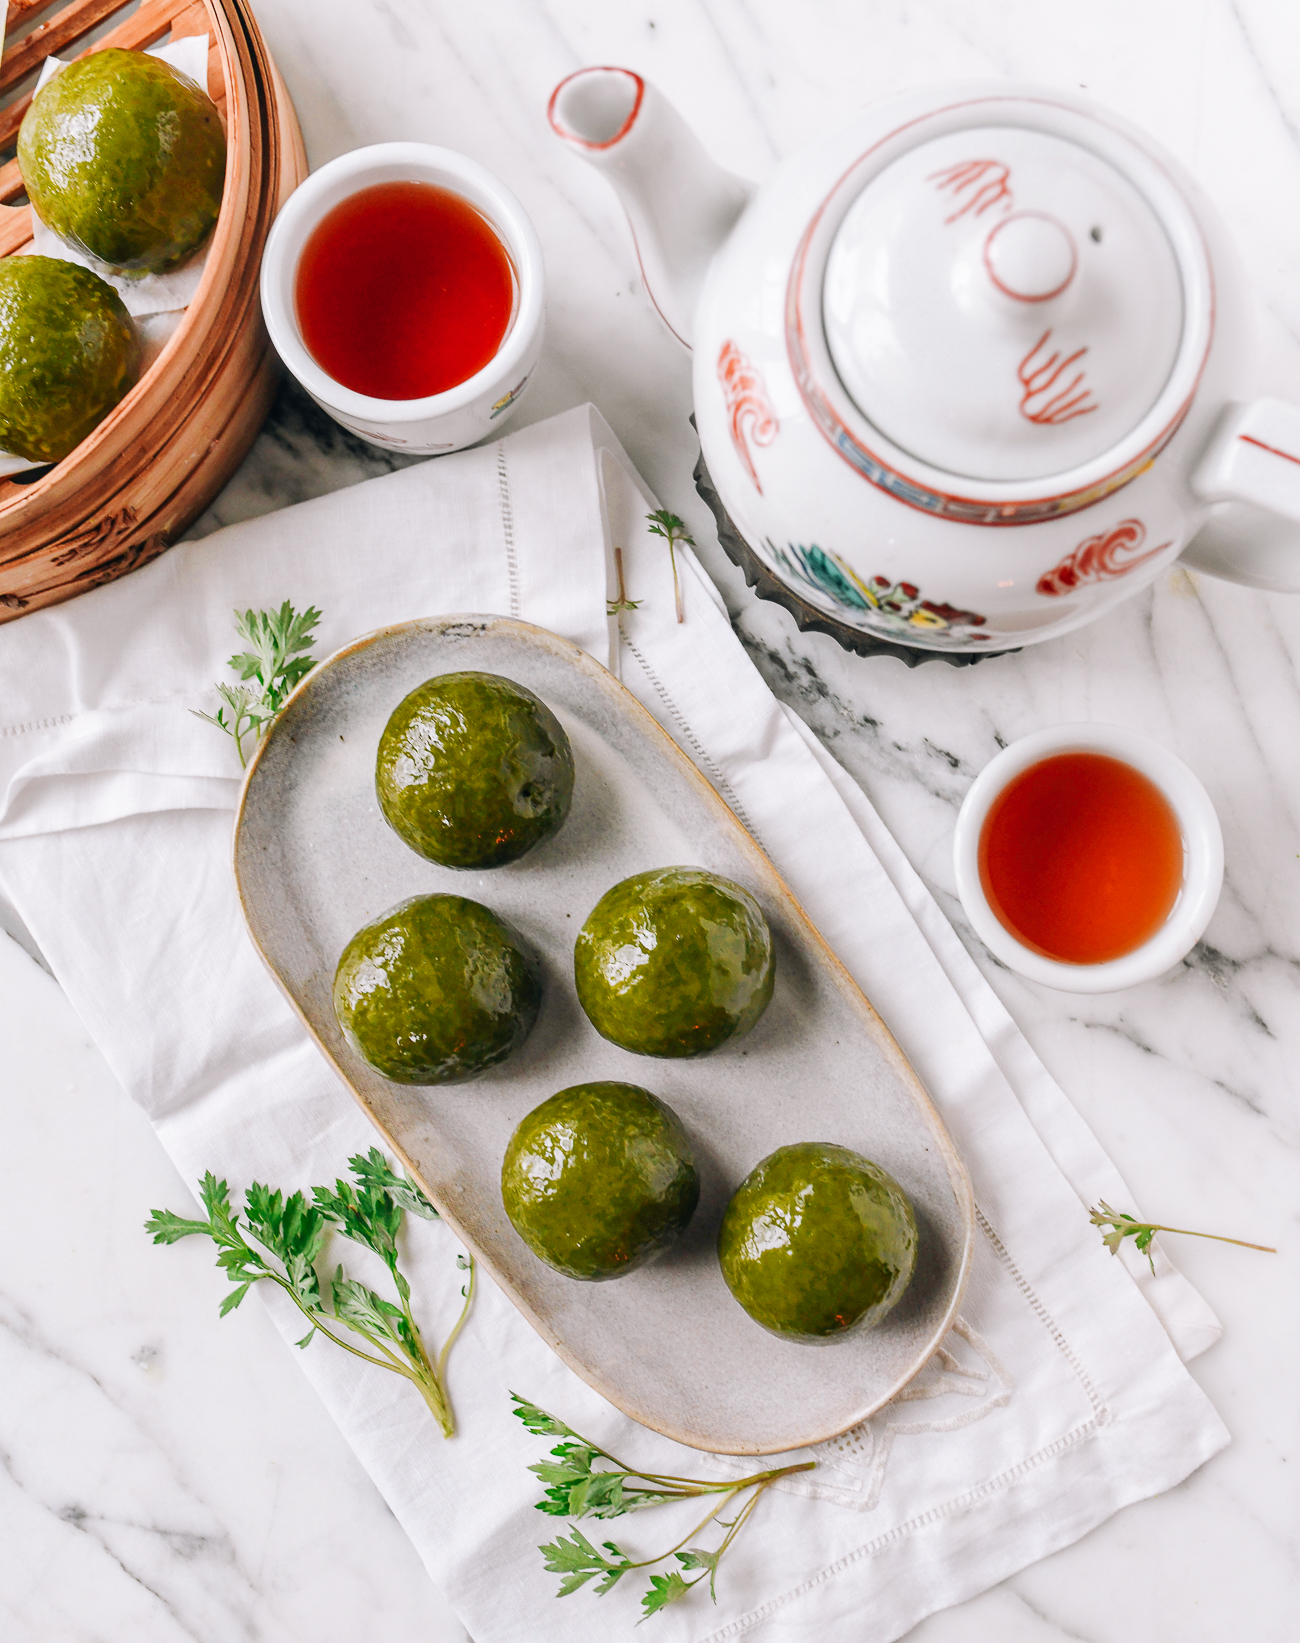

Qingtuan (青团) – Mugwort Mochi

For the mugwort puree (this recipe requires just half of the total yield):
- 6 ounces tender mugwort leaves (trimmed of stems)
- 1 teaspoon salt
- 1/4-1/2 cup water
For the mochi dough:
- 1/3 cup wheat starch
- 1/2 cup boiling water
- 2 cups glutinous rice flour (AKA sweet rice flour)
- 1 tablespoon lard (or butter)
- 1/3 cup powdered sugar
- 1 teaspoon vanilla extract
- oil (for brushing)
- 1 1/3 cups red bean paste (see our recipes on the stove or in an Instant Pot)
STEP 1: Make the red bean paste (or grab a package of store bought paste)
- Use store bought, ready-made red bean paste filling, or make your own by using our recipes–either our Instant Pot Red Bean Paste or our red bean paste recipe made on the stove.
- Just know the Instant Pot red bean paste recipe will make 3x the amount needed for this qingtuan recipe. The good news is you can freeze the extra for other red bean treats.
- You need 15 balls of red bean paste, each weighing 25g (about 1½ tablespoons). To prepare them for the qingtuan, roll the cooled red bean paste into smooth balls. If desired, you can use less, as many people enjoy the texture of the mochi dough more than the filling.
STEP 2: Make the mugwort puree
- Note: I made double the amount of mugwort puree actually needed for this recipe, since my blender can’t properly puree smaller amounts. Feel free to use half the recipe, or do what I did, which is freeze the other half of the puree to use later. You can use this puree to color dough, in soups, or to make a double batch of these qingtuan to share with friends.
- Wash the mugwort leaves a few times until the water is clear. Drain and set aside.
- Bring 6 cups of water along with 1 teaspoon of salt to a boil in a medium pot, and blanch the mugwort leaves for 30 seconds. Quickly remove them and transfer to an ice bath to cool them quickly and lock in the bright green color.
- Once cooled, squeeze them gently to release excess water—there’s no need to squeeze them completely dry. Puree them in your blender along with ¼-½ cup of water (the water helps yield a smooth puree). With these steps, I ended up with about 540g of mugwort puree. Don’t let the mugwort sit out too long before mixing the dough, or it will lose that beautiful green color.
STEP 3: Make the dough
- In a medium mixing bowl, use a rubber spatula to stir the wheat starch with 1/2 cup (120ml) boiling water, stirring until a dough ball forms. (The water must be boiling.) Set aside.
- In a separate large mixing bowl, add the mugwort puree. If you made the full recipe, you’ll need to halve it, about 270g.
- Add the sweet glutinous rice flour, lard (or butter), powdered sugar, and vanilla extract. Knead by hand until well combined, but slightly dry. Add the wheat starch dough, and knead until the dough is smooth and an even bright green color.
- It should be wet enough that when you pinch off a piece, it doesn’t crack, but dry enough that it can hold its shape. If it’s too dry, knead in 1 teaspoon of water at a time until it’s softened. If it’s too wet, knead in 1 tablespoon of sweet rice flour at a time.
- Ultimately, the dough is very forgiving! Your goal is to be able to seal them tightly around the filling. Once cooked, wetter dough will be gooey in texture, and drier dough will be chewier. I prefer chewy!
- The dough should weigh around 735g. Divide the dough into 15 pieces with each weight about 50g. Roll them into round balls, and cover to prevent them from drying out during assembly.
STEP 4: Assemble the qingtuan
- Prepare your steamer with enough water for 10 minutes of steaming on high heat (just ensure that if you are using a bamboo steamer the water level won’t touch the qingtuan). Prepare 15 3×3-inch squares of parchment paper to place each qingtuan on.
- Take a dough ball, and make an indent in the center with your finger. Hollow out a deep well by pressing down and out, using your fingers to create a well.
- The sides can’t be too thin—the well should be just wide and deep enough to fit the ball of red bean paste filling. Place the red bean filling inside, then gently squeeze the opening closed, pinching the seam together tightly. Make sure the open seam is closed and roll it the qingtuan between your palms to smooth and round it out before putting it on a square of parchment paper.
STEP 5: Steam the qingtuan
- Pre-boil the water in the steamer. You’re ready to steam the qingtuan once the water boils and you have a steamer rack filled with qingtuan, spaced at least ½-inch apart.
- Cover and steam them for 10 minutes using high heat. Remove from the heat immediately (don’t over steam them, as they will burst).
- Brush each one with a very light coating of oil to lock in the moisture and prevent them from cracking and drying.
