Basing is a critical part of the painting process. Armies on the battlefields of the 41st Millennium or the Mortal Realms will find themselves fighting across a wide variety of terrain, from lush jungles to barren rockscapes, industrial wastelands to agrarian fields. Your basing helps tell the story of your army – where are they fighting and why? In the spin-off How to Base Everything series, we look at different methods for basing your miniatures, so that you can locate them in time and space. In this week’s How to Base Everything, Raf Cordero is talking about how me makes wet, swampy bases.
Bases do a lot of heavy lifting in the overall appearance of your model. They’re an opportunity to provide contrast and texture, and they can also ground your models in a shared narrative. In the fiction, Plague Marines (and the rest of Nurgle’s minions) often bring decay and swamp with them regardless of where they fight. An army of goblins make take residence in a gloomy fetid marshland outside a city. In this installment of How to Base Everything, I’ll go over how I achieve my swamp effects.
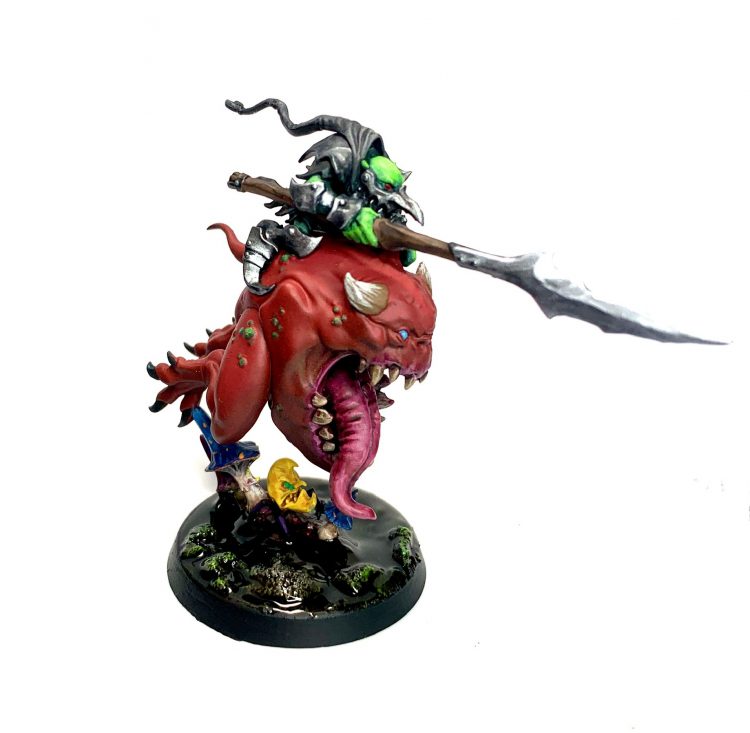
Overall, this is a fairly easy process though it does require a number of different products. I use—at minimum—four paint colors, water effects, and one wash on each base. However, swamps are not homogeneous environments. On top of those I may add an additional wash, one or more technical paint effects, basing details like grass or tufts, and even objects from the yard like mulch.
I recently completed a 2,000 point army Gloomspite Gitz. The final step was ~75 bases. I find bases to be easier to do in one large batch so I held off on doing any until the end. It also gave me the opportunity to take some pictures for this tutorial.
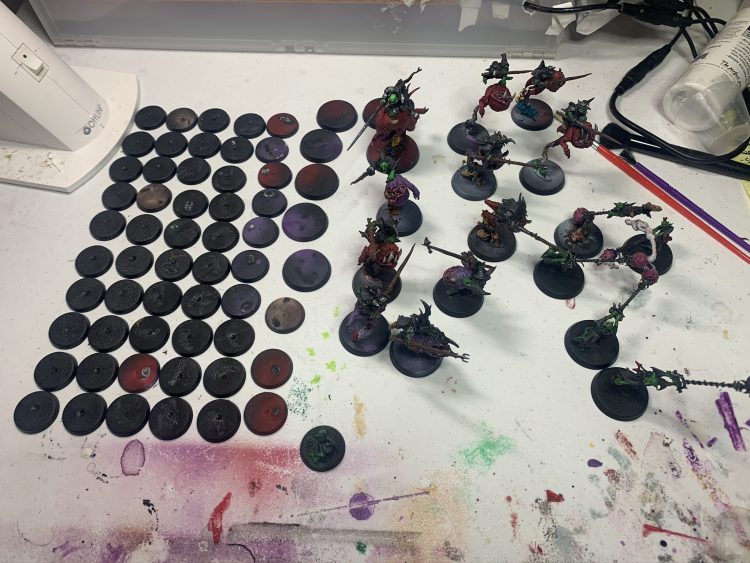
When doing any base, but particularly something like a swamp, the first decision you need to make is weather or not you’re going to leave the model glued to the base. Doing so can make the model look like it’s sunken in to the marshy gloop which is a very cool effect. However, it’s much trickier to do; Realistic Water Effects will change the look of any part of the model it comes in contact with. Done well, it can look like robes or bits have picked up water from the surrounding area. There’s the risk it ruins things, however. I decided to do most of my bases separate from the model and only leave the model on for the tall spindly units.
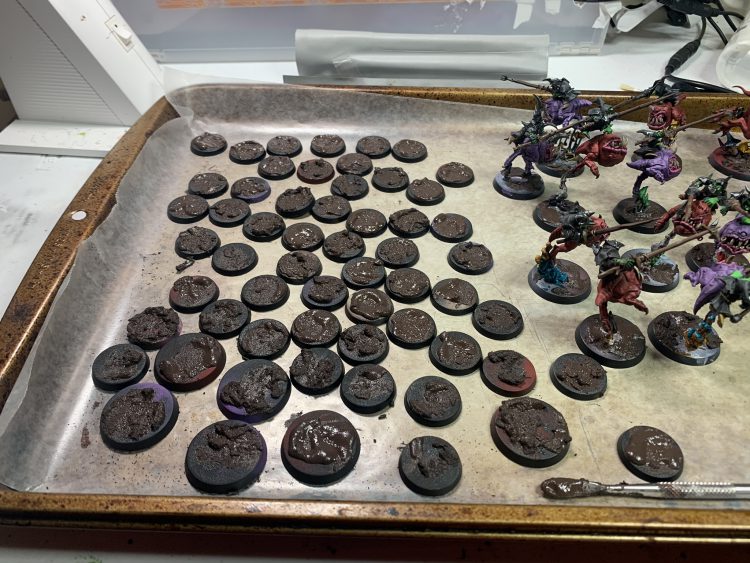
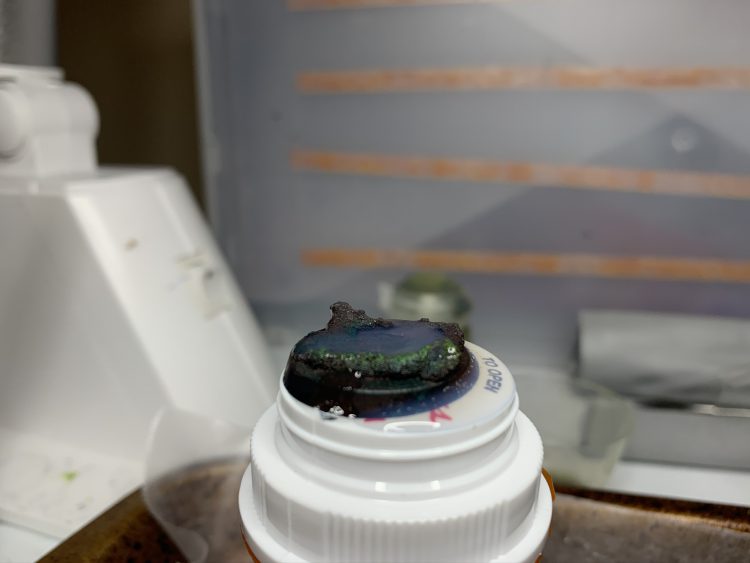
Step 1: Apply mud texture paint. This step has 2 purposes. The first is to provide a texture; swamps aren’t flat. You’ll want globs of mud smeared everywhere and rising up out of the water to give it a convincing look. The second purpose is to create pools for the realistic water effects. I’ll get more into it later, but Water Effects is viscous enough to hold together in a dome/bubble over the top of the base however its much easier to manage if you create a wall or dam with mud effects to hold it in.
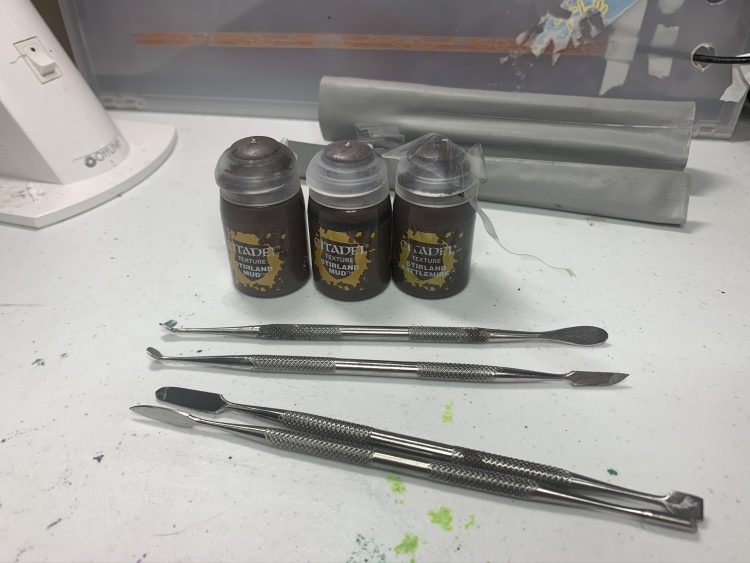
I use both Stirland Mud and Stirland Battlemire to get the effects I want. A set of cheap dentist tools is your friend here. I like flat ends for smearing, and anything resembling a scoop to help grab more gunk.
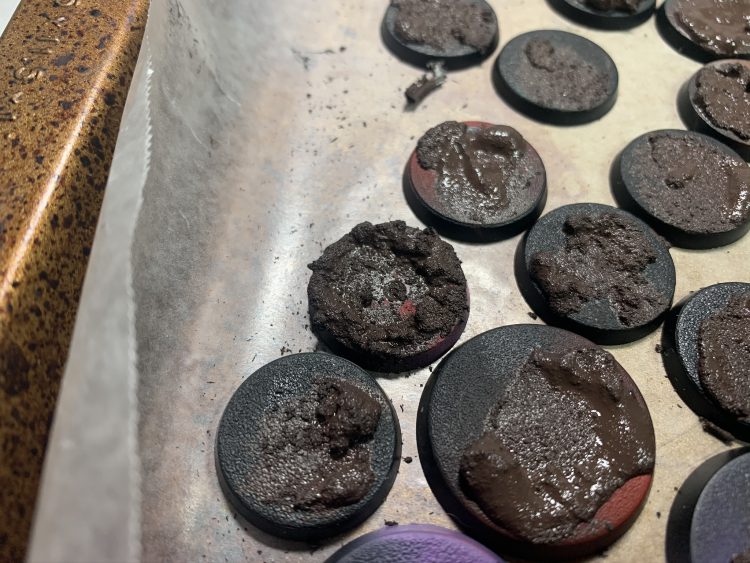
As you can see, there is a large variety in the textures I’ve applied. Not everything has a clear pool though I ensure I had a couple that entirely ring the base. Those that don’t still have natural pooling areas, however.
Step 2: Base colors. If you’re going to add things like mulch (wood chips), debris, or grass it should be during this step. Large debris should be done before the base colors, grass at the end.
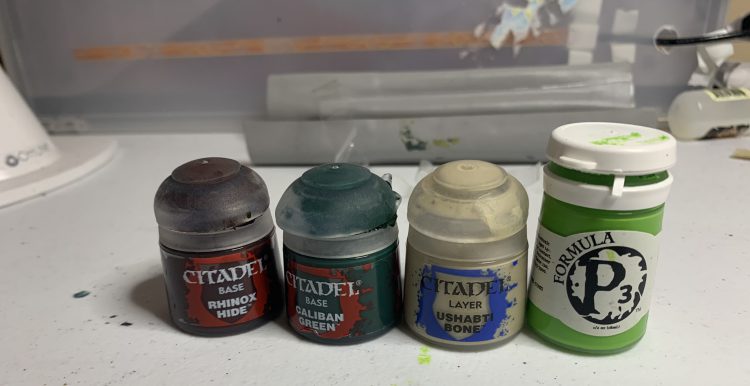
First I paint the entire base in Rhinox Hide. Then I do a heavy drybrush with Caliban Green. A light drybrush of Ushabiti Bone is used to pick out the texture of the mud. You don’t really need to worry too much about brushstrokes, smeared paint, or sloppy drybrushing. There’s still a lot of crud that’s going to go over these. My swap bases have a very bright green drybrush applied sporadically to give the effect of bright glowing fungus. Its the same highlight green I use in my grots, tying them to the fungus from which they grow. Don’t forget to hit the mulch (if any) with a drybrush!
I forgot to take a picture of just this step, but you’ll see it all in a moment.
Step 3: Water effects! There are hundreds of different versions of this product out there. I primarily use Woodland Scenics Realistic Water, though I have also used Secret Weapon Washes Water as well. As far as I can tell, they’re nearly identical. There are two-part epoxies that behave differently but for these small bases this stuff is just fine.
Water Effects is fairly viscous and has a high surface tension. Using a pipette or a dropper bottle you can squeeze a good amount straight onto a base. The surface tension will make it form a bubble and—if you’re careful—it won’t run down the side or spill. This is a good way to achieve volume, and thickness to your water. Done this way, it will dry clear.
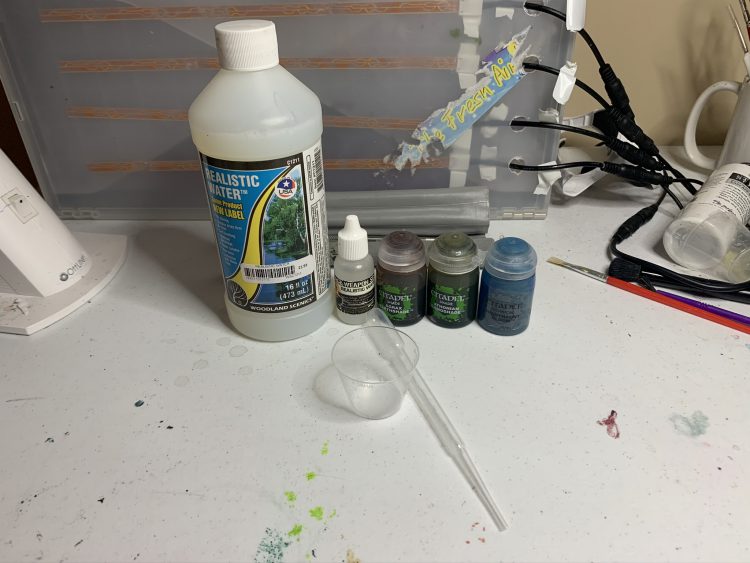
You can also mix GW washes straight into the Water Effects. I use Agrax or Athonian Camoshade to get a good swampy colored water. However, if you do this you will ruin the surface tension and it will be a much messier process. This can save you some time however, so it’s what I did for most of my models. Nighthaunt Gloom (and Nurgle’s Rot) have an interesting property where you can dab them into your mixing cup and they’ll remain suspended and unmixed. If you do this and pour the resulting mix onto a base you can create some really cool effects that look like globs of Plague Shit or even ethereal spirits floating in the water.
In the below picture, you can see what my bases look like after the rough basecoats have gone on. In the little cup is some Water Effects mixed with a shade.
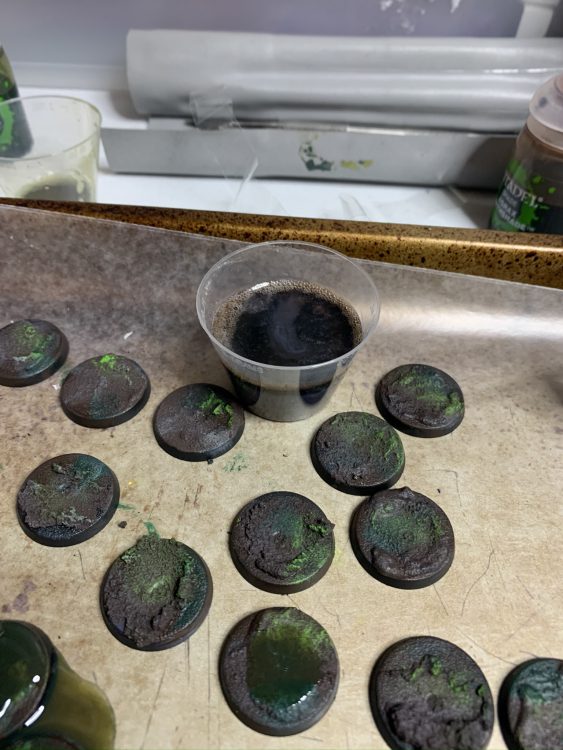
Apply by either pouring onto each base (messy) or applying with a pipette or dropper bottle (less messy, more controlled). Again, if you leave the Water Effects clear you’ll have more control. I recommend placing your bases on wax paper prior to this step. I can’t be sure it helps unstick them, but who can be sure of anything in these dark dark times?
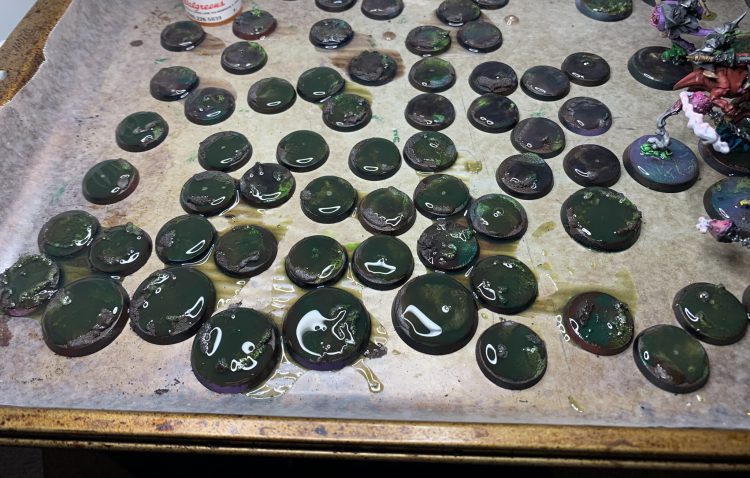
When you’re done, you’ll something that looks like a soup sandwich—a hot mess.
Here you can see what it looks like when you don’t add a wash. Again, it will dry perfectly clear. This is best when you haven’t created a natural pool for the goop to settle into, or when you’re concerned with things getting messy. I used this process on the Loonboss on Cave Squig pictured at the top of the article because its a centerpiece model for the army.
Step 4: Do it again! After it dries, inspect each base to see if it’s “wet” enough. It’s possible that some of the goop ran off during the drying process, or that you find a fingerprint or too. Don’t worry, just mix up some more and do it again. This is also a good opportunity to go in with clear Water Effects over what you’ve already done.
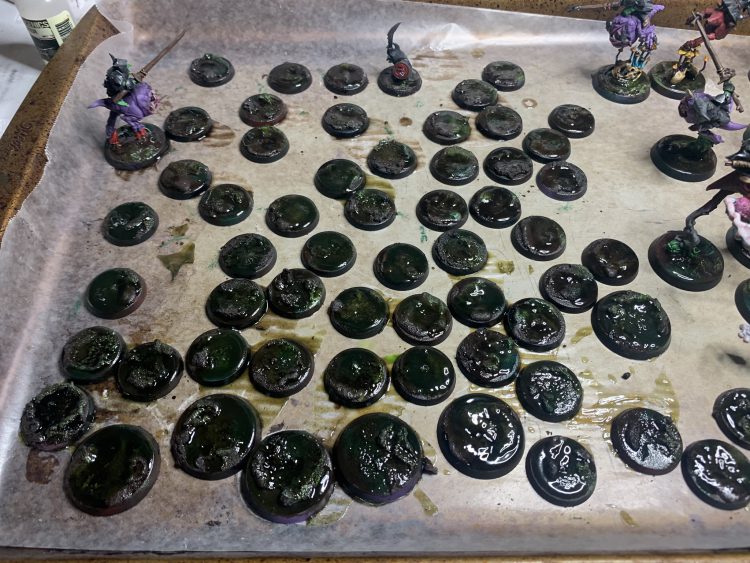
As you can see, the bases look wet and shiny and anywhere where the Effect was allowed to pool has retained some depth. This will have masked any messy drybrushing.
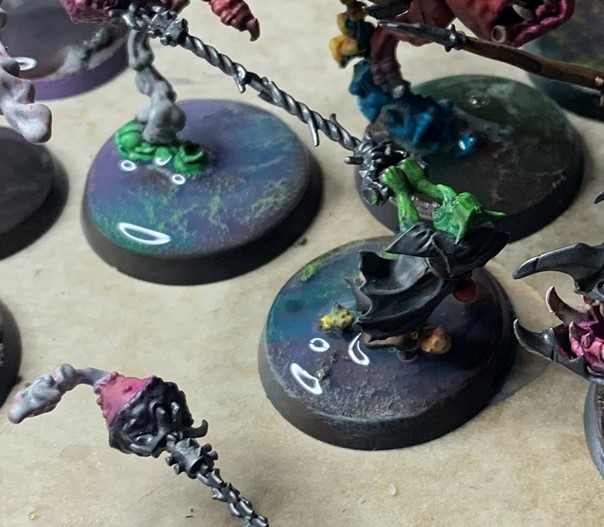
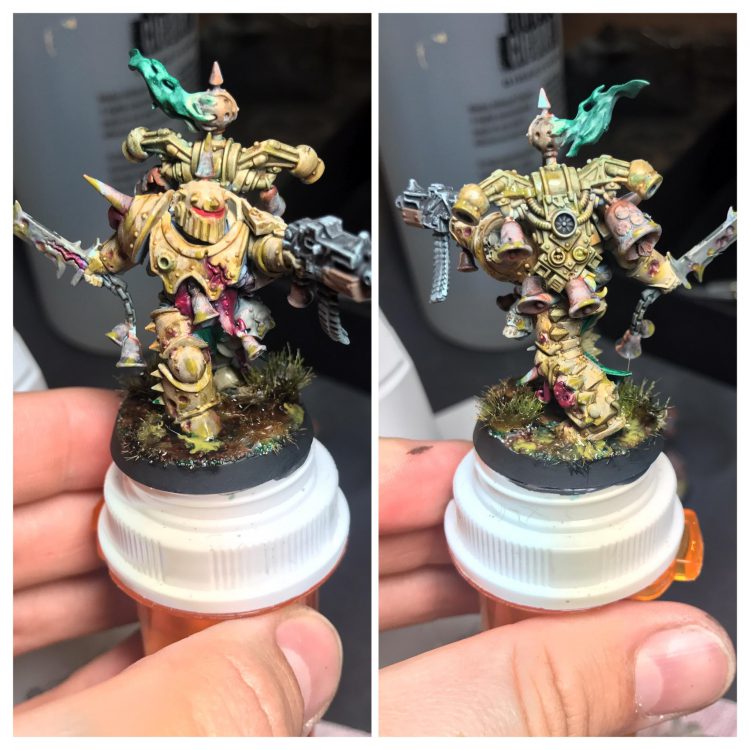
Step 5: Finishing touches. At this point, you can apply Agrax Earthshade, Athonian Camoshade, or any other wash right on top of the dried water. This is something you’ll have to do on any base where you left the Water Effect clear. Mixing color tones is a great way to add depth. Additionally, if you have valleys large enough for the shade to pool you can come back after about 30 minutes of drying time with Nighthaunt Gloom or Nurgle’s Rot. I serendipitously discovered that Nurgle’s Rot will seep and curl its way through partly-dried Agrax and create a great effect. You can see it coming off the toe of this Plague Marine.
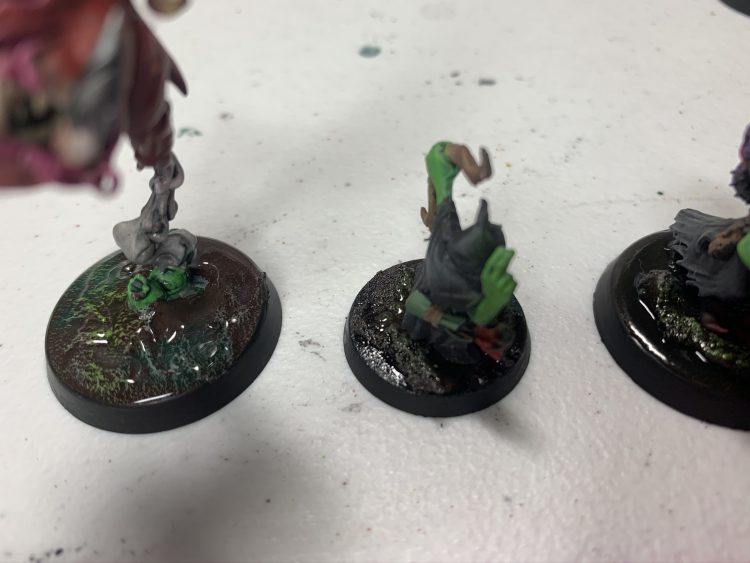
All Done! Once any washes have dried, you’re done! You shouldn’t need to seal these as the Effects is very tough. However, if you do get sealer on it or notice any matte areas then just brush a little water effects on and it will dampen it up. In this closeup, you can see how the drybrushes and ridges show through the water. The center grot looks to be on a rise in the earth because the Water Effects wasn’t allowed to pool, and simply makes the dirt shiny.
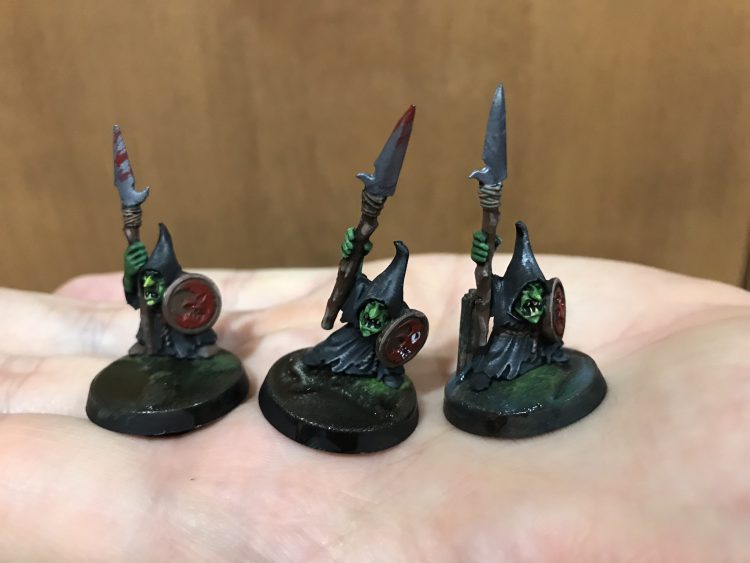
These three grots show how I position my models on these bases. I don’t just stick them in the center; I try to position them so they’re standing on “dry land” just the way you would if you were trudging through crud. The grot on the right has a small piece of mulch behind him, and some Nighthaunt Gloom effect in the water along the front. Paint your rims black and you’re good to go!
Have any questions or feedback? Drop us a note in the comments below or email us at contact@goonhammer.com.


