 Hey guys! It’s Jacqueline again. I don’t know about where you live, but here in the Midwest it has been miserably hot these last few days (like lock yourself indoors hot). Usually I’m all about spending time outdoors in the summer but this weekend I spent a majority of my time inside. Since I just gave our patio a mid-season spruce, I’m eager to get back to enjoying our outdoor living space again soon! I am even more excited to use our new DIY globe lights I recently added. This may be one of the easiest DIYs I’ve done to date and it added both function and ambiance to our patio. Continue reading to find out how to make your own (spoiler: the materials list only contains 3 items)!

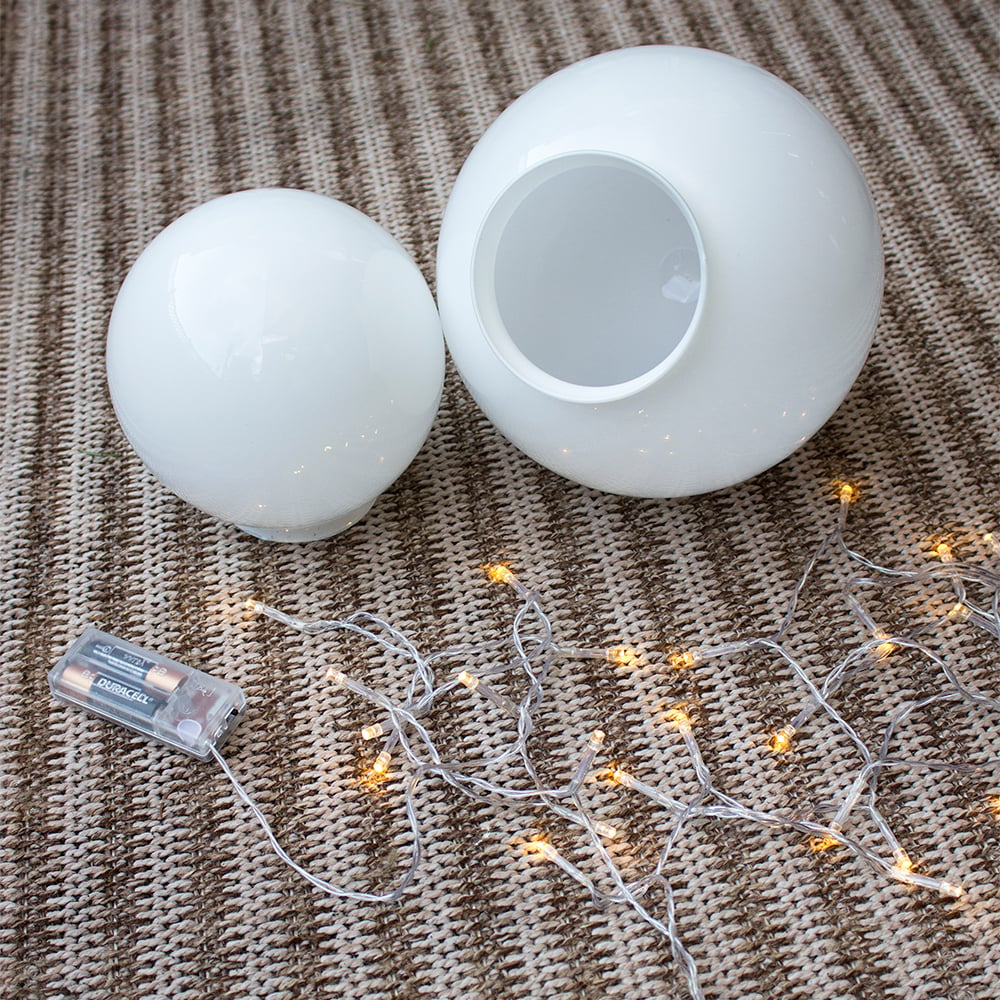
 I originally found these lights here after browsing Pinterest for patio ideas and knew I had to recreate them! All you need is a glass globe (which you can find at a local thrift store or hardware store), a string of battery powered lights (or old Christmas lights) and possibly some batteries. The nice thing about using the battery powered string lights is you can set them wherever you want and don’t have to worry about plugging them in anywhere or hiding cords… although I do find it’s easier hiding cords outdoors. The lights themselves are waterproof but the battery pack is not. You can either wrap up the battery pack in a plastic bag before stuffing the lights in the globe or just bring them outside whenever you plan to use them. I chose to go this route because we don’t leave all of our patio setup when it’s not in use (that way we don’t have to worry about bad weather). I have a special place in our house where I keep all the patio decor and when guests come over it takes about 5 minutes to set up!


S U P P L I E S + T O O L S
- glass globe
- battery powered string lights
- batteries
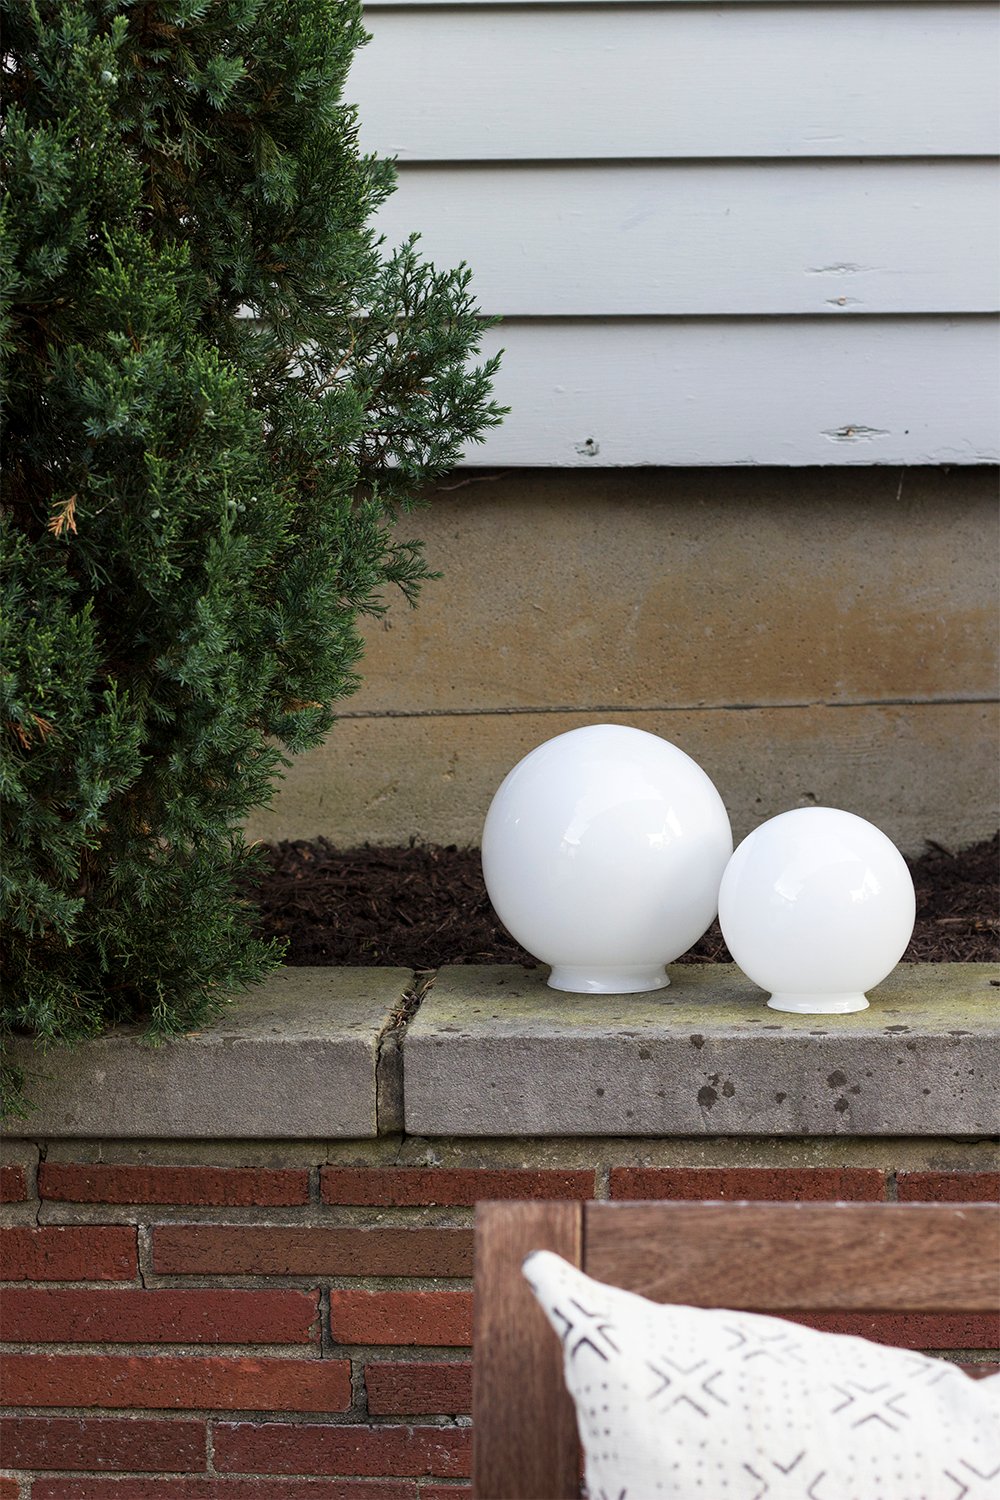
I’ll also note…I picked up my globes from Lowes – I used the 6-inch and 8-inch sizes and they were both under $10 a piece.


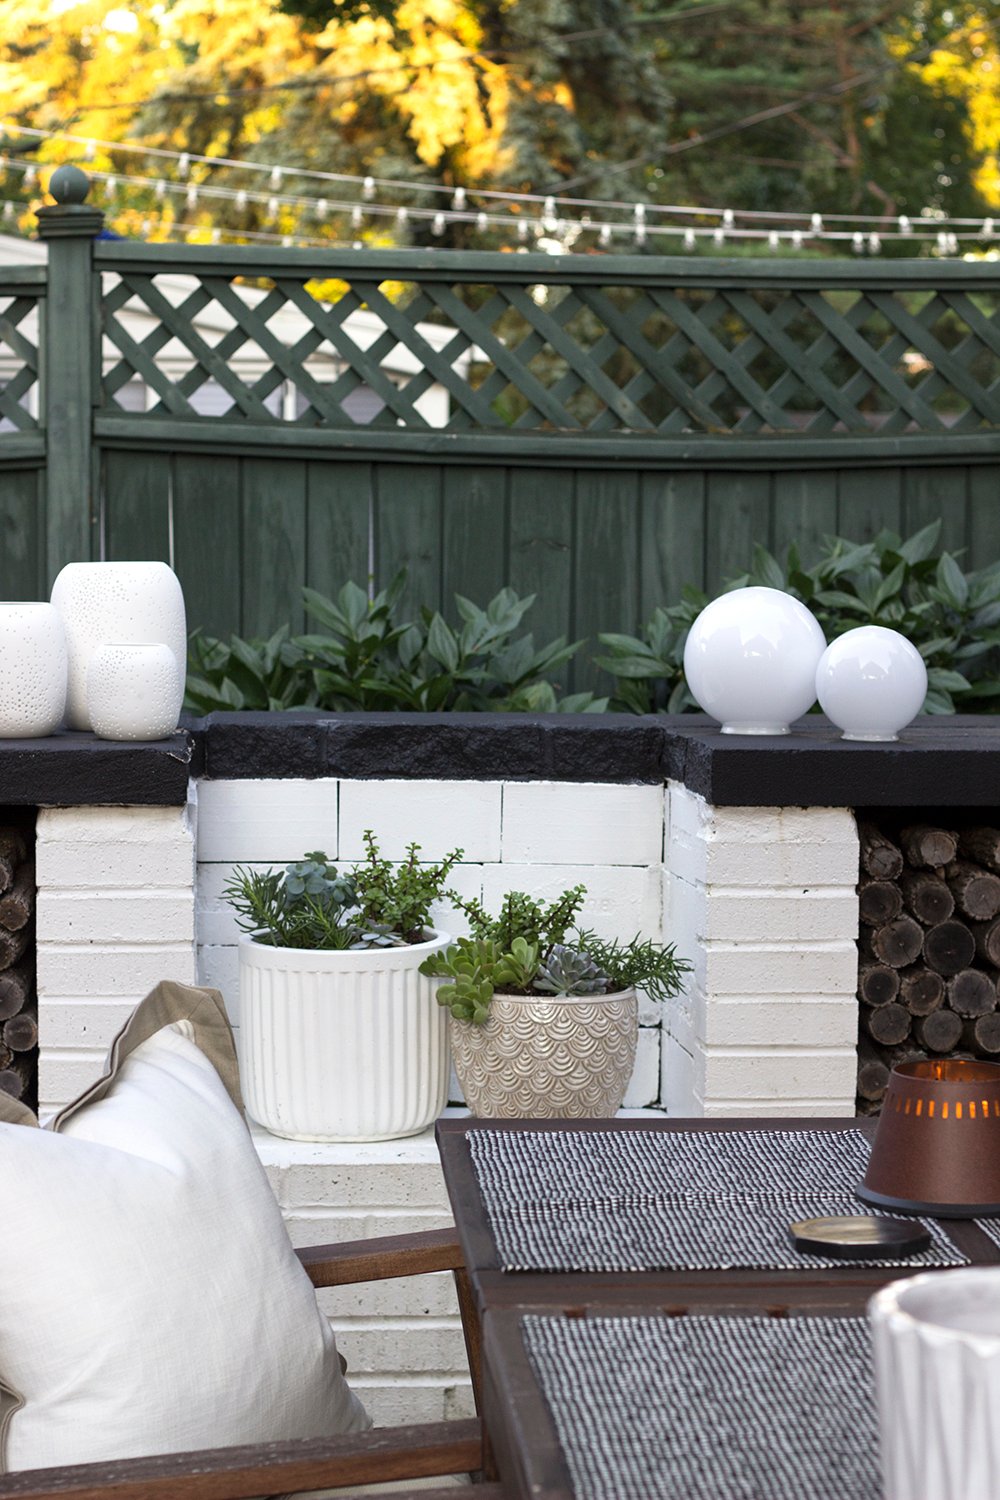
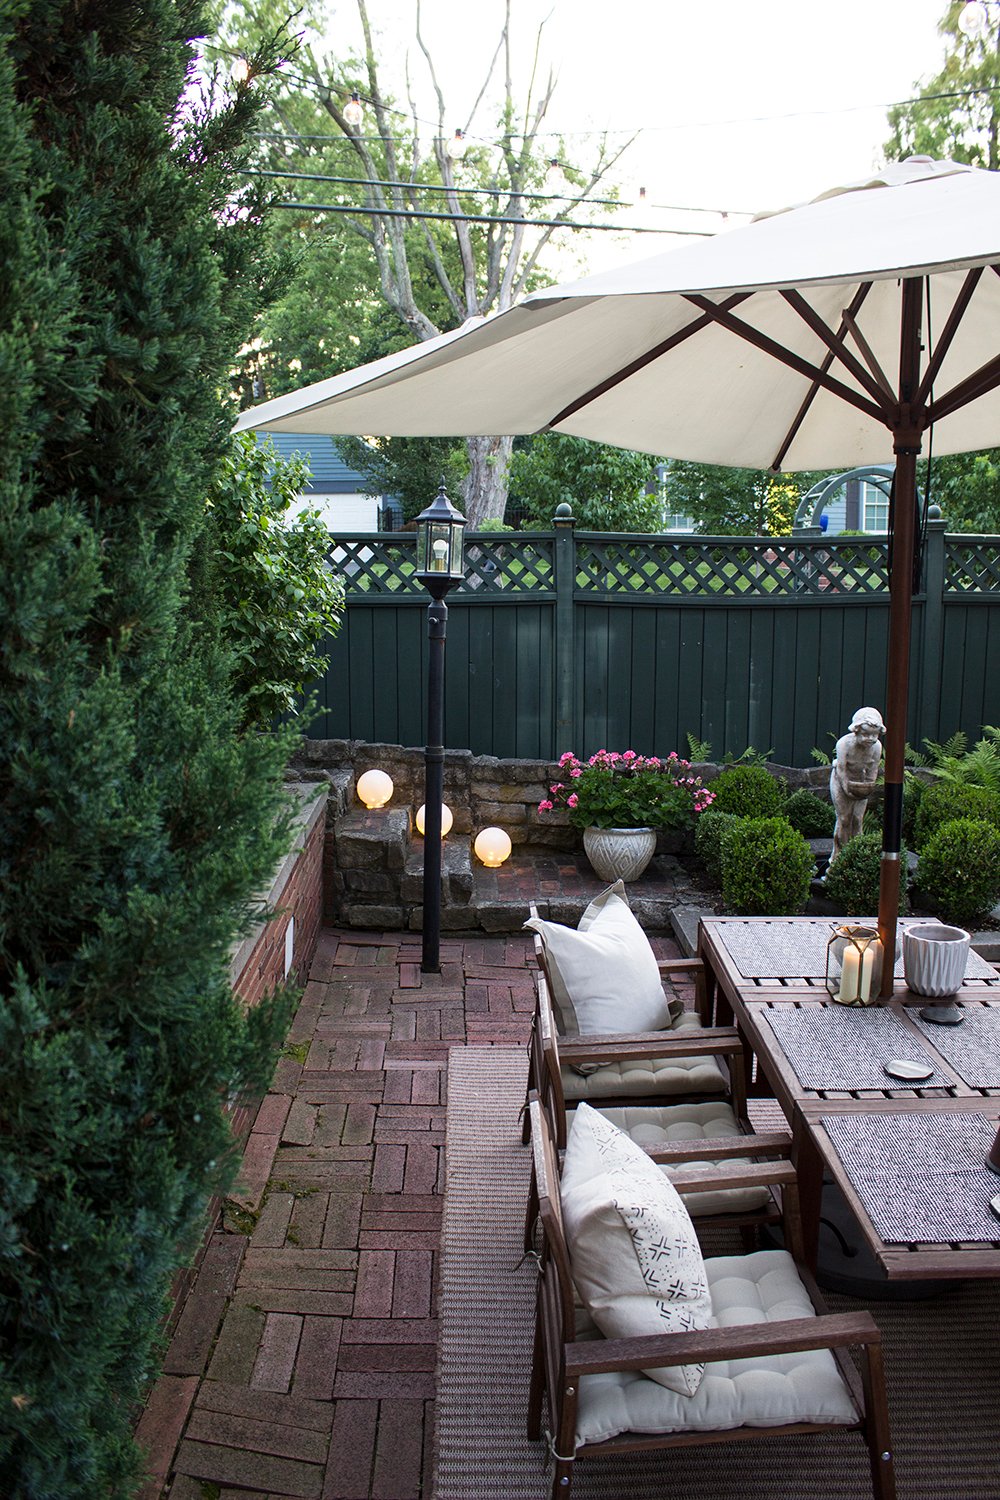
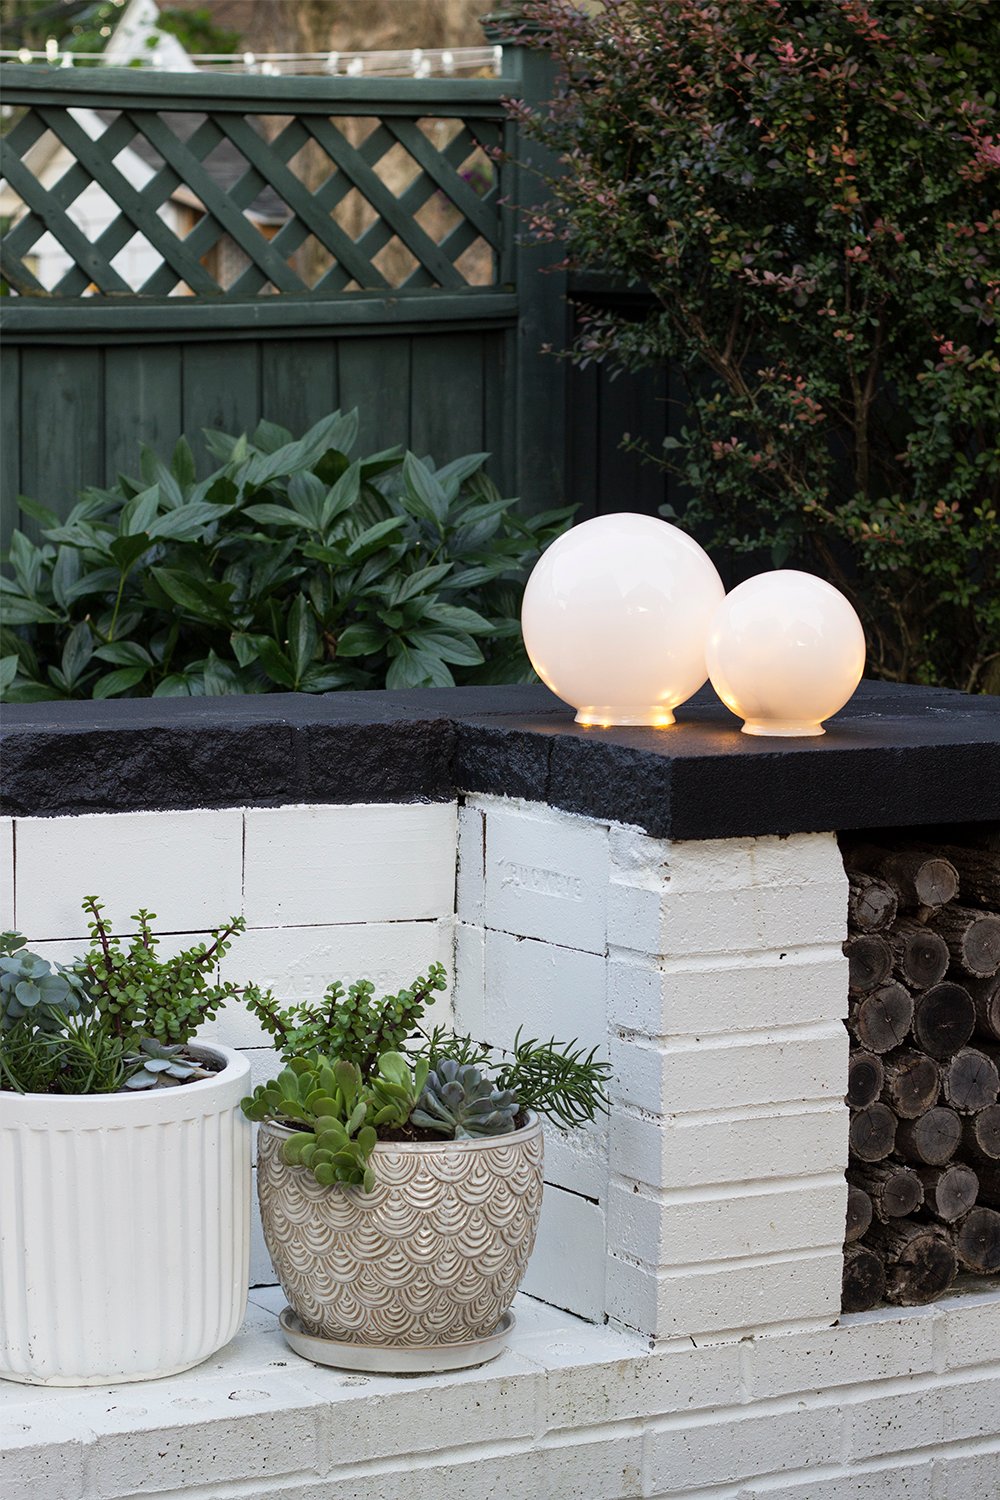
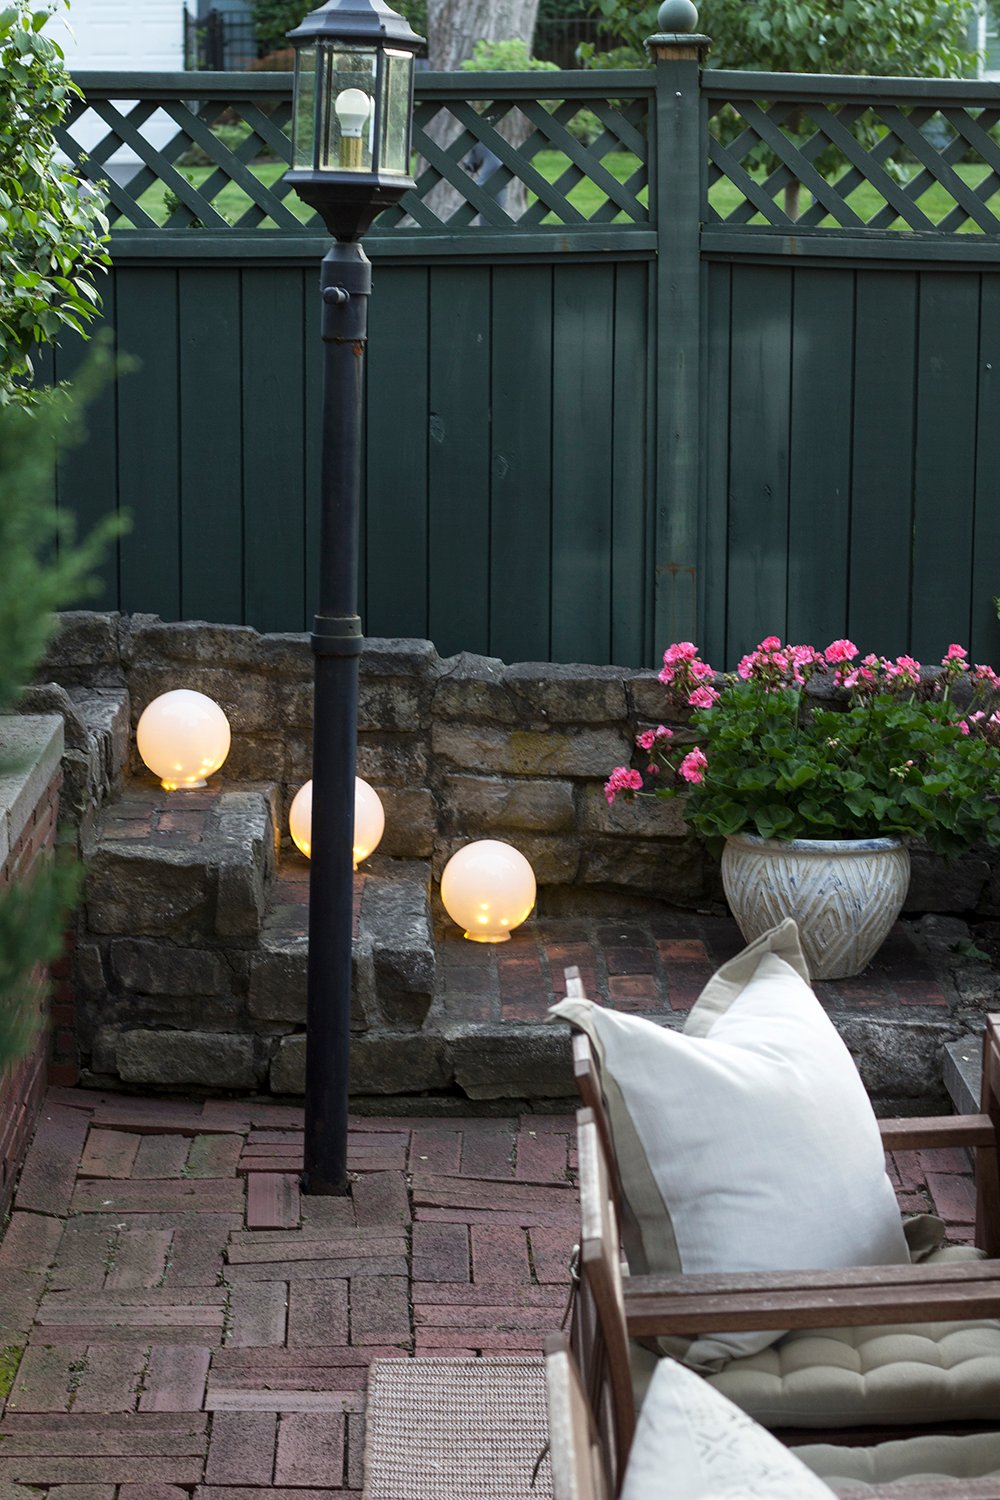
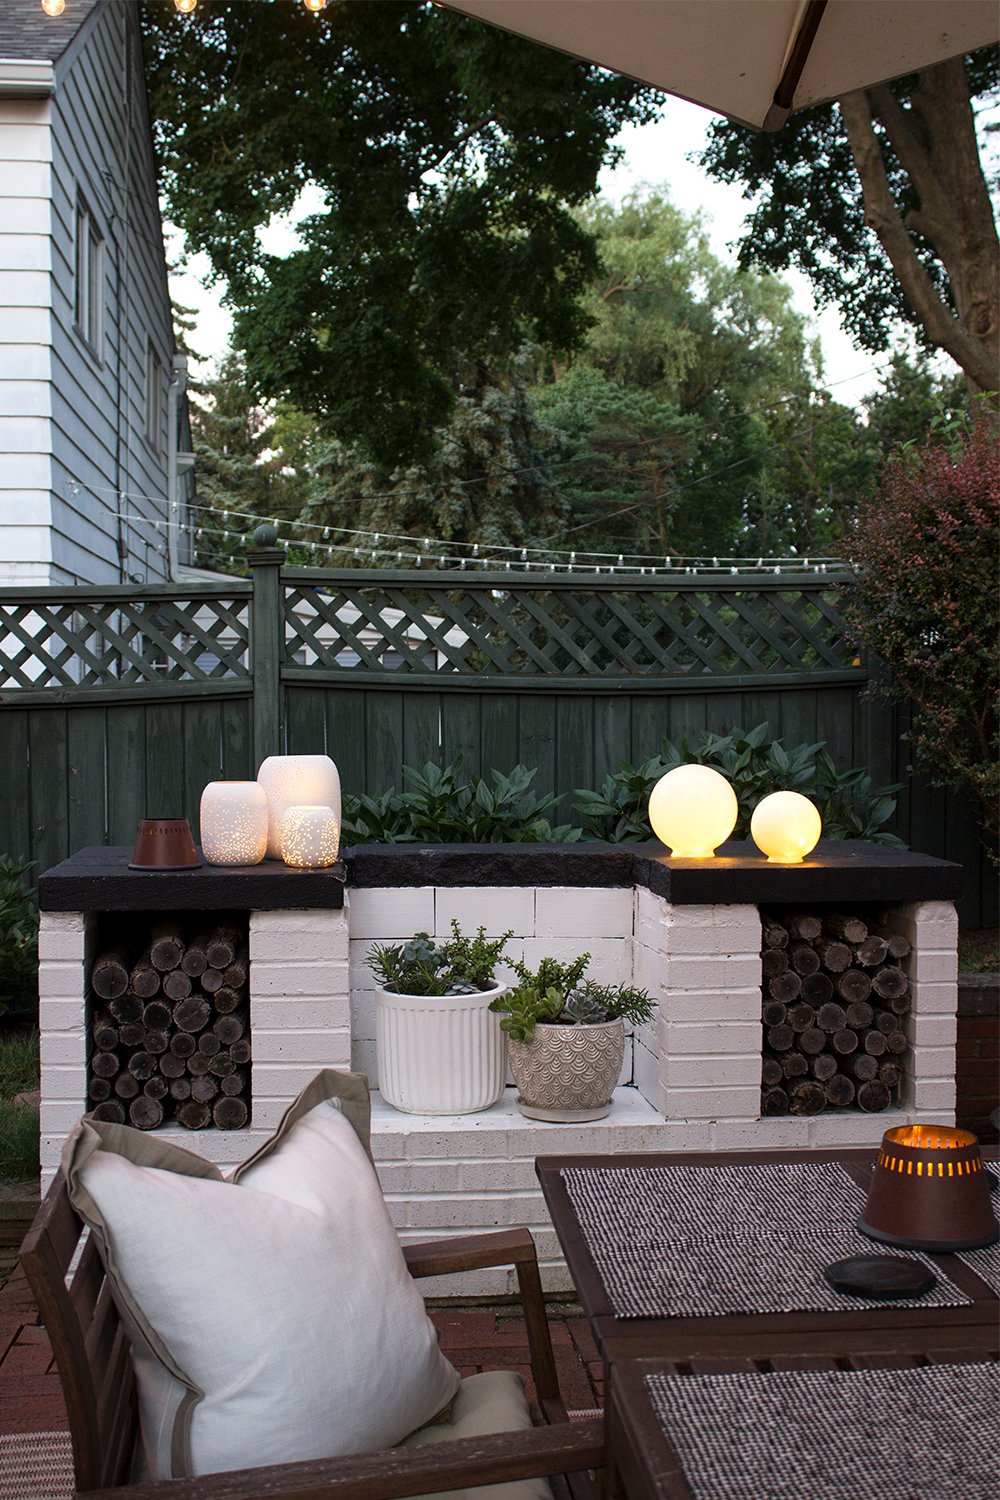
 As you can see, the lights look pretty cool during the daytime too! My favorites may be the ones I used on the stairs leading up to our driveway. I also enjoyed adding a few to our old brick oven we painted a few years back. If you missed our original patio reveal you can find it here. Also, if you follow me on Instagram you may have seen me adding a fresh coat of paint to the oven in my stories over the weekend. After 3 years it was definitely needed! We plan to tackle painting our fence later this summer.


 I scored these planters at HomeGoods for less than $20 each. They had so many cute options it was hard to choose. I know HomeGoods can be hit or miss depending on where you live and when you go, but if you live near one it’s worth going out for a look. I know where I’m going to stock up on planters from now on! I decided to try Sarah’s succulent planter DIY and I was very happy with the results.


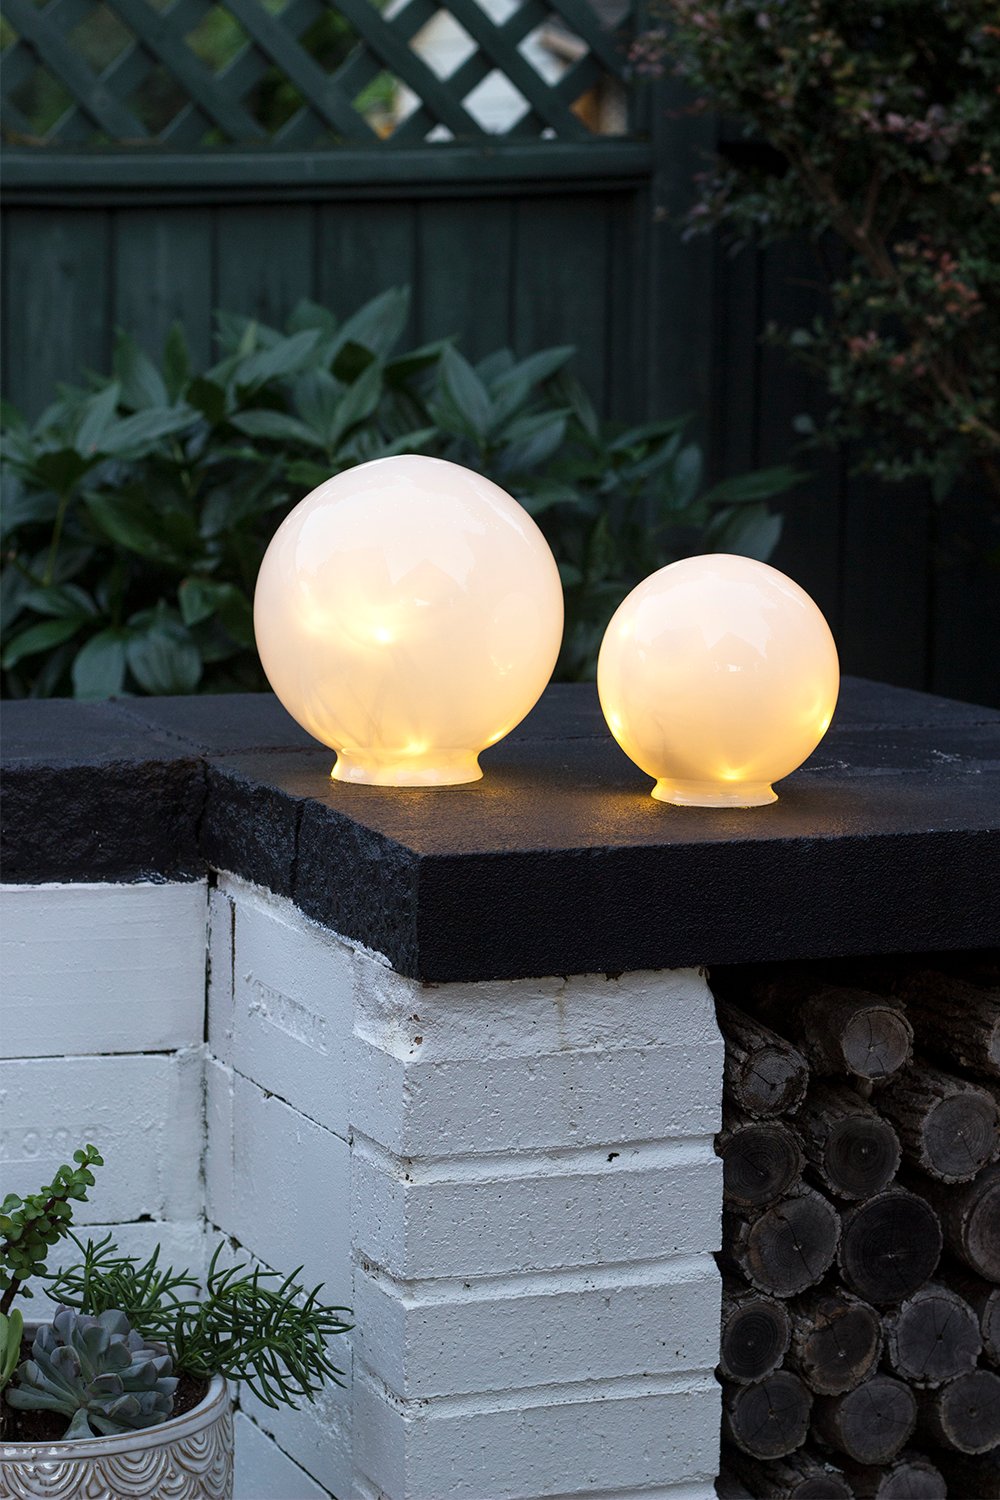
 I love the way the globes light up at night! I tried to take some photos throughout the evening so you could see how they look at different times of the day, as the sun goes down. The battery lights didn’t let off a perfectly even glow during dusk hours, but the darker it got, the better they looked! In addition to our string lights we hung across the patio, they helped provide the perfect ambiance to the outdoor space.


 Aren’t they pretty at night? I love the soft, warm glow and the modern shape. It’s definitely a fun take on landscape lighting, and this DIY literally requires zero skill- it’s just a matter of assembly and styling.


 Any time I can add something to enhance our patio I’m all for it! After three years it felt like time to spruce things up and refresh that outdoor living area. Sometimes all it takes is some fresh paint, new planters, pillows and lights! What do you guys think of this DIY? Is it something you would want to try for your own outdoor living space? Share your thoughts in the comments below! Happy 4th of July… here’s to hoping it cools down so we can enjoy time off outside!
SaveSave
SaveSave
SaveSave
SaveSave
SaveSave
SaveSave
SaveSave
SaveSave
SaveSave
SaveSave
SaveSave
SaveSave
